Introduction to the RingQ Dialer
The RingQ dialer is designed to simplify and enhance your calling experience with a range of powerful features. This guide will give you a complete overview of the dialer interface, walking you through each option—voicemail, call settings, contact tools, and more. Whether you’re managing daily calls or fine-tuning your settings, this guide will help you navigate the dialer confidently and make full use of its capabilities.
1. Log in to the RingQ App using your credentials.
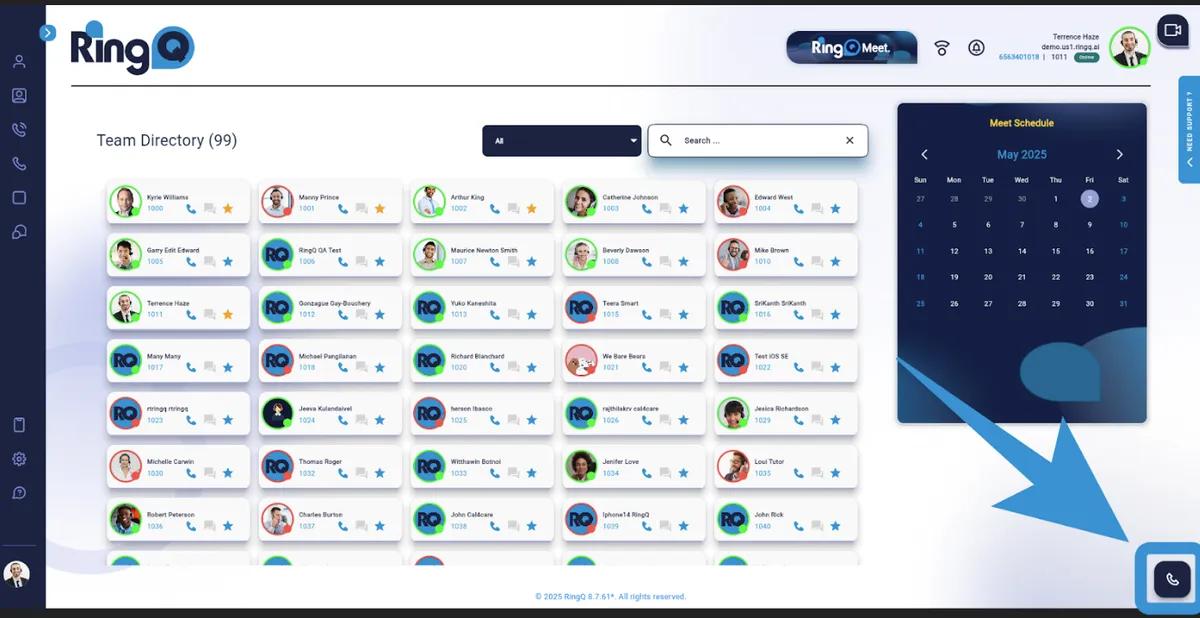
RingQ web app main dashboard
2. From the main dashboard, click “Dialer” located at the lower-right corner of the page.
The Dialer interface is designed for fast, intuitive call handling with these key components:
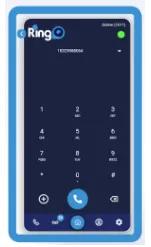
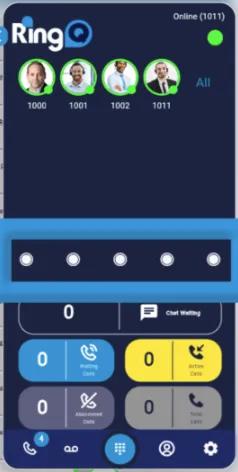
RingQ Call Parking
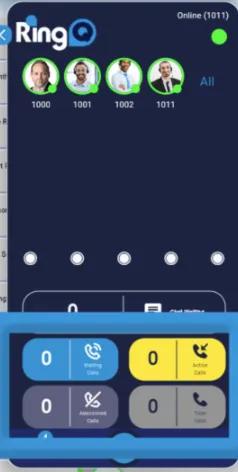
RingQ Wallboard

1. Click the Dial Pad icon.
2. Enter the number or extension.
3. Press the Call button.
1. Open the Contacts tab.
2. Click the contact, then tap the Call icon.
1. Go to the Call History tab.
2. Click the contact or number.
3. Tap the Call icon.
1. Open the Favorites tab.
2. Click an extension to start the call instantly.
1. Incoming Call – A pop-up will appear for all incoming calls.
2. Answer – Click the answer button.
3. Reject – Click the reject button.
4. Once connected, the call timer will start.
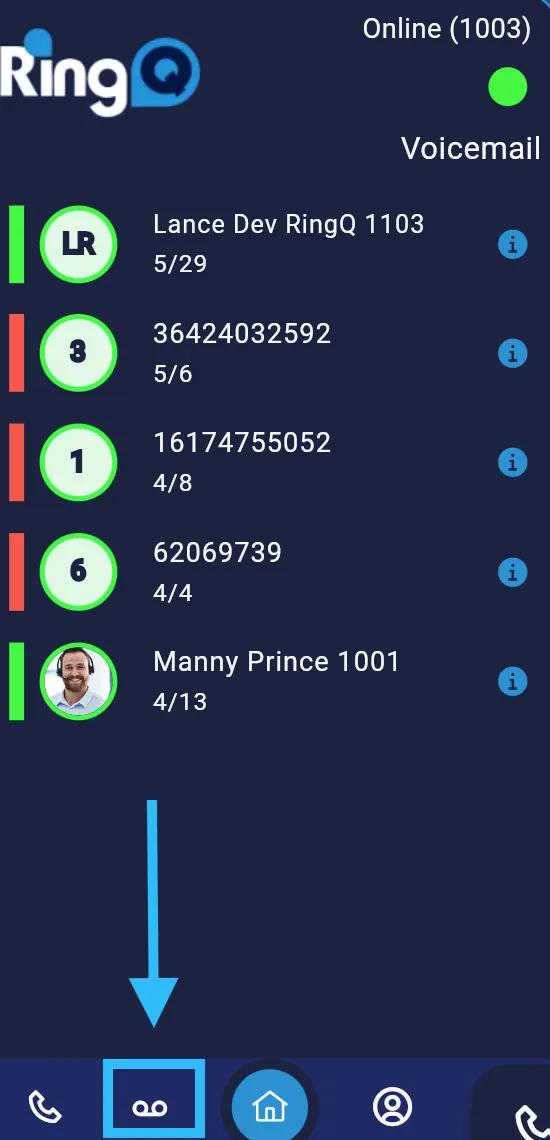
RingQ Voicemail
1. Go to the Voicemail tab.
2. Select a message to listen to.
3. Delete or save as needed.
1. During a call, click Record to begin recording.
2. Click again to stop. To access recordings: Go to Settings > Global > System Recording
Supervisors and managers can monitor agent performance and provide real-time assistance.
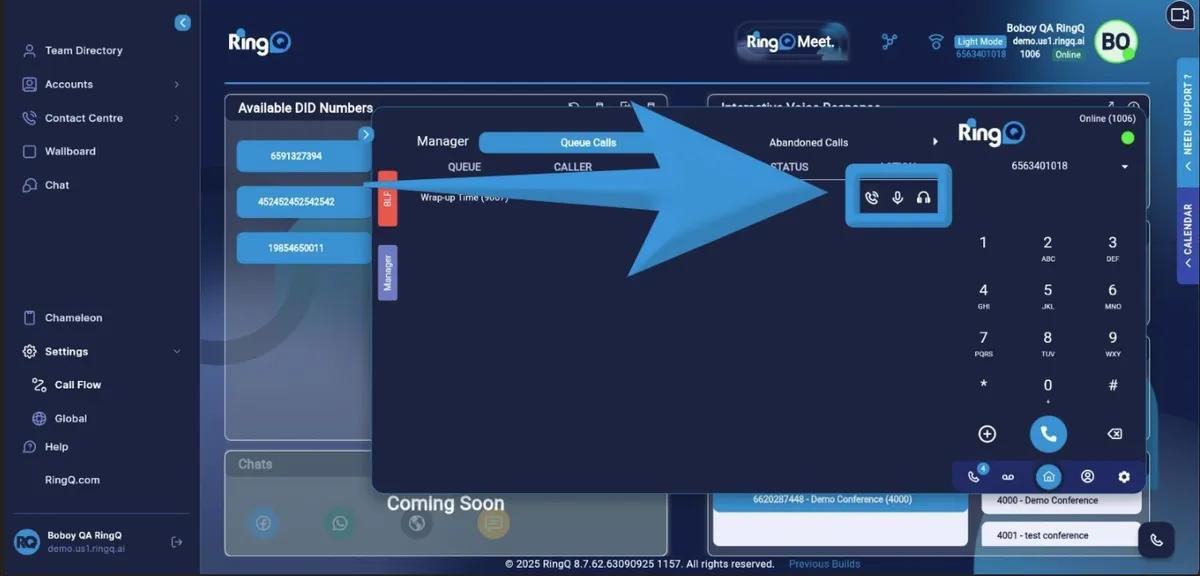
RingQ Call Monitoring (Suprevisors & Managers)
1. Dial the first participant.
2. Click the Conference button to add more participants.
Customize the dialer through the Chameleon feature available in the Web App. Refer to the Chameleon User Guide for more details.
