This guide explains how to create a full Instance Backup using the Time Machine feature in RingQ. An instance backup captures the complete system state required for restoration.
Log in to RingQ using your Admin credentials.
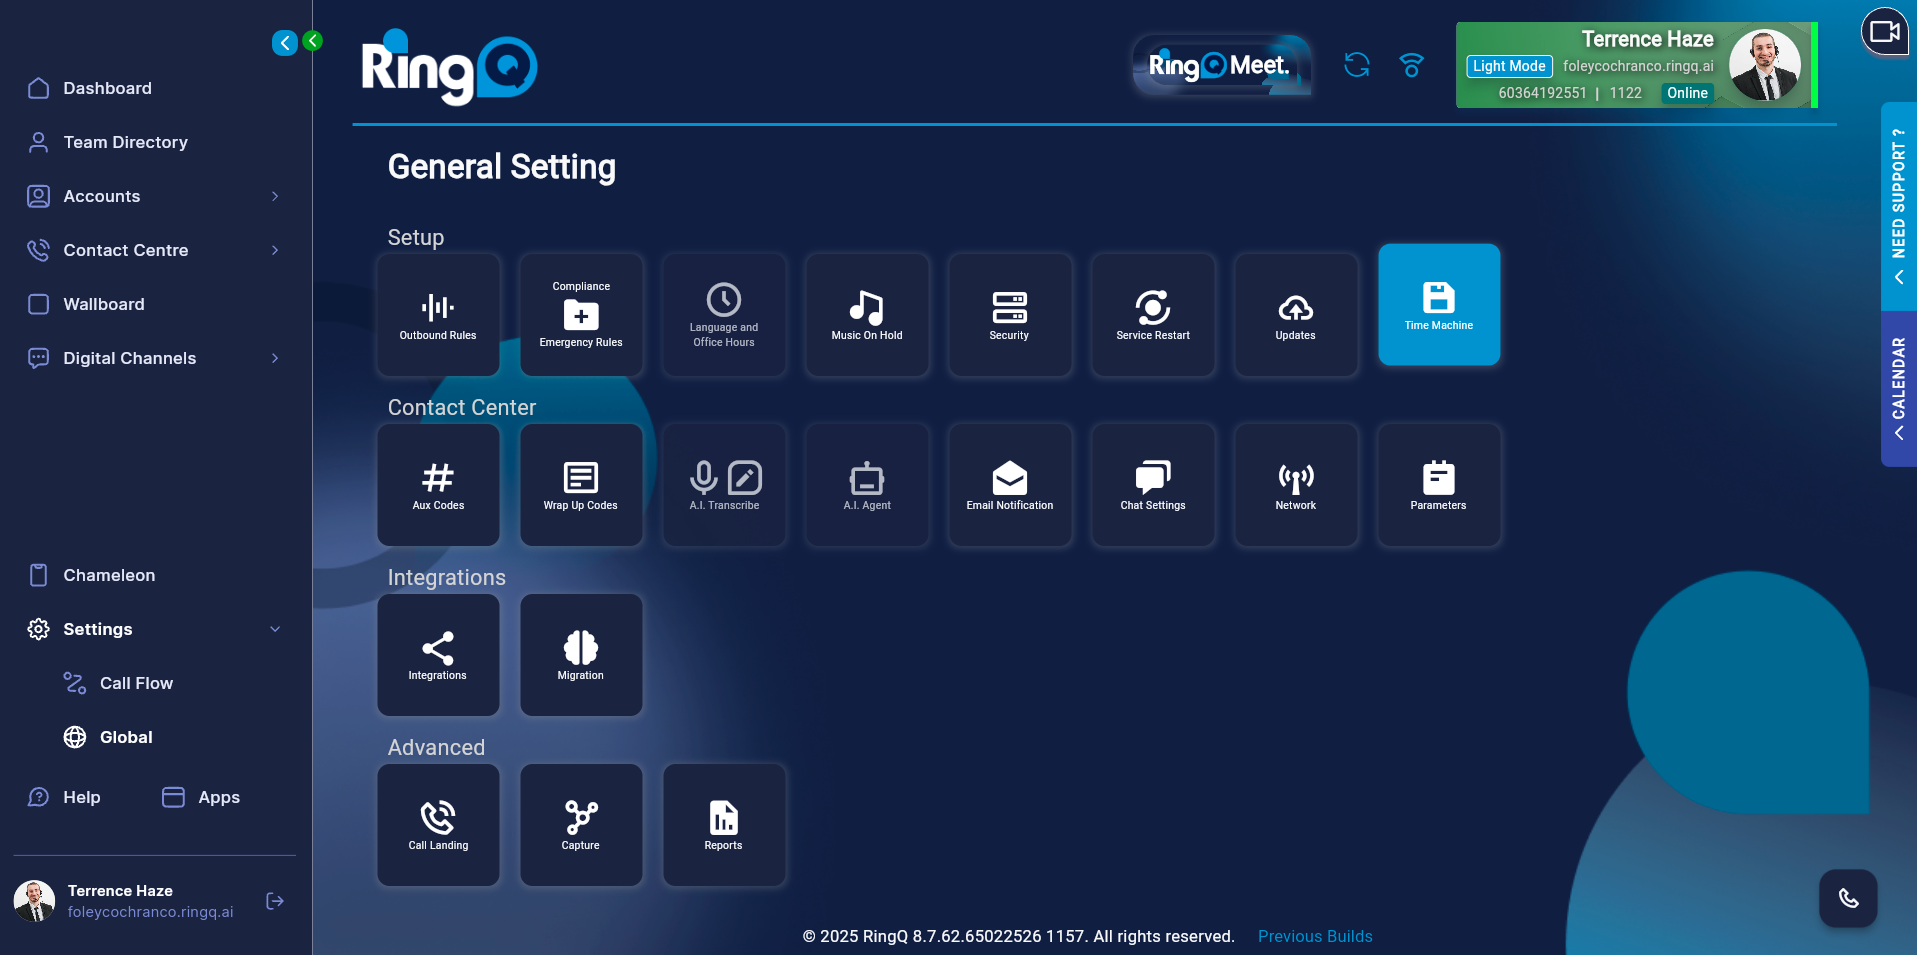
Go to Settings → Global → Time Machine.
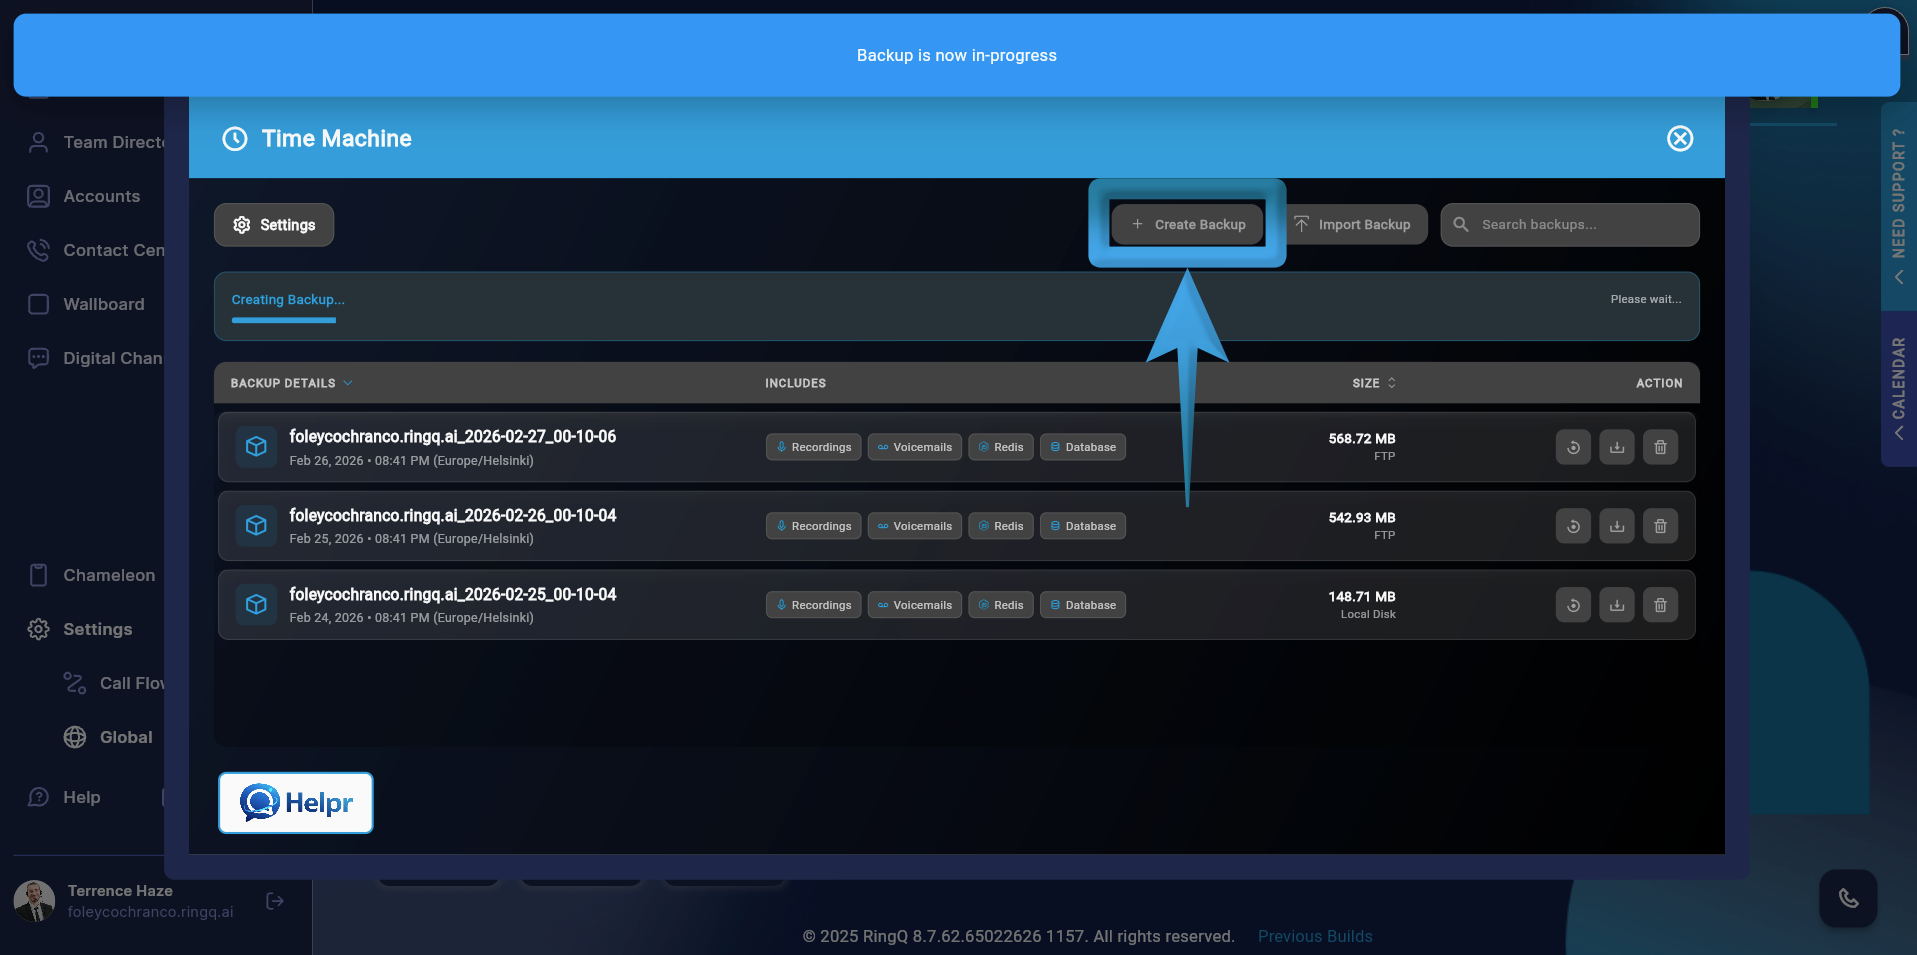
Click the Create Backup button. You will be prompted to enter a backup name (recommended format: instance-backup-YYYYMMDD) and add a short description (optional).
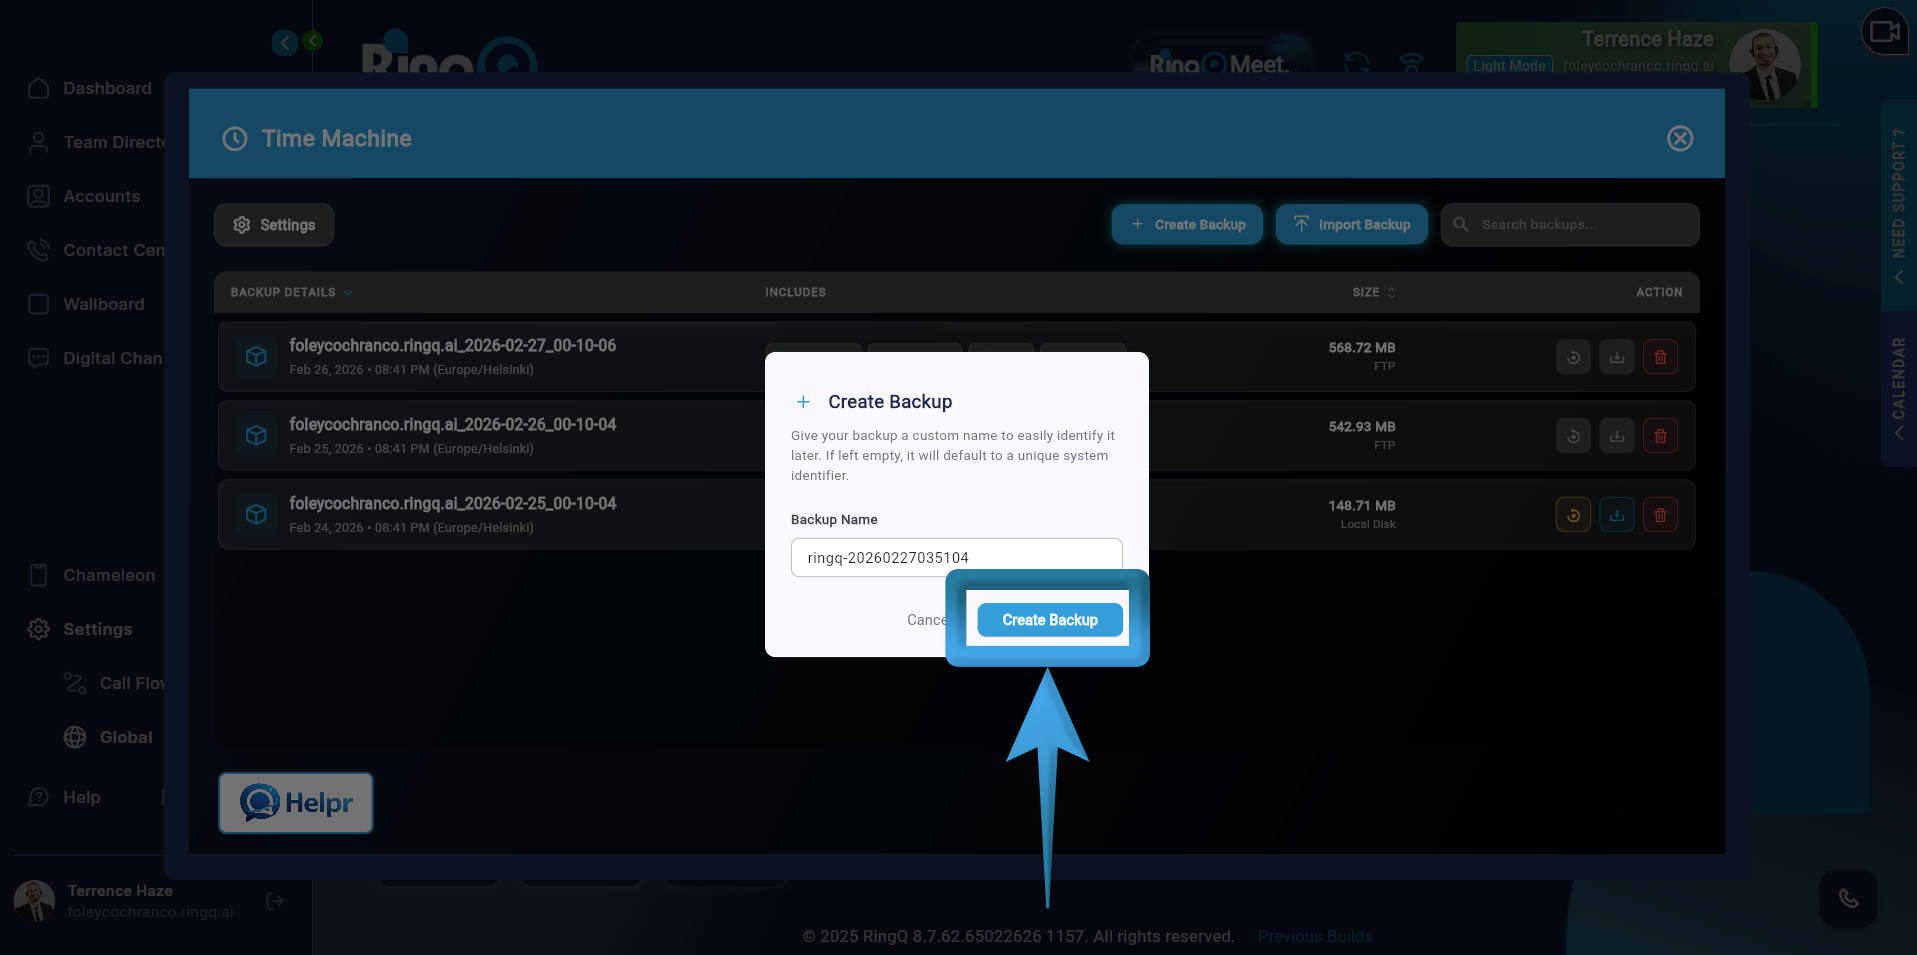
Click Create Backup. The system will:
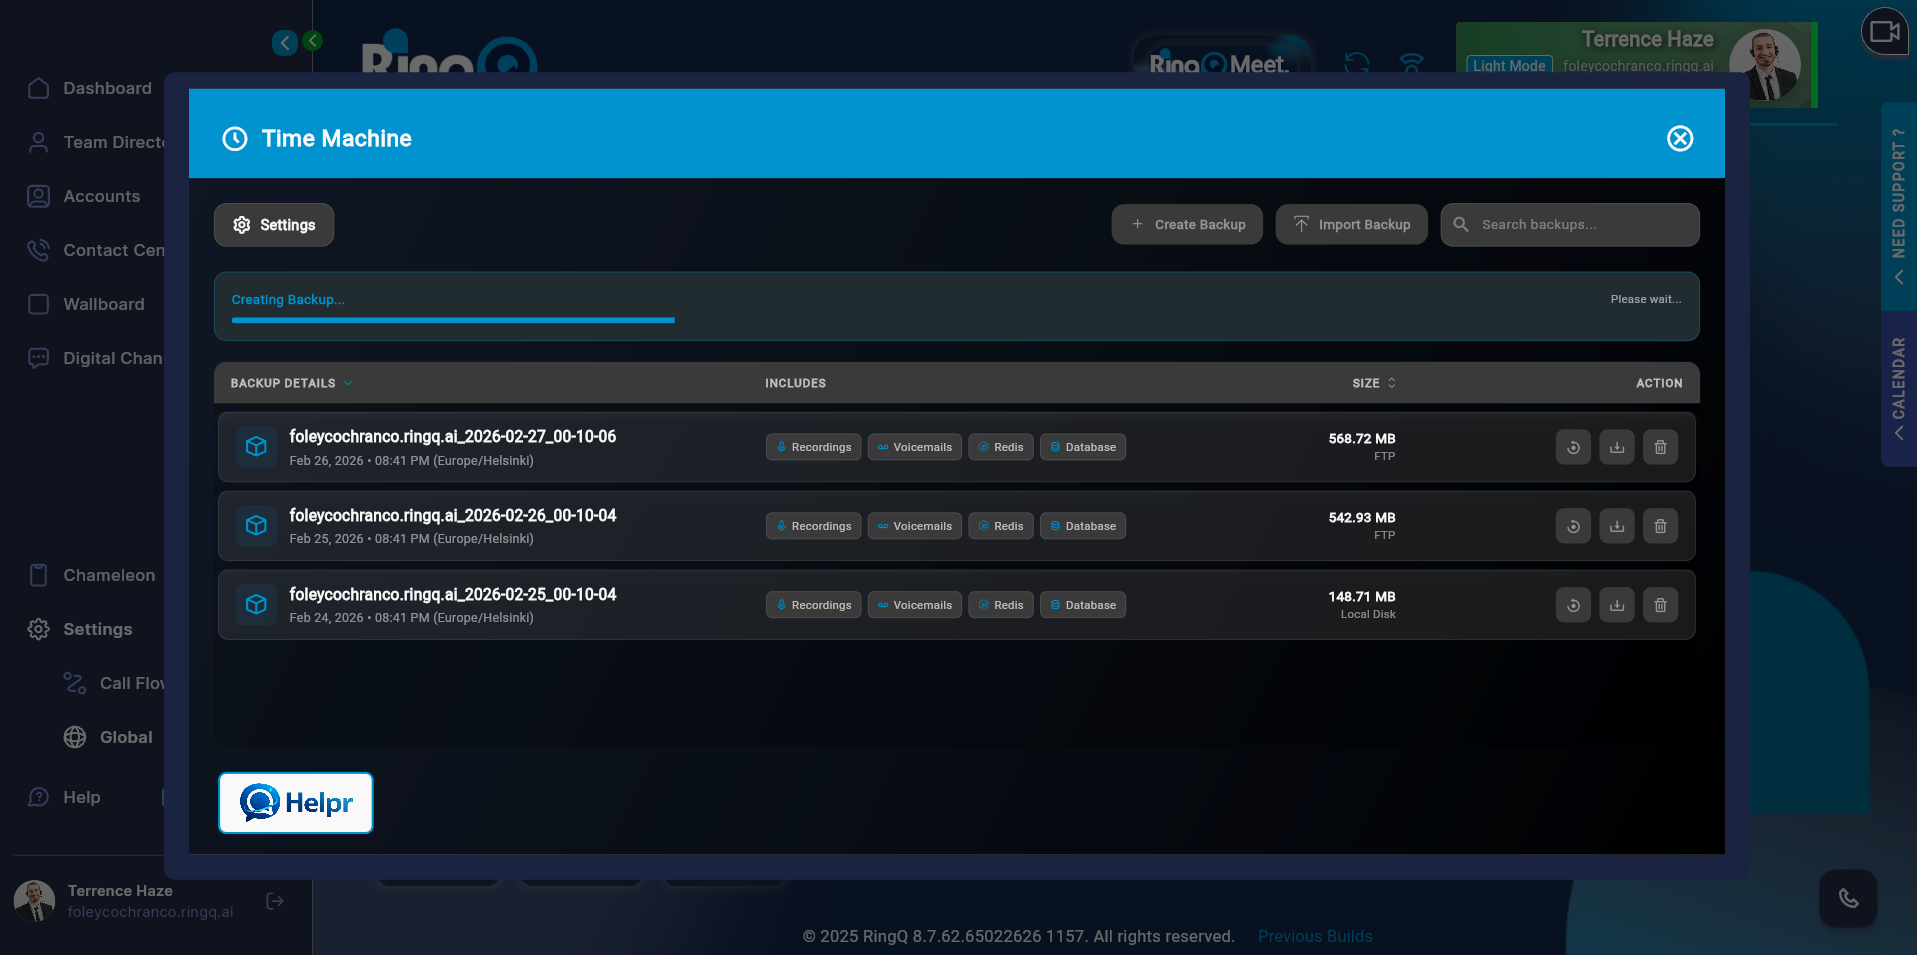
Monitor your backup status and wait for it to change to “Completed”. Do not refresh or close the browser while the backup is running (unless auto-refresh logic is implemented in your current RingQ version).
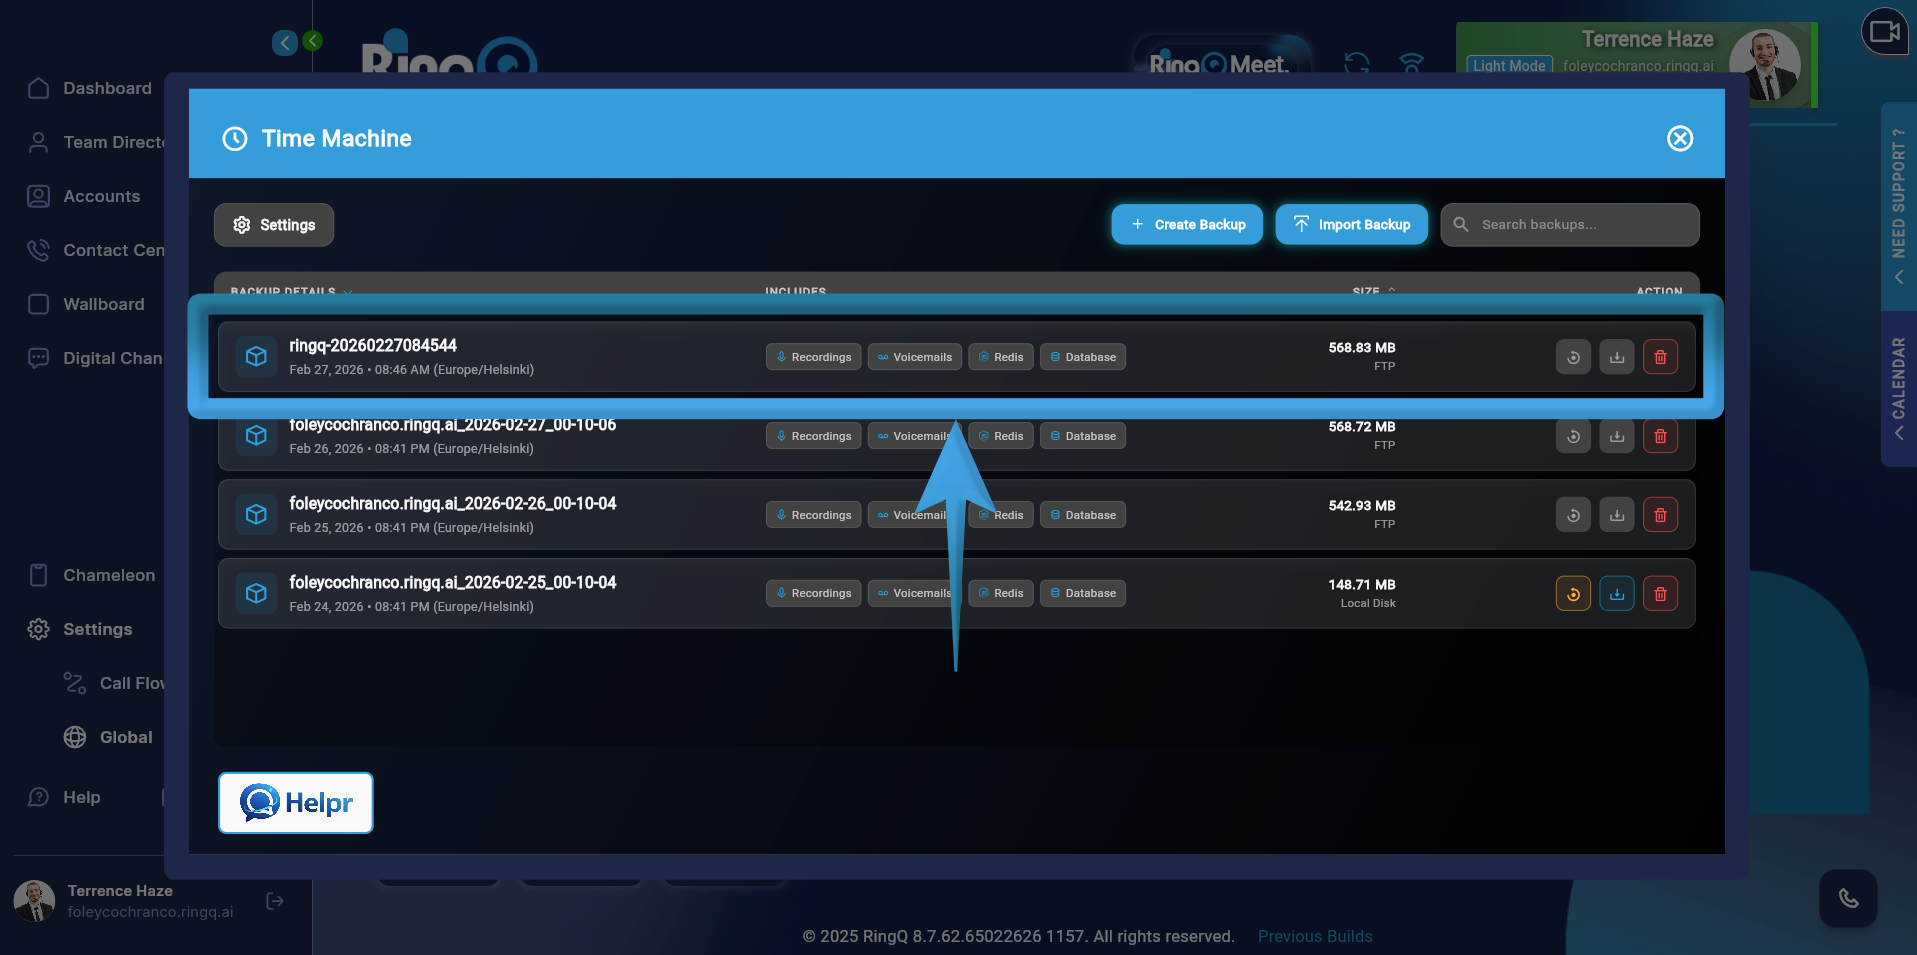
Once the process is complete, the newly created backup appears in the backup list on the Time Machine page.
The backup content depends on what components are enabled in the Time Machine settings. Available Components:
Storage Destination – Determines where files are saved. The generated backup will be stored in the selected storage option:
Important Note: The system will only back up the components that are enabled in the Time Machine configuration, and the files will be saved in the chosen storage destination.
A full instance backup typically includes:
