RingQ Customer Centric Communications

How to configure FTP Backup


Introduction

This guide takes you through the steps to configure FTP as your backup destination for your RingQ Cloud PBX. We recommend using SFTP instead of FTP as it uses SSH to encrypt data. Read “ How to Configure SFTP Backup”.

Prepare Your FTP Server

Before configuring RingQ, ensure the FTP server is ready:
  • FTP Service Installed & Running (e.g., FileZilla Server or vsftpd)
  • Static Public IP or Domain Name
  • FTP Port Open (Default: 21)
  • Dedicated FTP User Created
  • Writable Backup Directory Assigned
  • Required Information:
  • FTP Host / IP Address
  • Username
  • Password
  • Storage Path (e.g., /ringq-backups/)

Access RingQ Time Machine Settings

RingQ instance backup with the Time Machine

RingQ instance backup with the Time Machine

1

Log in to your RingQ Admin Dashboard

2

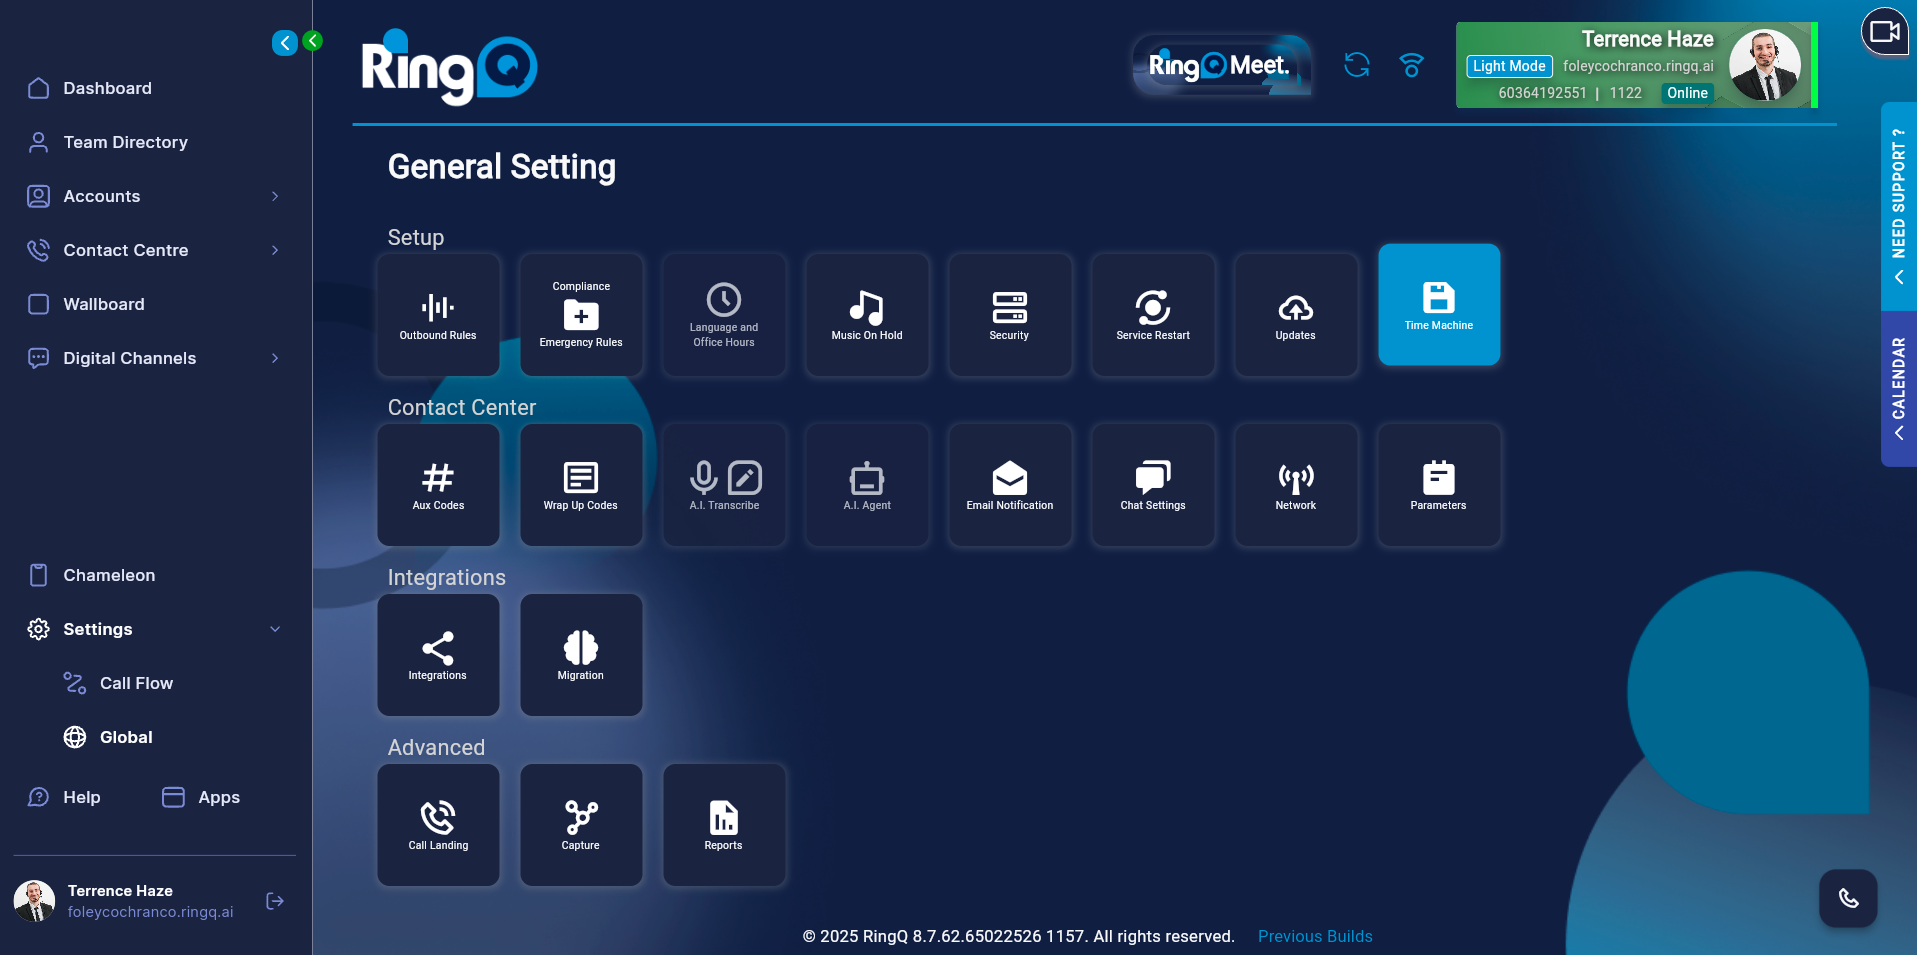
Navigate to: Settings → Global → Time Machine

3

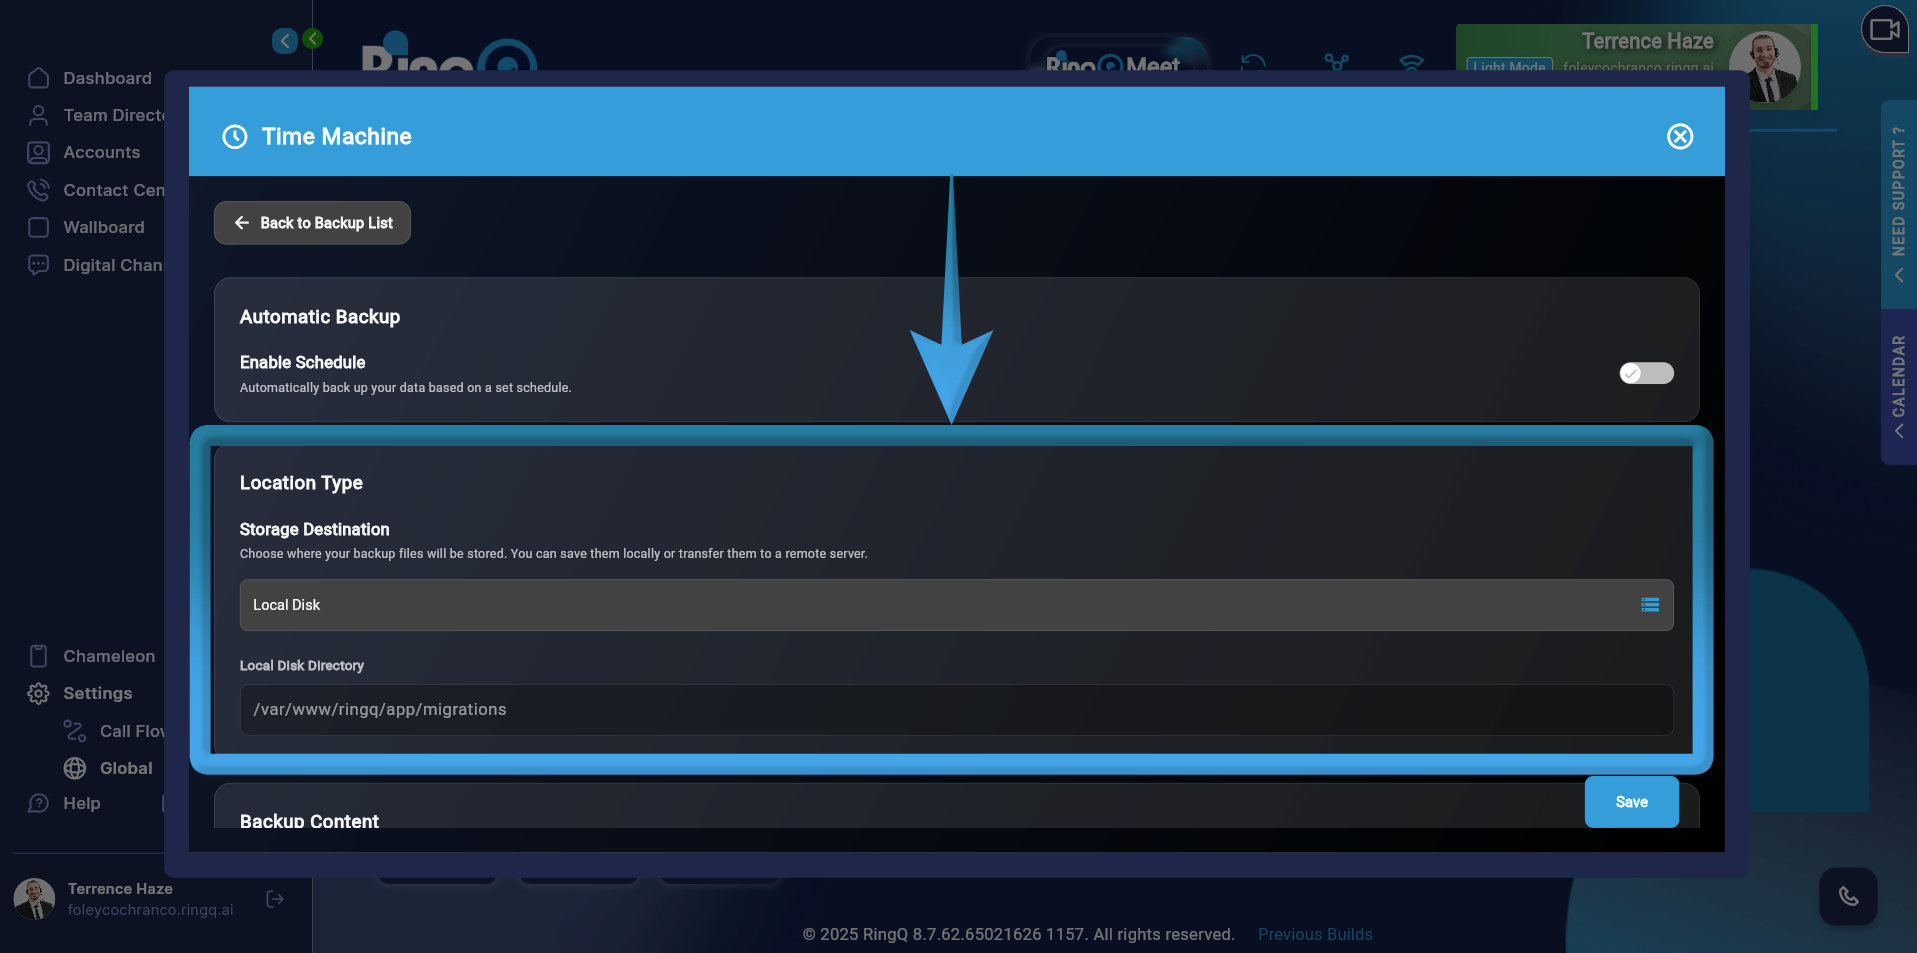
Go to SettingsRingQ backup location type

RingQ backup location type

4

Scroll down to Location Type

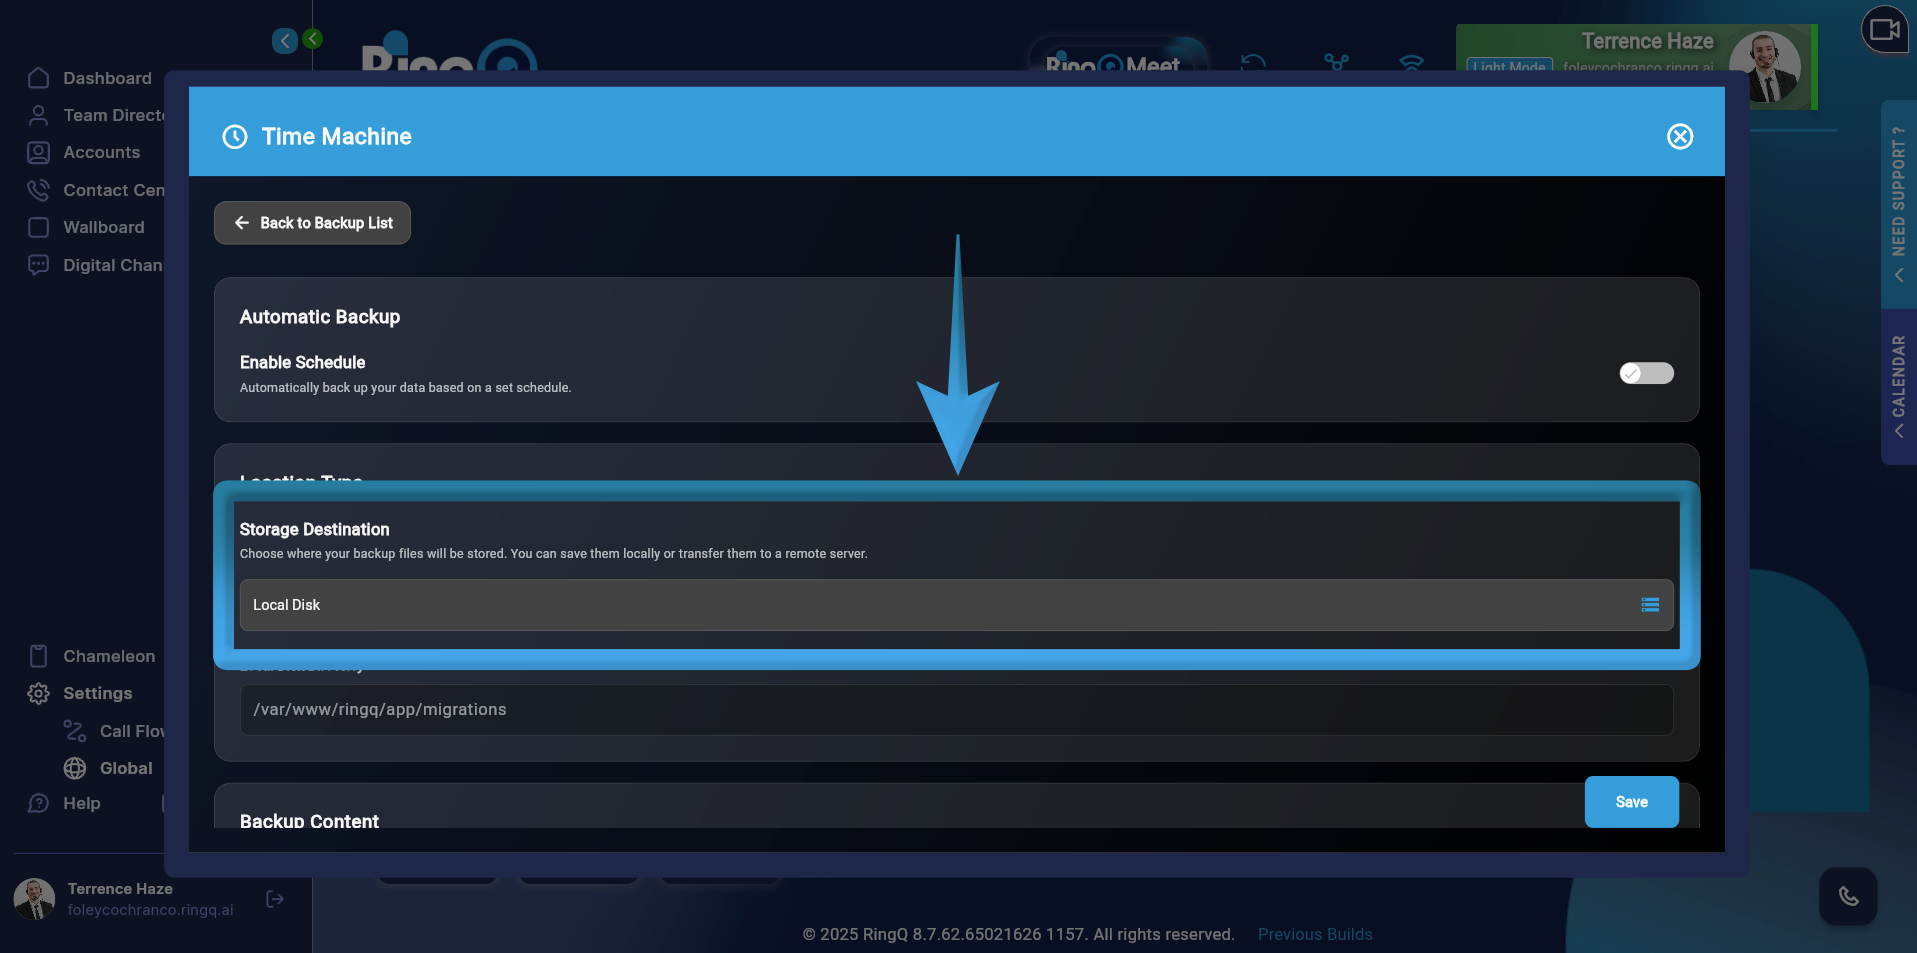
RingQ backup Storage Destination

RingQ backup Storage Destination

5. Click the Storage Destination

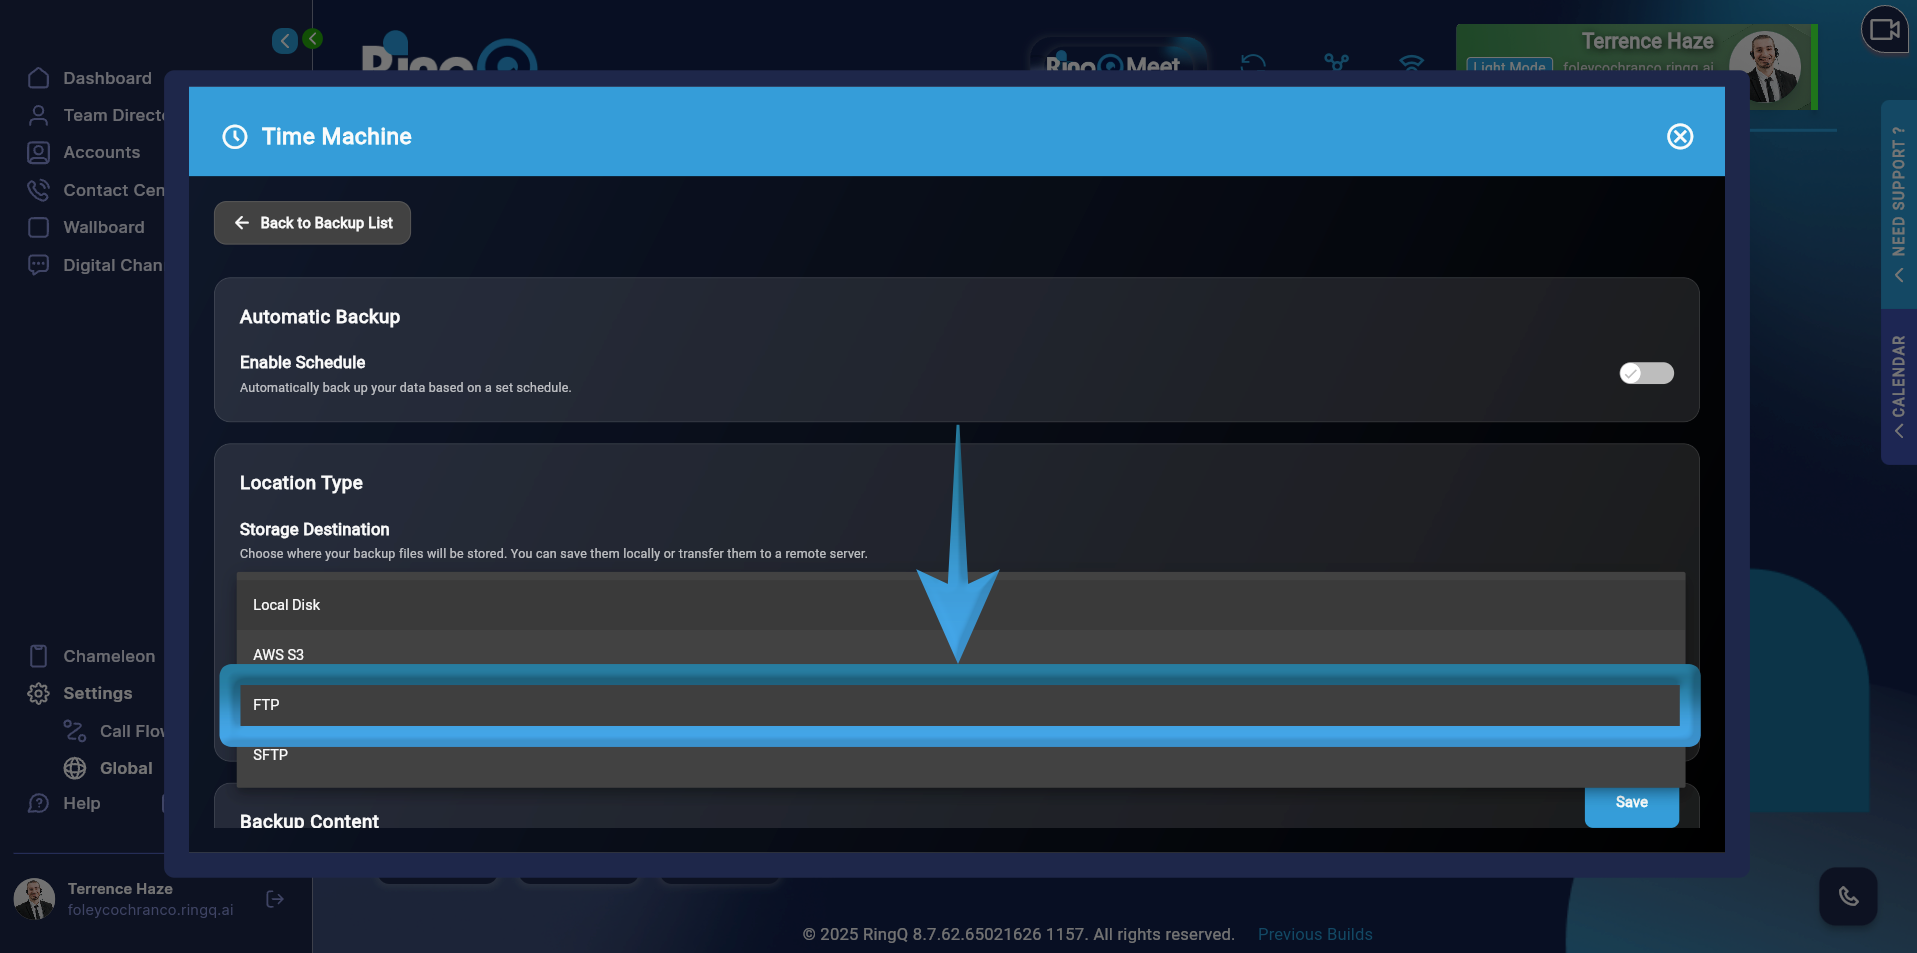
Select FTP

Select FTP

6. Select FTP

Configure FTP as Backup Destination

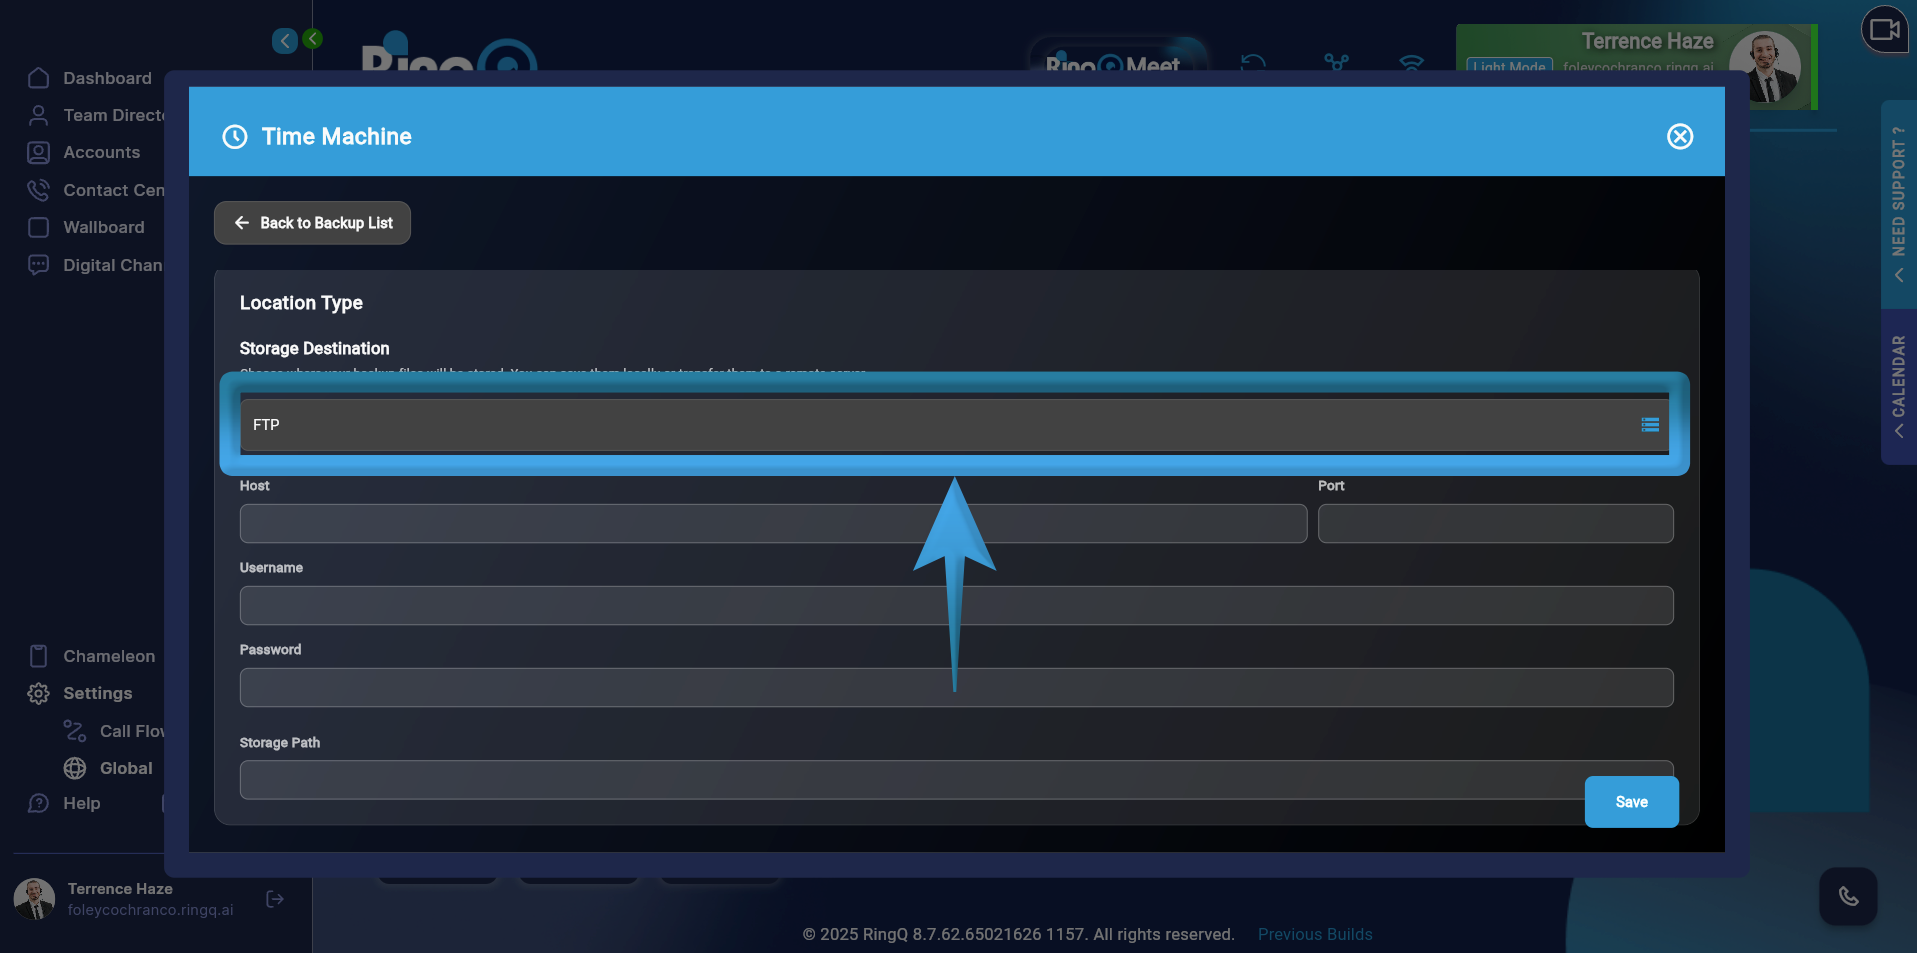
FTP Field

FTP Field

Fill in the following fields:

  • Storage Type – Select FTP
  • Host – Enter the FTP server address (e.g., ftp.yourdomain.com or IP address)
  • Port – Enter the FTP port number (default: 21, unless otherwise specified)
  • Username – Enter the FTP account username
  • Password – Enter the FTP account password
  • Storage path – Specify the destination folder path on the FTP server (e.g., /backups/ringq/)

Ensure all credentials and the storage path are correct and click the Save button to apply and store the configuration.