RingQ Customer Centric Communications

Managing User Roles


Introduction

Assigning the right roles to users is essential for maintaining security and control within your RingQ system. This guide walks you through how to manage user roles—explaining the different permission levels, how to assign or change roles, and best practices for effective access management.
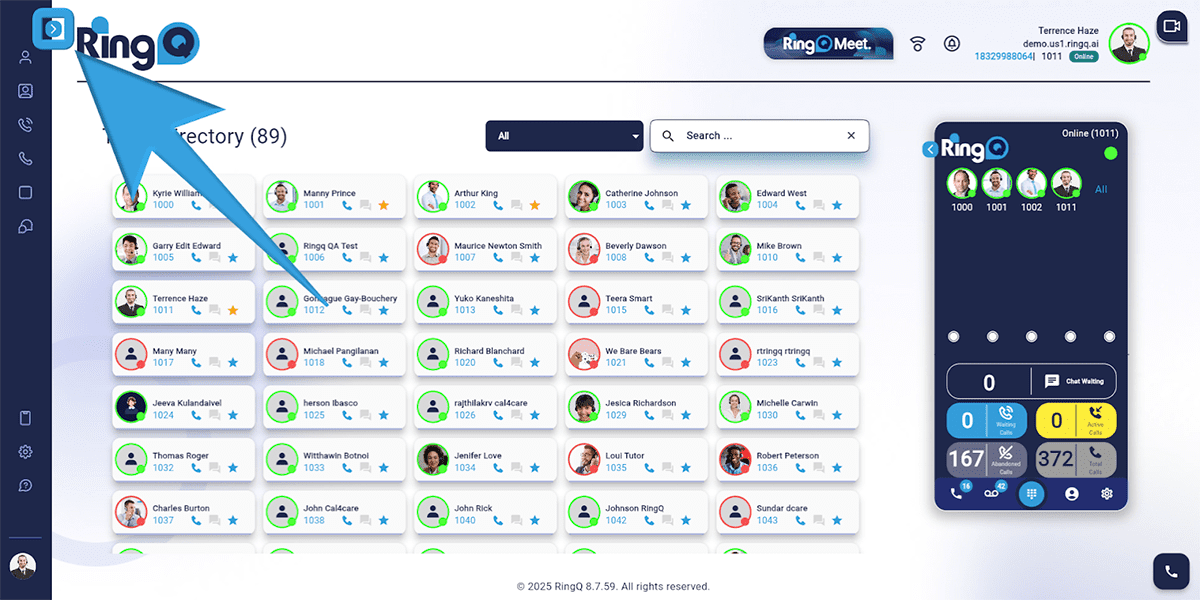
Getting Started

1

Click the Show Side Menu button to open the side menu.

2

Navigate to the Accounts menu.

3

Click the dropdown button to expand the Accounts options.

4

Select User Roles.

User Roles Explained

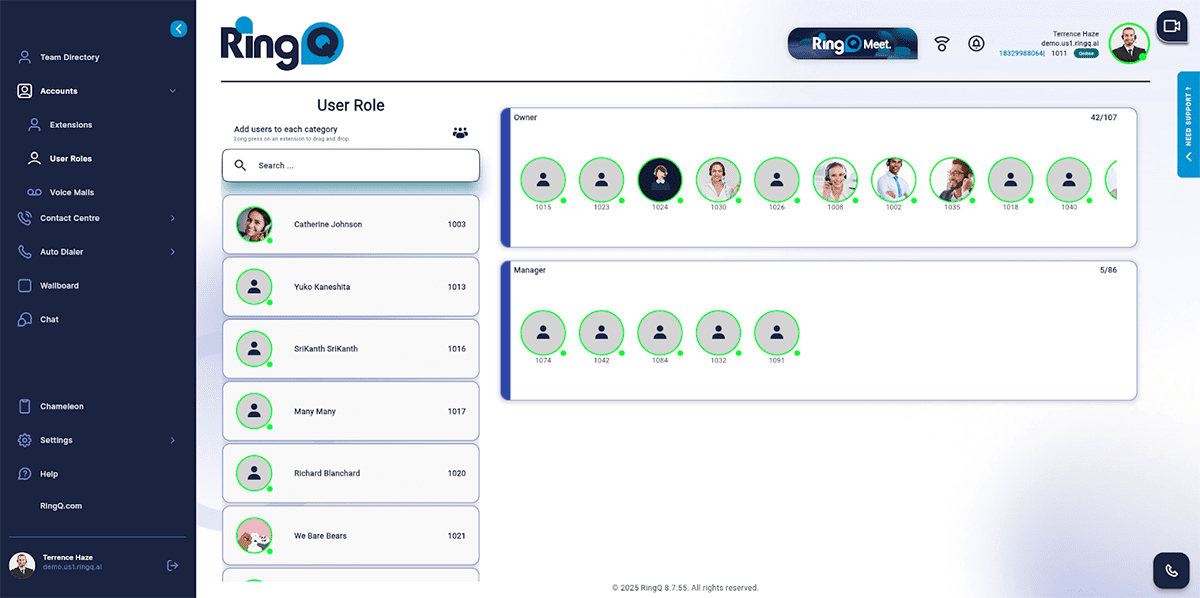
Owner

Responsibilities

  • Overall management.
  • Establish policies.
  • Control and supervision.

Permissions

  • Total control across all settings and functions of the system.
  • The ability to add, remove, and alter user roles.
  • Access to detailed reporting and analytics.

Assigning an Owner

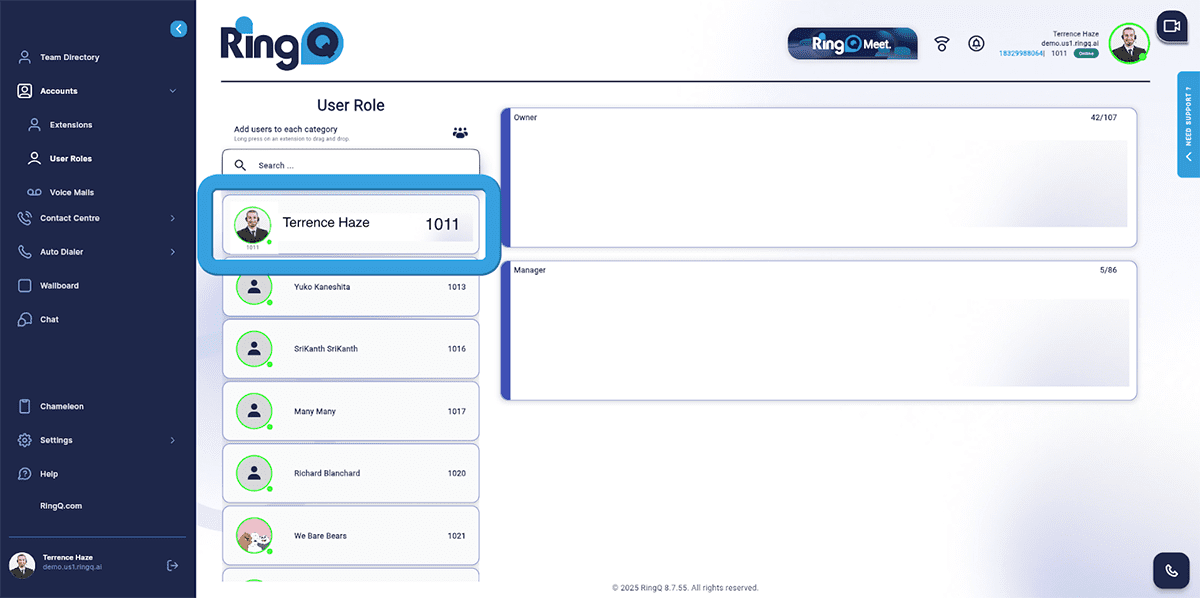
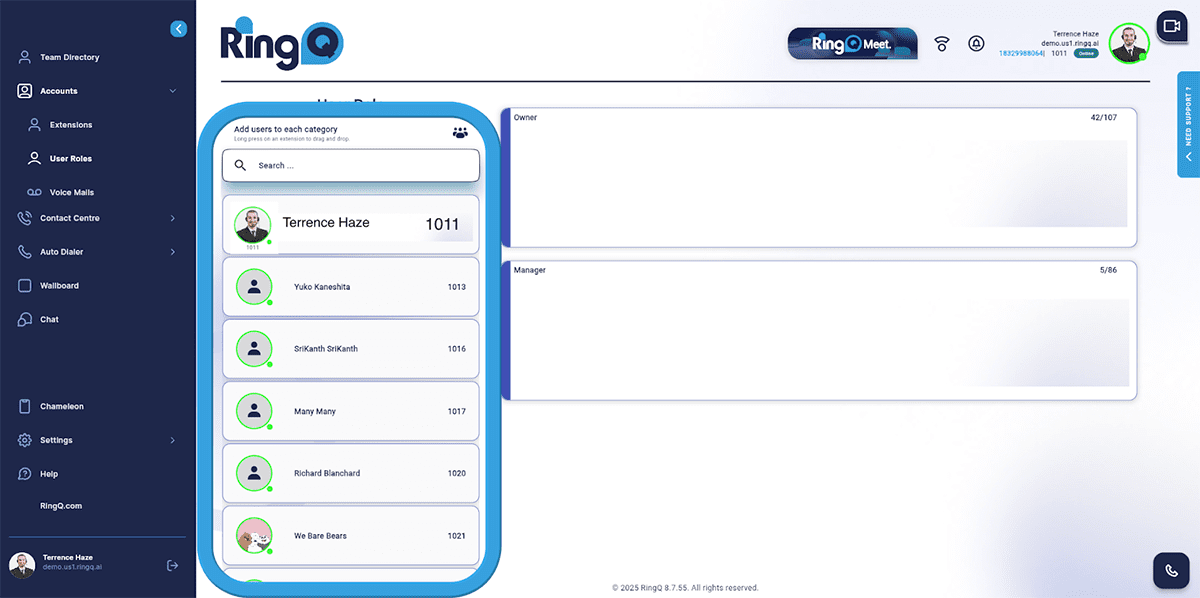
1

Select an extension to assign.

2

Long-press the selected extension.

3

Drag and drop it into the Owner container.

Manager

Responsibilities

  • Managing day-to-day activities.
  • Managing team output and ensuring targets are met.
  • Reporting performance metrics to the owner.

Permissions

  • Access to the system functionalities required for managing a team.
  • Ability to generate and view reports on performance.
  • The ability to appoint, train, and discipline staff.

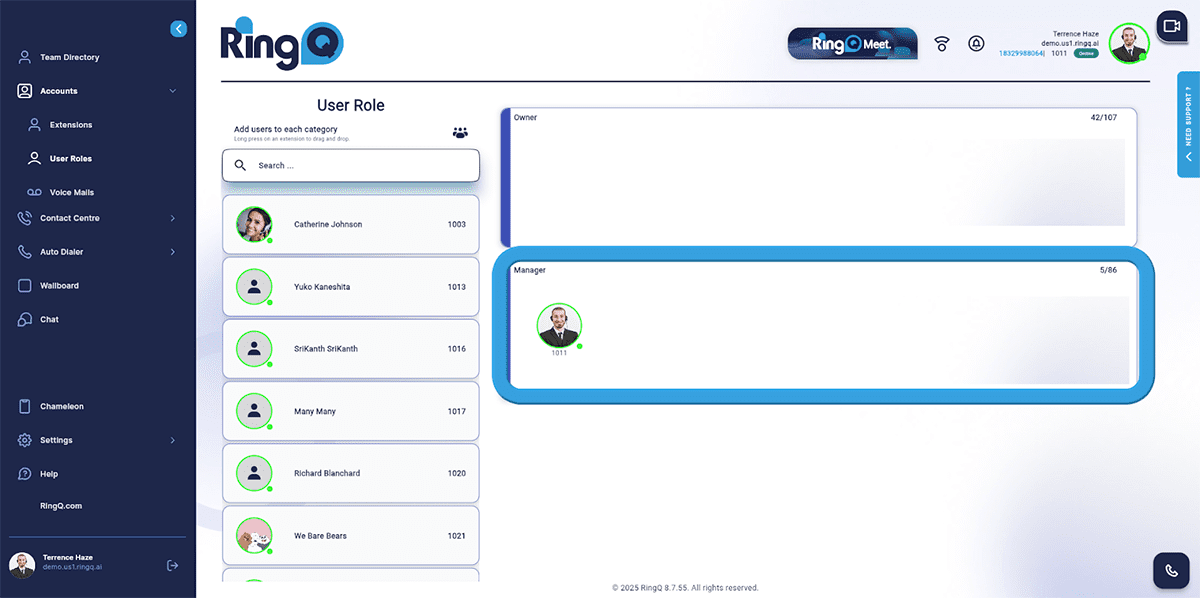
Assigning a Manager

1

Select an extension to assign.

2

Long-press the selected extension.

3

Drag and drop it into the Manager container.

Agent

Responsibilities

  • Dealing with client interactions through different channels (phone, email, chat).
  • Meeting individual performance targets.

Permissions

  • Access to CRM and knowledge base for resolving client inquiries.
  • Tools for handling calls, emails, and chat interactions. Limited access to individual performance reports.

By default, all new users are assigned the role of Agent.