This guide explains how to set up and manage SIP trunks using the Supported SIP Templates in the RingQ Web App. These templates enable you to connect to your SIP provider quickly and reliably using preconfigured settings, ensuring a fast, simple, and accurate setup process.
Sign in to your RingQ web app.
On the left-side menu, click Settings to expand the options.
From the dropdown list, select Call Flow.
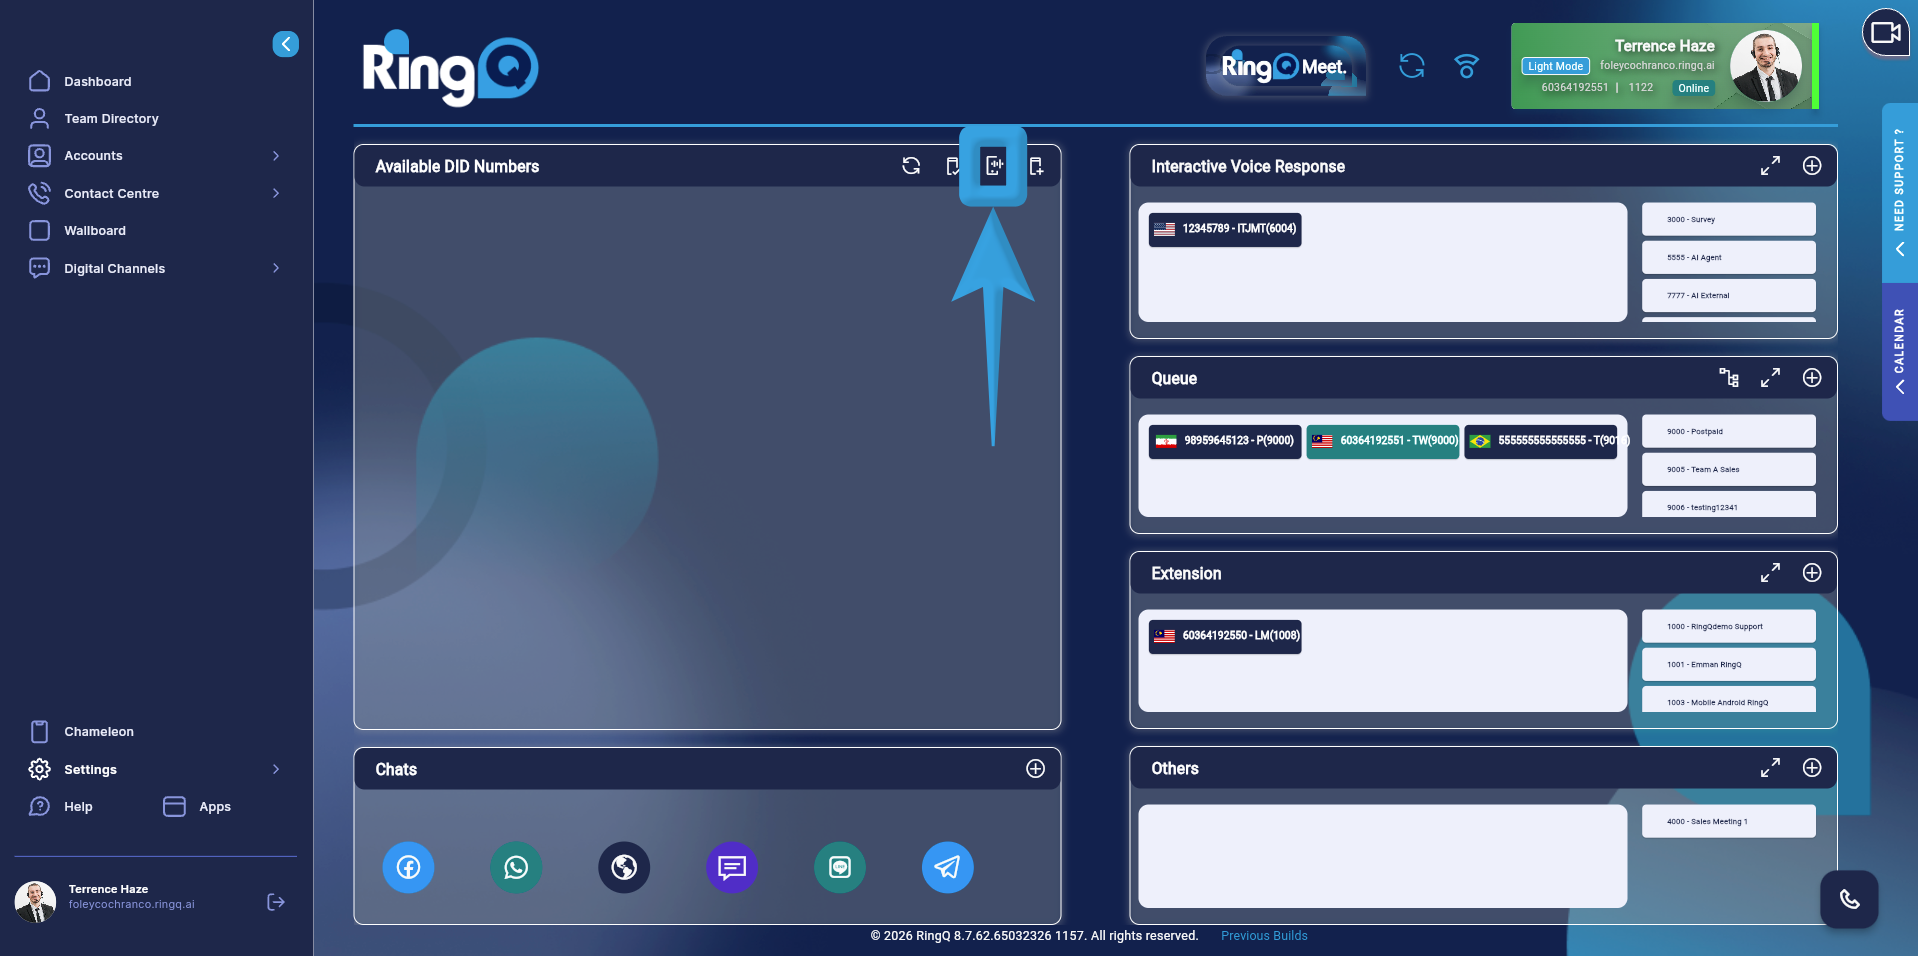
On the Call Flow page, locate and click the SIP button (as shown above) to open the SIP Management section.
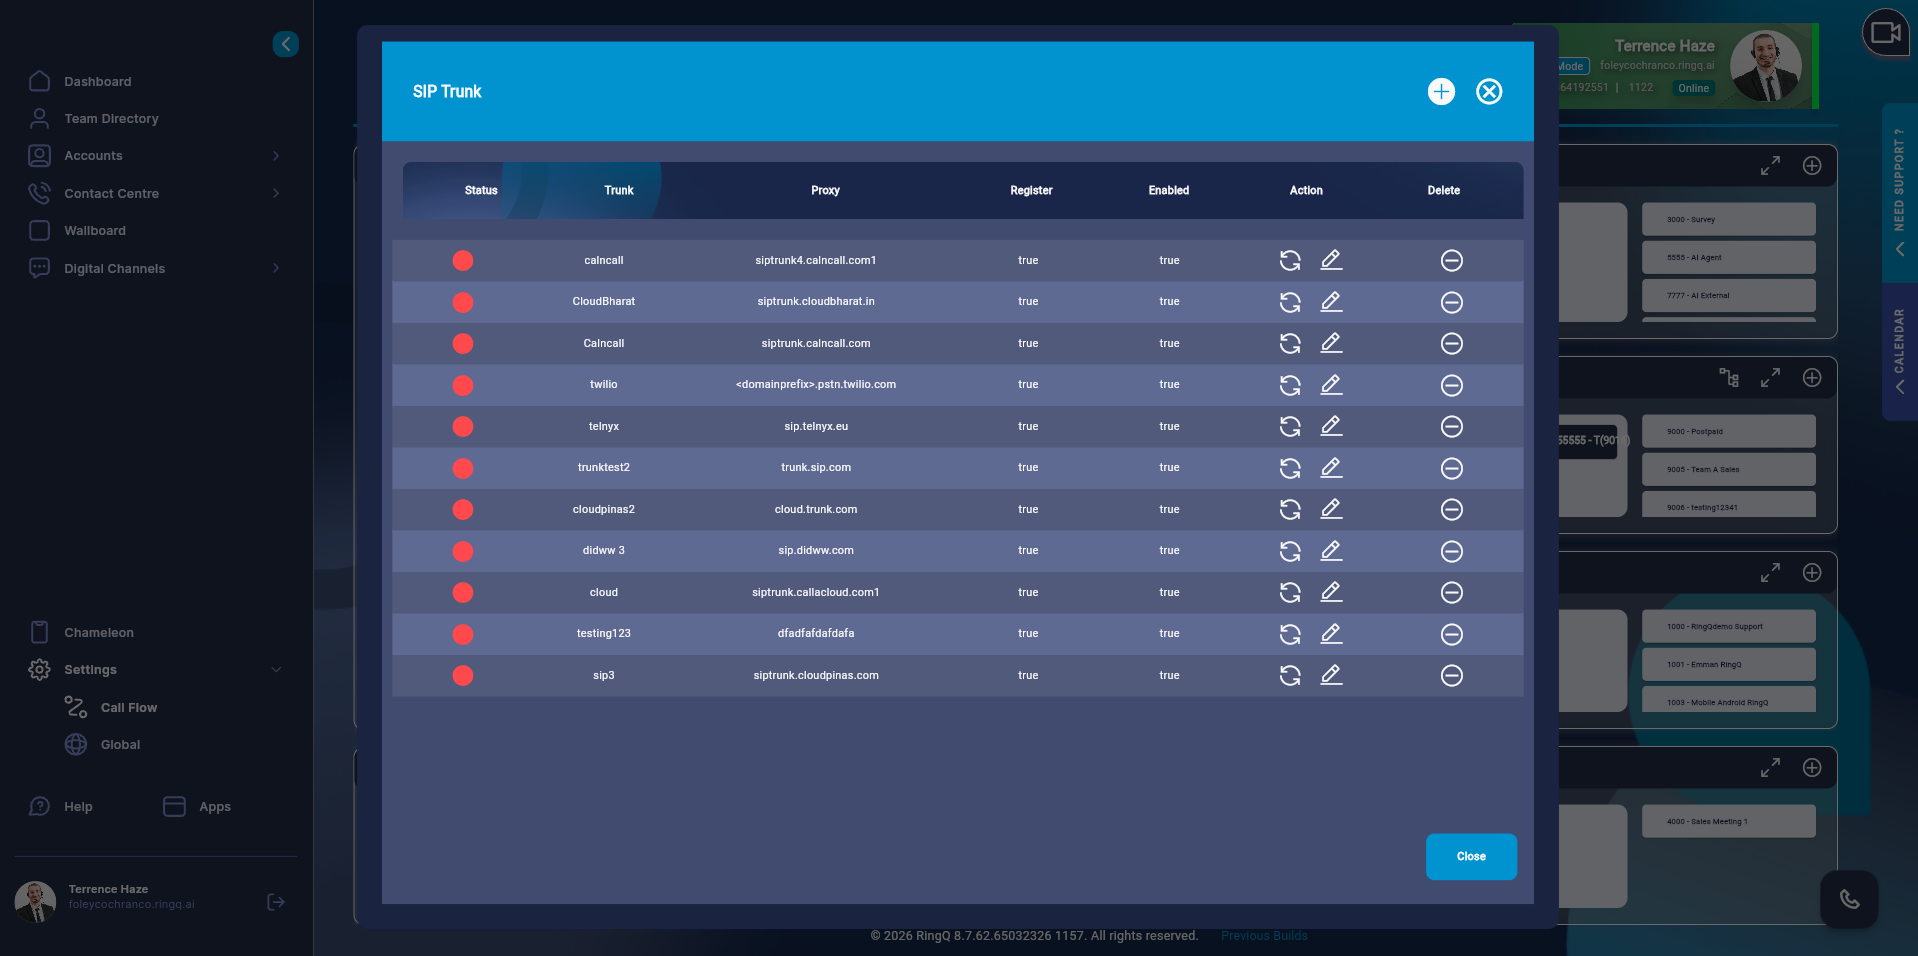
On the SIP page, you will see a list of existing SIP trunks. Here you can:
View SIP trunks
Edit a SIP trunk
Delete a SIP trunk
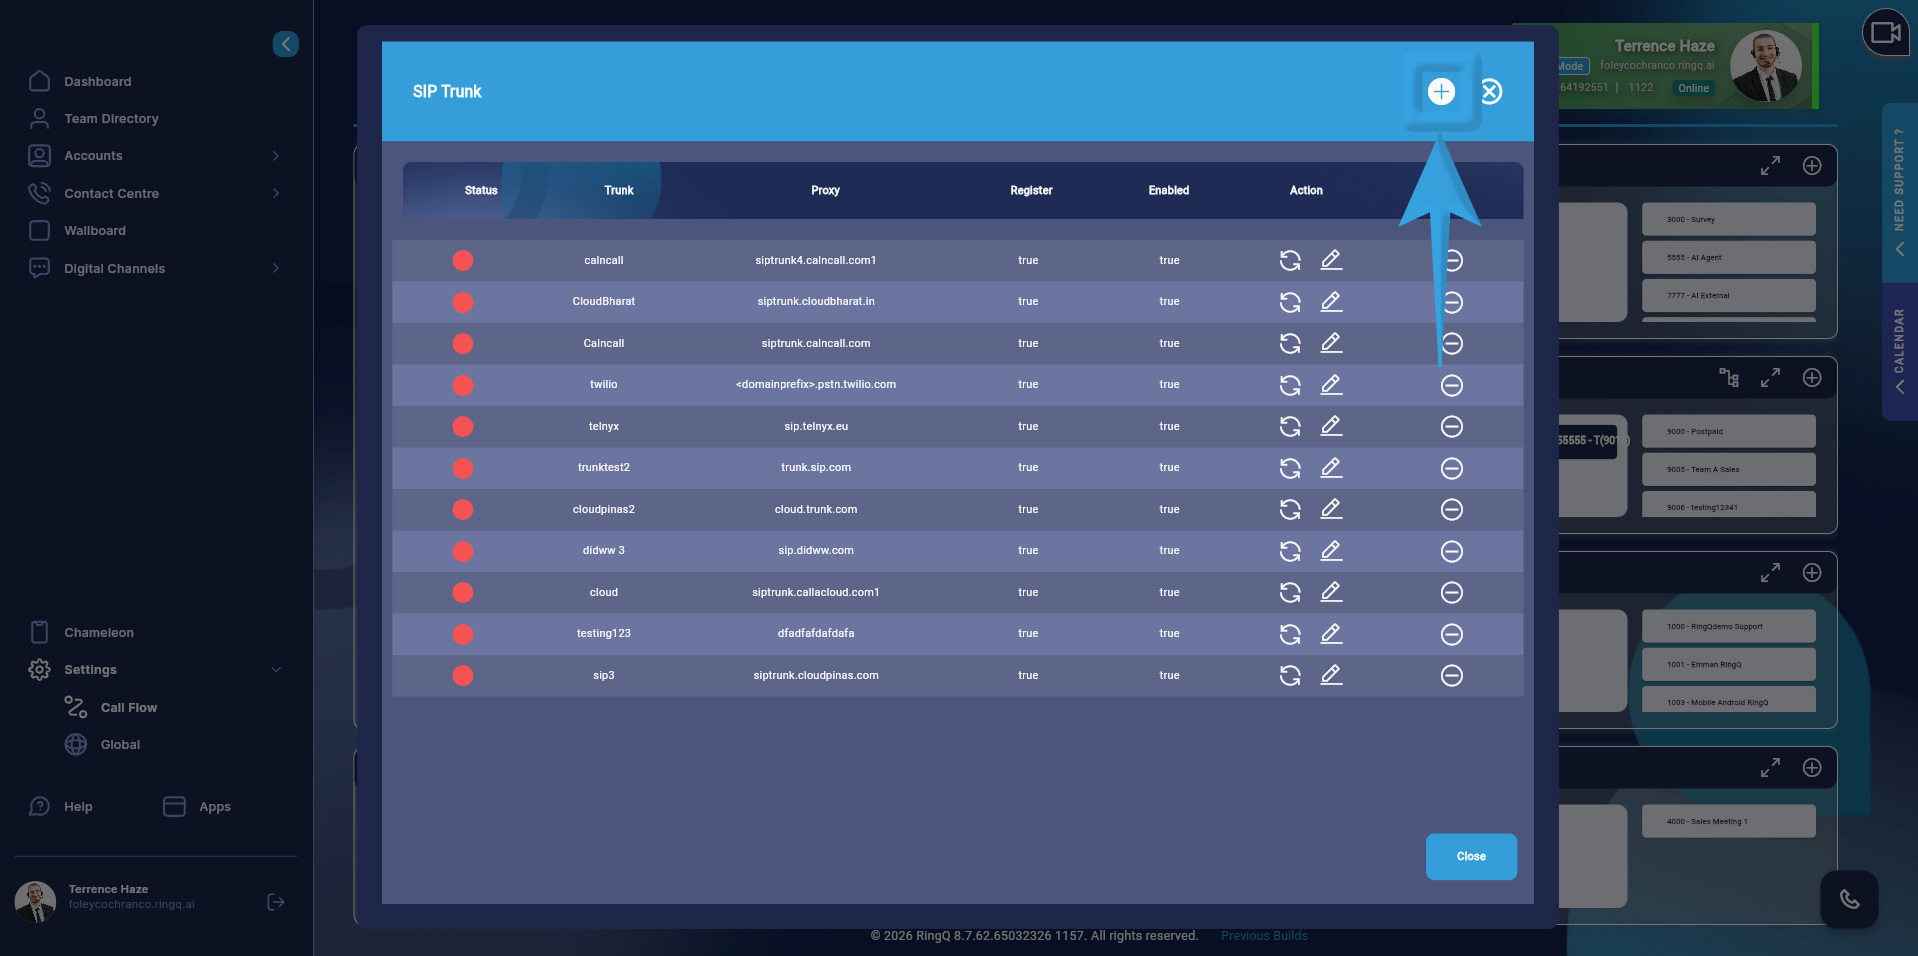
On the SIP page, click SIP Template.
You will be redirected to the Supported SIP Template page, where you can quickly create SIP trunks using preconfigured templates.
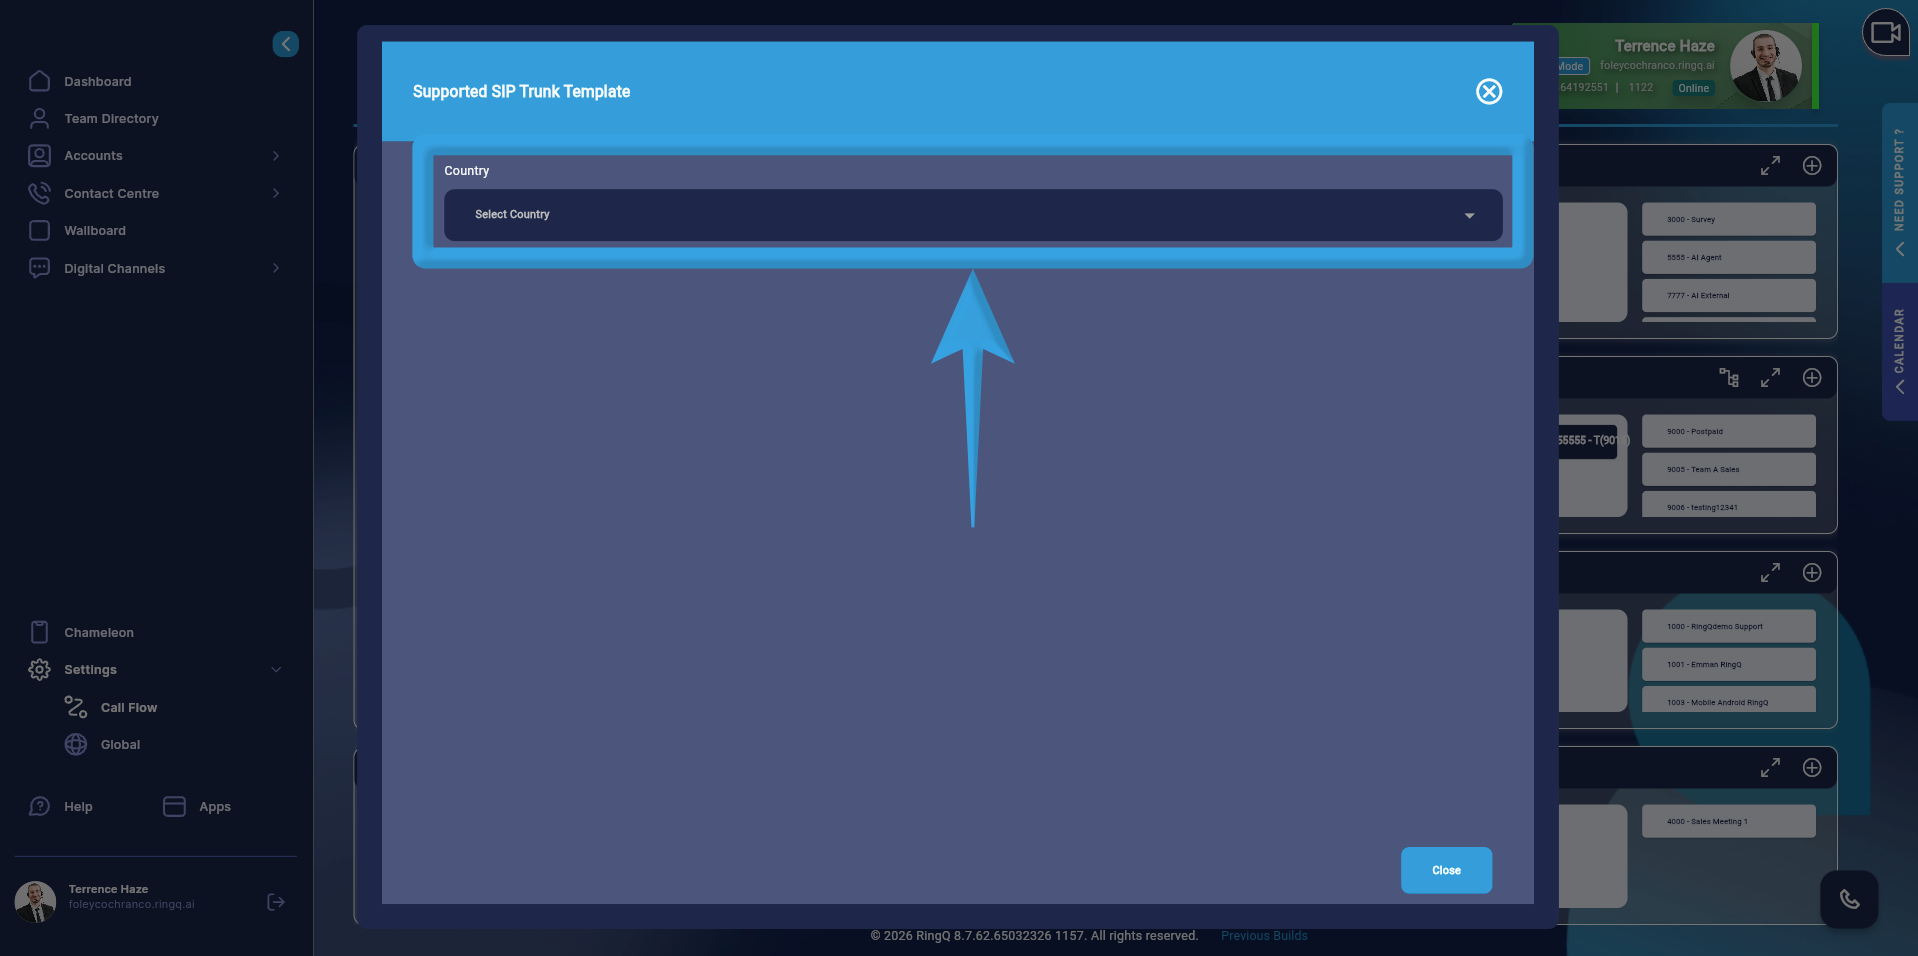
Locate the Country dropdown field.
Click the dropdown to display the list of supported countries.
Click your desired country.
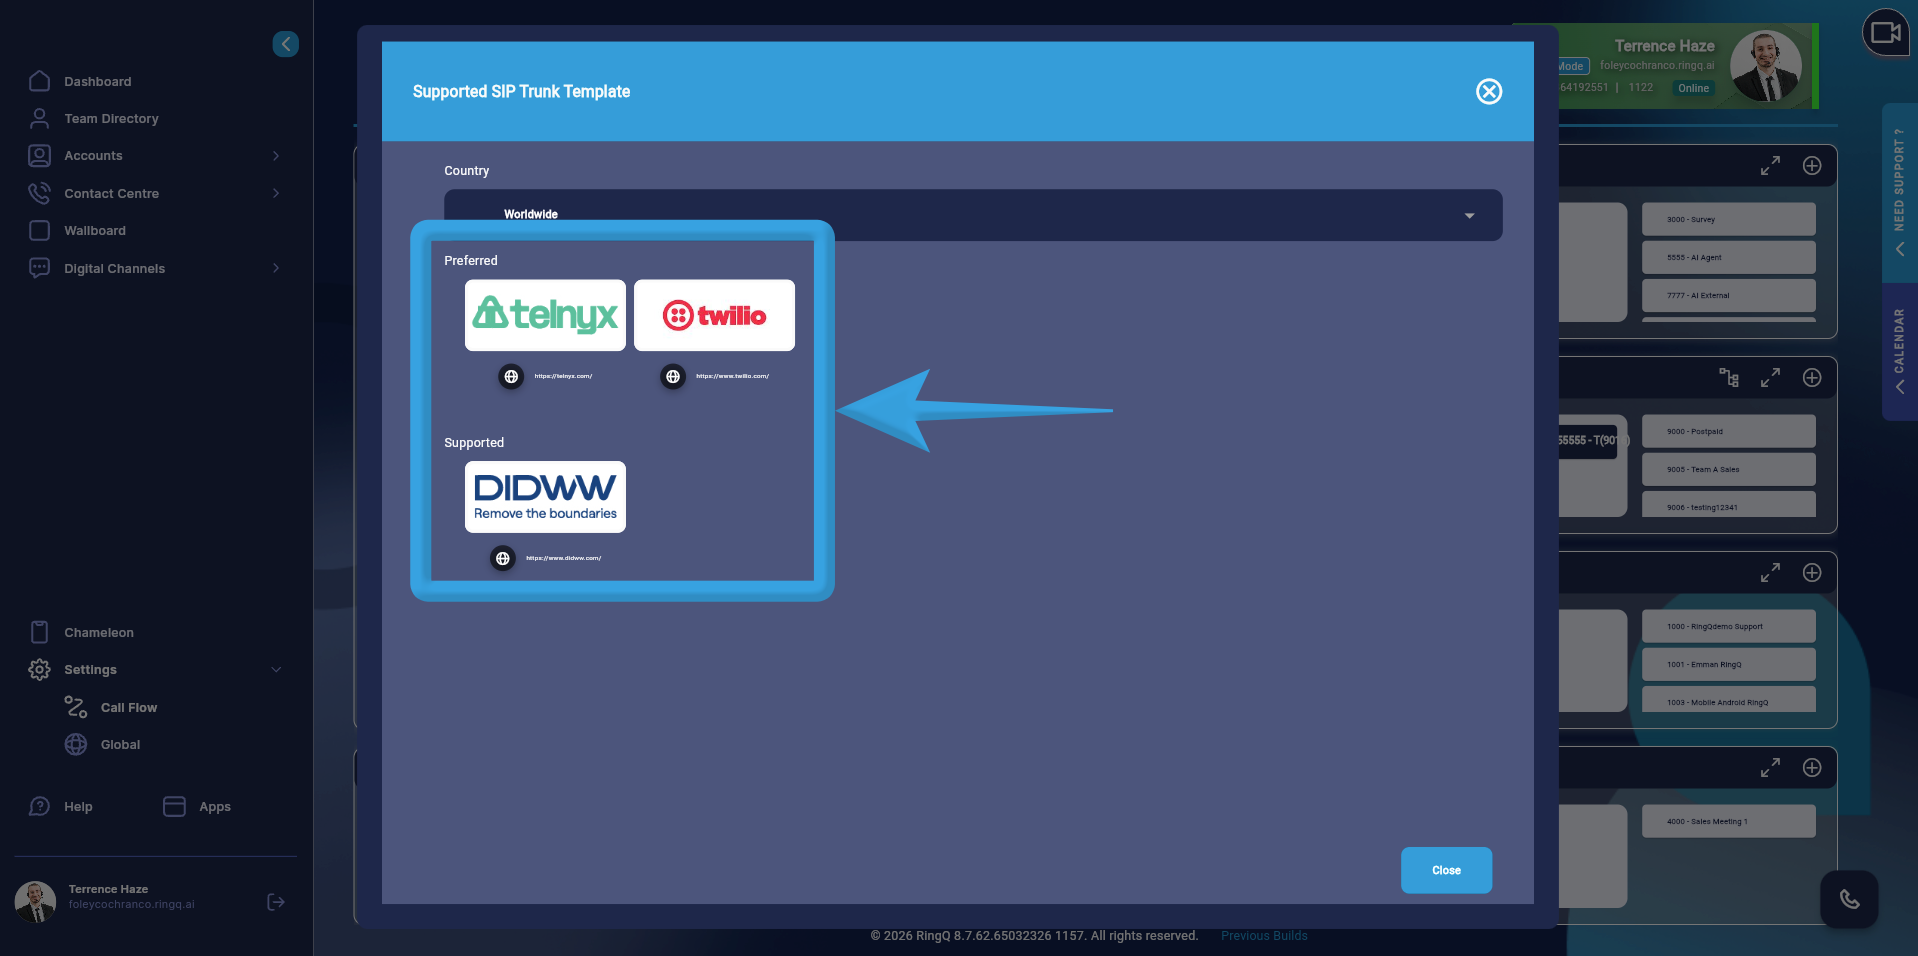
After selecting the country, the logos of supported providers/SIP templates for that country will be displayed.
Click the provider logo to show all available SIP templates for that provider.
From the list, select the specific template you want to use.
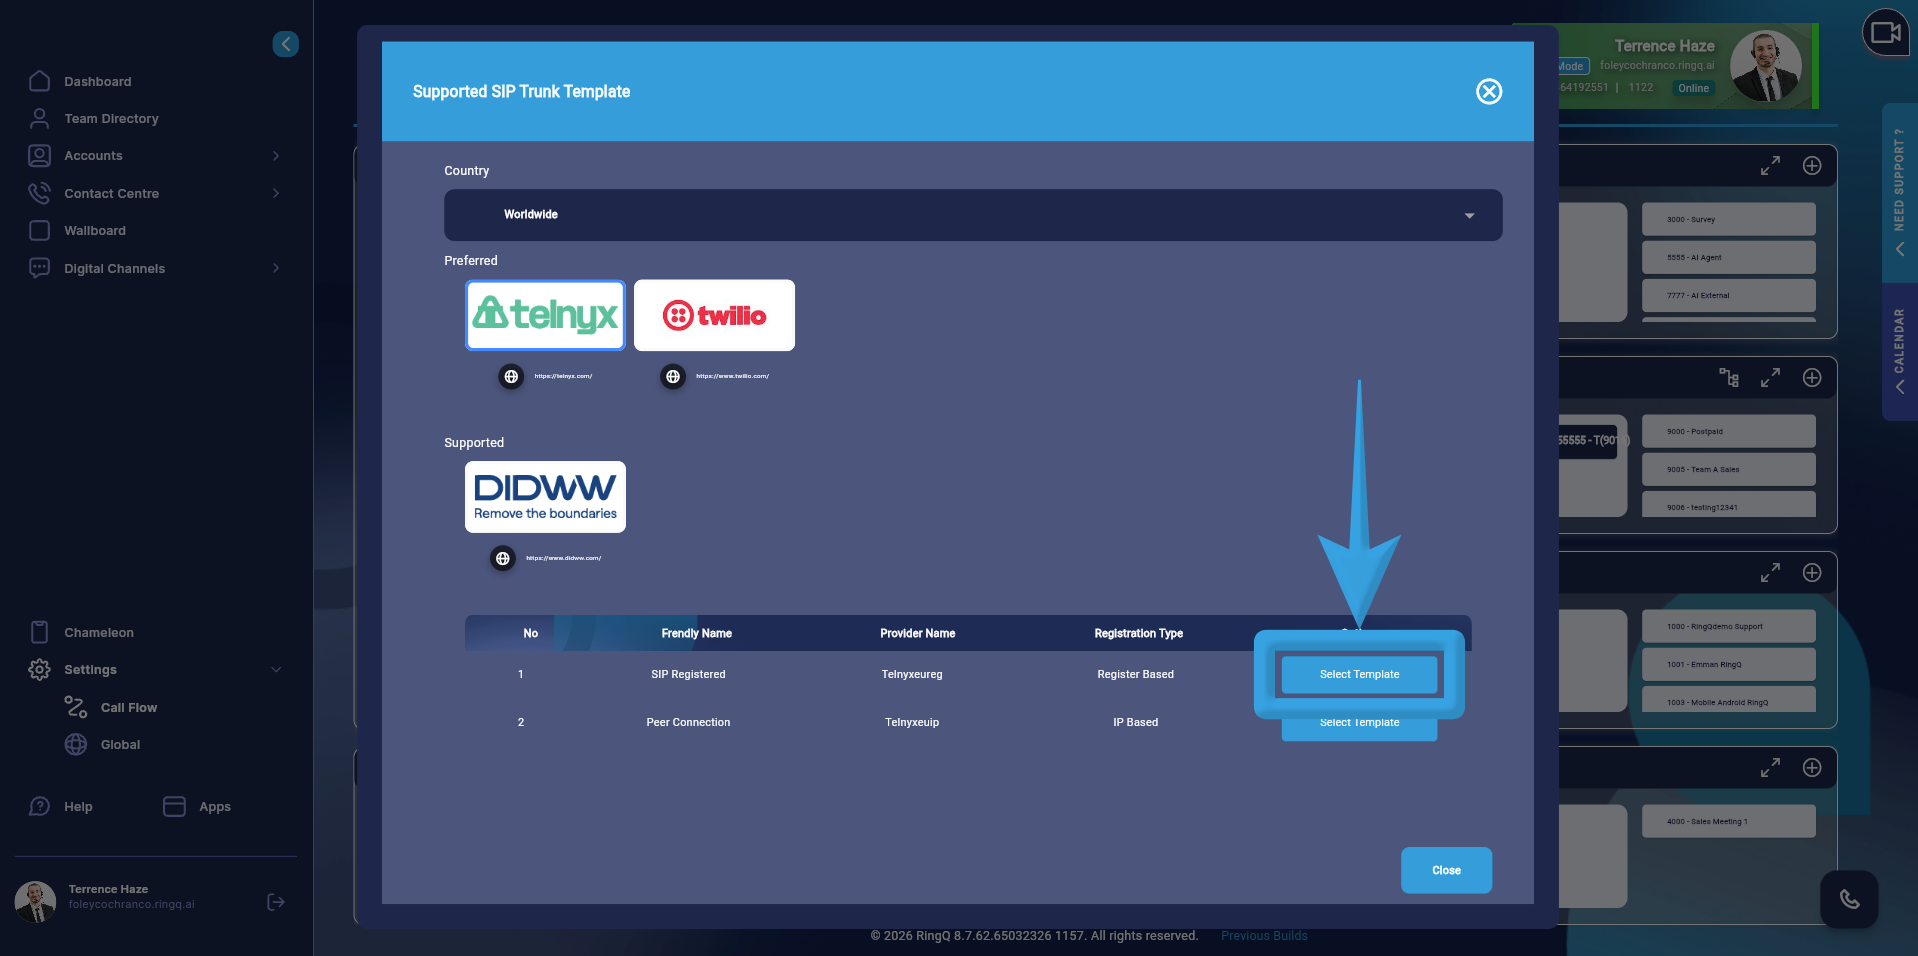
Select the SIP trunk template.
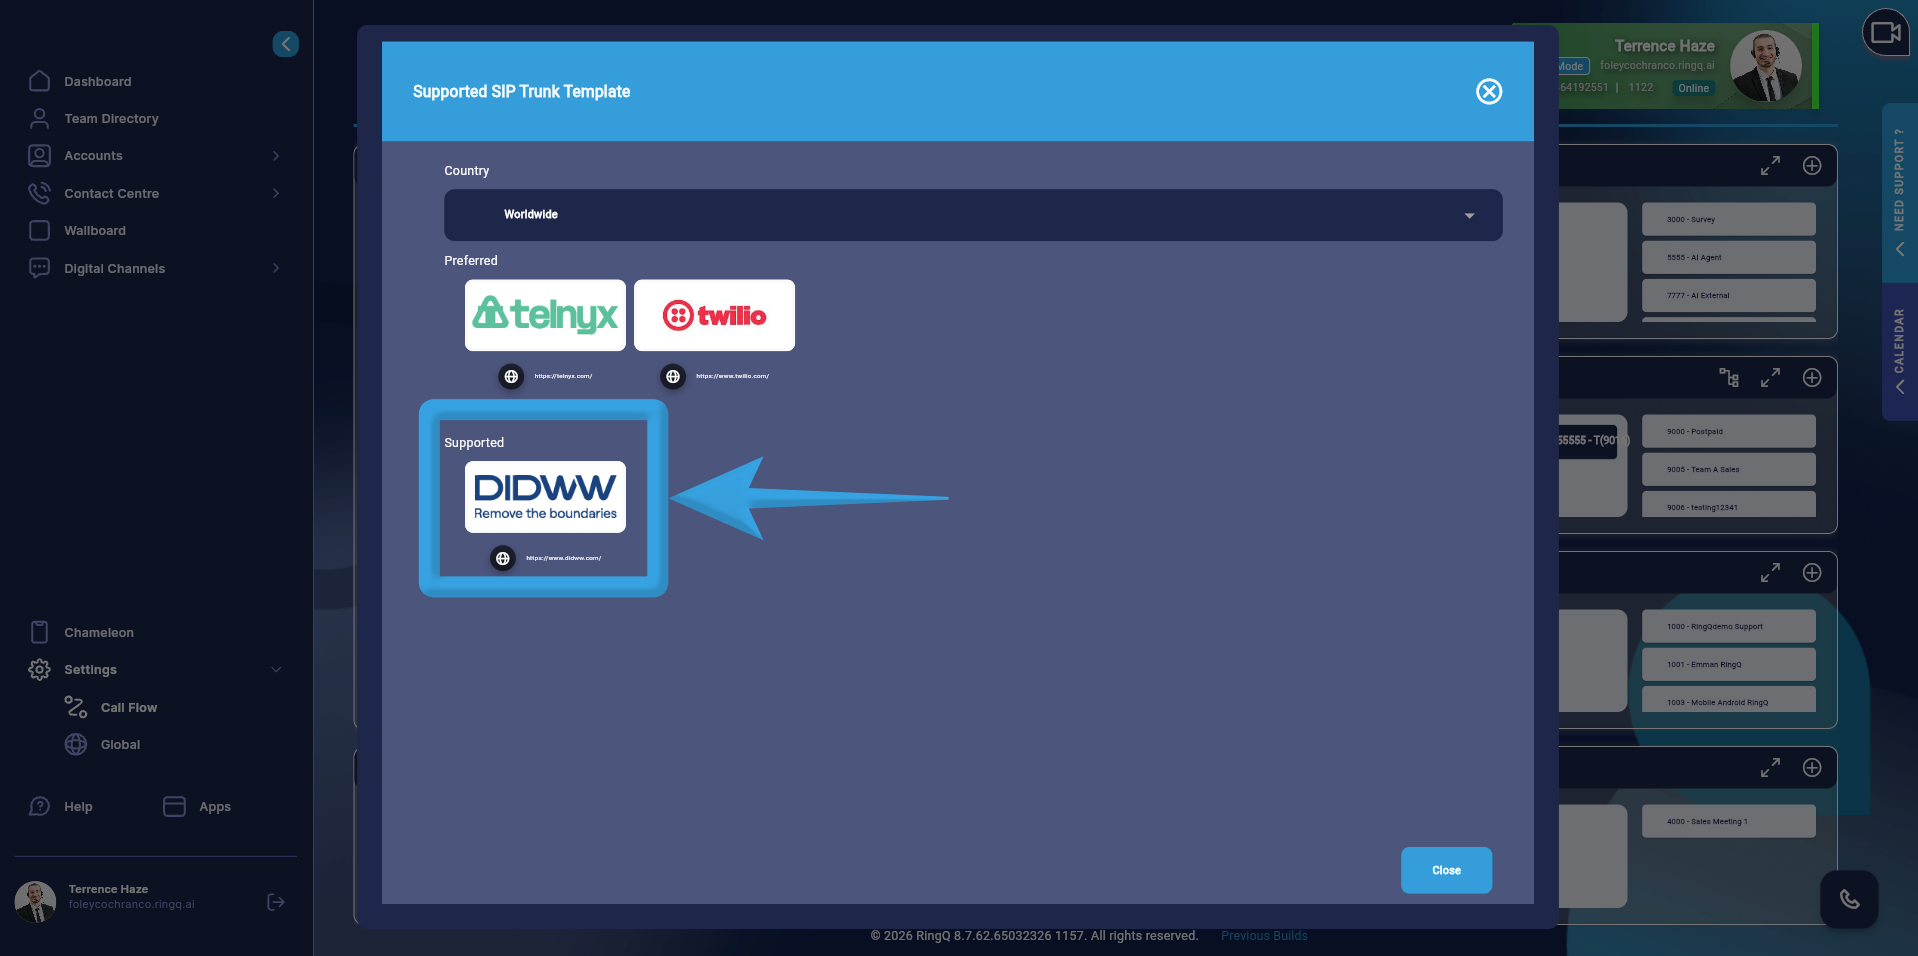
The Supported SIP Template serves as a reliable backup option. This template includes broader compatibility settings and more flexible parameters to ensure successful registration and call flow, even on devices or providers with stricter requirements.
The Supported SIP Template is designed to:
This template should be used only when the default SIP Template fails. It acts as a second layer of assurance to guarantee that the SIP device or trunk can successfully connect and operate within the RingQ environment.
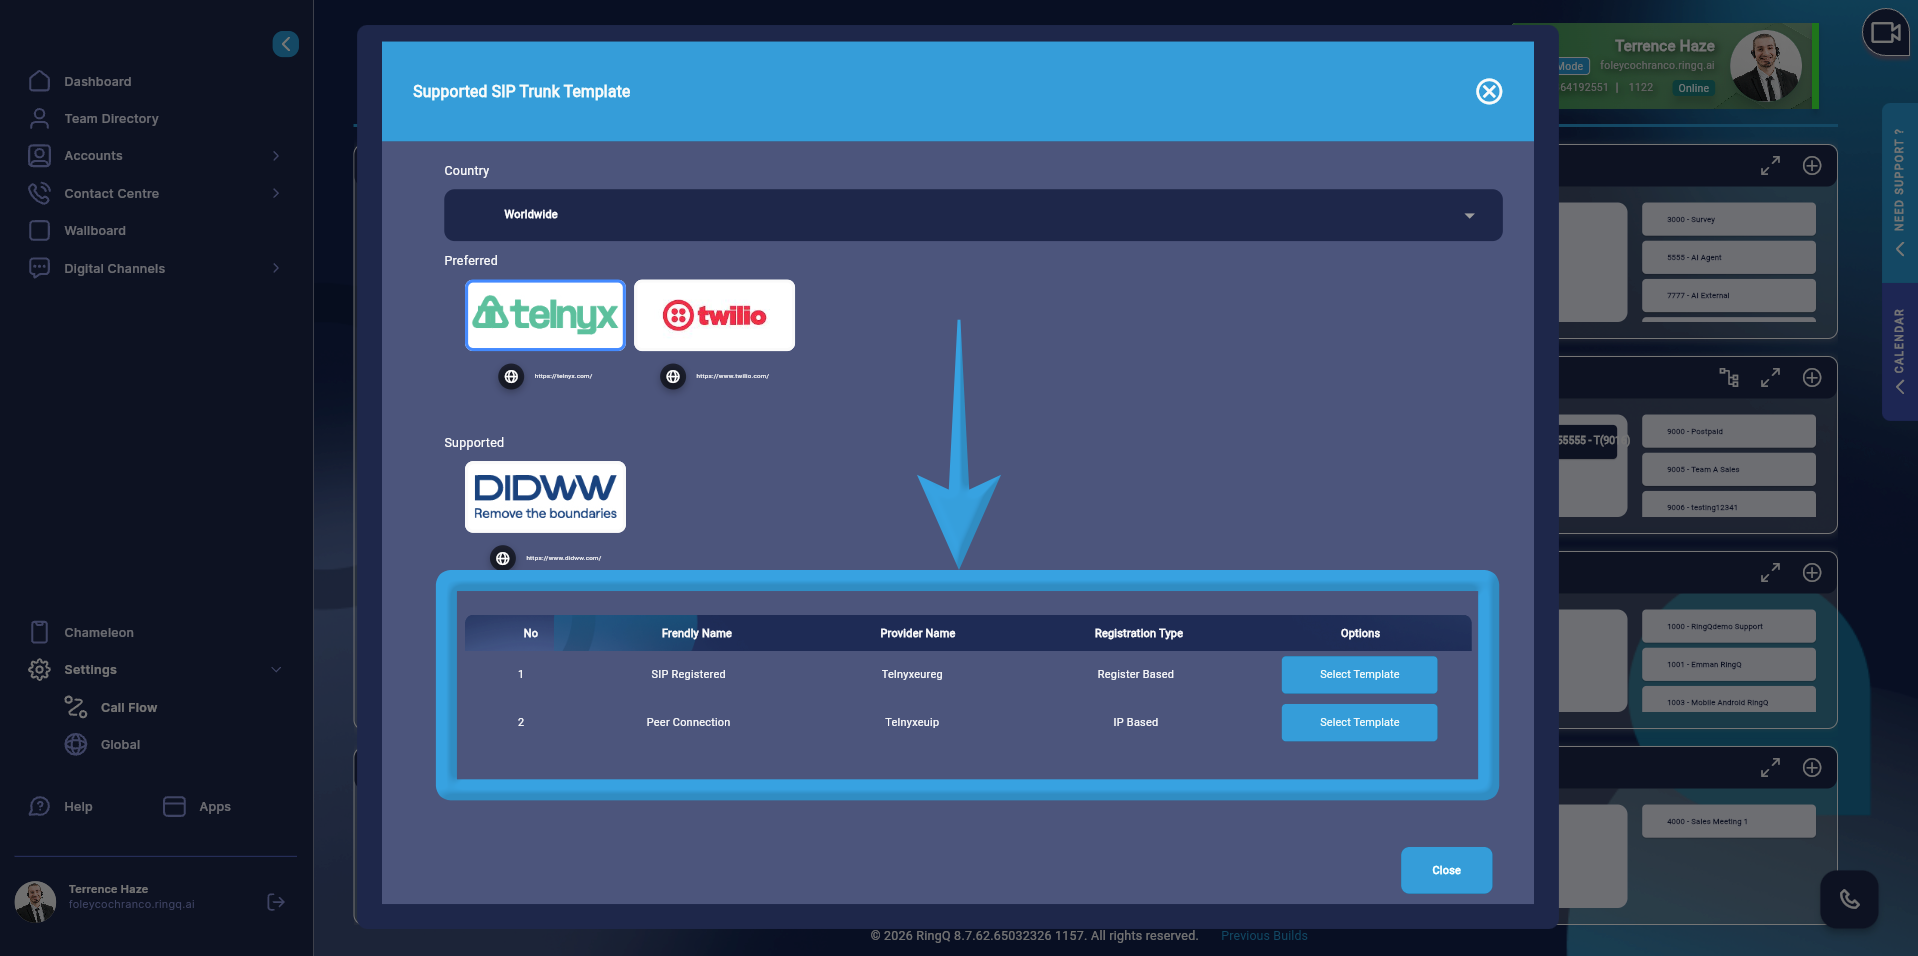
Click the provider logo to show all available SIP templates for that provider.
From the list, select the specific template you want to use.
Click the selected template to proceed.
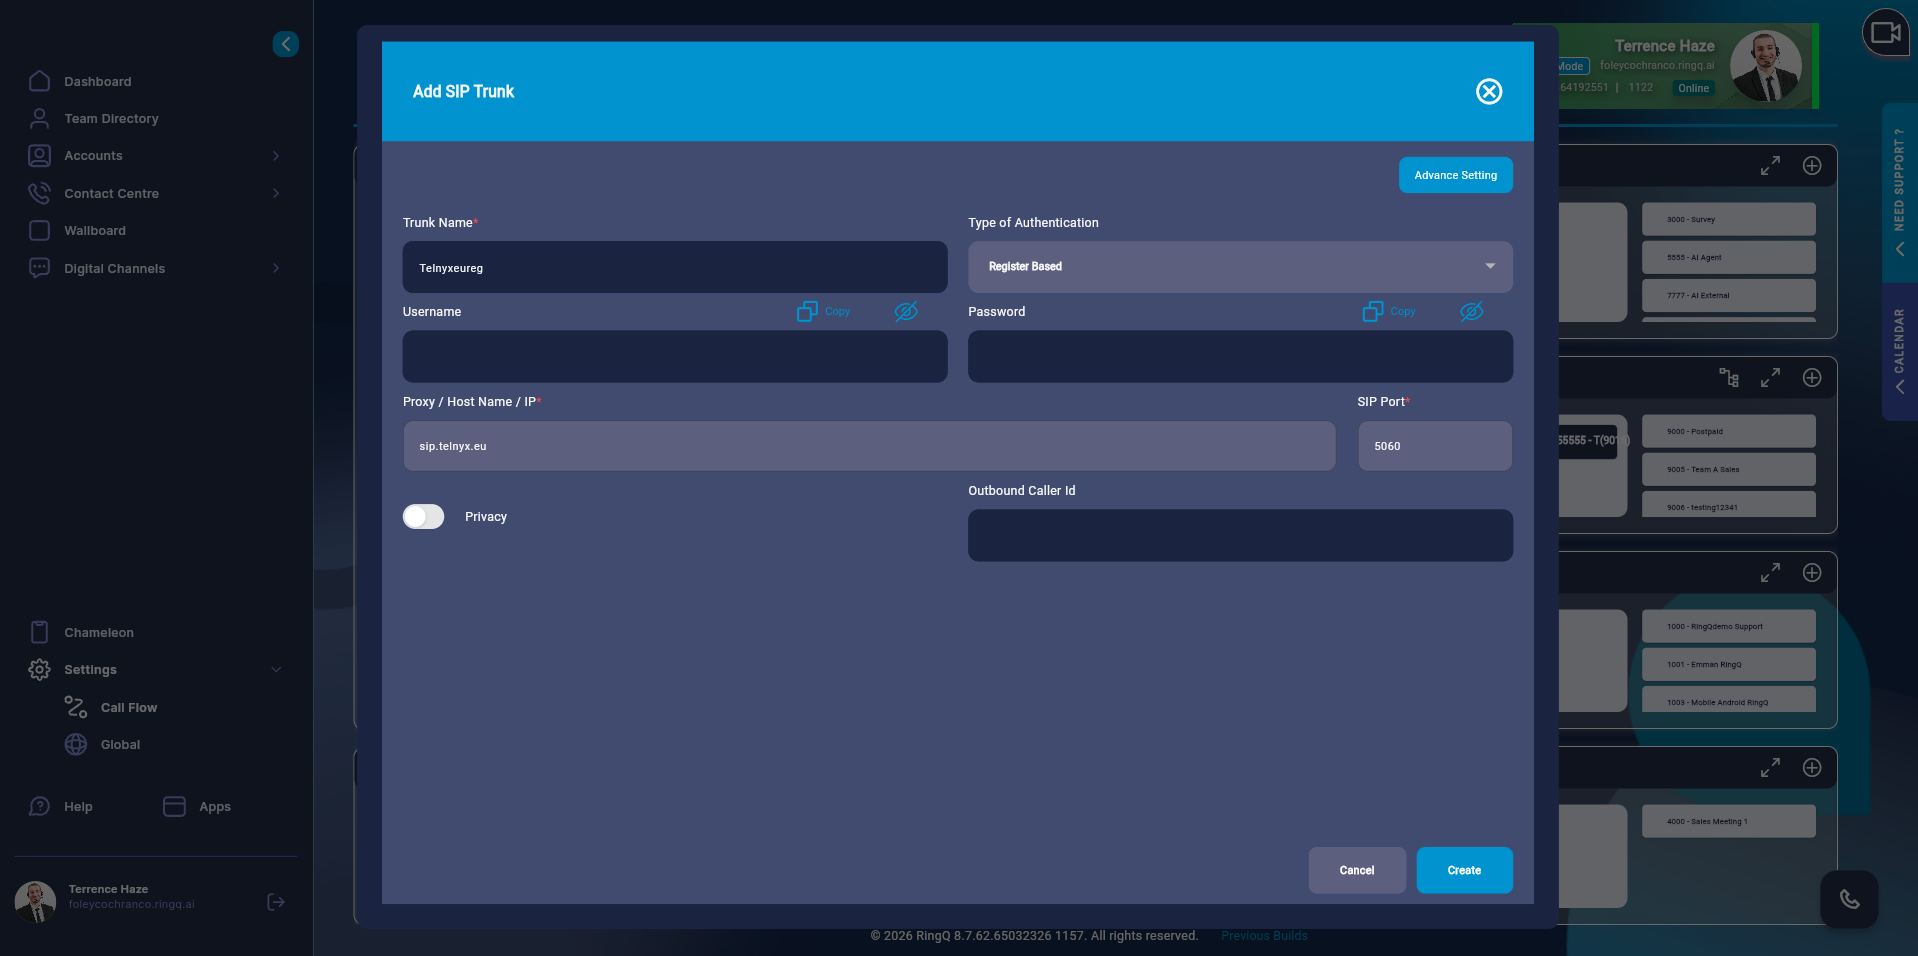
After selecting a template:
You will be redirected to the Create SIP (Template-Based) page.
The fields on this page are locked/uneditable because all required settings have already been configured through the RingQ Customer Management Portal.
The page displays key SIP settings such as:
These values are system-managed to ensure compatibility and reliability with the selected provider.
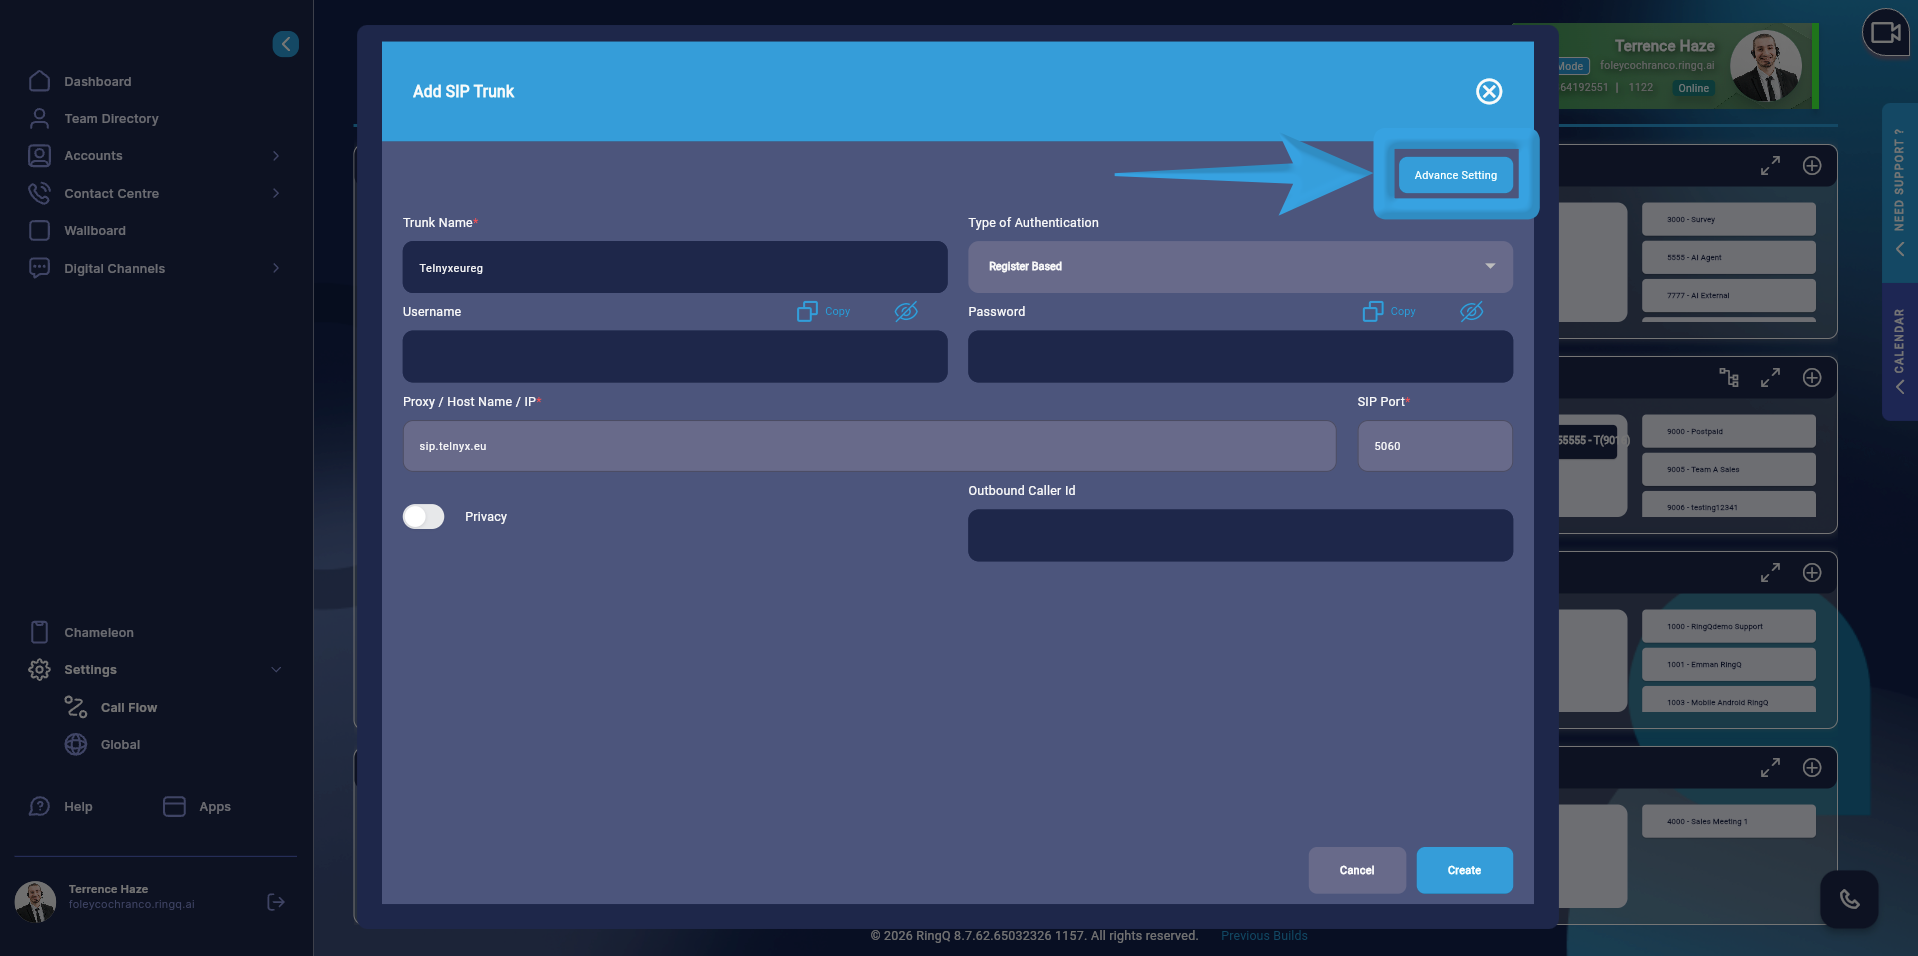
Click Advanced Settings to display more technical configuration details.
This may include options like:
Just like the main settings, these advanced settings are configured from the Customer Management Portal and are typically not editable from this page.
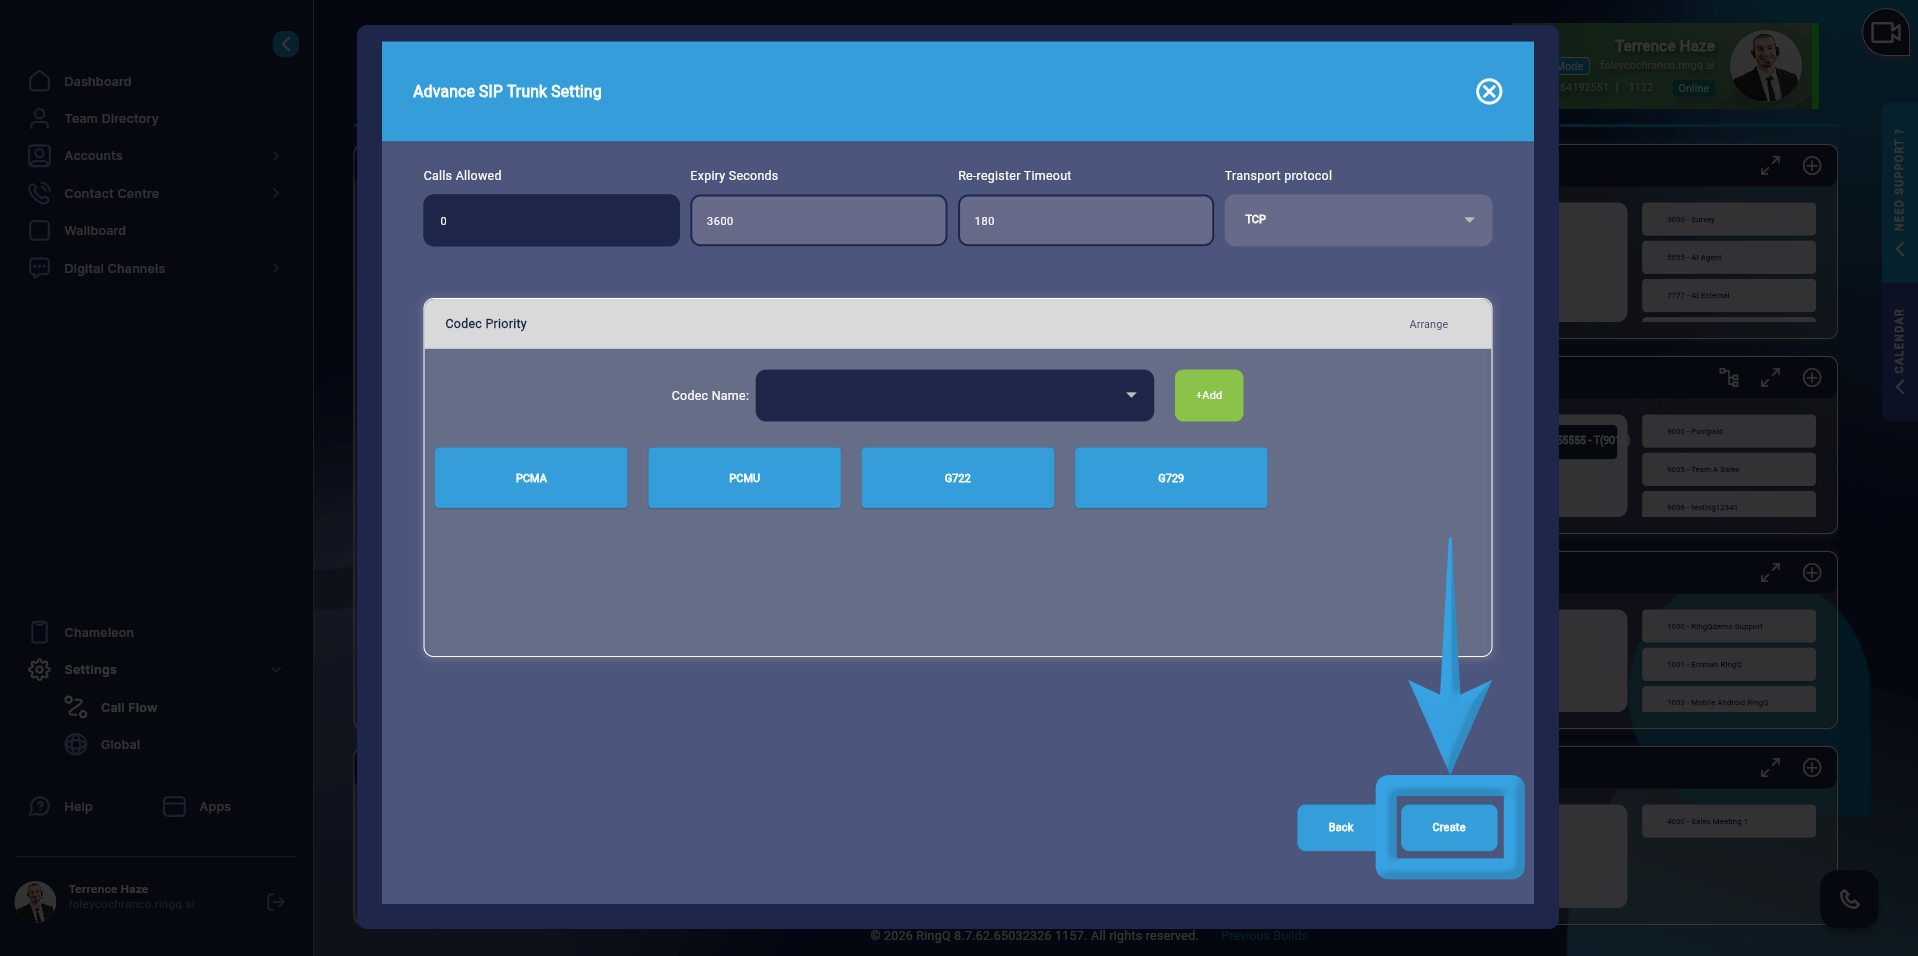
After confirming that you selected the correct provider template:
Click the Create button.
The SIP trunk based on this template will be created and added to your SIP list.
Once saved, this SIP trunk can now be used in:
