In RingQ, supported IP phones can be automatically configured once tested and approved. However, you can also provision Yealink IP phones manually through the RingQ Management Console. RingQ simplifies this process by providing a unique provisioning link that can be sent directly to the IP phone for setup. Supported Yealink IP phones: T33G, T30P, T40G
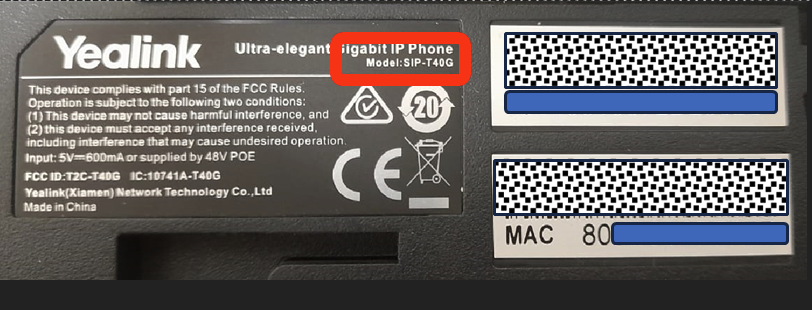
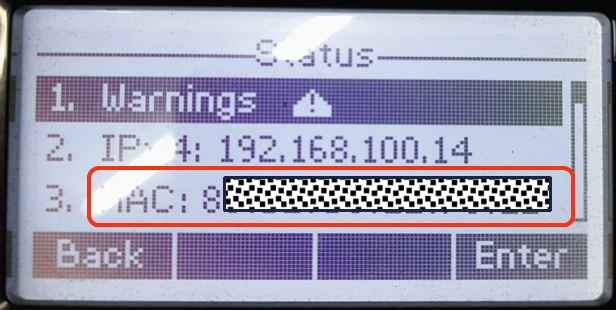
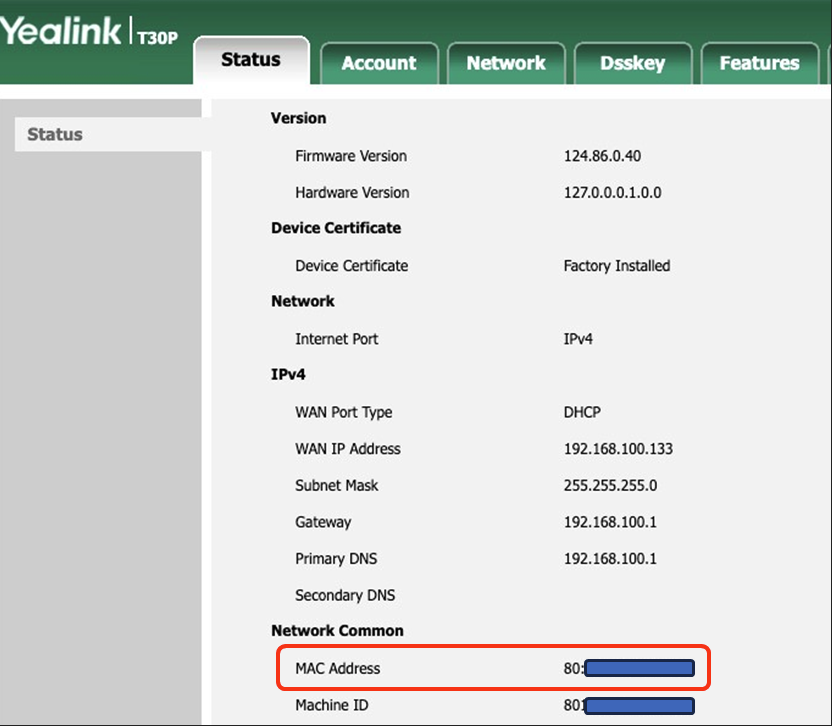
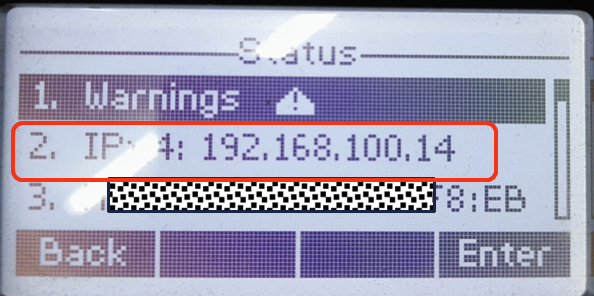
To identify the IP address of your phone, you can use:
RingQ generates the provisioning information for the phone and makes it accessible through a provisioning URL. The IP phone must connect to this URL to retrieve its configuration settings and authentication details. Below is the procedure for manually provisioning a Yealink IP phone.
From your Yealink web UI, go to Account Tab > Advanced and set the following items:


Under Security Tab > Trusted Certificate, set Only Accept Trusted Certificates to Disabled.
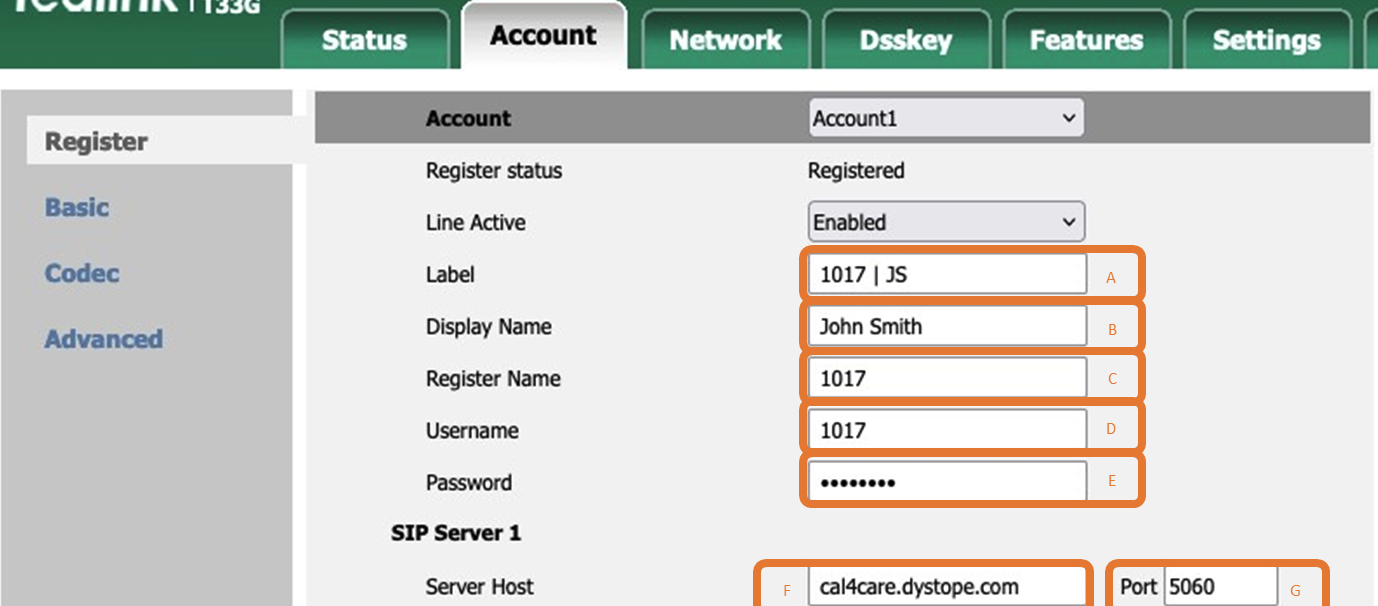
Provide the necessary information for the following areas:
Click Confirm.
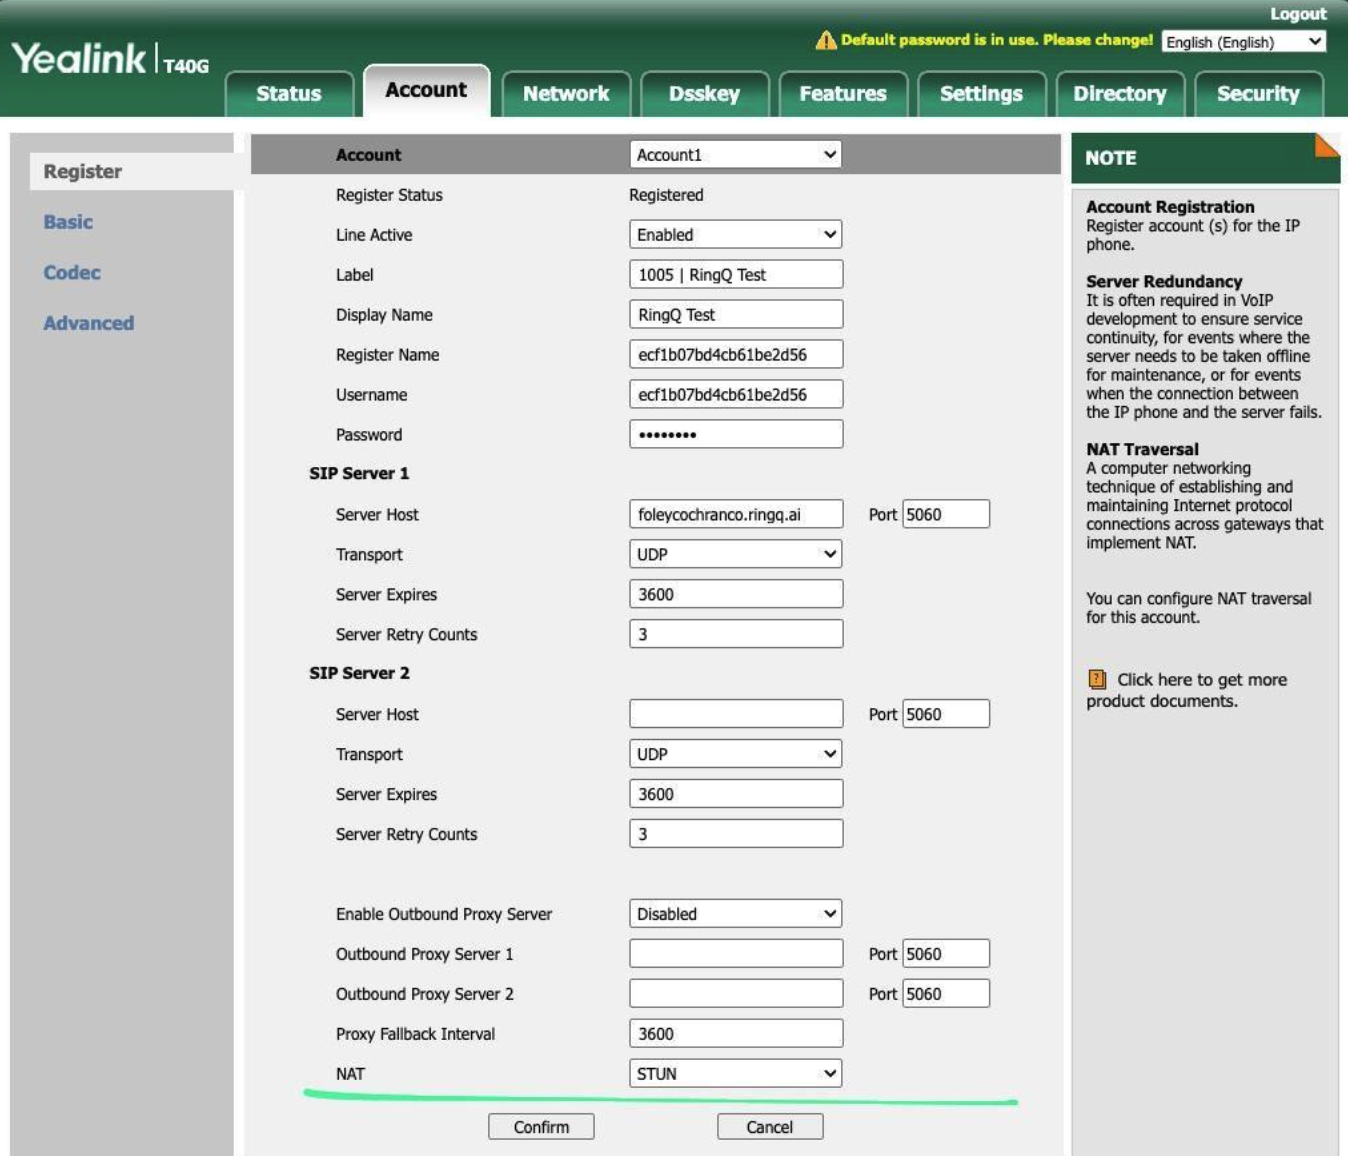
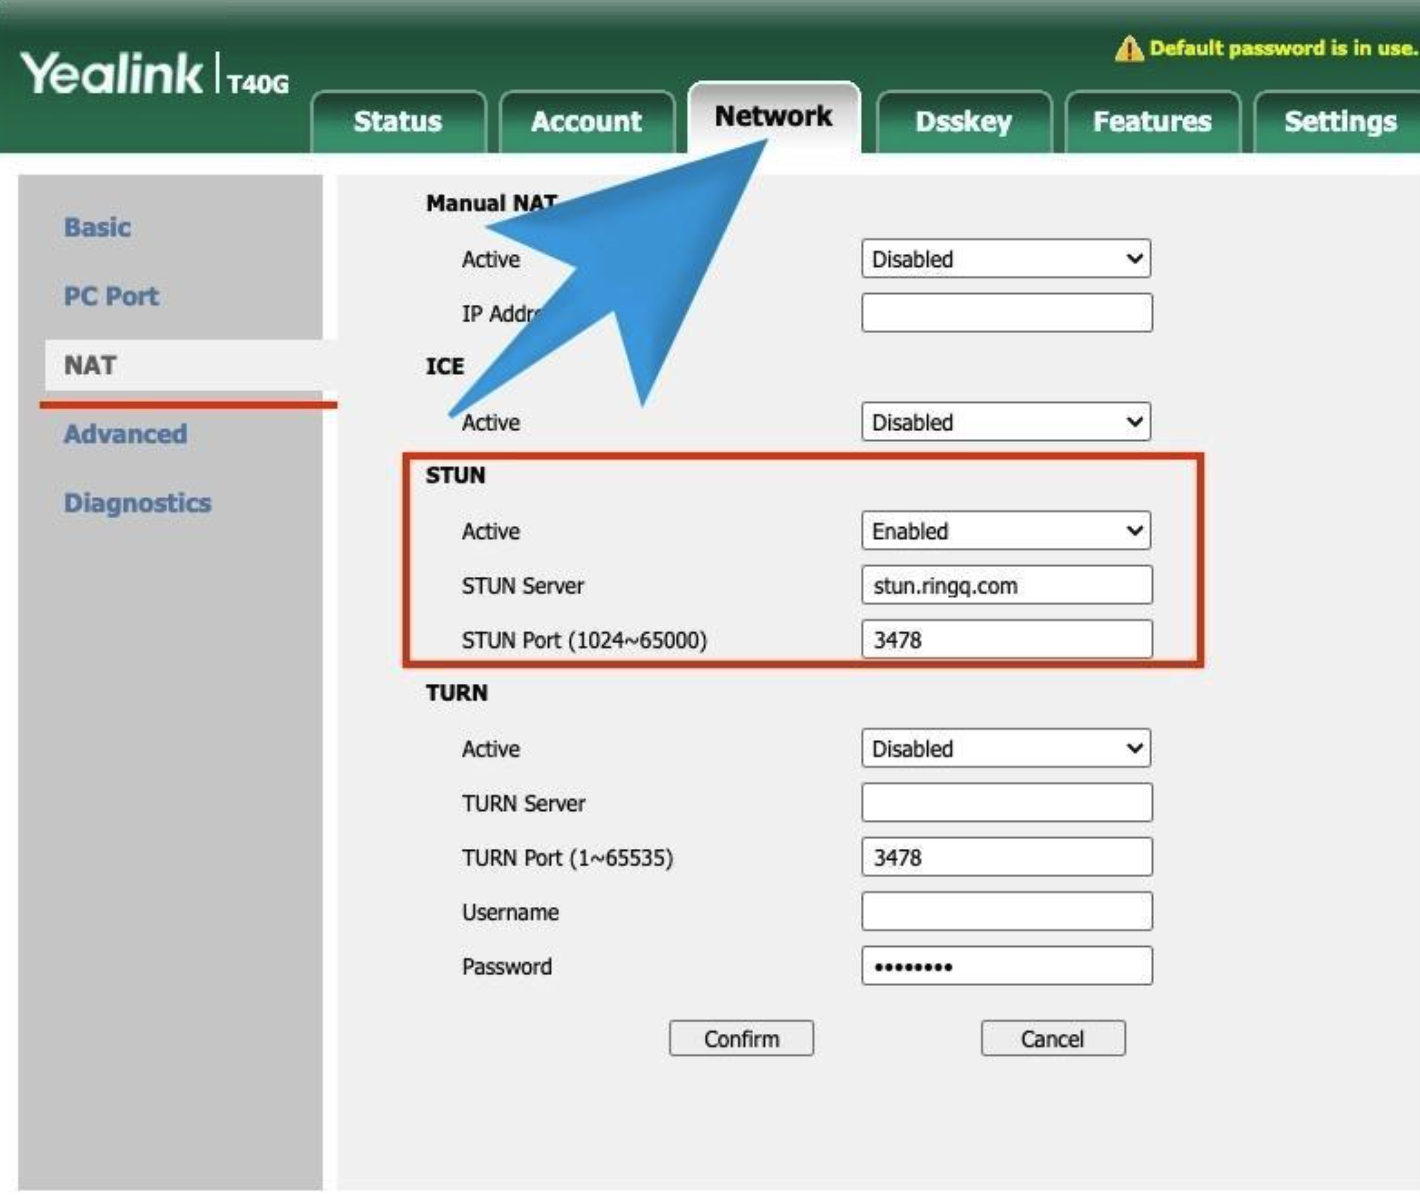
Log in to the device's web interface as an administrator.
In the left menu, go to Network → NAT.
Set Active to Enabled.
In STUN Server, enter: stun.ringq.com.
In STUN Port, enter: 3478.
Click Save/Apply.
Reboot the device if prompted, then confirm that registration and keep-alive are stable.
Tip: Make sure UDP port 3478 is allowed outbound on your network/firewall so STUN can work properly.
