This guide walks you through the process of configuring your Fanvil X3U IP phone for use with RingQ. Whether you’re performing a new installation or updating your existing setup, these step-by-step instructions will help you get your device registered and ready to make and receive calls via RingQ’s VoIP platform. Important:
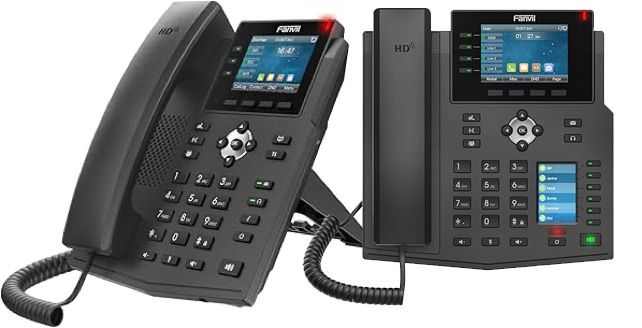

You can identify the MAC address and phone model of the IP phone by looking at the back of the phone.
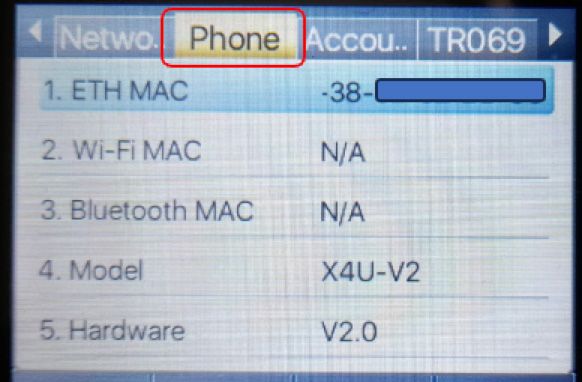
From the phone's LED display, press Menu > Status, then the right button (Phone section).
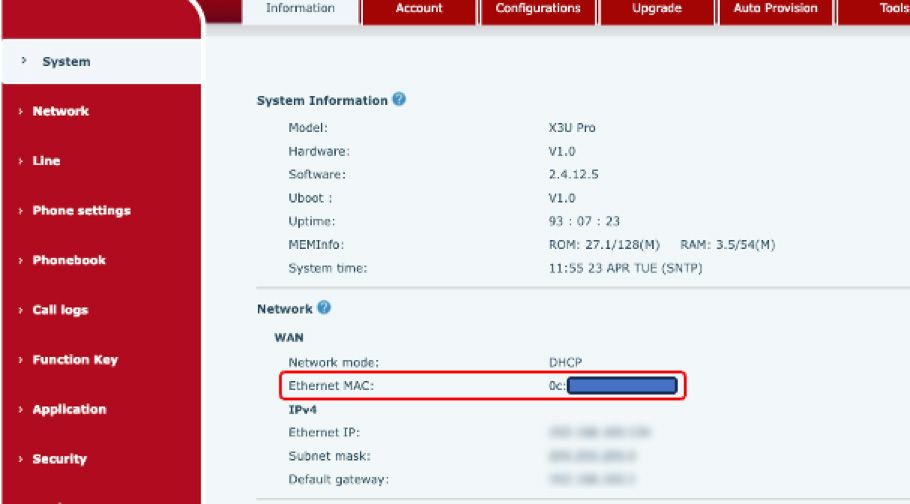
From the web portal, click the System section. Note: Make sure you select the correct phone model. You can find the model and MAC address on the label at the back of the phone or by accessing the phone's web configuration (default username and password are 'admin'). Take note of the MAC address, as you will need it for the configuration.
Use any third-party LAN scanner app.
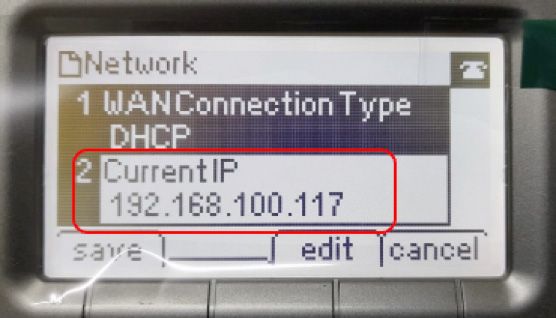
From the phone's LED display, press Menu > Status (Network section).
From the phone's web portal, click the System section.
RingQ generates provisioning information for the phone and makes it accessible via a provisioning server. The phone must connect to this server to obtain its configuration and authentication details. Here's the procedure for provisioning the IP phone:
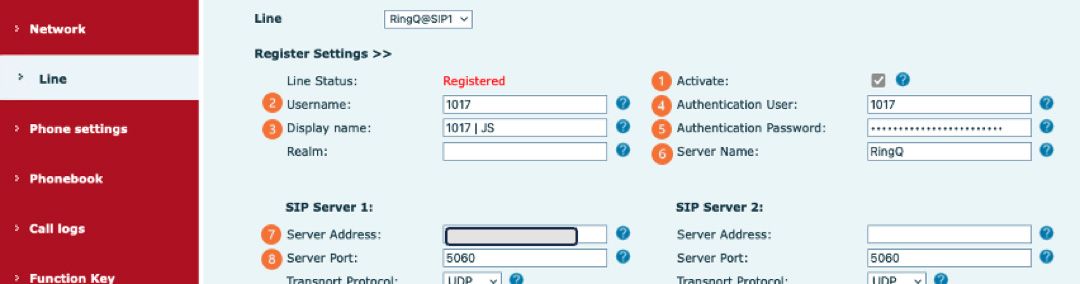
Go to SIP Tab > Line and provide the necessary information for the following areas:
In the Register Settings section:
In the SIP Server section:
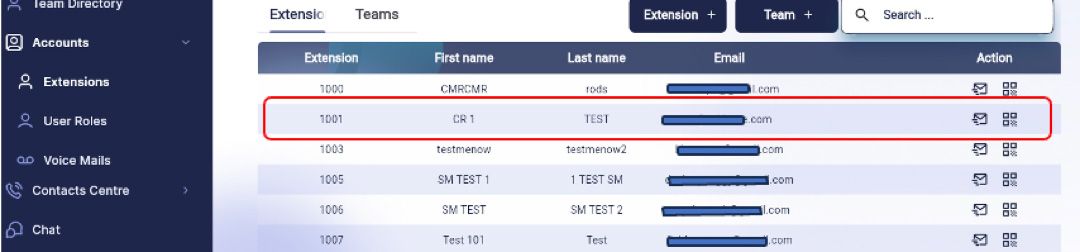
To get the User ID and password, click Account > Extensions and select the user.
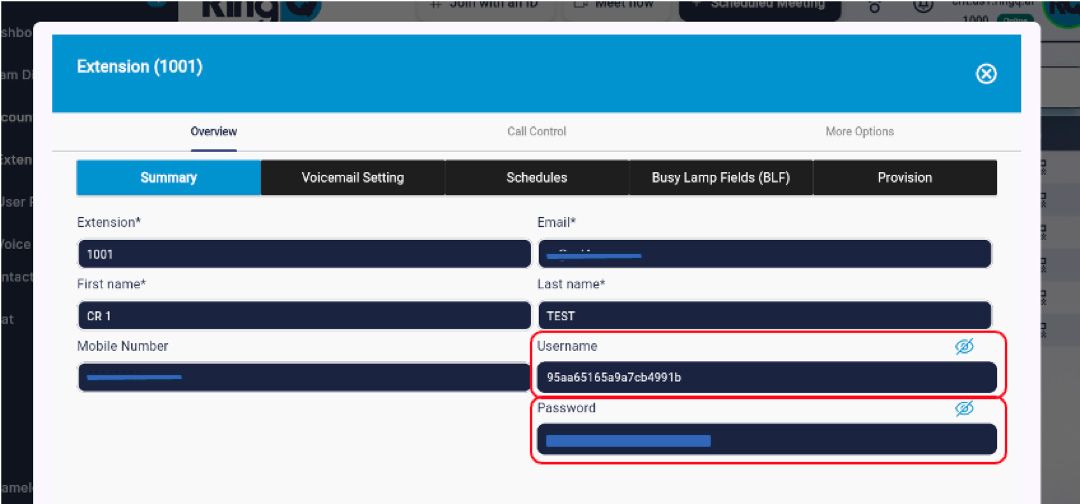
Then copy the credentials and paste them into the Username and Password fields in RingQ. Lastly, click Apply.
