This guide provides step-by-step instructions to help you configure your Cisco SPA504G IP phone for use with RingQ. Whether you're setting up the device for the first time or reconfiguring it for RingQ's platform, this guide will ensure a smooth setup process. By the end, your Cisco SPA504G will be fully optimized to make and receive calls through RingQ's reliable VoIP service.
Important: If the phone is not new and has previously been connected to another PBX system, it must be reset first. Avoid using special characters in extension names or BLF labels. Ensure the phone's firmware is up to date.
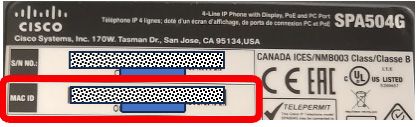
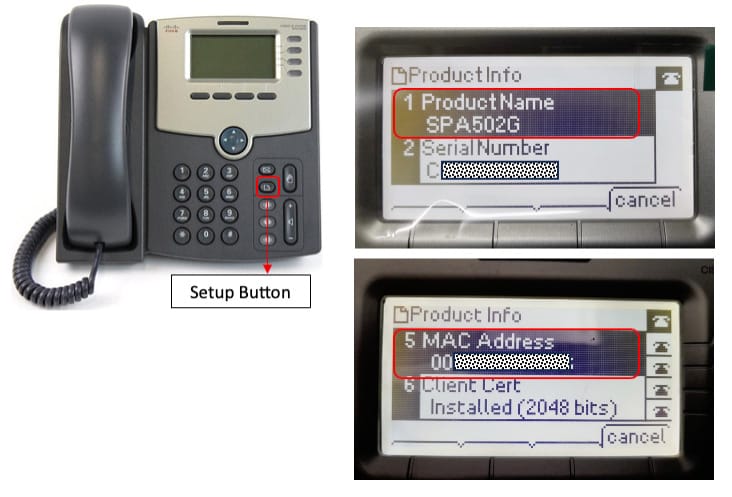

Identify the MAC address and phone model of the IP phone by looking at the back of the phone, or from the phone screen via Setup Button > Product Info. Alternatively, you can find it in the phone's web portal under the System section.
To identify the phone's IP address, use any third-party LAN scanner app.
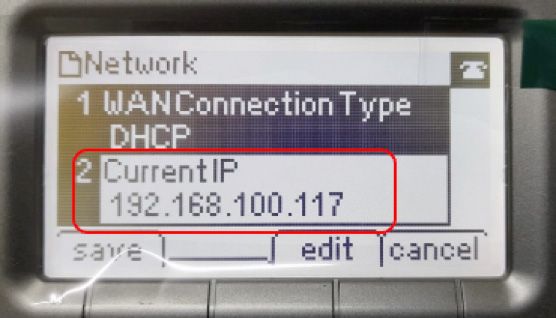
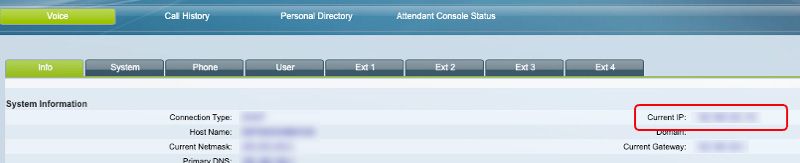
From the phone's interface, click Voice Tab > Info, or from the phone's web portal go to System Information.
RingQ generates provisioning information for the phone and makes it accessible via the provisioning data. The phone must connect to this server to obtain its configuration and authentication details. Here's the procedure for provisioning the IP phone:

Open any web browser and type the IP address of the IP phone (e.g., https://your_ip-phone_ipaddress). Make sure you access Admin Login to display the full configuration.
Go to Voice Tab > Ext 1, then configure the following (if you need to configure another extension, choose any available Ext number):
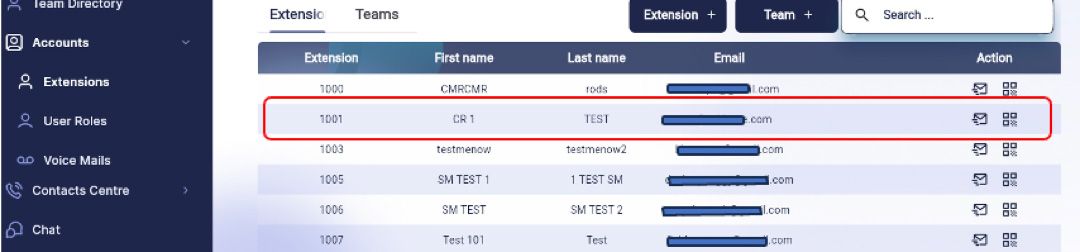
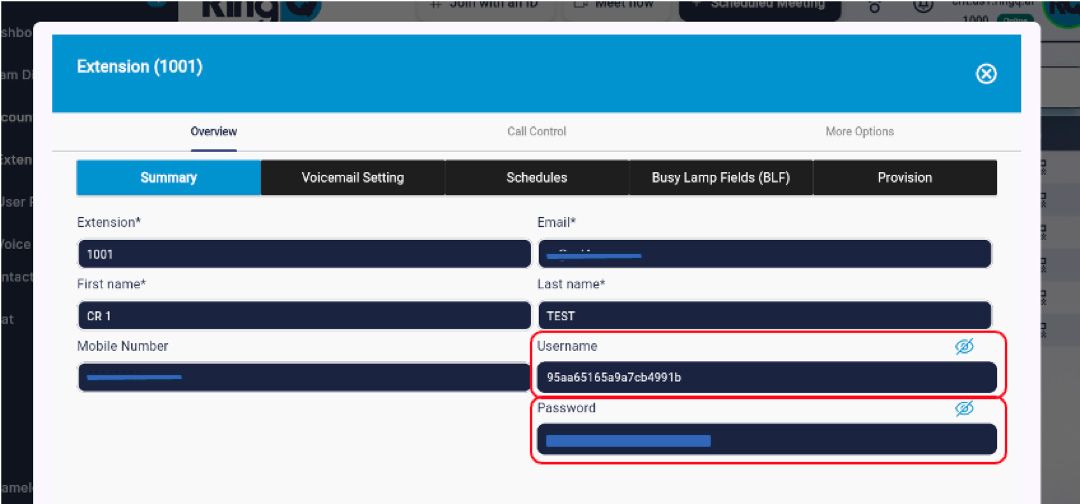
Copy the credentials and paste them into the Username and Password fields. Lastly, click Submit All Changes. It takes 50 seconds to apply the changes.
