RingQ Talk makes it easy for customers to reach the right team—instantly and free of charge. By clicking a simple web link, users are connected via their browser using WebRTC and automatically routed to a specific queue, such as Support, Sales, or Billing—just like a regular phone call.
This guide will show you how to create and share RingQ Talk links that route directly to designated queues, ensuring customers reach the right department without dialing a number or installing an app.
Go to the Settings section in your RingQ web app.
Click the dropdown button to view available options.
Select Call Flow.
Choose the specific Queue you want to assign to the RingQ Talk URL.
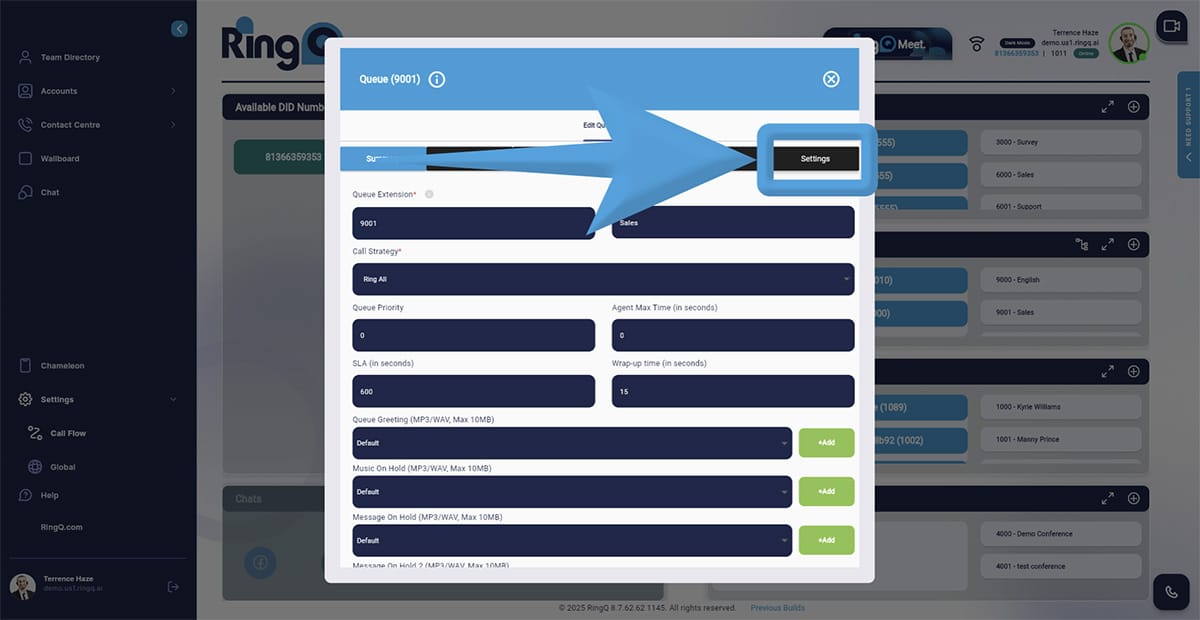
Choose Information to Request from Clients.
Copy the RingQ Talk URL. Next to the RingQ Talk URL, click the Copy button to copy the link to your clipboard.
Click the Save button to save any updates or changes.
Share your RingQ Talk link with your customers by adding it to your website, email signature, or social media. Here is an example RingQ Talk link: https://<your-subdomain>.ringq.ai/click2talk/?username=<token>&type=1
When a customer clicks the link, they will initiate a call to the selected queue.
