This guide explains how to create a webinar using RingQ. The RingQ Webinar feature lets you schedule and host online webinars by configuring key details such as the schedule, presenters, branding, and email reminders from the RingQ Admin Dashboard. Setting these options in advance helps ensure a smooth and well-organized webinar experience for hosts and attendees.
1. Log in to the RingQ web app.
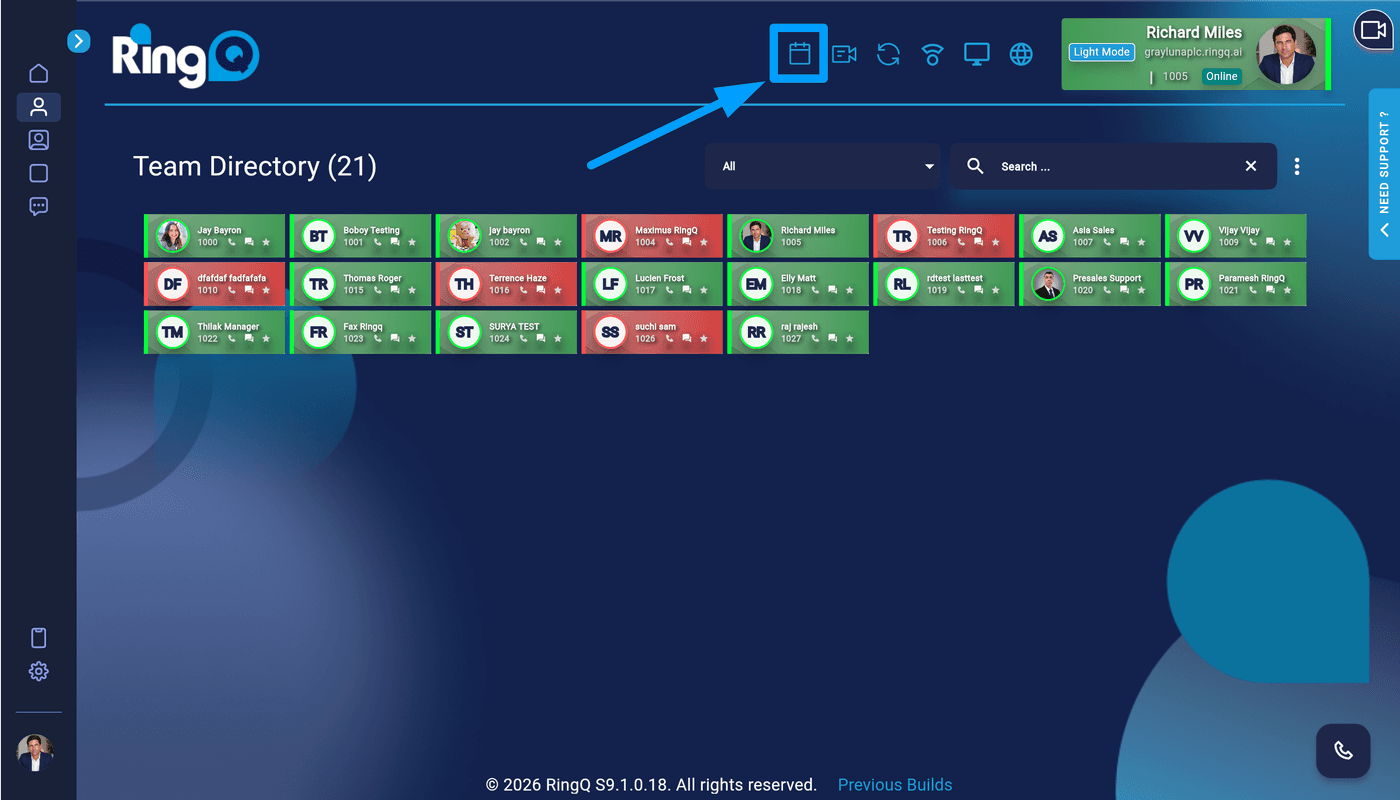
2. In the top menu, click on the RingQ Calendar Icon.
3. From the RingQ Calendar, select the Webinar tab and then click on “Create”
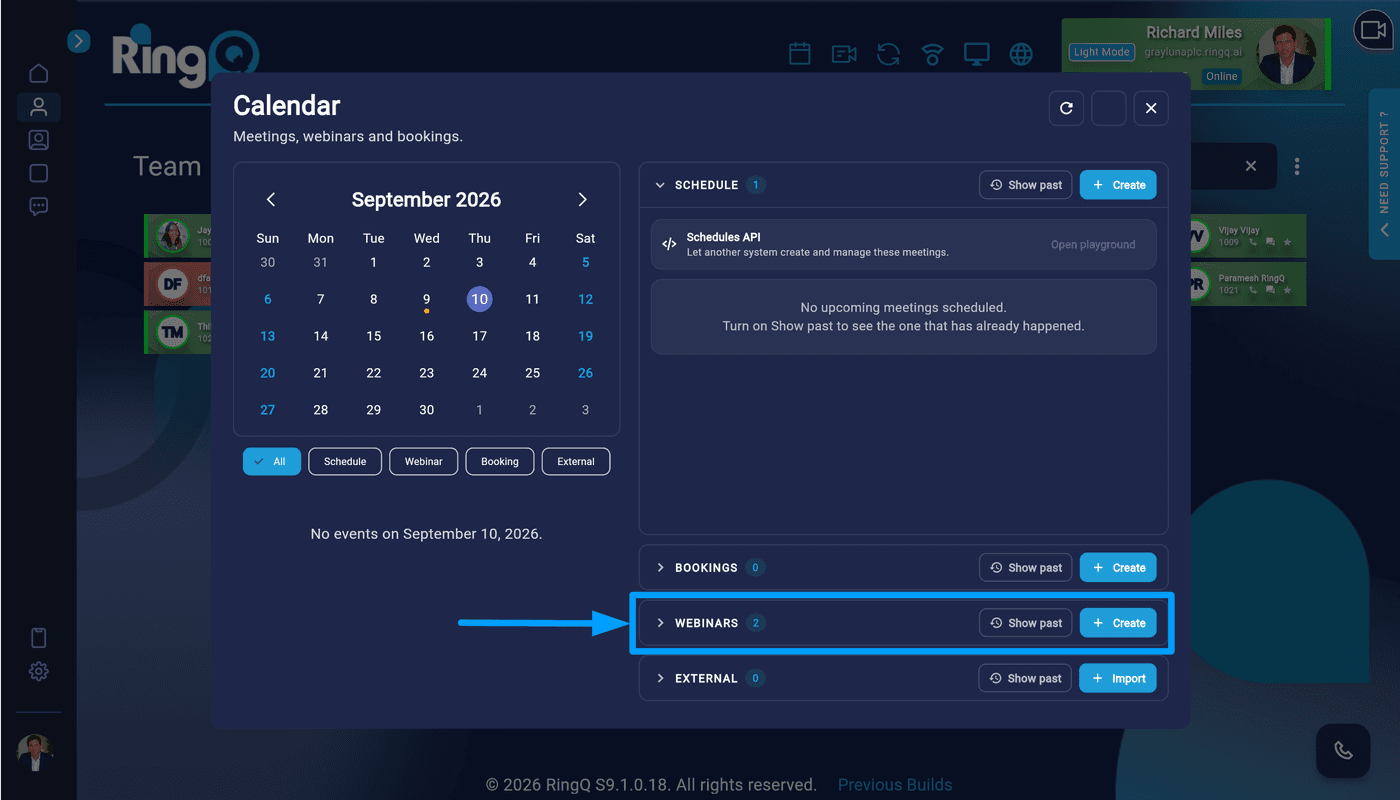
1. Navigate to the Webinar section.
2. Click Create to start creating a new webinar.
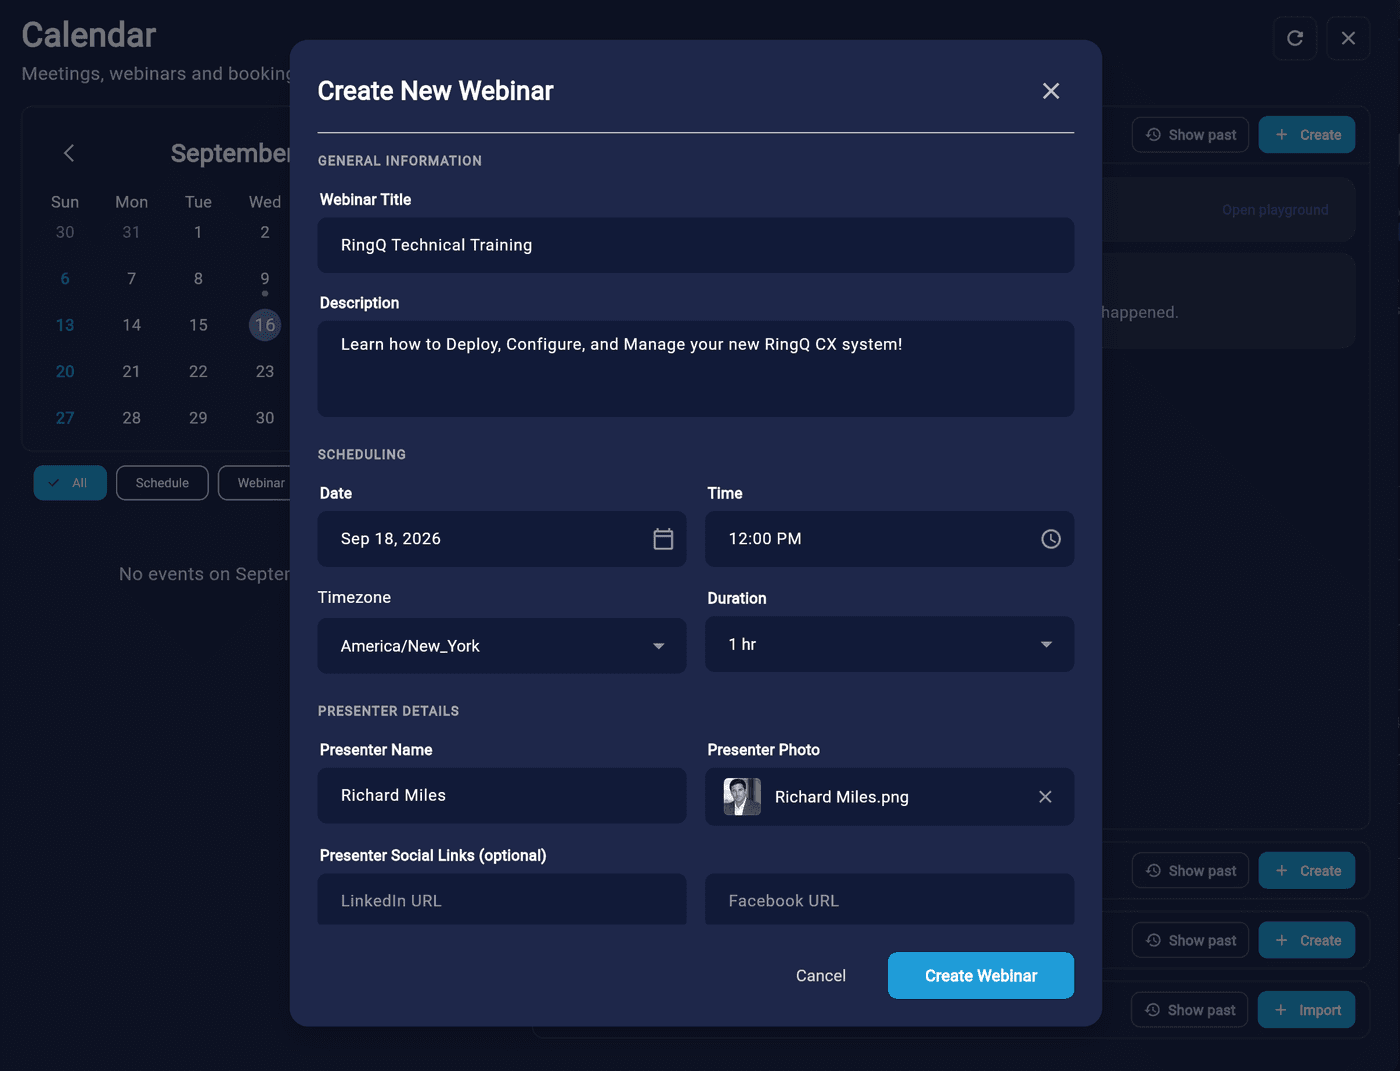
Fill in the webinar form to create your webinar
3. Complete the form with the required information to configure your webinar details.
4. Review the webinar details and click “Create Webinar”.
1. Once your webinar is created, it will be listed in the Webinars section in the RingQ Calendar.
Copy your webinar link.
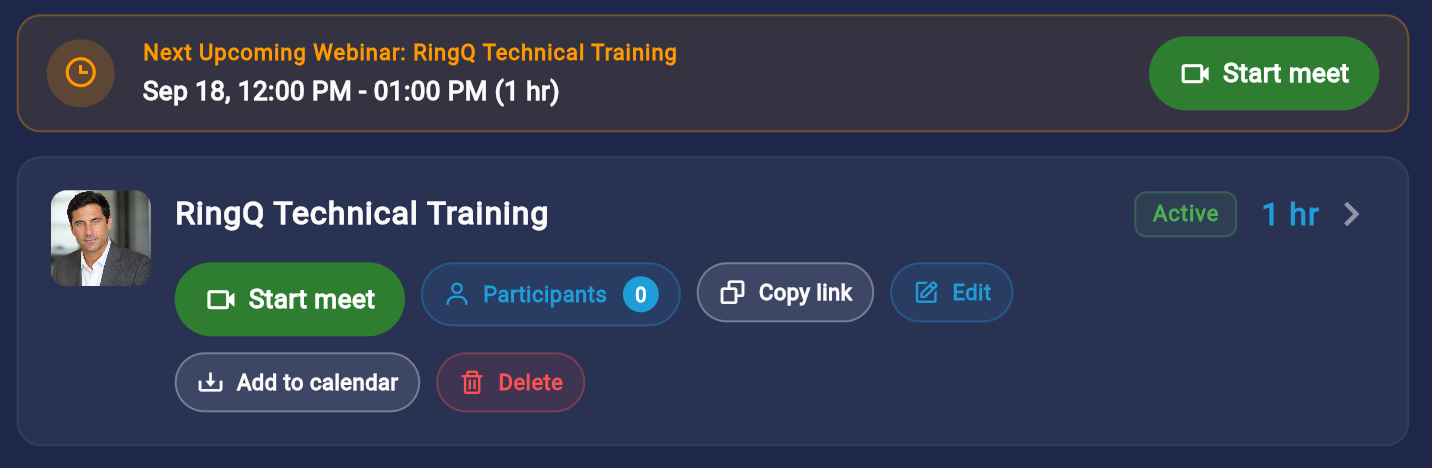
3. Click on “Copy Link”. You can share that link with the people you want to invite to your webinar.
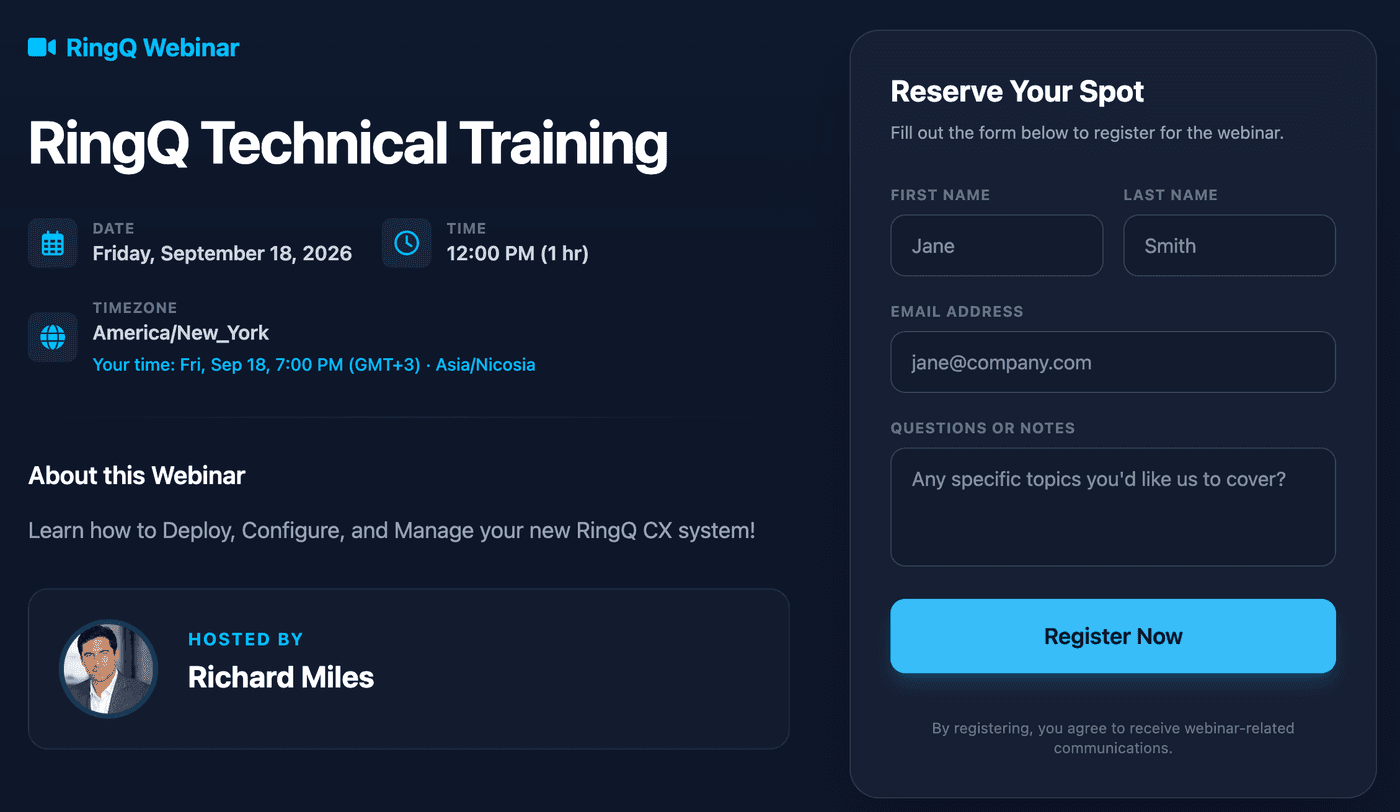
4. When a user clicks on the link, they are directed to a registration page. All they need to do is fill in the form and click “Register Now”.
