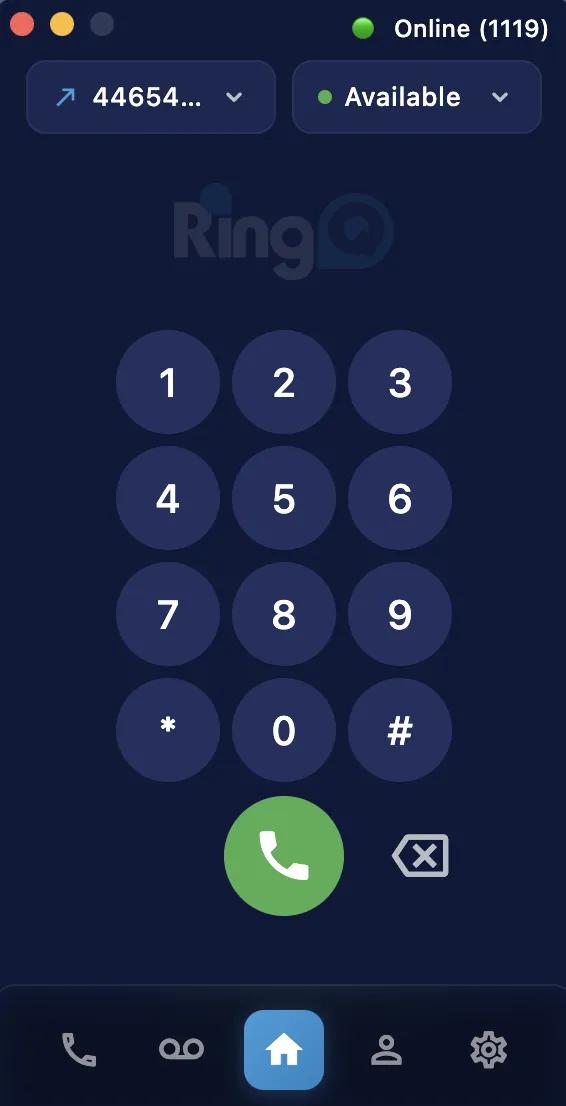
This guide explains how to install and set up the RingQ App on MacOS. It includes downloading and installing the app, allowing required permissions, and signing in using your RingQ account details.
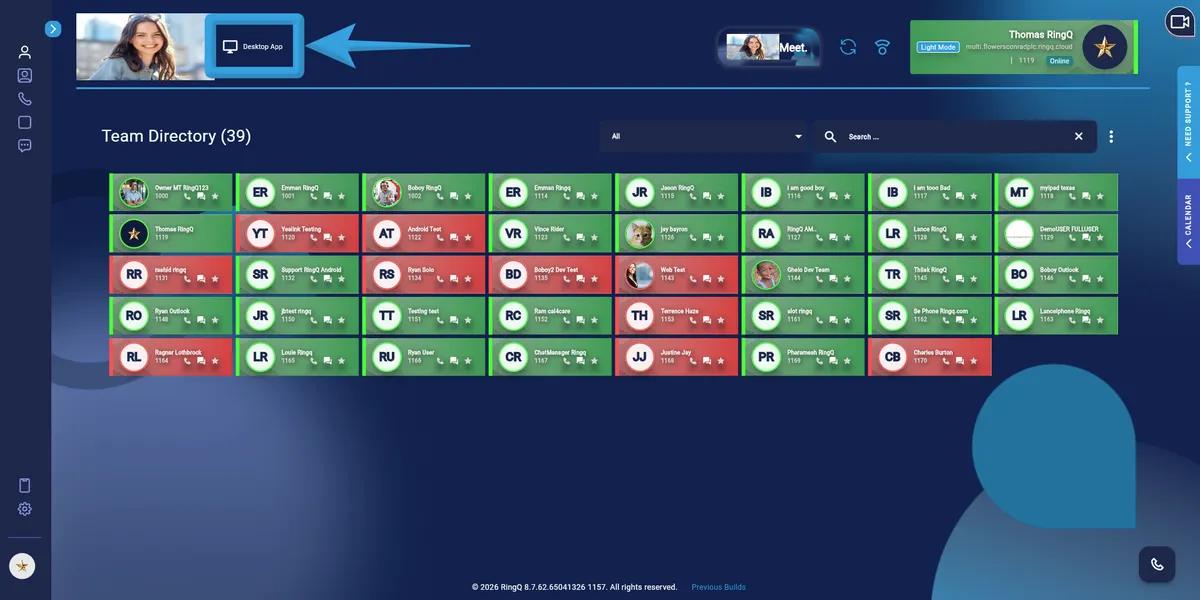
Download the Application
Login to your RingQ Admin Dashboard.
In the upper-left corner, beside the logo, locate the Desktop App icon and click on it.
If the application is not yet installed, download options for both Windows and macOS will be displayed. Select macOS and click to start the download.
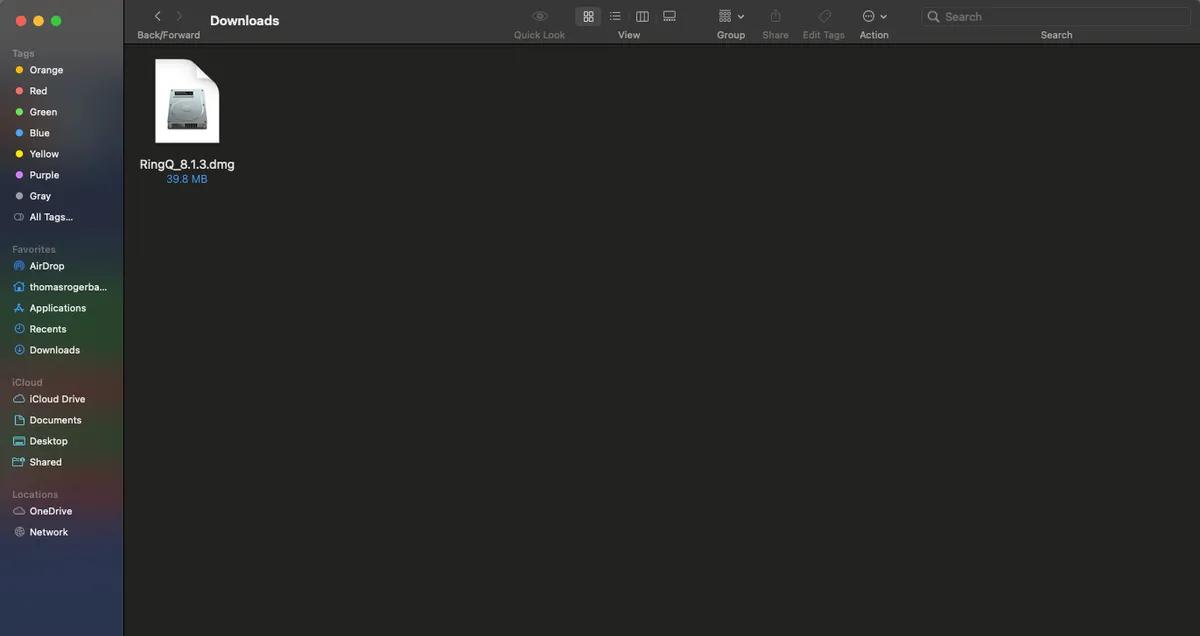
After the download is finished, open Finder and navigate to the Downloads folder.
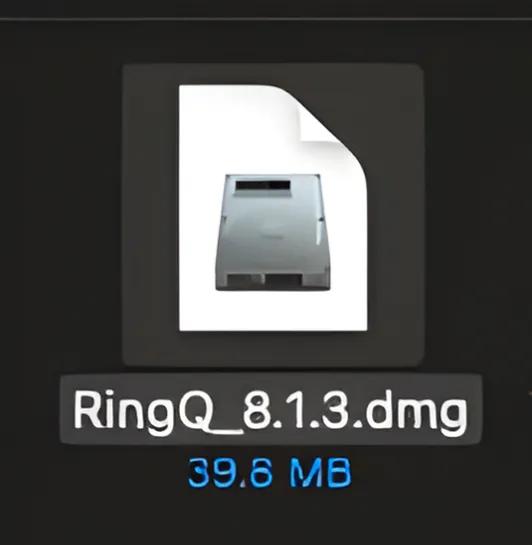
Locate the RingQ Mac Desktop App installer.
Install the Application
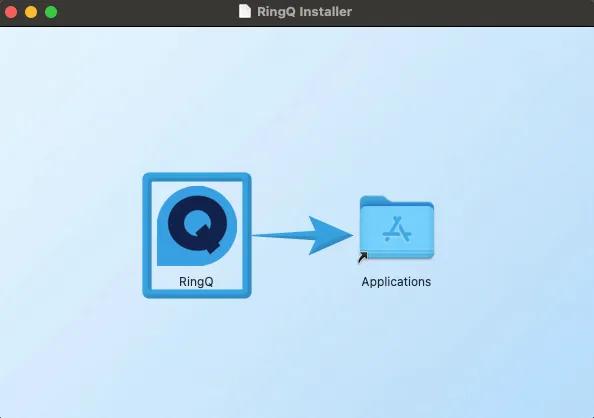
Double-click the Mac Desktop App installer to open it.
Drag and drop the app into the Applications folder.
Once installed, the RingQ App for Mac will appear on your desktop, or in your Applications list
Open the RingQ App from your Applications folder.
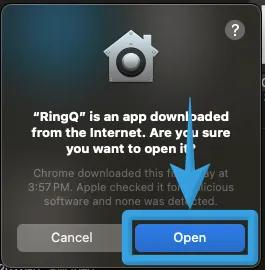
If the app was downloaded from an unknown source, macOS will prompt for confirmation. Click Open to proceed.
When prompted, allow the following permission: “RingQ” wants access to control “System Events”. Click Allow to grant access.
Sign into your Account
After launching the app and granting permissions, enter your login details:
Host
Enter your RingQ system URL
Example: multi.flowersconradplc.ringq.cloud
Username
Go to Accounts → Extensions → Summary in the RingQ Web Admin
Copy the Email Address registered in your extension.
Paste it into the Username field
Password
Use the Web Password from the same section
Unhide (if necessary), then copy and paste it into the Password field
Click Sign In.
Your RingQ App for Mac is now ready for use, so you can start making and receiving calls.