A multi-tenant instance in RingQ allows you to host and manage multiple independent clients or business units within a single system, each with its own users, settings, and data. This setup is ideal for service providers, large enterprises, or resellers who need to isolate customer environments while simplifying infrastructure. It offers improved scalability, centralized management, and cost efficiency—all from one powerful platform.
Note: Only Carrier Partners can create and manage multi-tenant environments.
Log in to your customer portal account at: https://cap.ringq.com//login/
Click the Purchase option on the left sidebar.
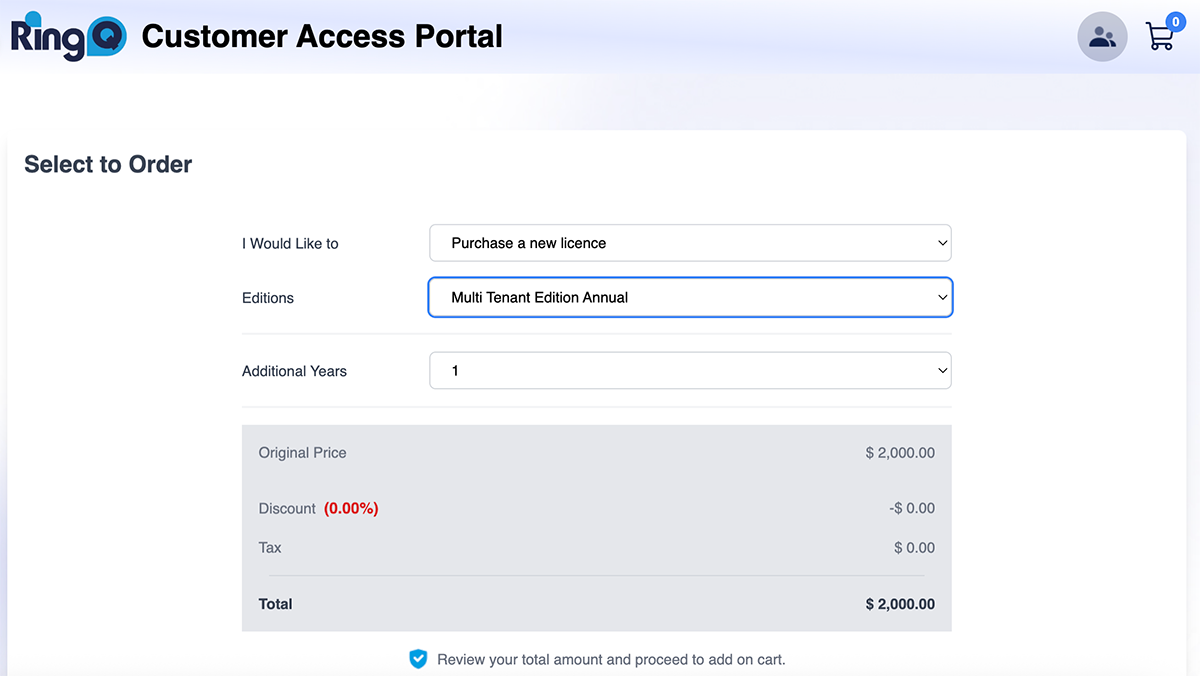
In the I would like to option, select Purchase a new license.
In the Edition option, select Multi Tenant Edition Annual.
Choose your license duration (e.g., 1 year, 2 years).
Click Add to Cart.
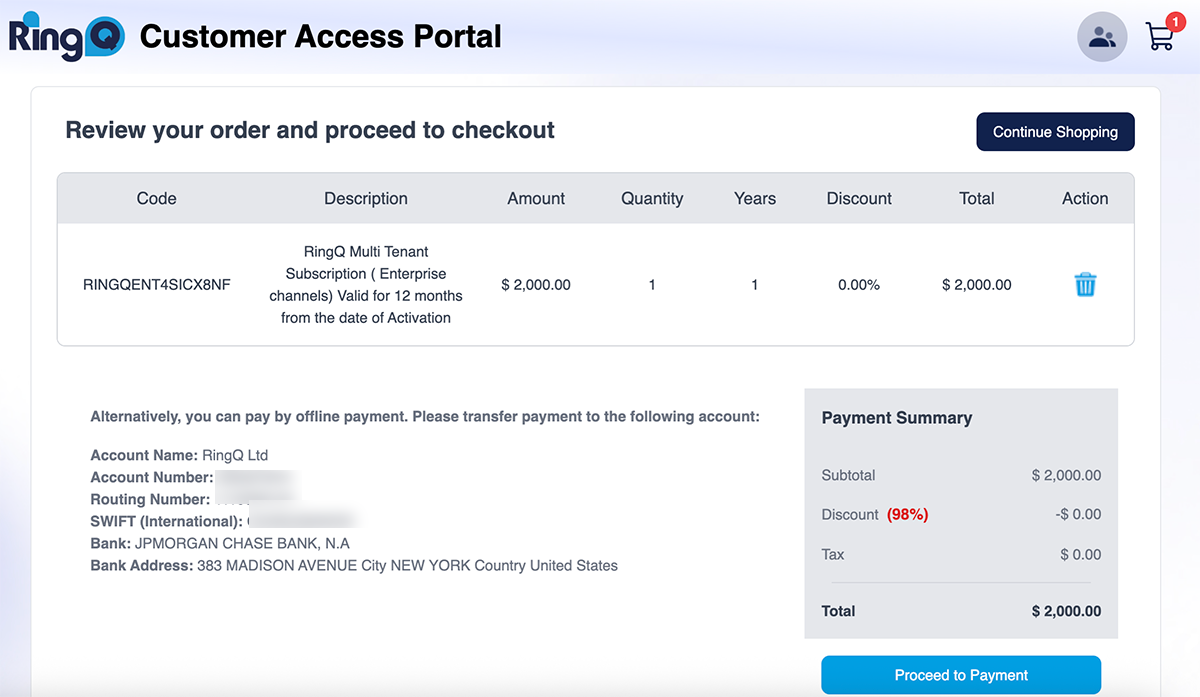
Click Proceed to Payment and complete the payment process.
Note: Multi-Tenant Edition licenses are not eligible for discounts.
Go to the License option on the left sidebar.

Locate your new Multi-Tenant license and click Set Up.
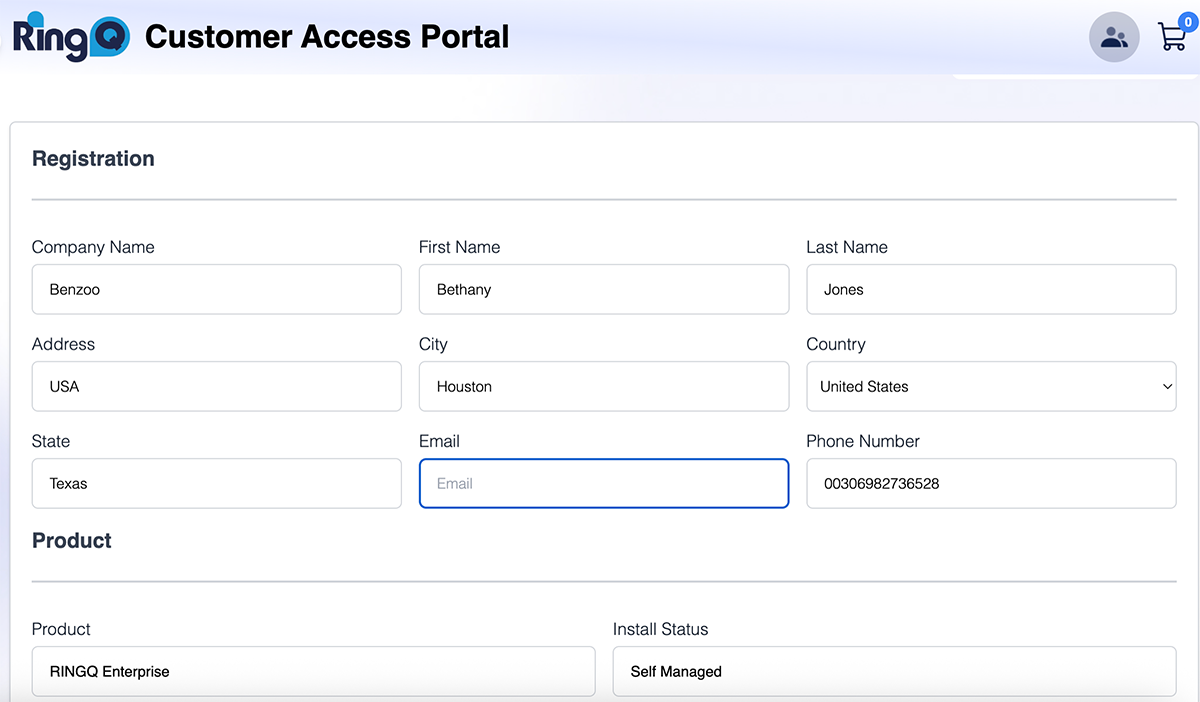
Fill in all the requested fields and click Next.
The following screen informs you about the number of extensions your system will have.
Then choose your country, language, and prompts.
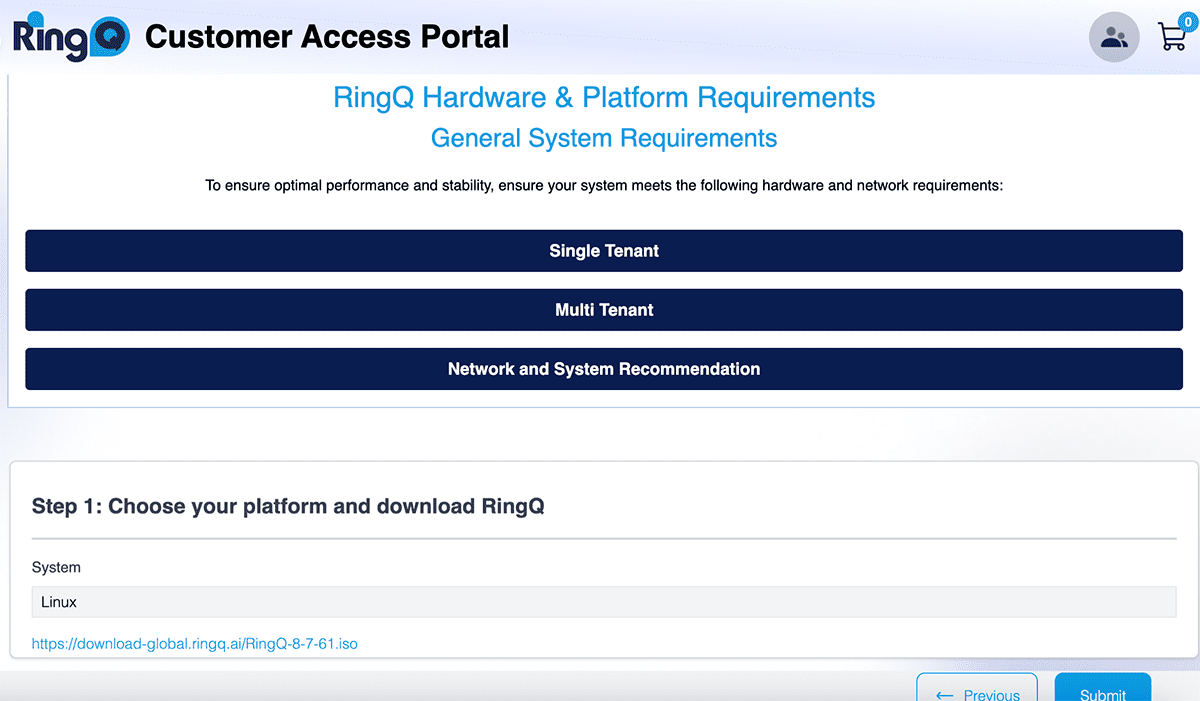
On the last page you will be informed of the system and hardware requirements for RingQ to work efficiently, as well as a download link for your multi-tenant server. Click this link to begin downloading RingQ.
Click Submit. Your account is now registered.
To install and configure the downloaded file, follow the steps in the RingQ ISO Installation Guide. You will also be able to add your first tenant.
Go back to your RingQ customer portal. Navigate to the Licenses page and locate your multi-tenant license.
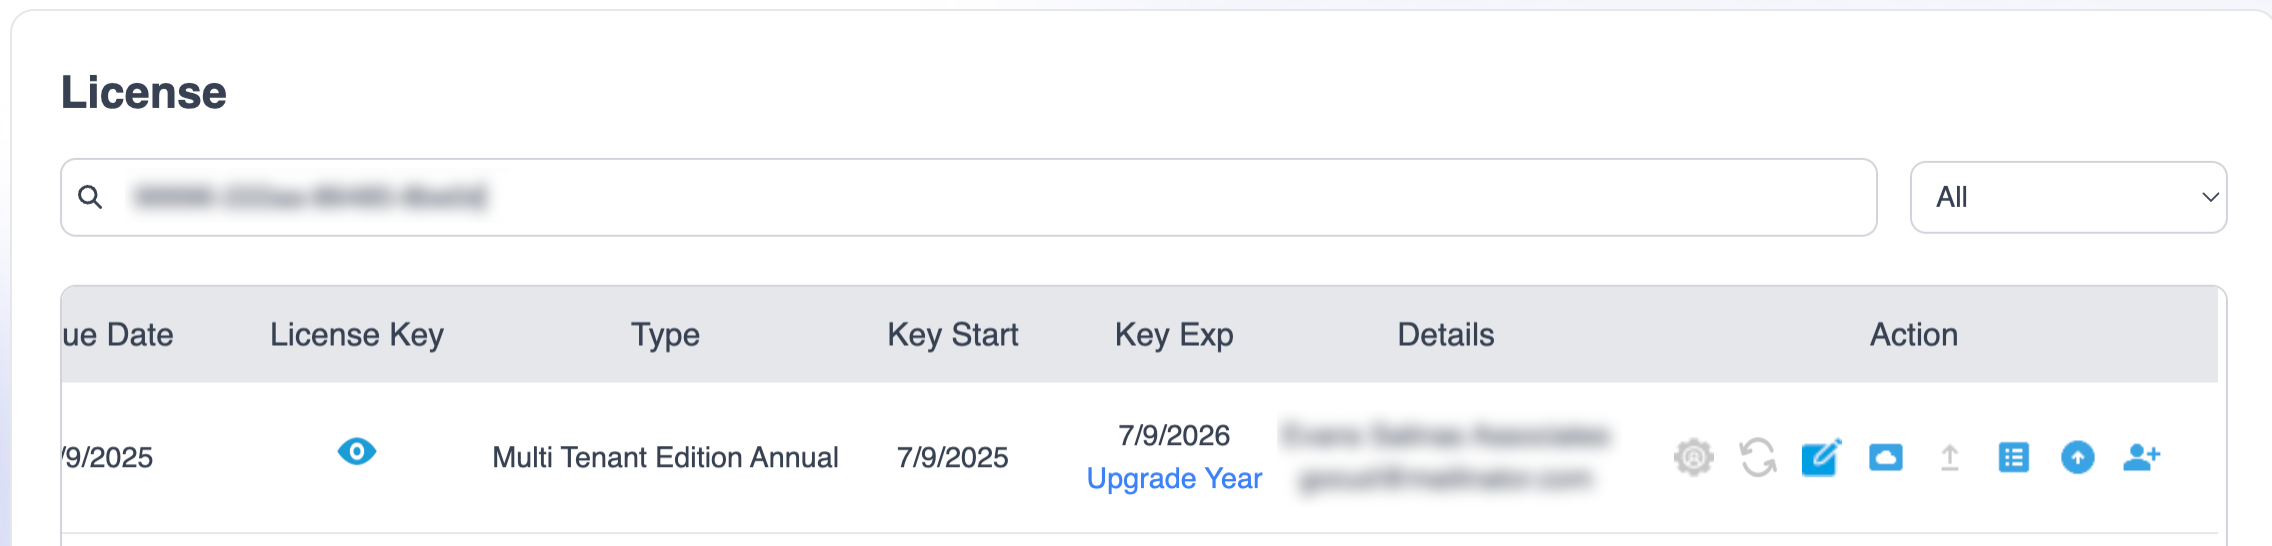
To the right you will see various actions you can perform:
Locate the multi-tenant license you want to manage from the Licenses page.

Click Add Tenant.
On the next page, fill in the details of your new tenant and click Submit.
The new tenant will receive an activation email. They must click the Activate Account button in the email to activate their account.
After clicking the activation link, they will be directed to their RingQ web app.
Their status in the Customer Portal will change from Pending to Active.
To add extensions to any tenant, you must ensure that you have purchased extensions beforehand.
Locate the multi-tenant license you want to manage and click Buy Extension.
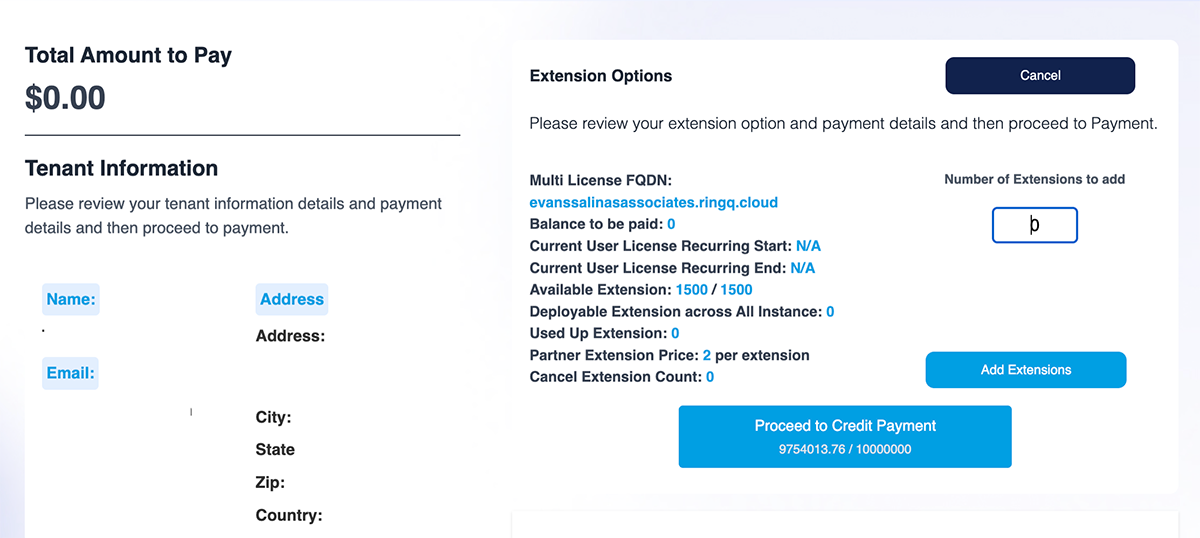
Enter the number of extensions you want to buy, agree to the terms and conditions, and click Proceed to Payment.

You will notice that the number of deployable extensions has changed from 0 to the number of extensions you just purchased (in the example above, 3). Note: The first time you add extensions to any tenant, the minimum number of extensions you can add is 5.
You can now proceed to add extensions to any tenant.
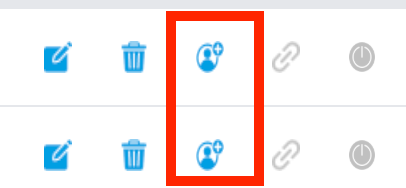
Locate the tenant you want to add an extension to and click the Add Extension option as indicated above.
Enter the number of extensions you want to add. If this is the first time you’re adding extensions, you must add at least 5. Click Yes.
The extensions have now been added to the selected tenant. Repeat the process for other tenants as needed.
You can also cancel extensions if needed. From here you can also:
