This guide explains how to purchase additional extensions through the RingQ Customer Access Portal and assign them to a tenant under a Multi-Tenant license account.
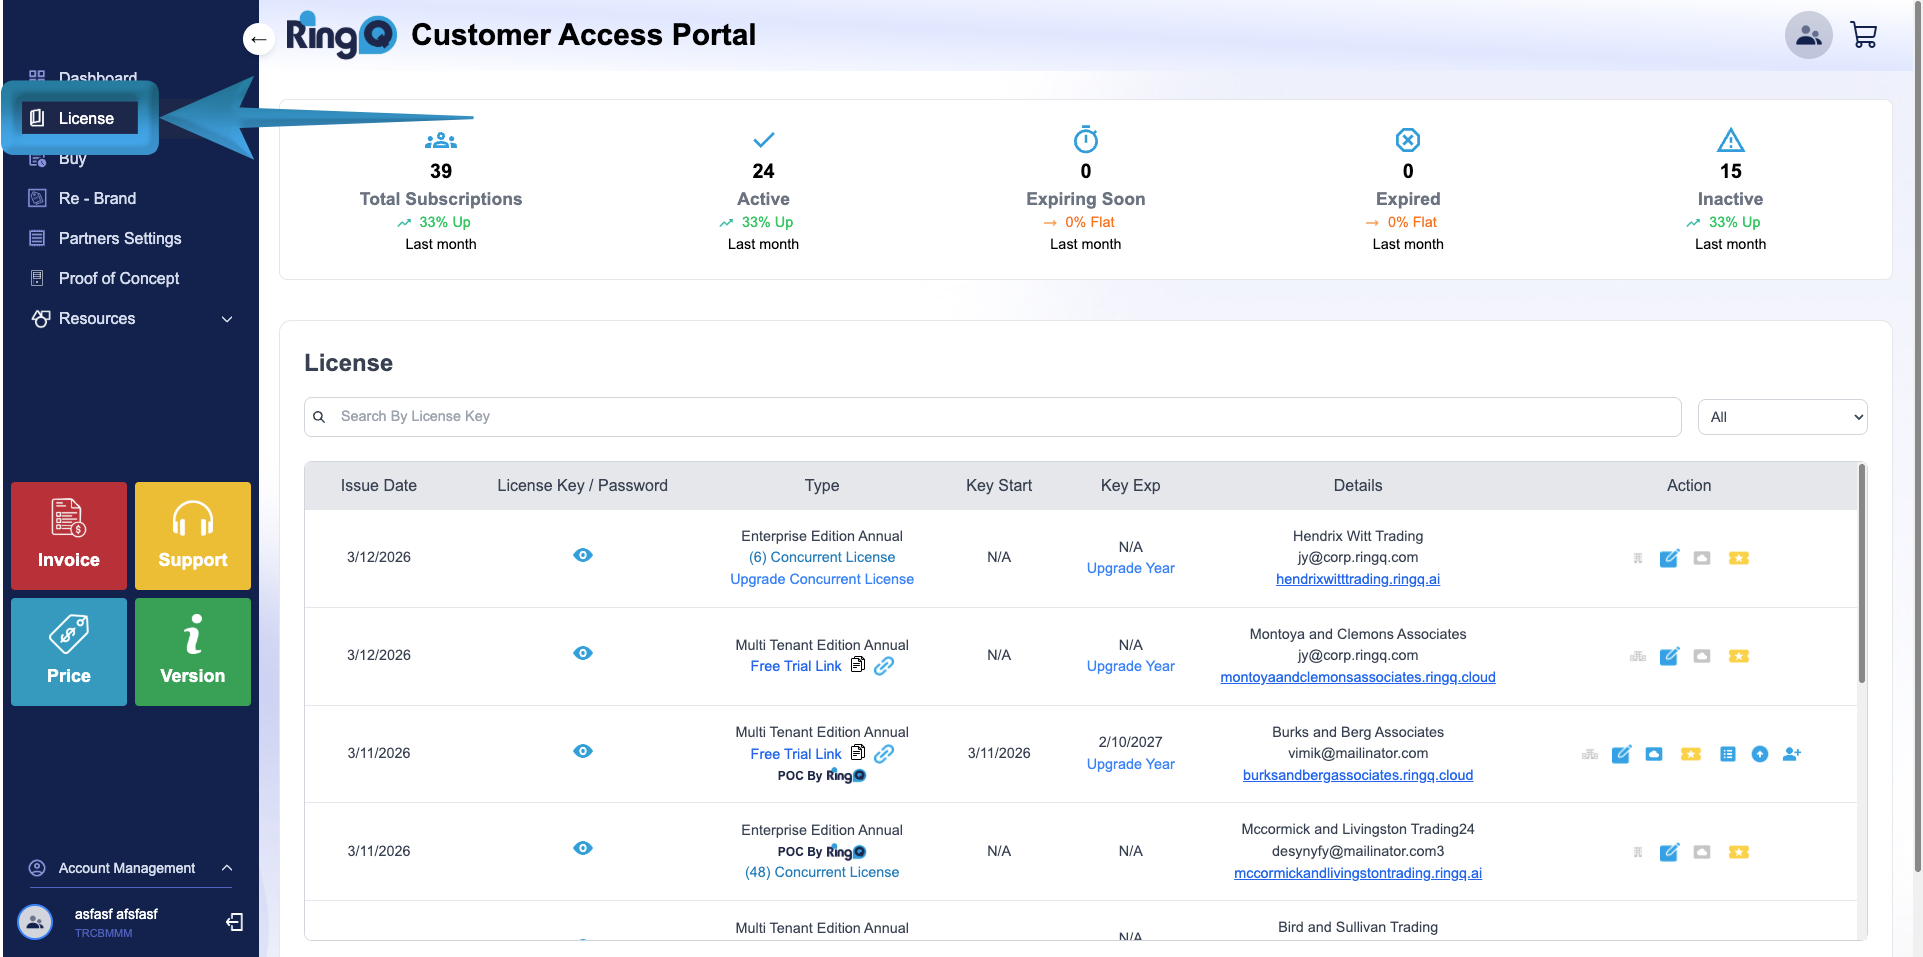
Log in to the RingQ Customer Access Portal dashboard.
From the side menu, click the arrow icon to expand the menu options.
Select License.
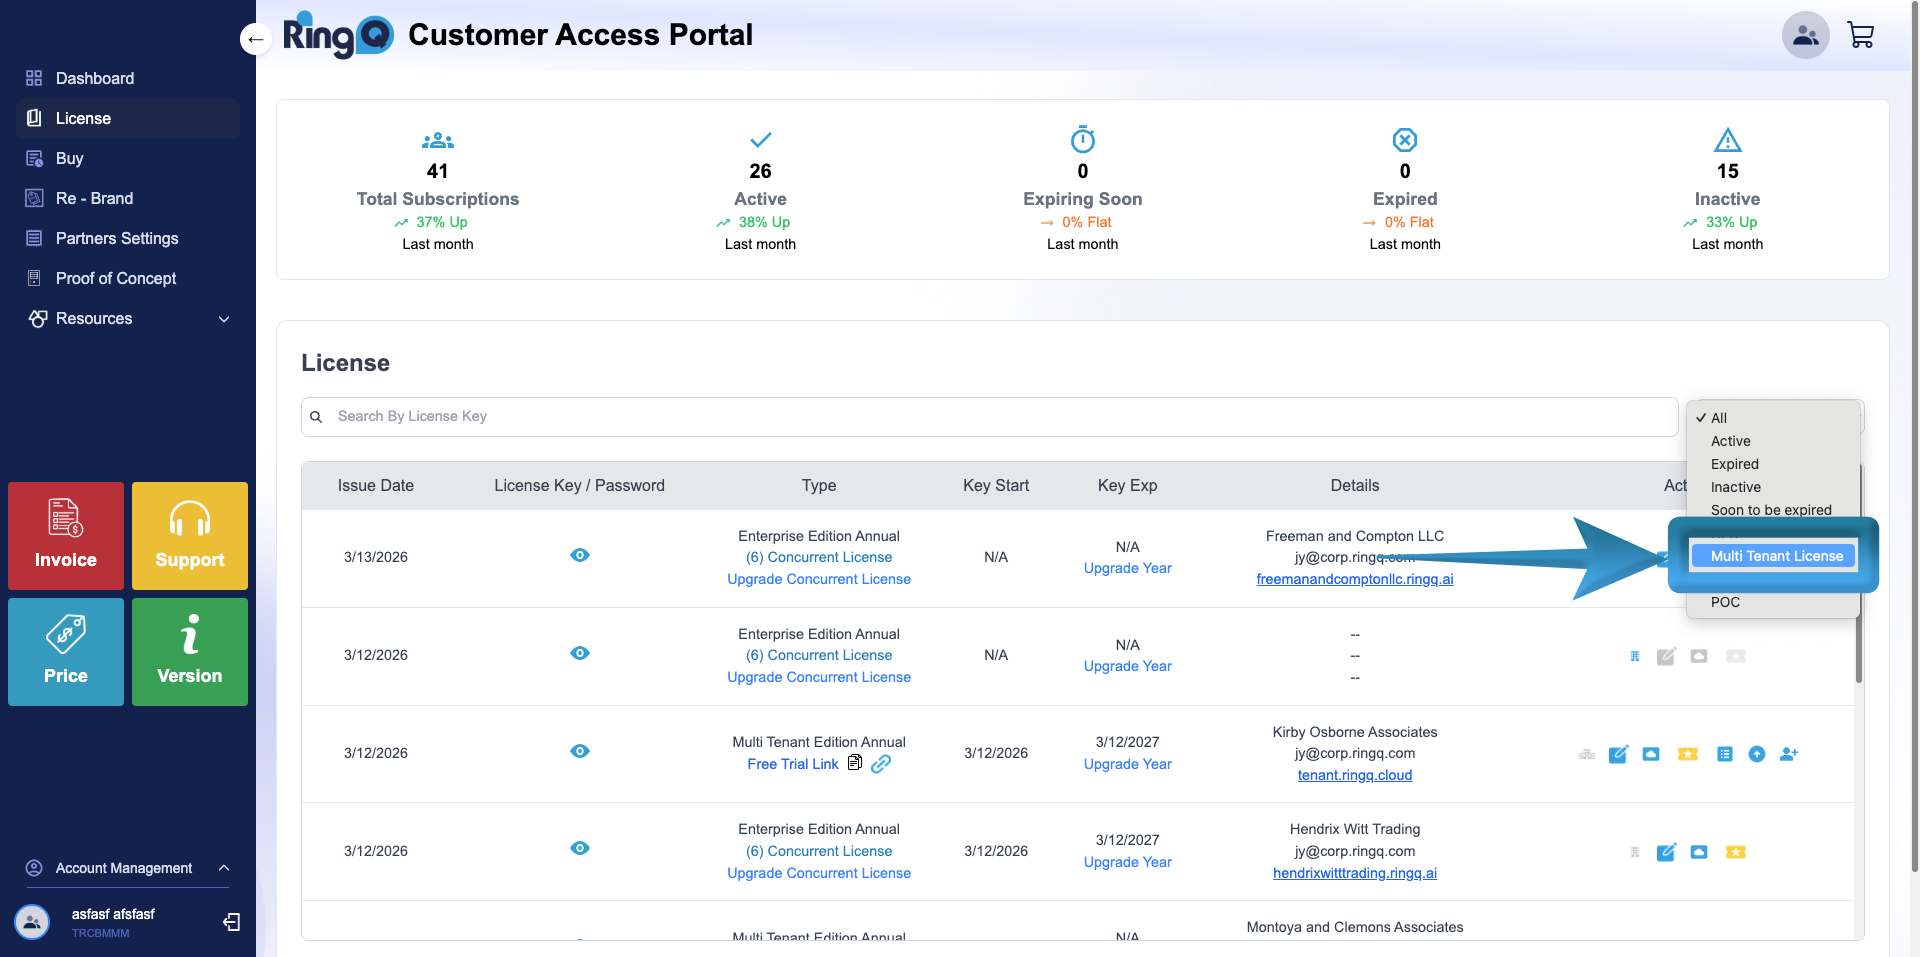
On the License page, locate the dropdown menu in the upper-right corner.
Select Multi-Tenant License from the dropdown list.
The page will automatically filter and display the available Multi-Tenant license accounts.
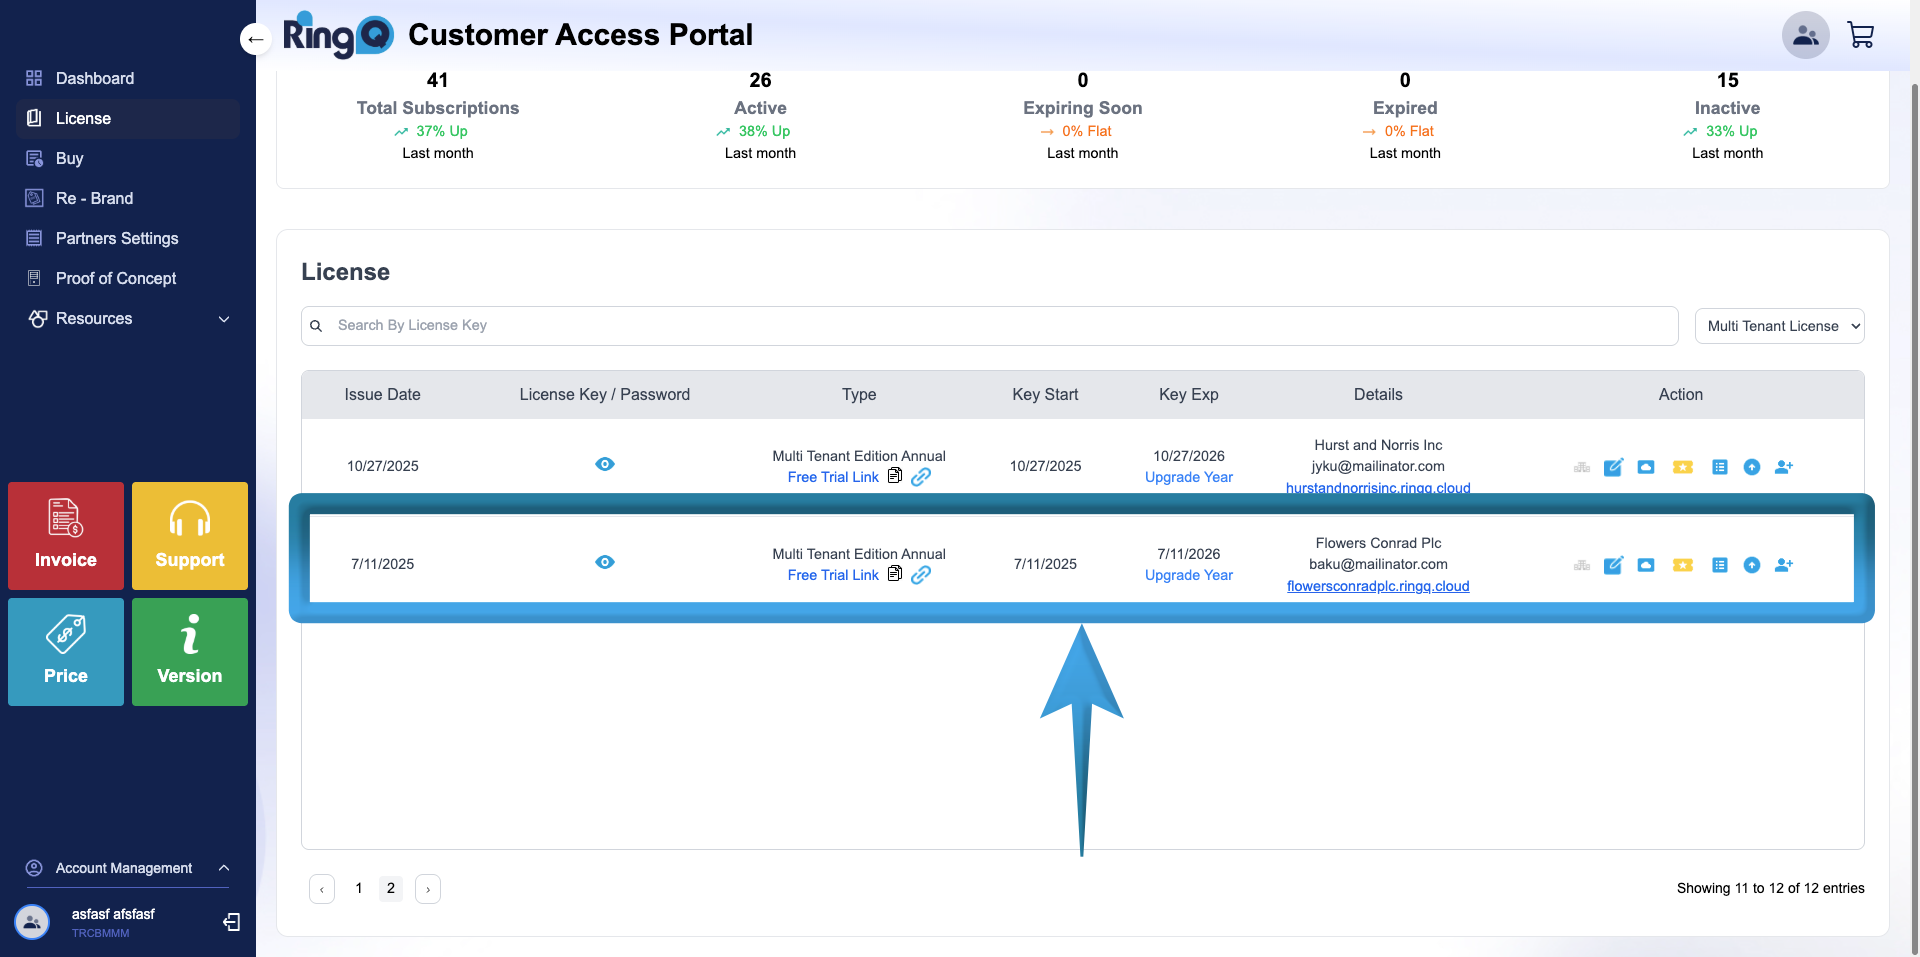
Locate the Multi-Tenant license account where you want to add extensions.
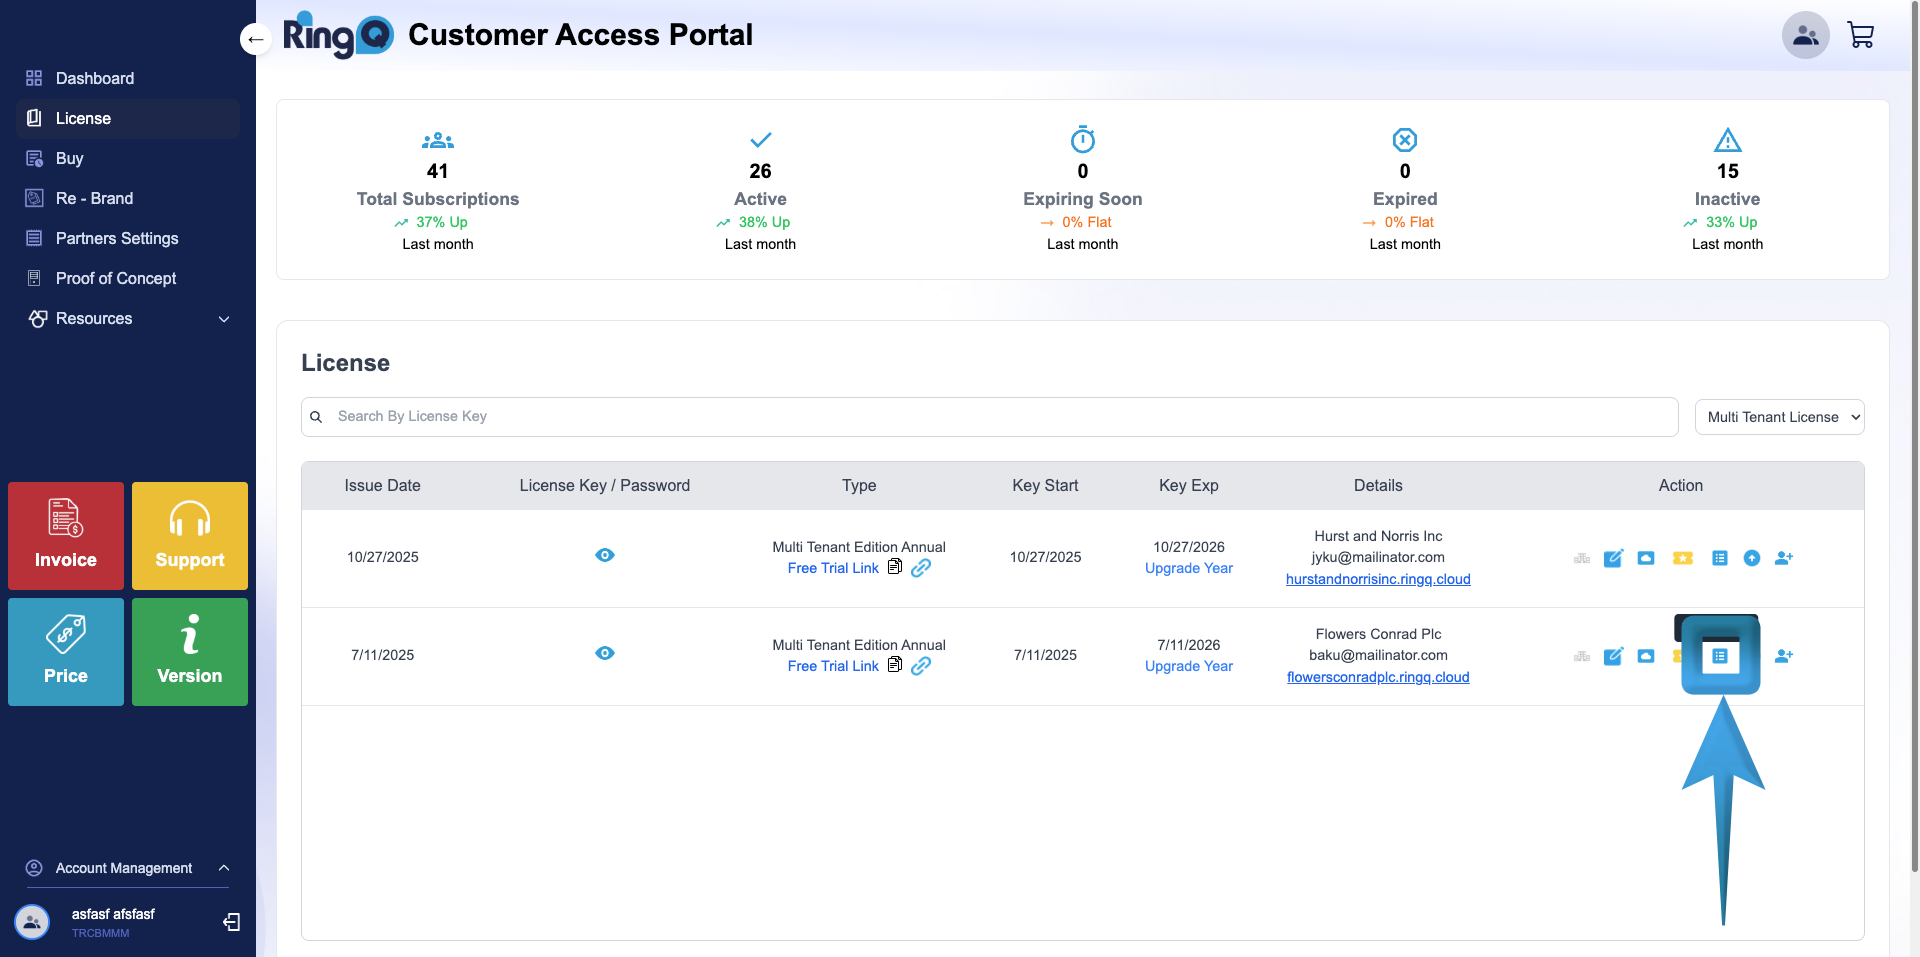
Go to the Actions column and click the Tenant List icon.
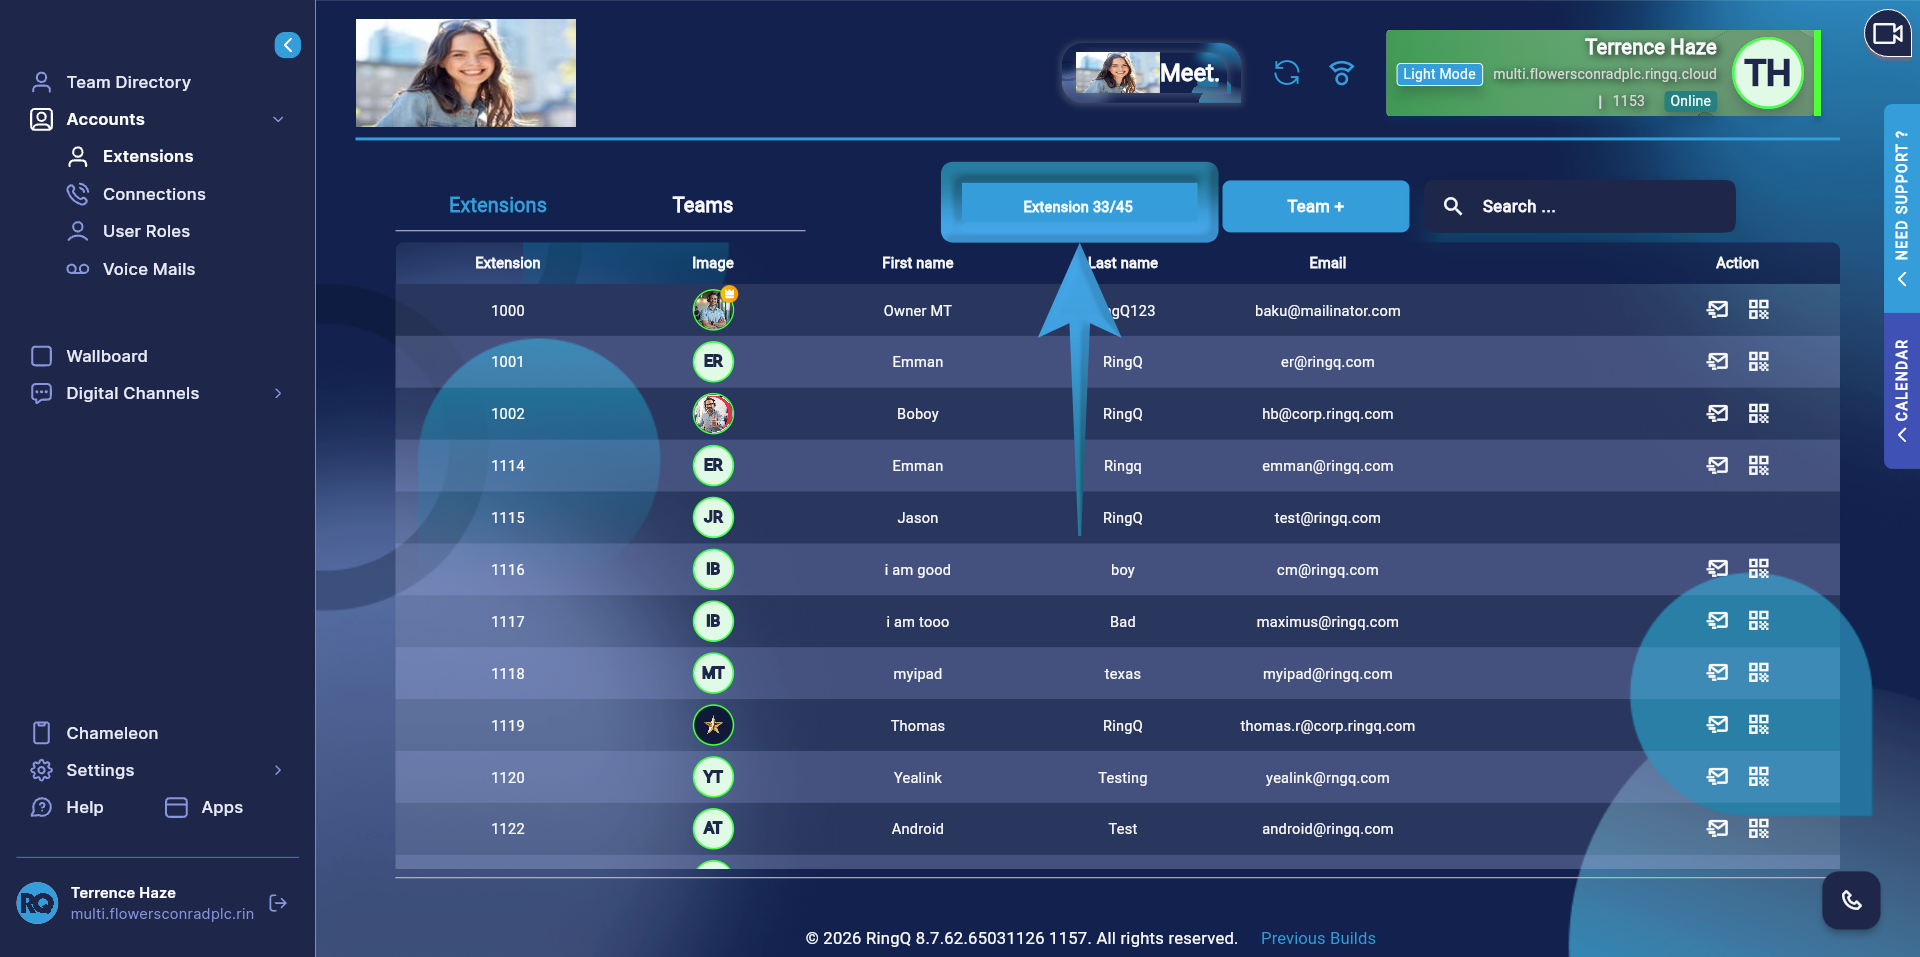
Important: Before purchasing additional extensions, check the RingQ web app to confirm the available extension limit based on your subscription plan.
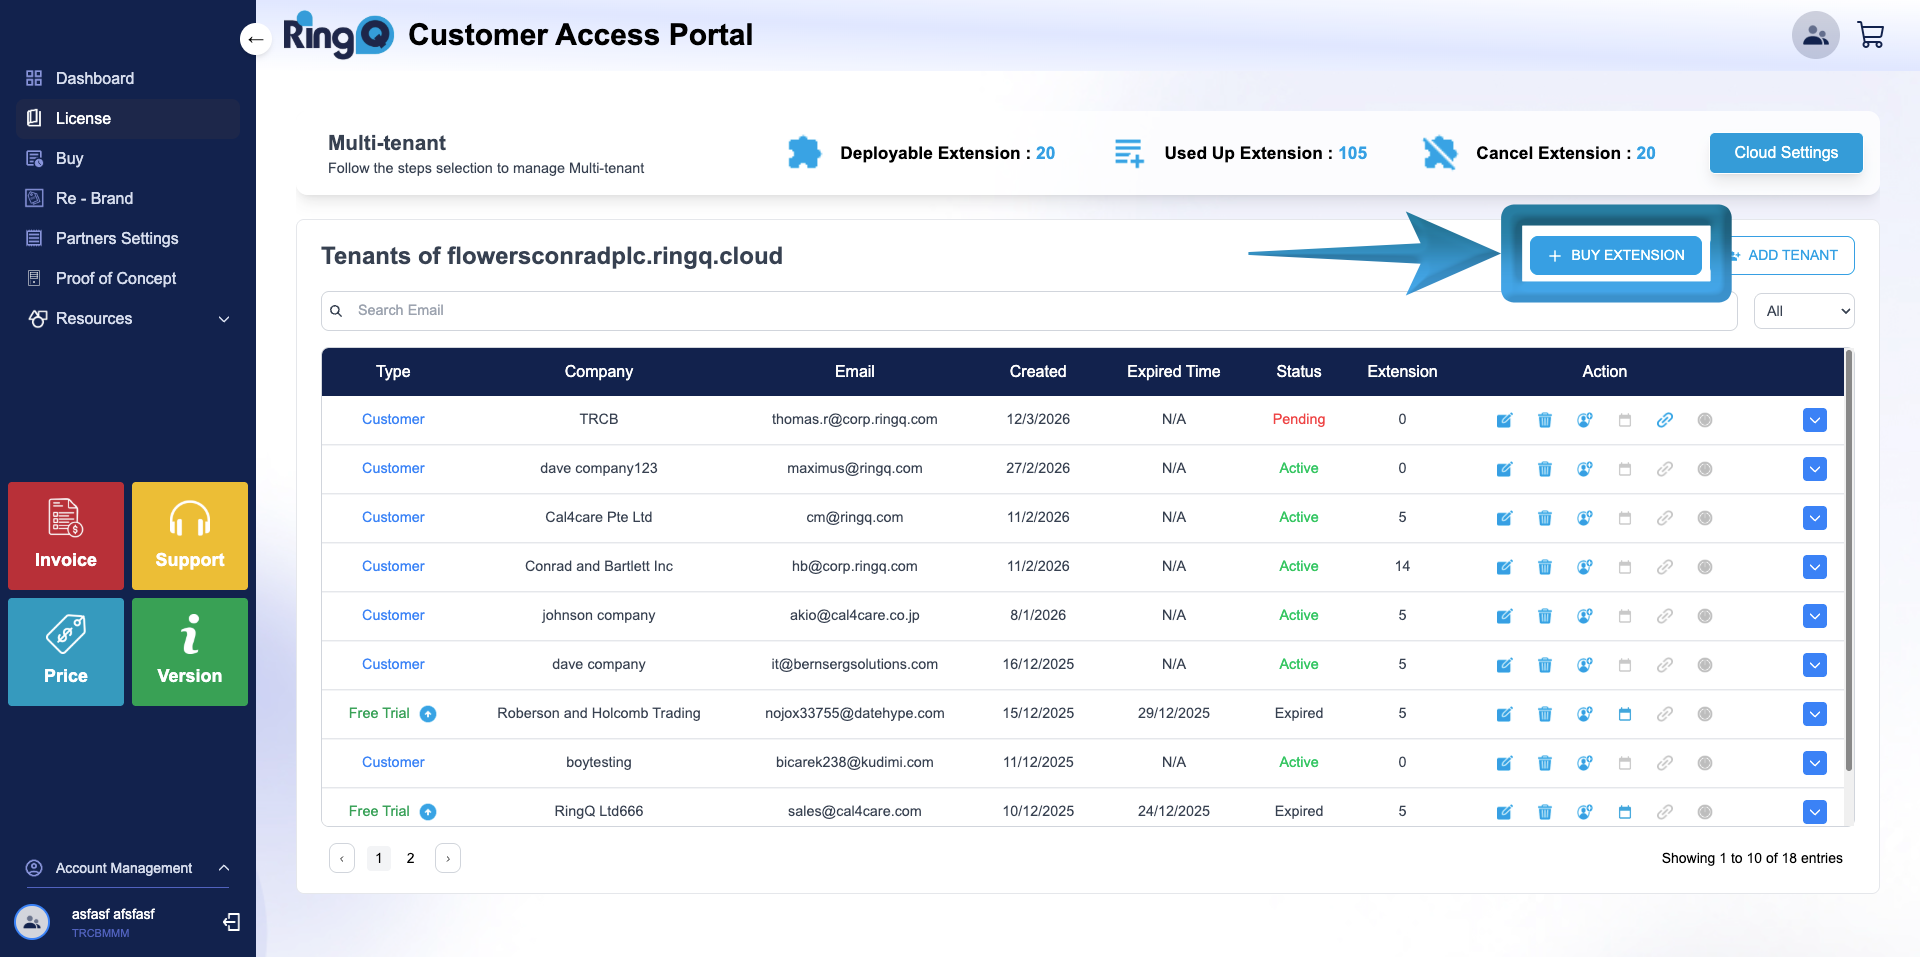
Click the Buy Extension button.
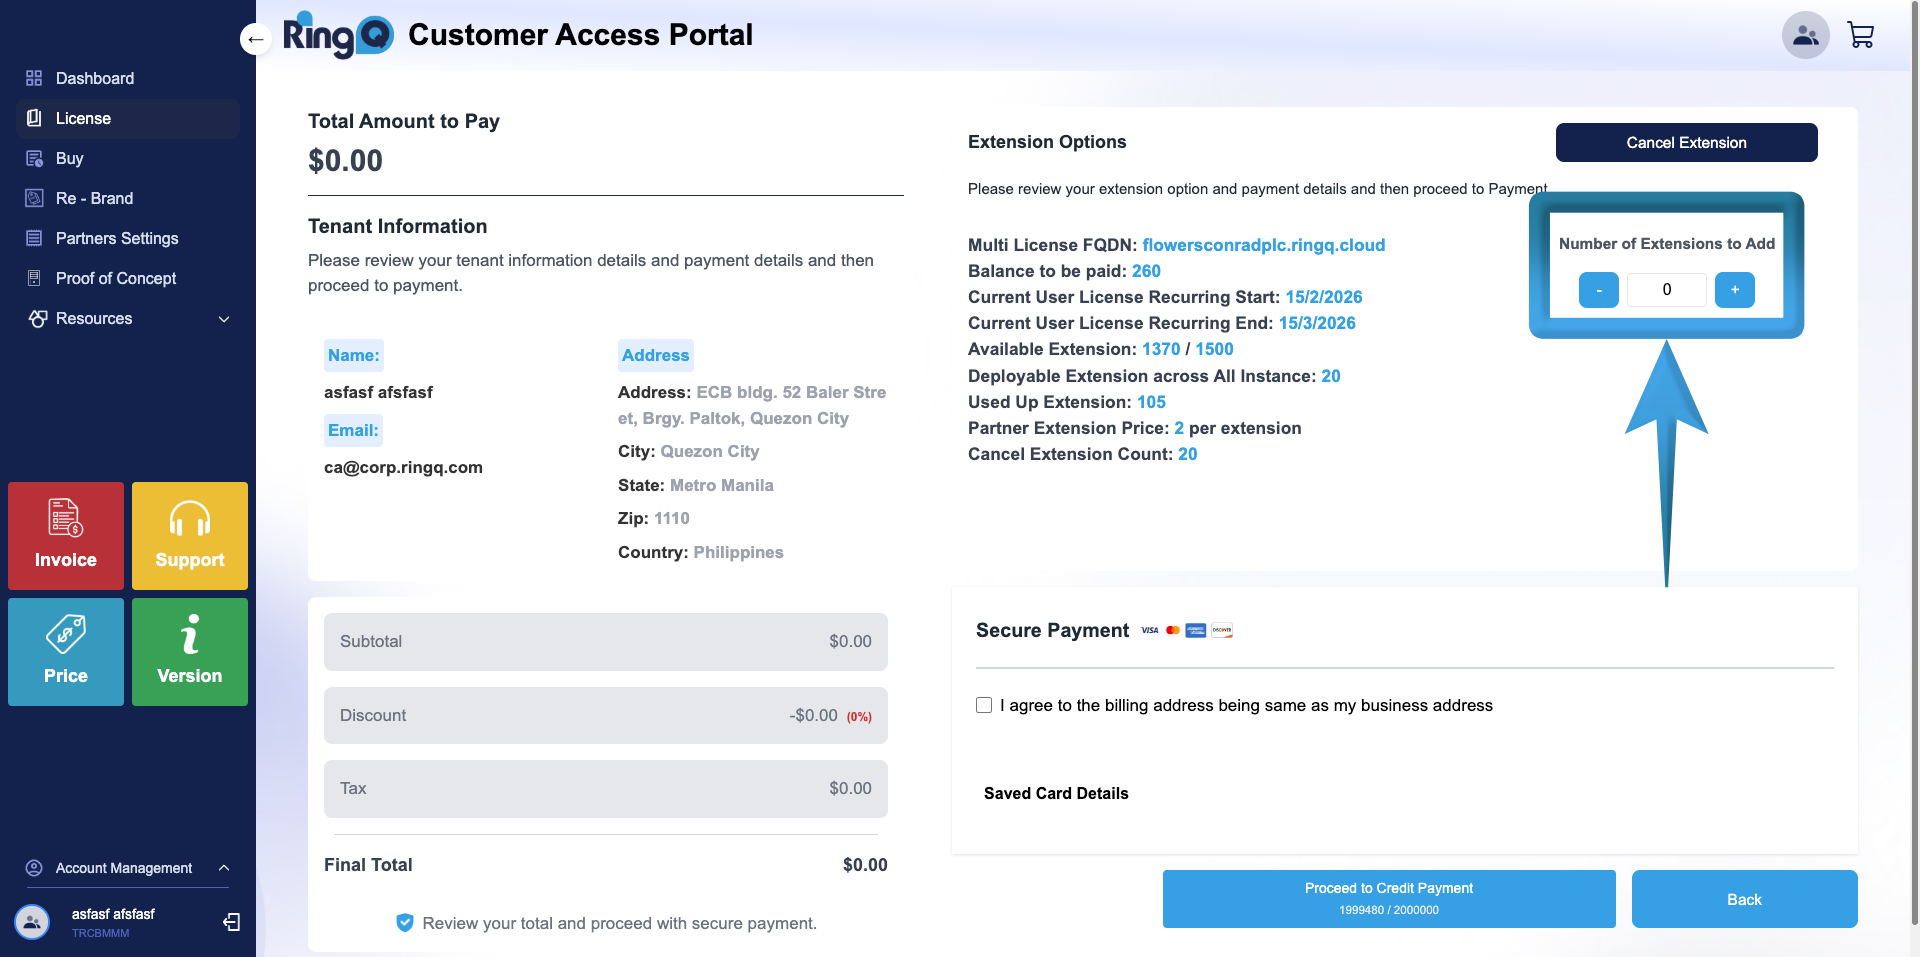
On the Buy Extension page, locate Number of Extensions to Add and click + to add extensions.
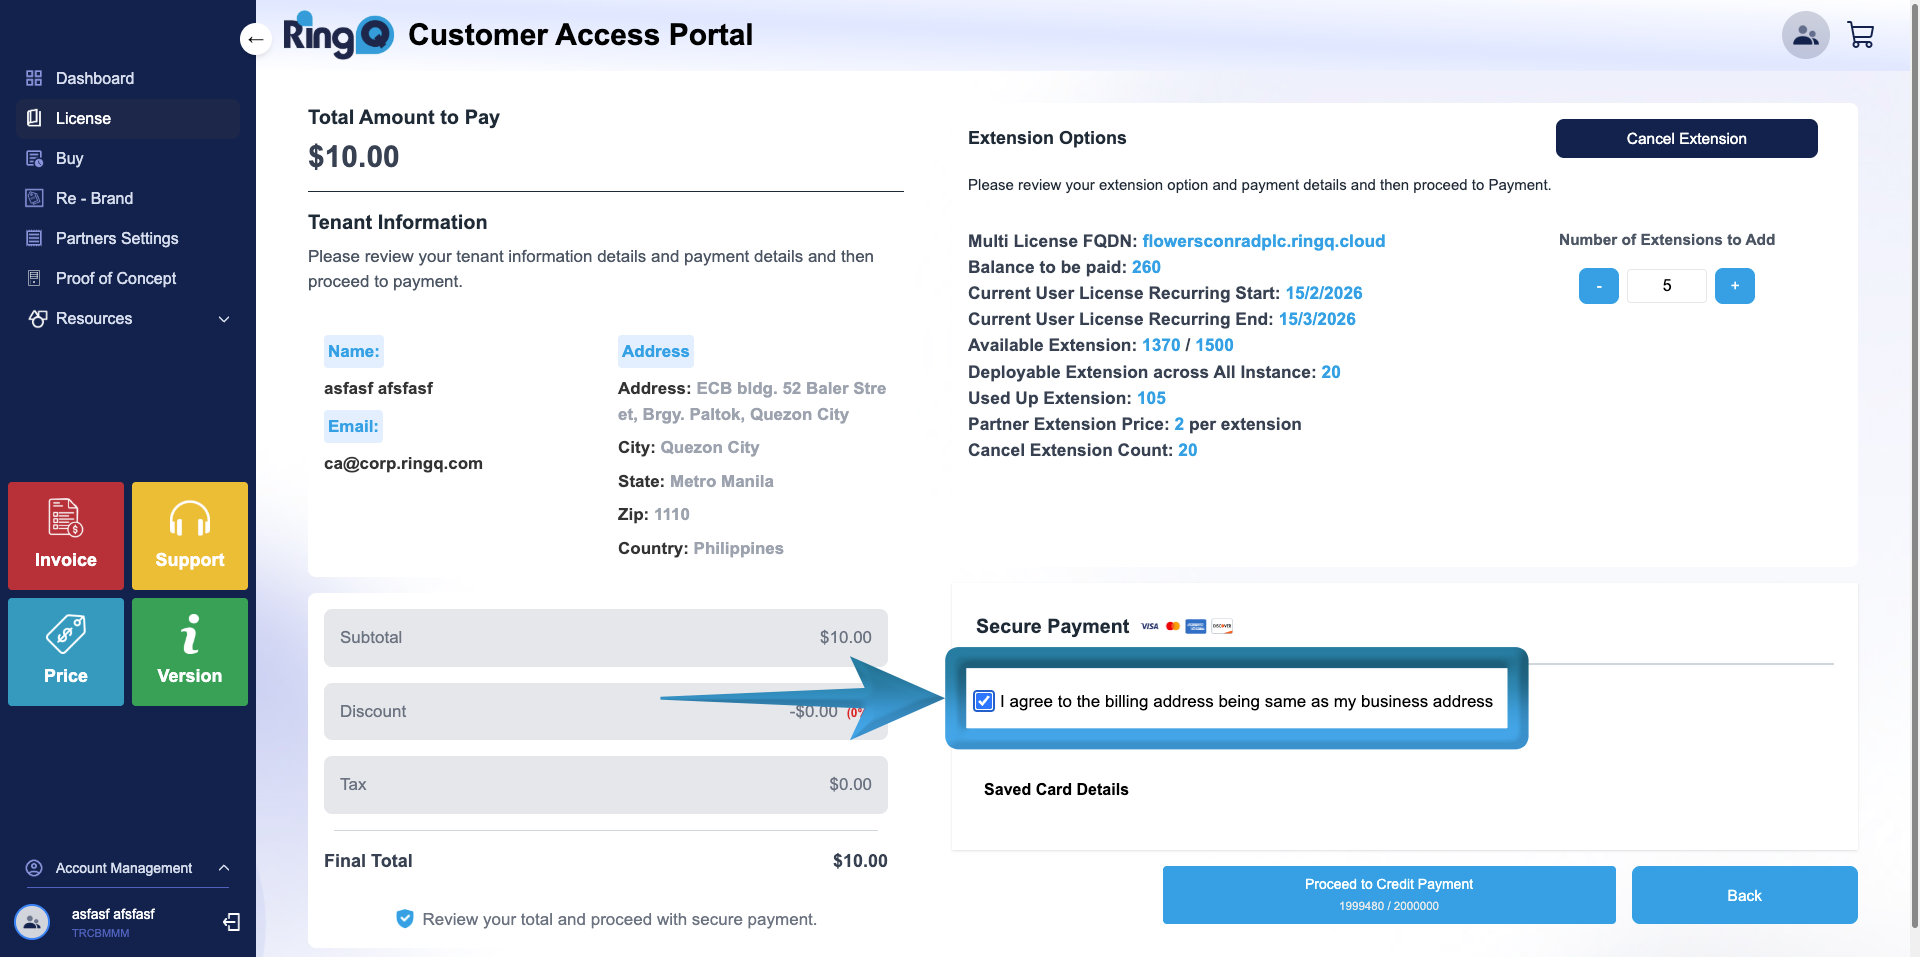
Check the box for: “I agree to the billing address being the same as my business address.” 12. Click Proceed to Credit Payment.
A confirmation popup will appear asking if you want to proceed or cancel. Click Yes, Proceed.
A validation message will appear confirming that the purchase was successful. Click OK.
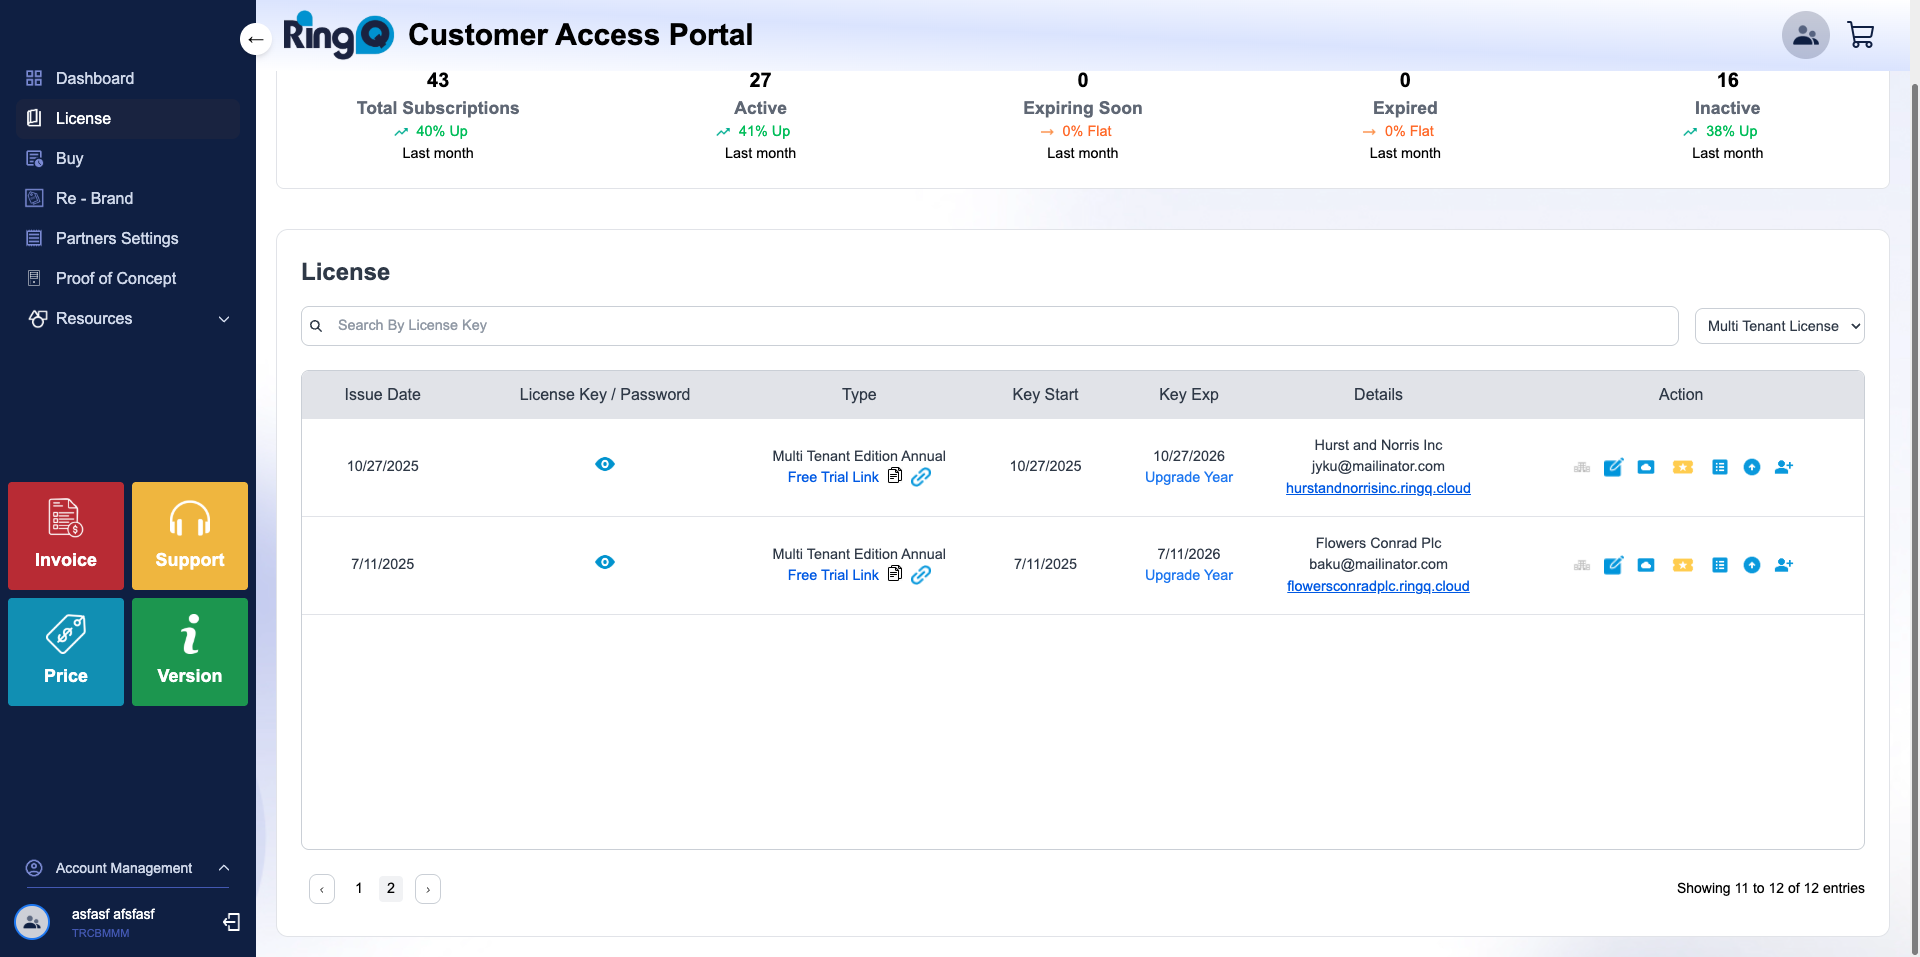
Go back to the Multi-Tenant license account list.
Select the license account where the extensions were purchased.
Go to the Actions column and click the Tenant List icon.
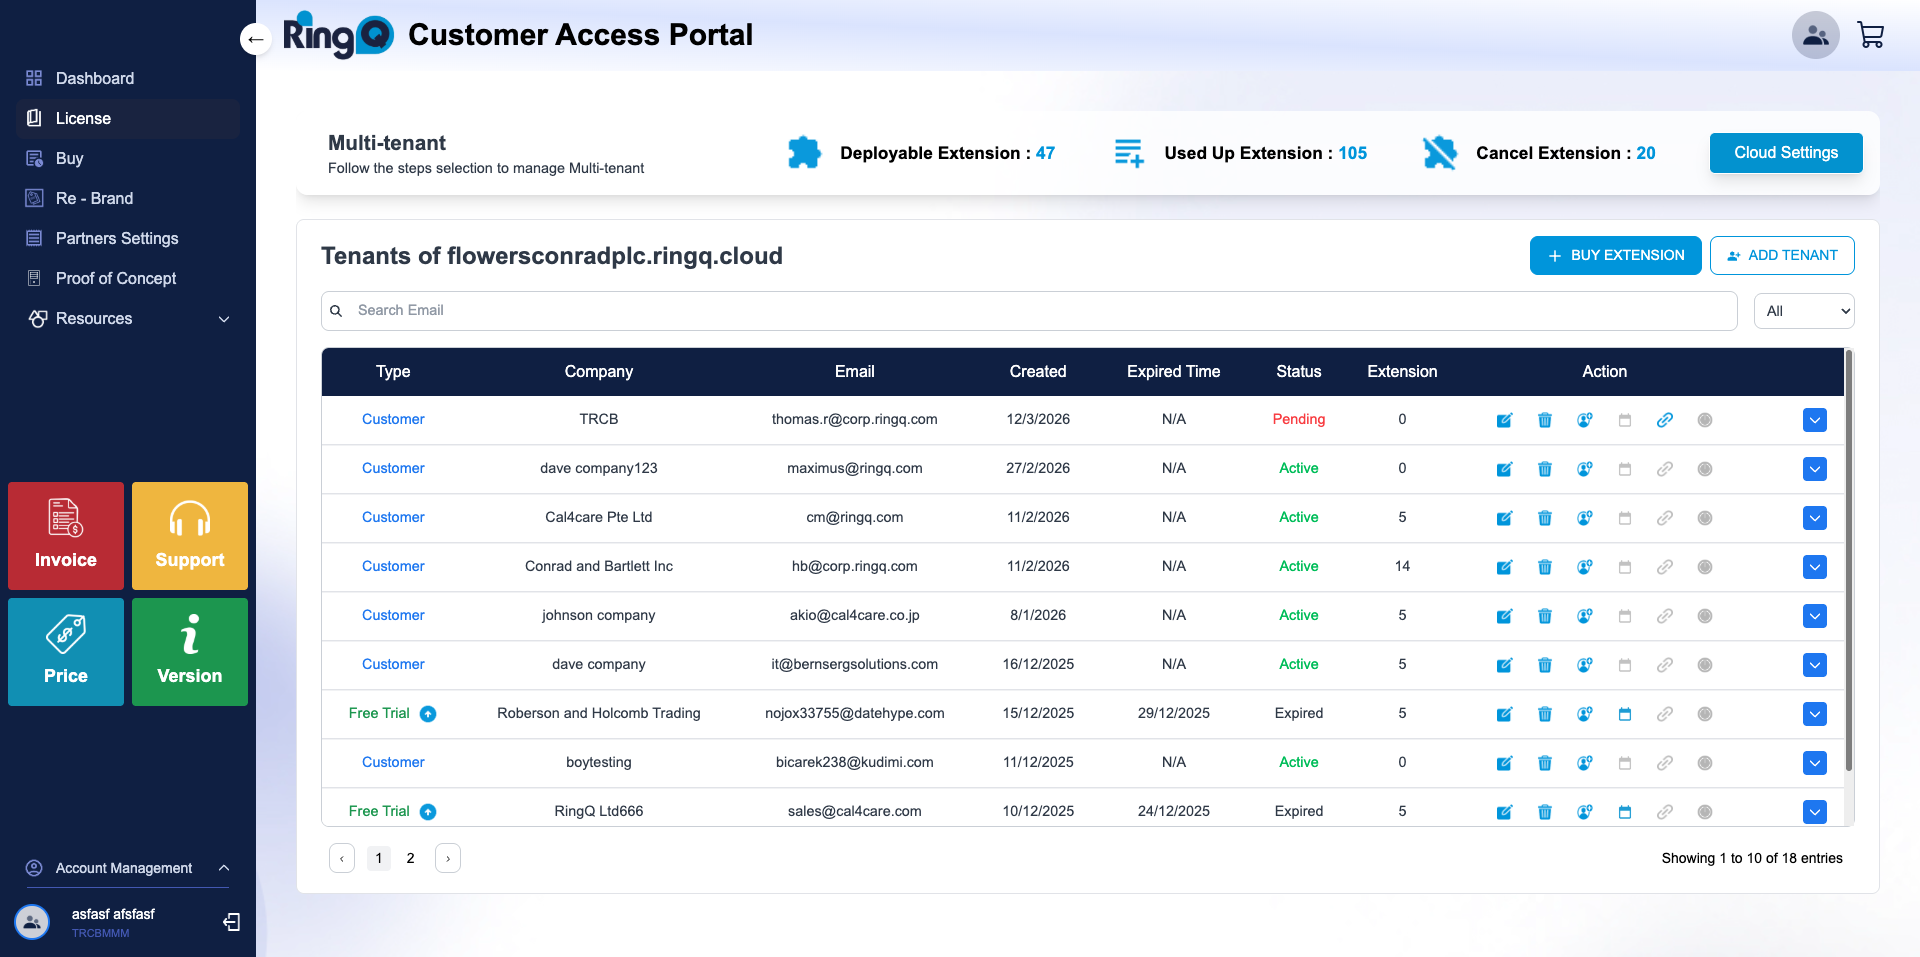
The system will display the list of tenants under the Multi-Tenant license account. 5. Select the tenant where you want to add extensions.
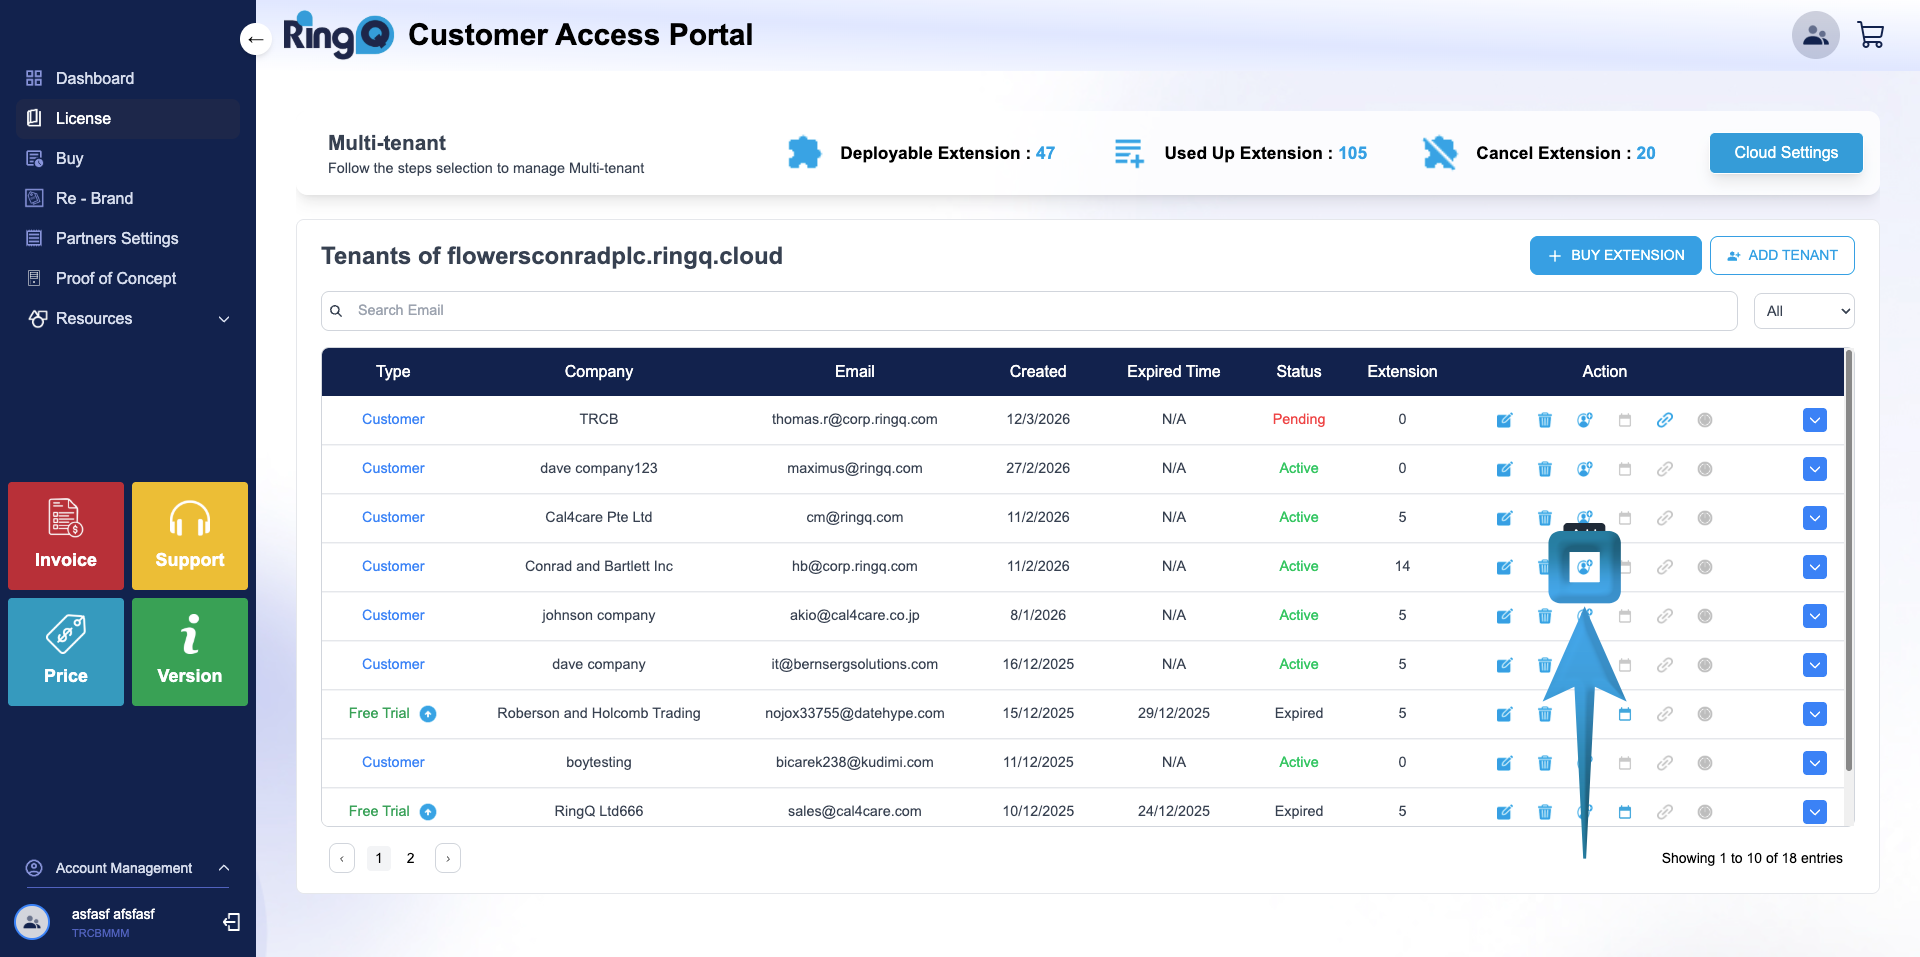
Under the Actions column, click the Add icon.
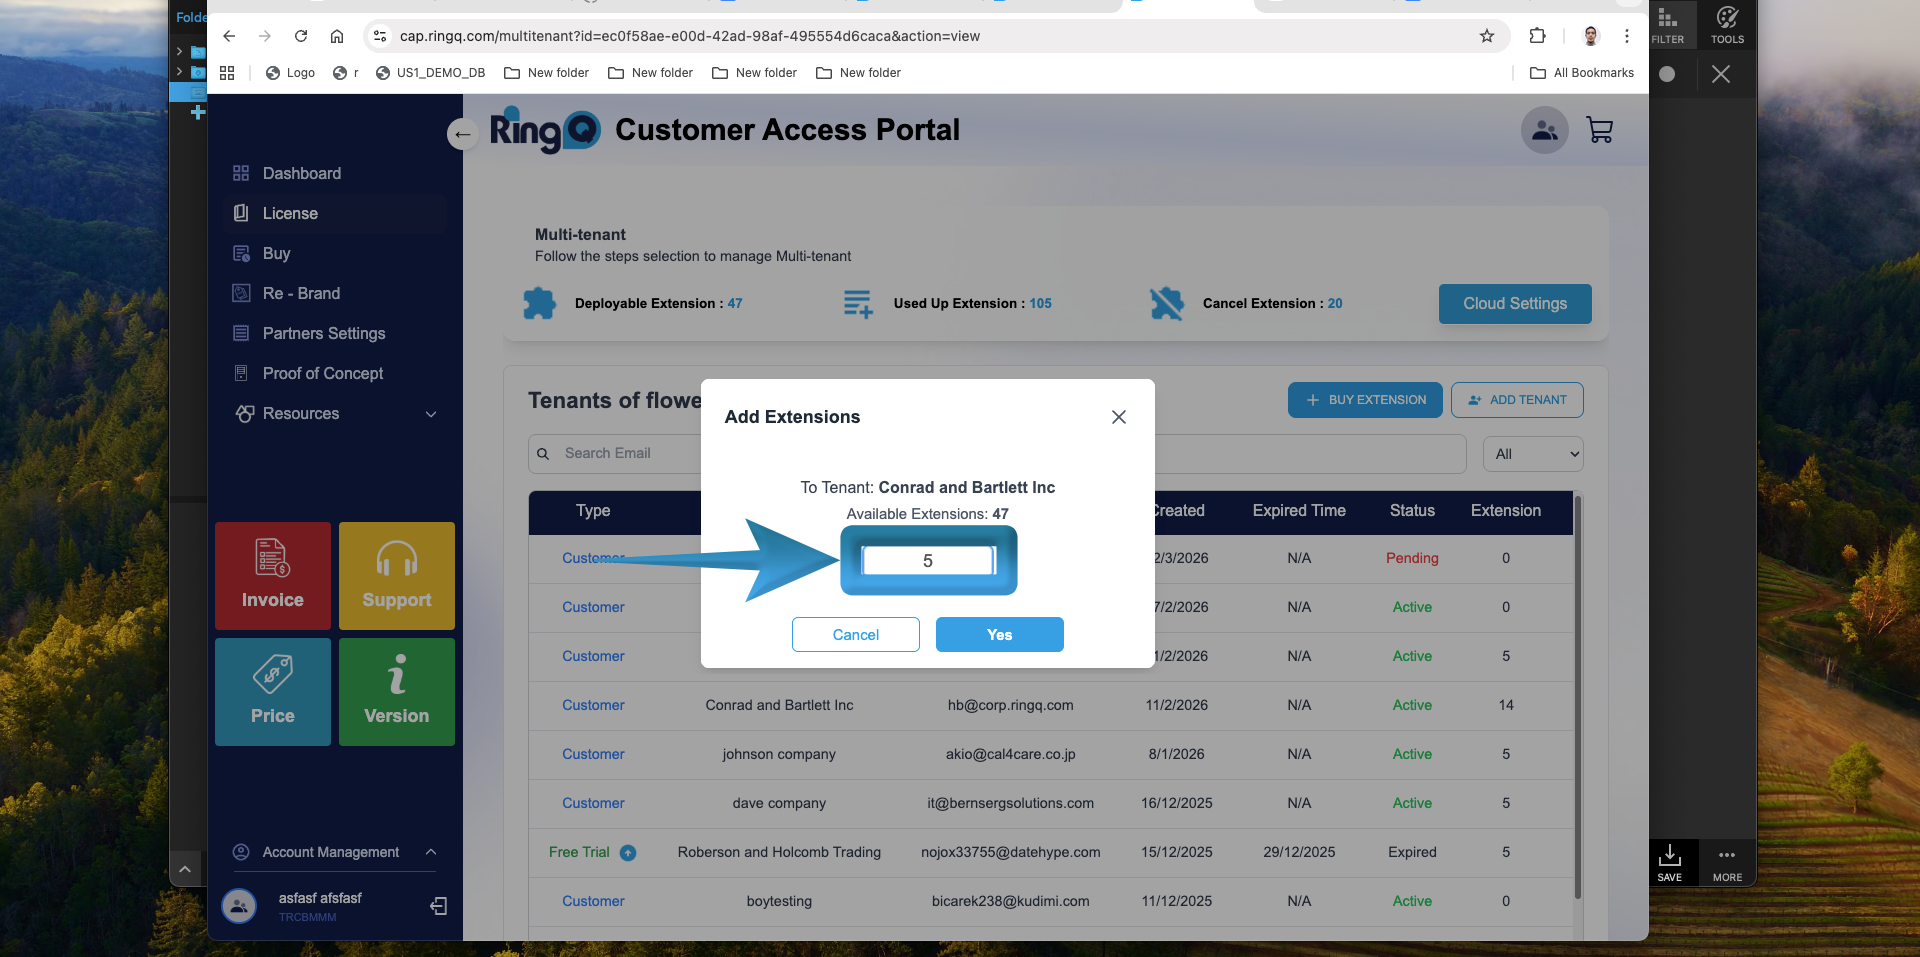
In the pop-up, enter the number of extensions you want to add to the selected tenant.
Click the Yes button to confirm.
A validation message will appear: “Processed! Successfully added an extension for the tenant.” Click OK.
Log in to the RingQ web app.
Navigate to Accounts → Extensions.
Verify that the additional extension limit has increased. The purchased extensions are now successfully added and distributed to the selected tenant, so administrators can create new extensions as needed.
