This guide covers how to release an FQDN license in the RingQ Customer Access Portal (CAP), retrieve the freed license key, and assign it to a new FQDN on a fresh server. Use this procedure when decommissioning a domain or migrating a license to a new deployment.
⚠ NOTE
Releasing an FQDN permanently removes its domain, all tenant records, and DNS entries. This action cannot be undone. Ensure you have copied the license key before proceeding.
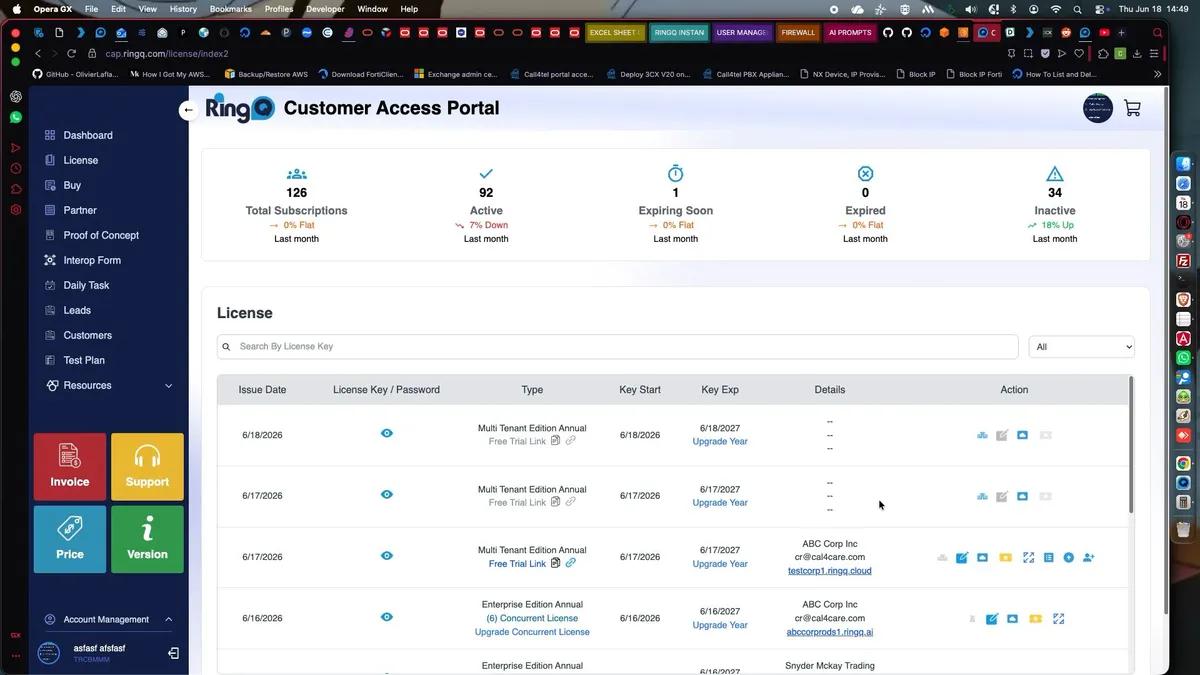
Go to cap.ringq.com and sign in. Click Licenses in the sidebar to open the License Management page.
In the address bar, change the URL to cap.ringq.com/license/index2 and press Enter to access the advanced license management view.
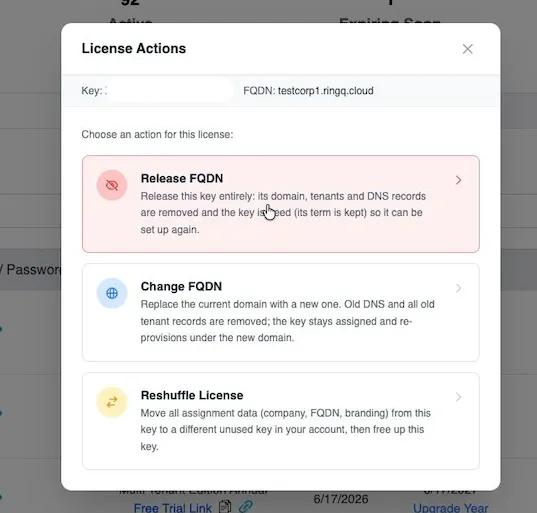
Locate the license entry for the FQDN you want to release. Click the Reshuffle License icon on the right of that row. In the License Actions dialog, select Release FQDN.
The Release FQDN dialog will display a warning confirming that all tenant records and DNS entries will be permanently deleted. Type CONFIRM in the field and click Release FQDN.
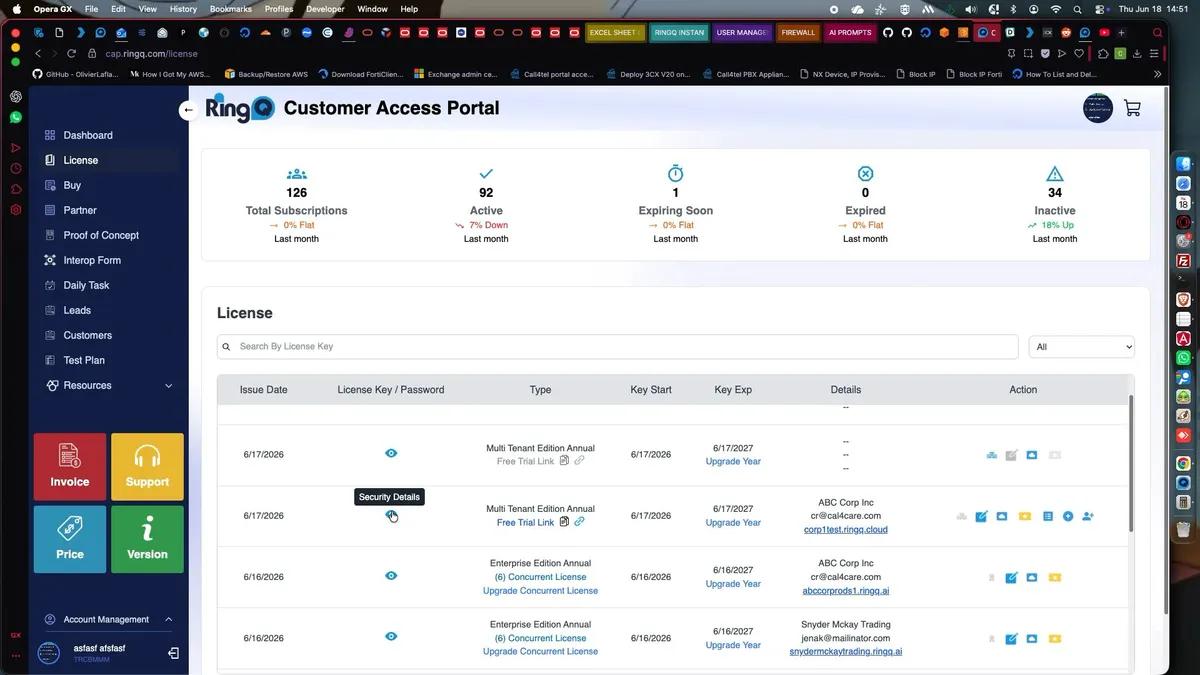
After release, click the Security Details icon on the freed license row. If prompted with an FQDN Setup Incomplete warning, click Proceed Anyway. The Security Details panel will display the license key — click the copy icon to copy it.
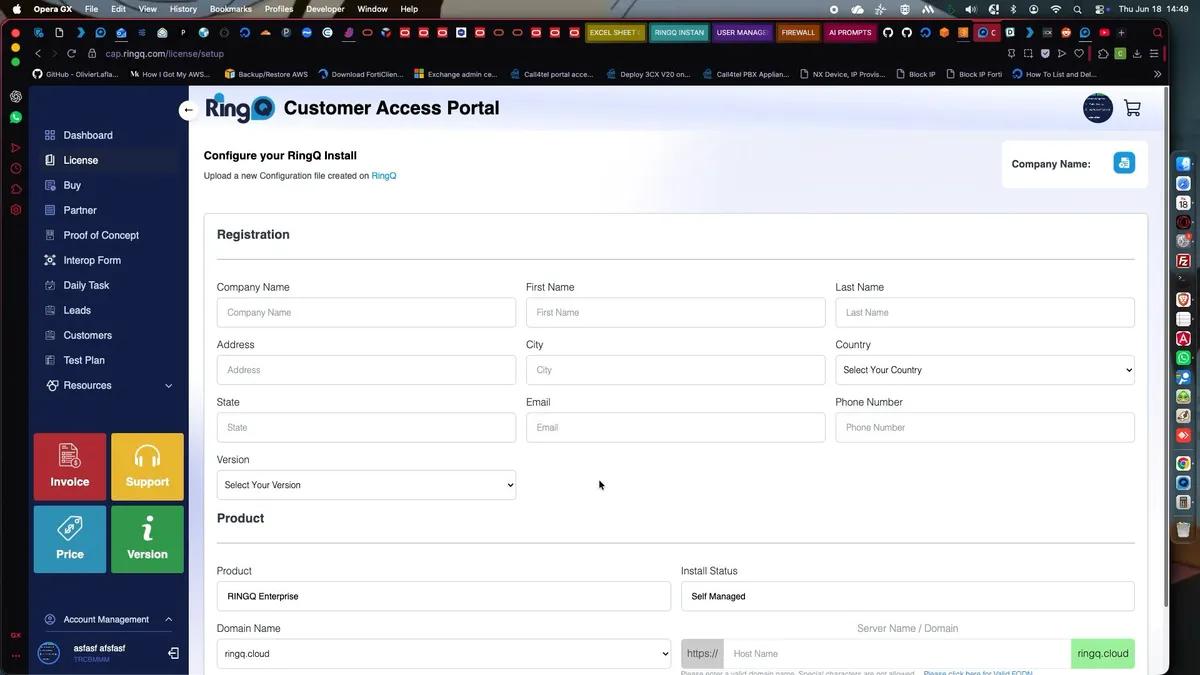
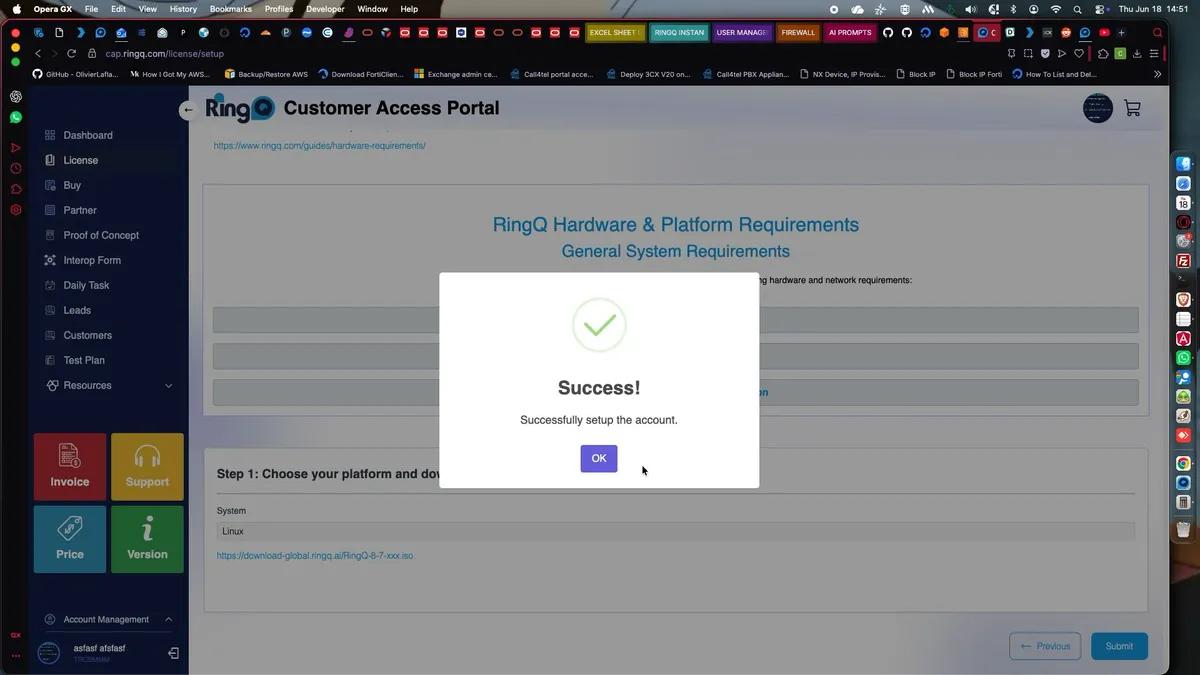
Click the Multi-Tenant icon to open the new FQDN registration form. Fill in the organisation details and enter your desired subdomain under Domain Name. Click Submit — a "Successfully setup the account" confirmation will appear.
Locate the newly created FQDN entry in the license list. Click Security Details and copy the license key for the new domain — you will need this to activate the server.
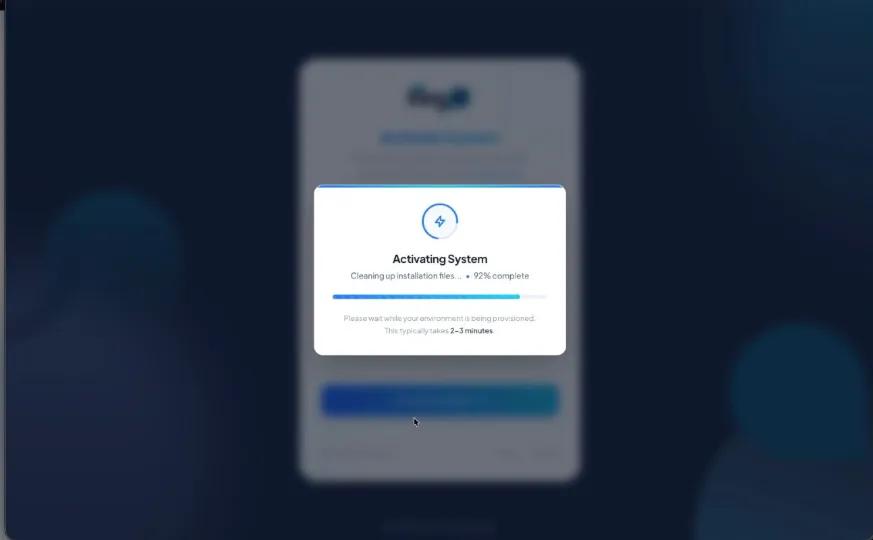
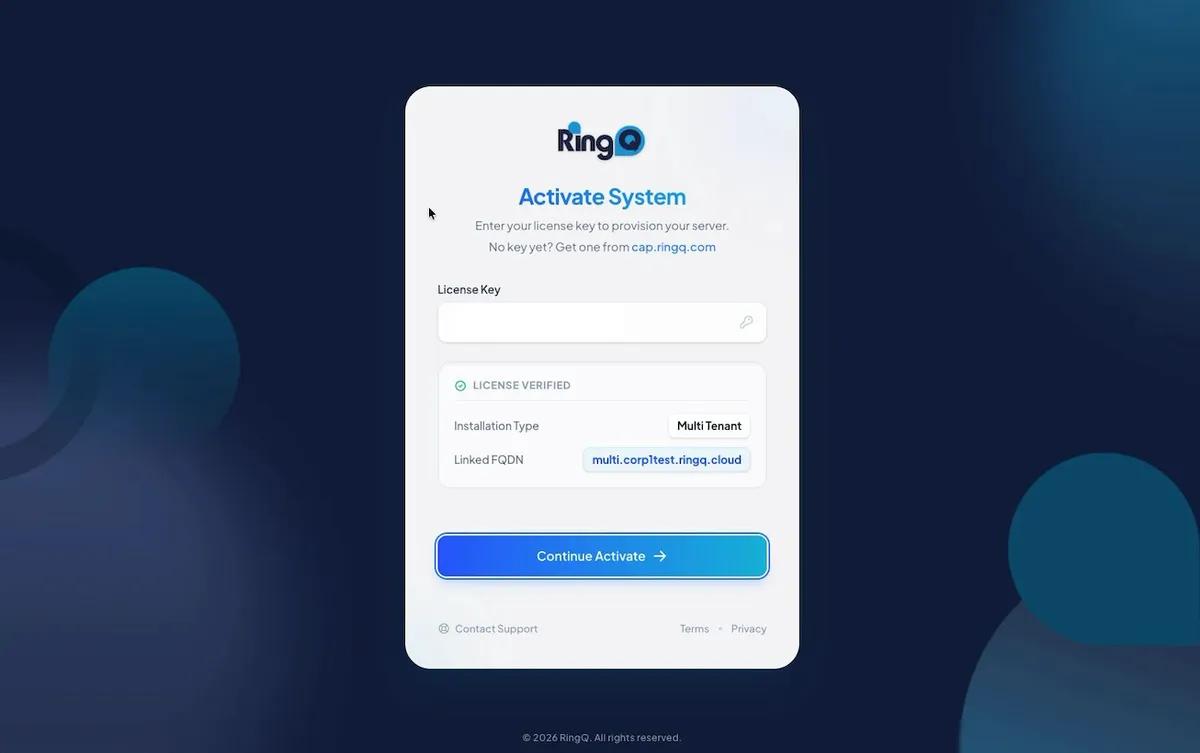
On the new server, open a browser and navigate to http://<server-ip>/license. Paste the license key into the License Key field. Once verified, click Continue Activate.
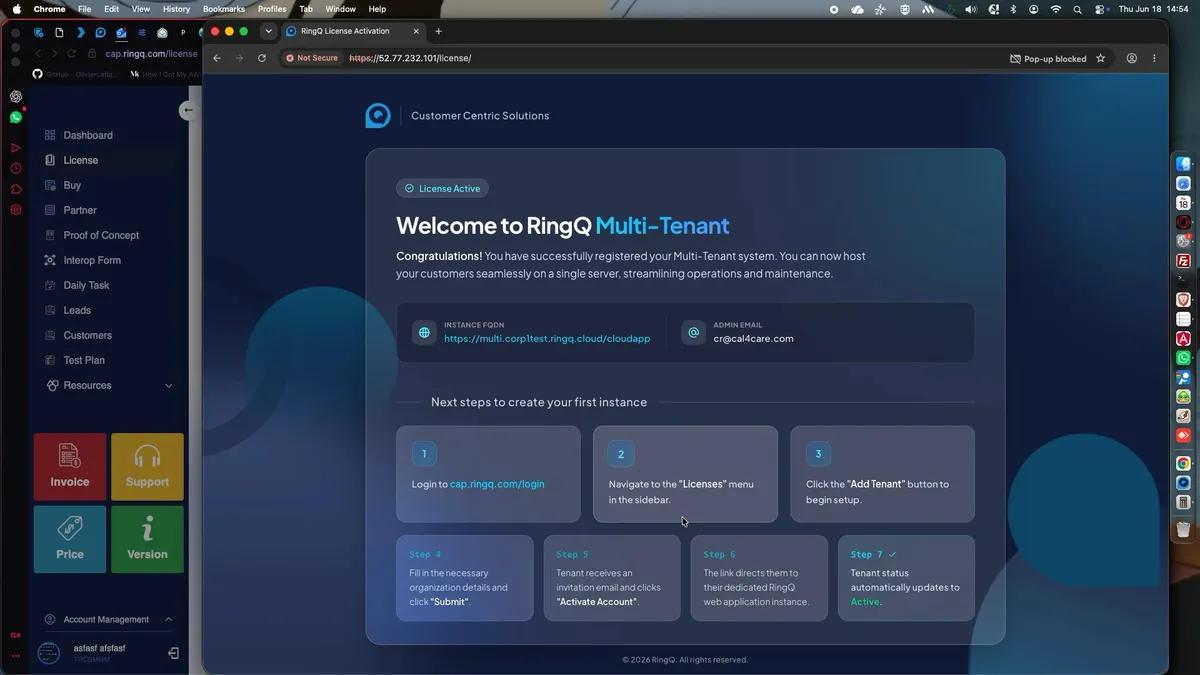
Once provisioning completes, the Welcome to RingQ Multi-Tenant screen will confirm the new instance FQDN. Navigate to the new URL to confirm the login page is accessible.
| # | Action | What Happens |
|---|---|---|
| 1 | Log In to CAP | Sign in at cap.ringq.com and navigate to the Licenses page. |
| 2 | Open /license/index2 | Modify the URL to access advanced license management actions. |
| 3 | Open License Actions | Click the Reshuffle icon → select "Release FQDN". |
| 4 | Confirm Release | Type CONFIRM and click "Release FQDN". Domain and tenants are removed. |
| 5 | Copy Released Key | Click Security Details → Proceed Anyway → copy the license key. |
| 6 | Create New FQDN | Use the Multi-Tenant icon to register the new subdomain in CAP. |
| 7 | Copy New License Key | Open Security Details on the new entry and copy the key. |
| 8 | Activate on New Server | Go to http://<server-ip>/license, paste key, click Continue Activate. |
| 9 | Verify New FQDN | Navigate to the new URL and confirm the RingQ login page loads. |
