This guide explains how to configure the RingQ chat widget using the Chat settings, allowing you to control its appearance and behavior.
Log in to the RingQ Admin Dashboard using your administrator credentials.
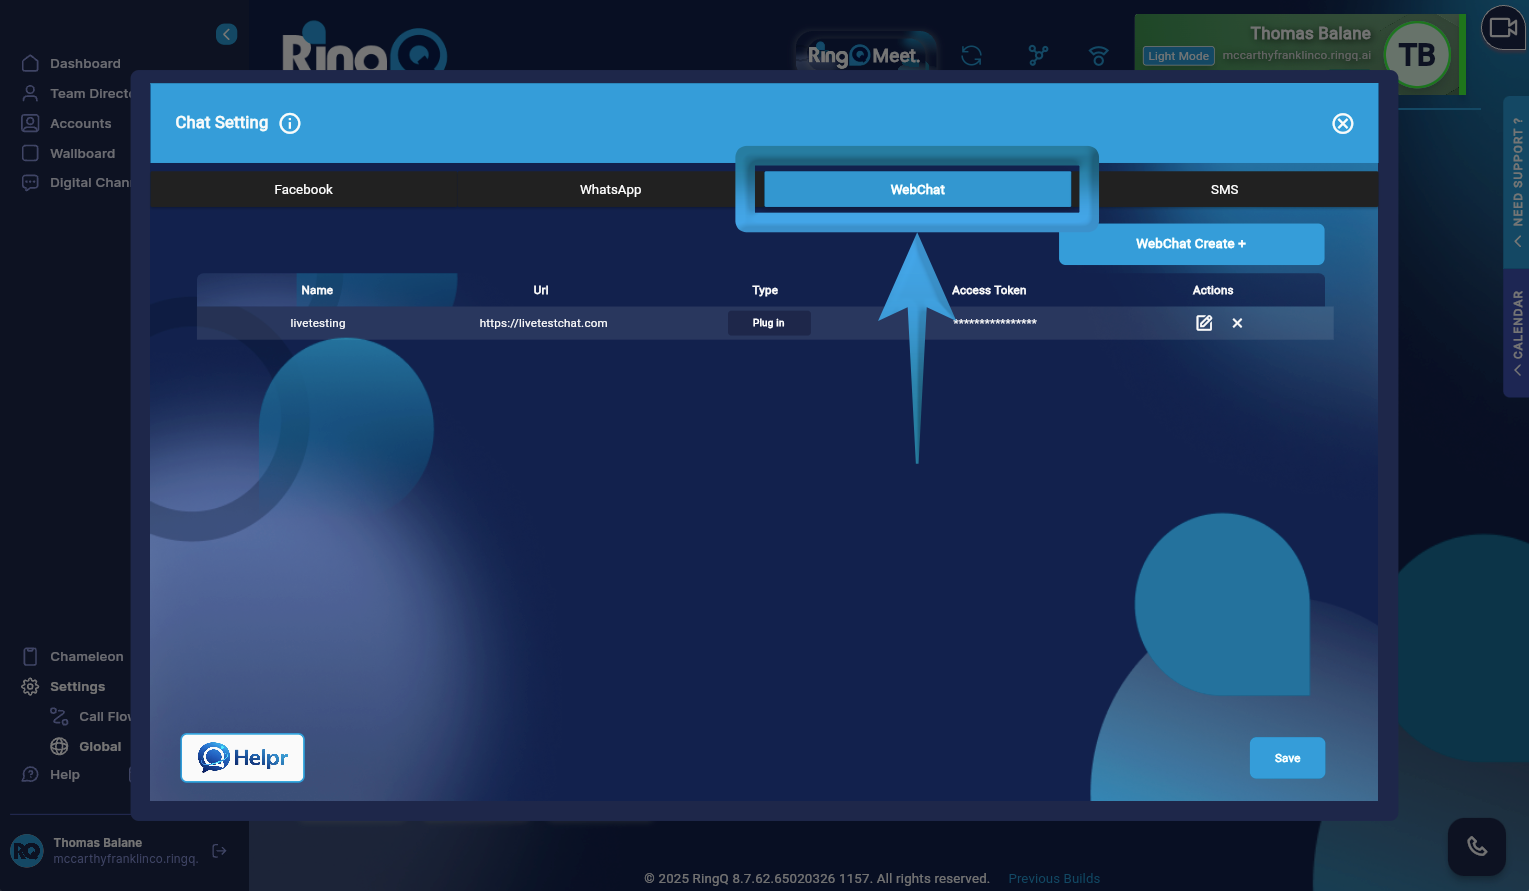
Go to Settings → Global → Chat Settings → WebChat.
Follow the steps below to create a WebChat configured as a Widget, which allows you to embed the chat interface directly into your website.
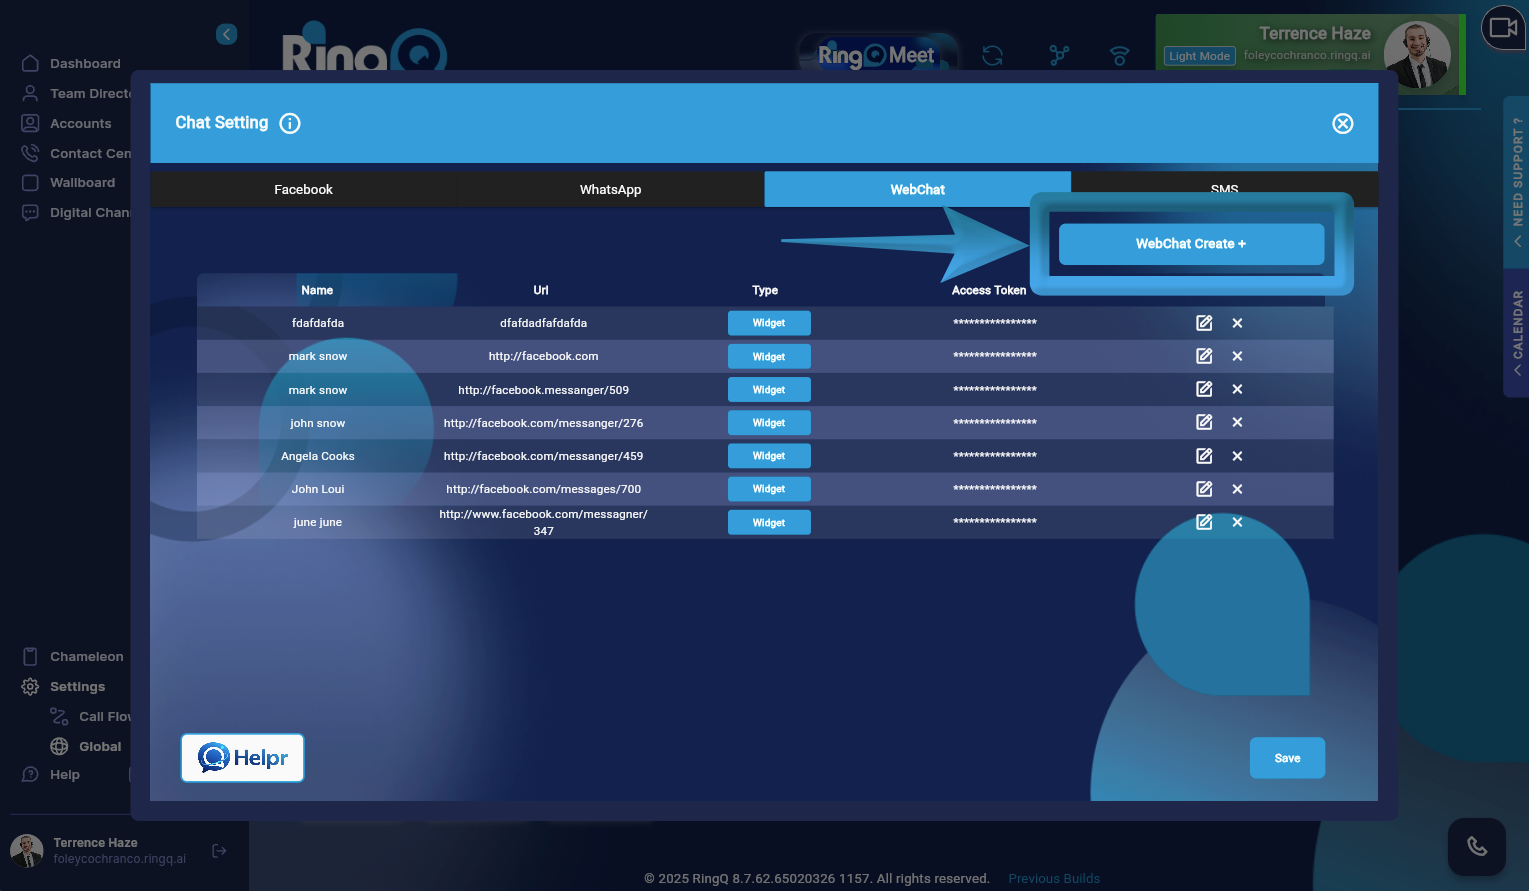
From the WebChat configuration page, click the WebChat Create + button.
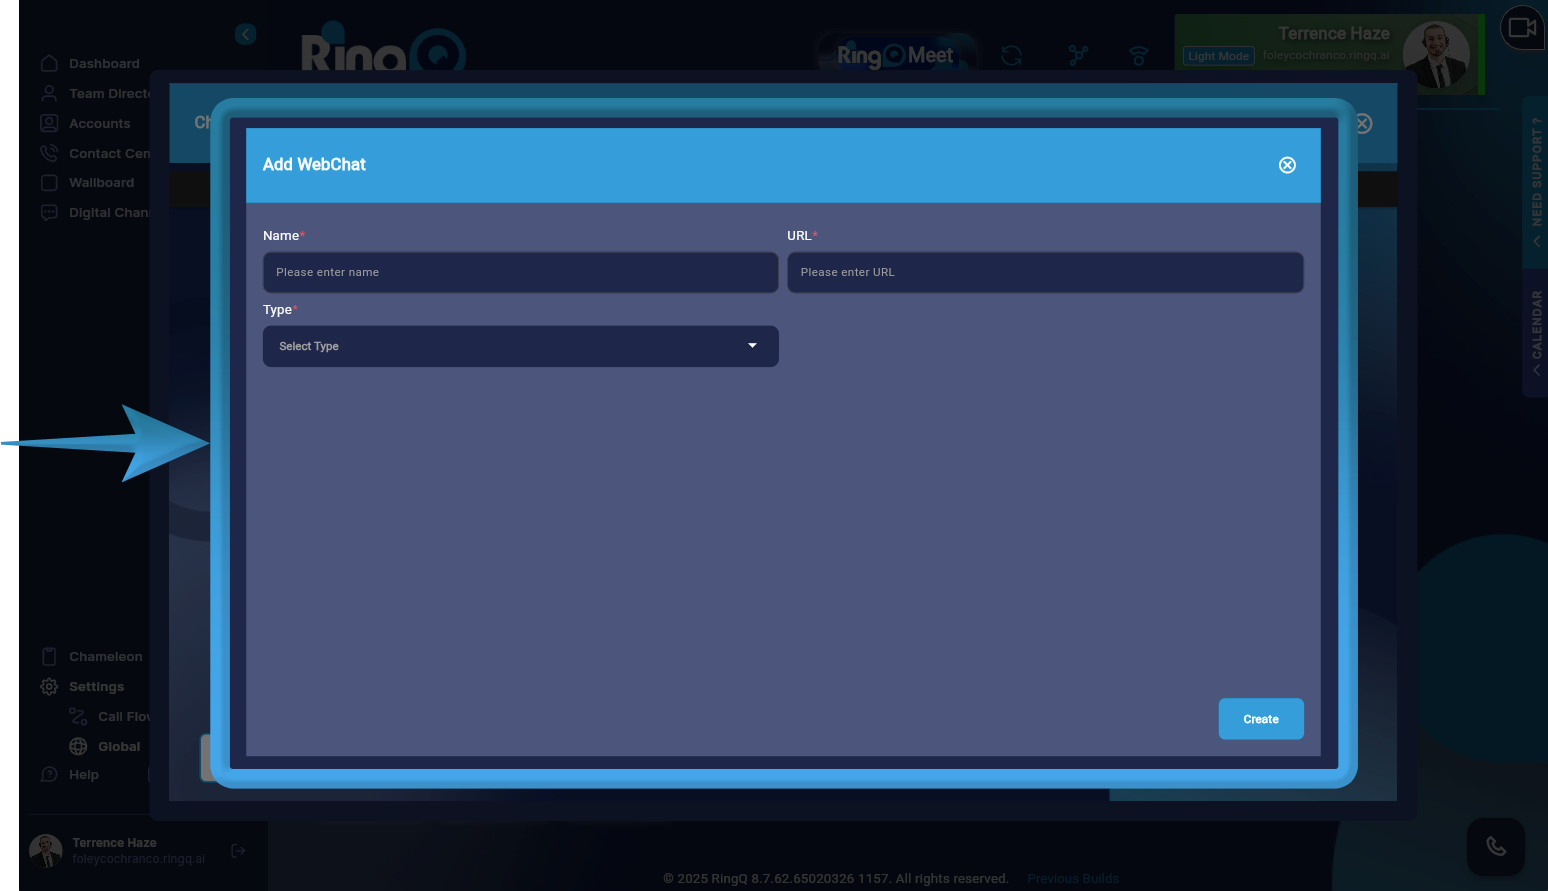
The Add WebChat window will open, where you can define the settings for your new WebChat.
Fill in all mandatory fields to ensure the WebChat is created successfully.
Under Type, choose from the available options:
Choose Widget to configure this WebChat for use as an embeddable chat widget.
Click the Create button.
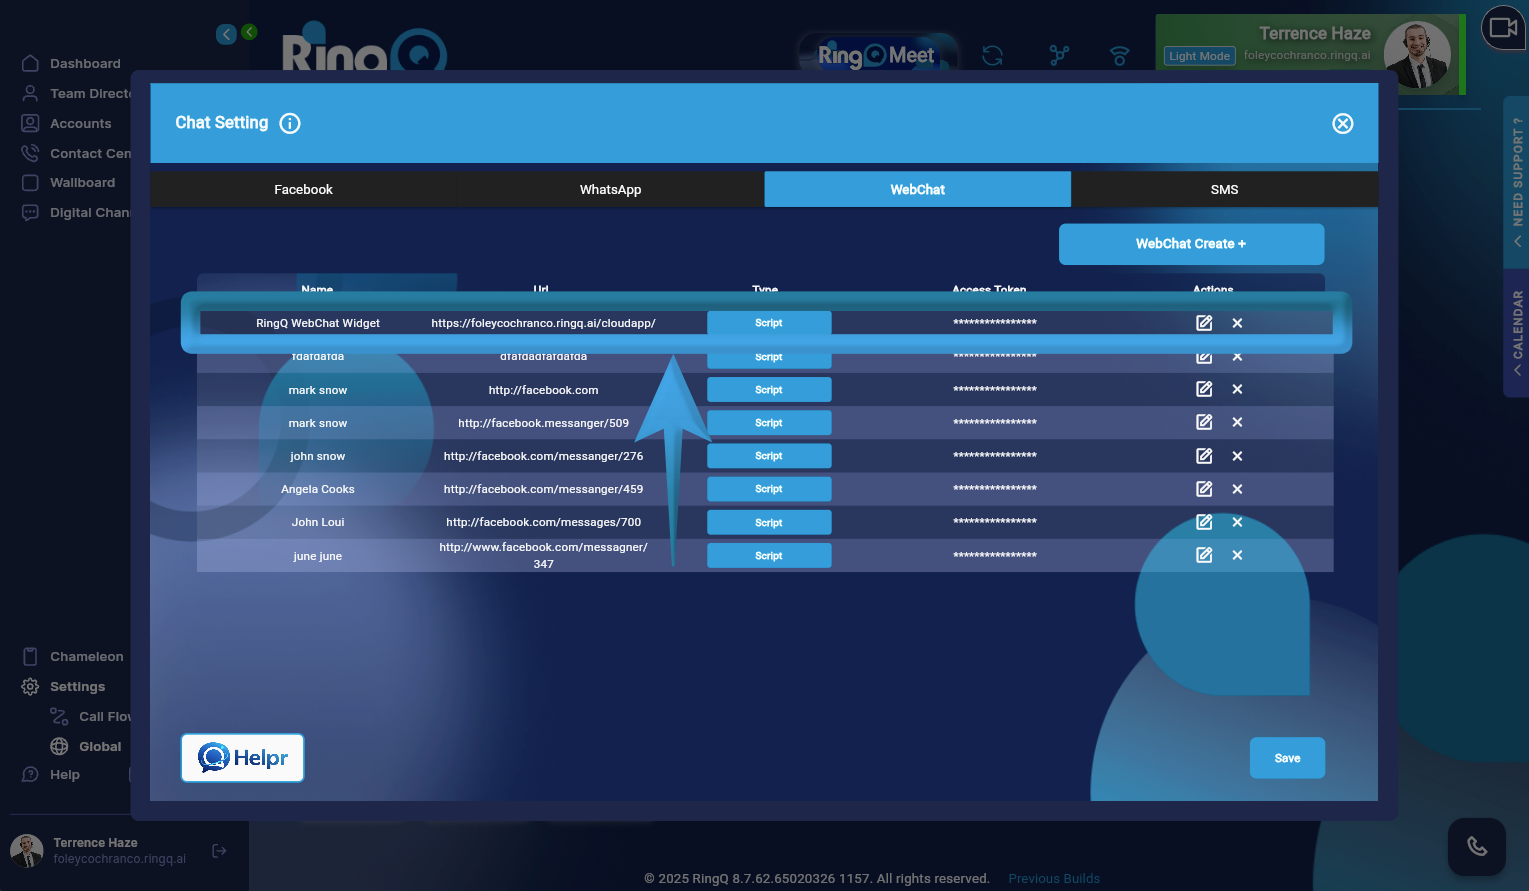
Once created, the WebChat widget will appear in the WebChat list, where you can proceed to retrieve the widget script, customize its appearance, or make further updates.
