This guide provides quick steps to configure the Web Chat WordPress Plugin in RingQ, allowing you to integrate live chat into your website and enable agents to handle conversations directly from the platform.
Log in to your RingQ Admin Dashboard.
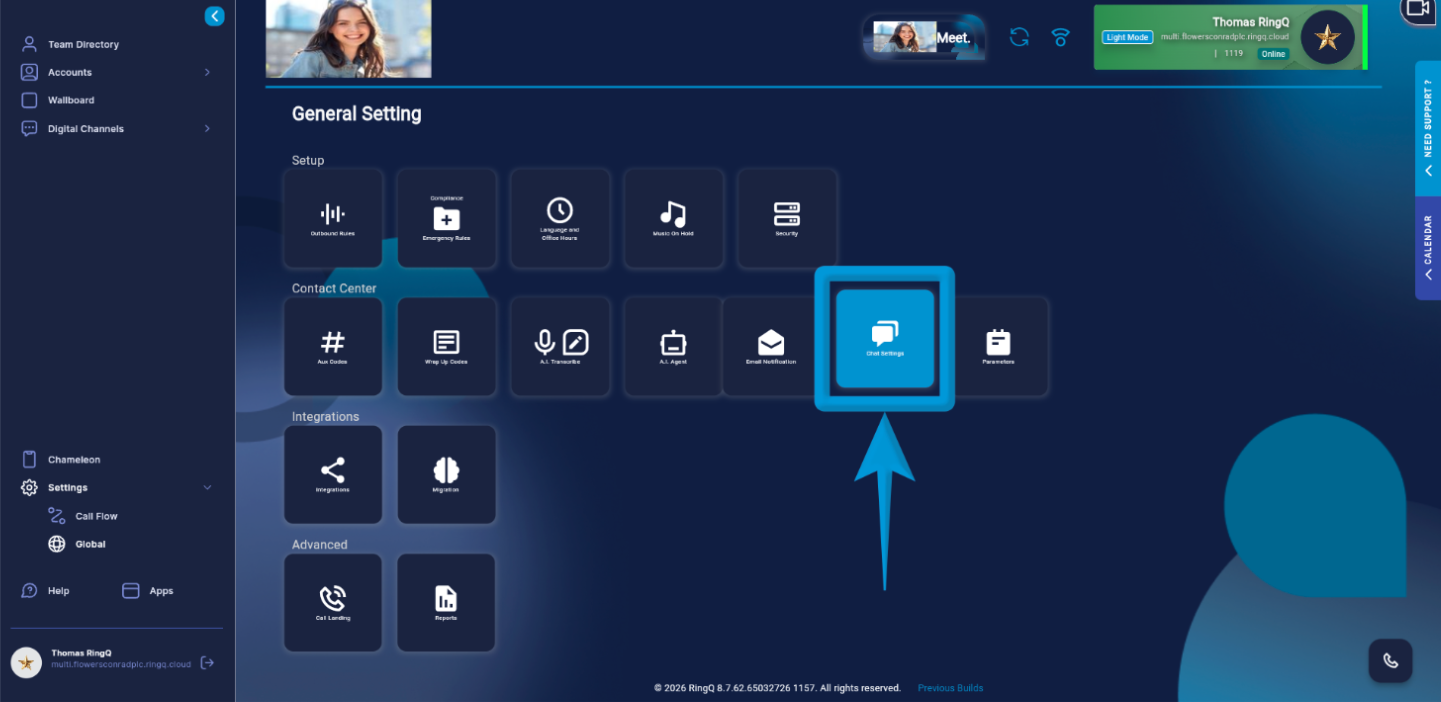
Go to Settings > Global and select Chat Settings.
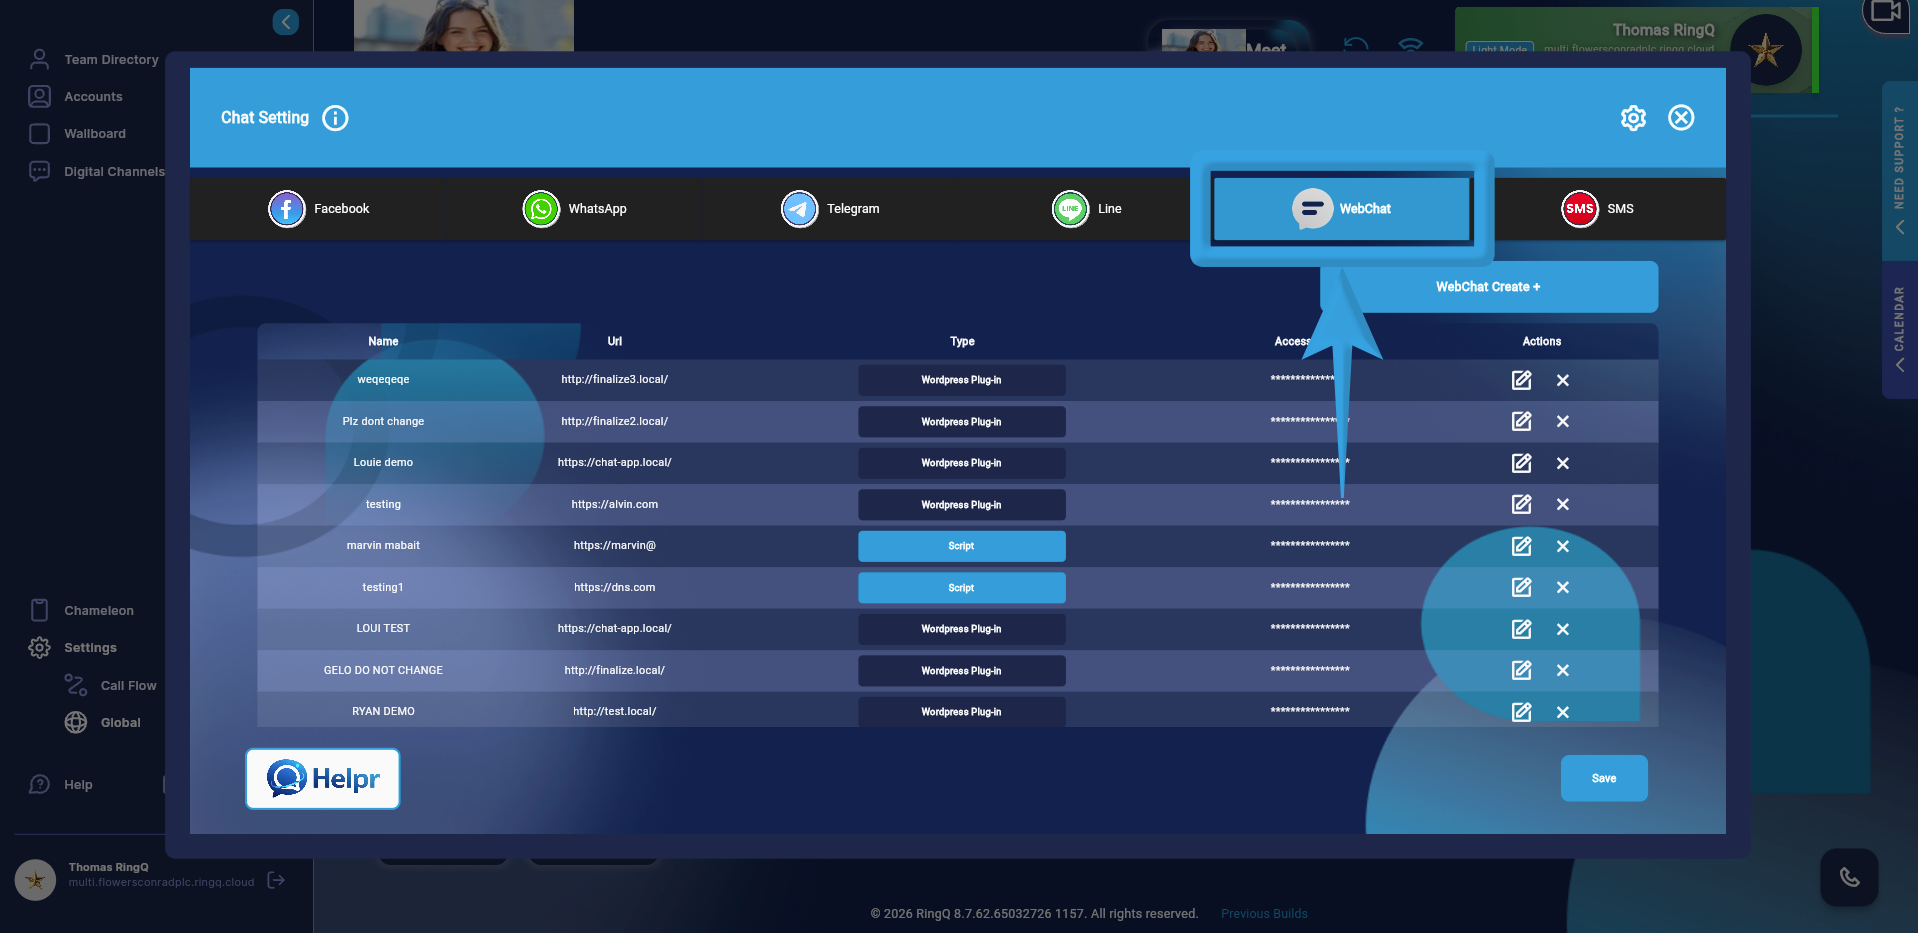
Open the WebChat tab.
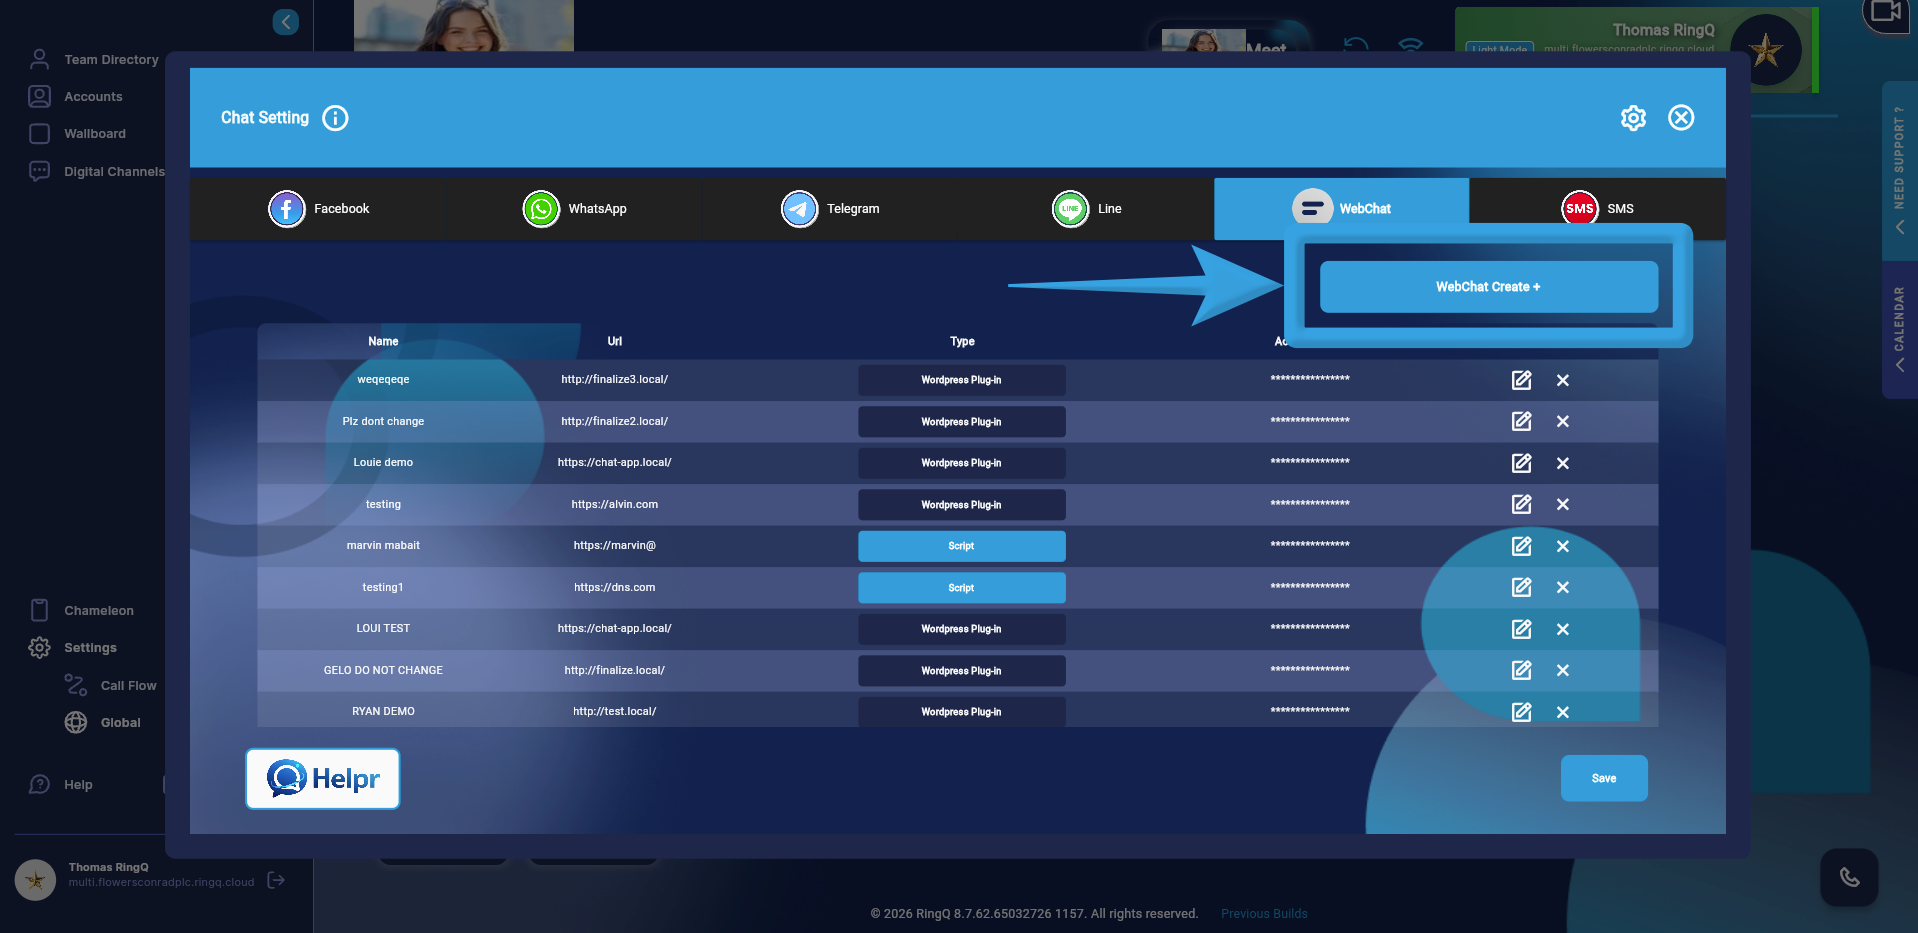
Click Create WebChat.
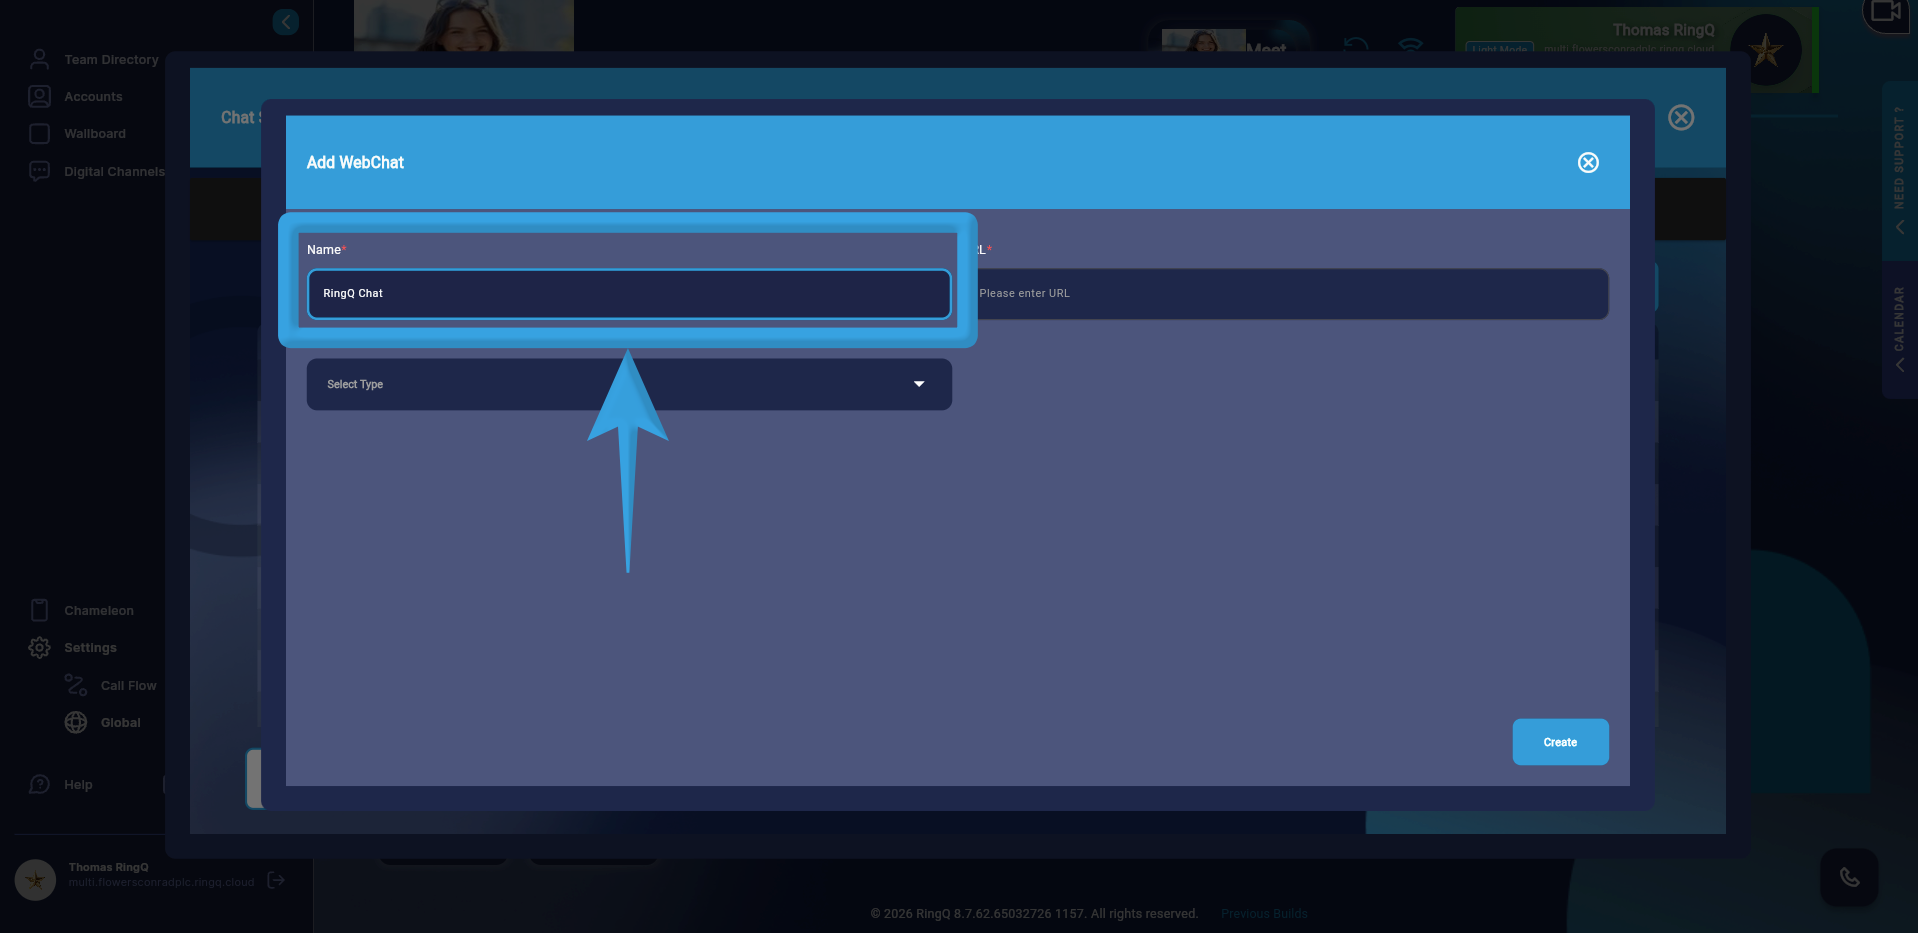
Enter the WebChat name. 6. From the Type dropdown, select WordPress Plug-in. 7. In the Website field, enter the website URL where the chat will be deployed. 8. Click Create.
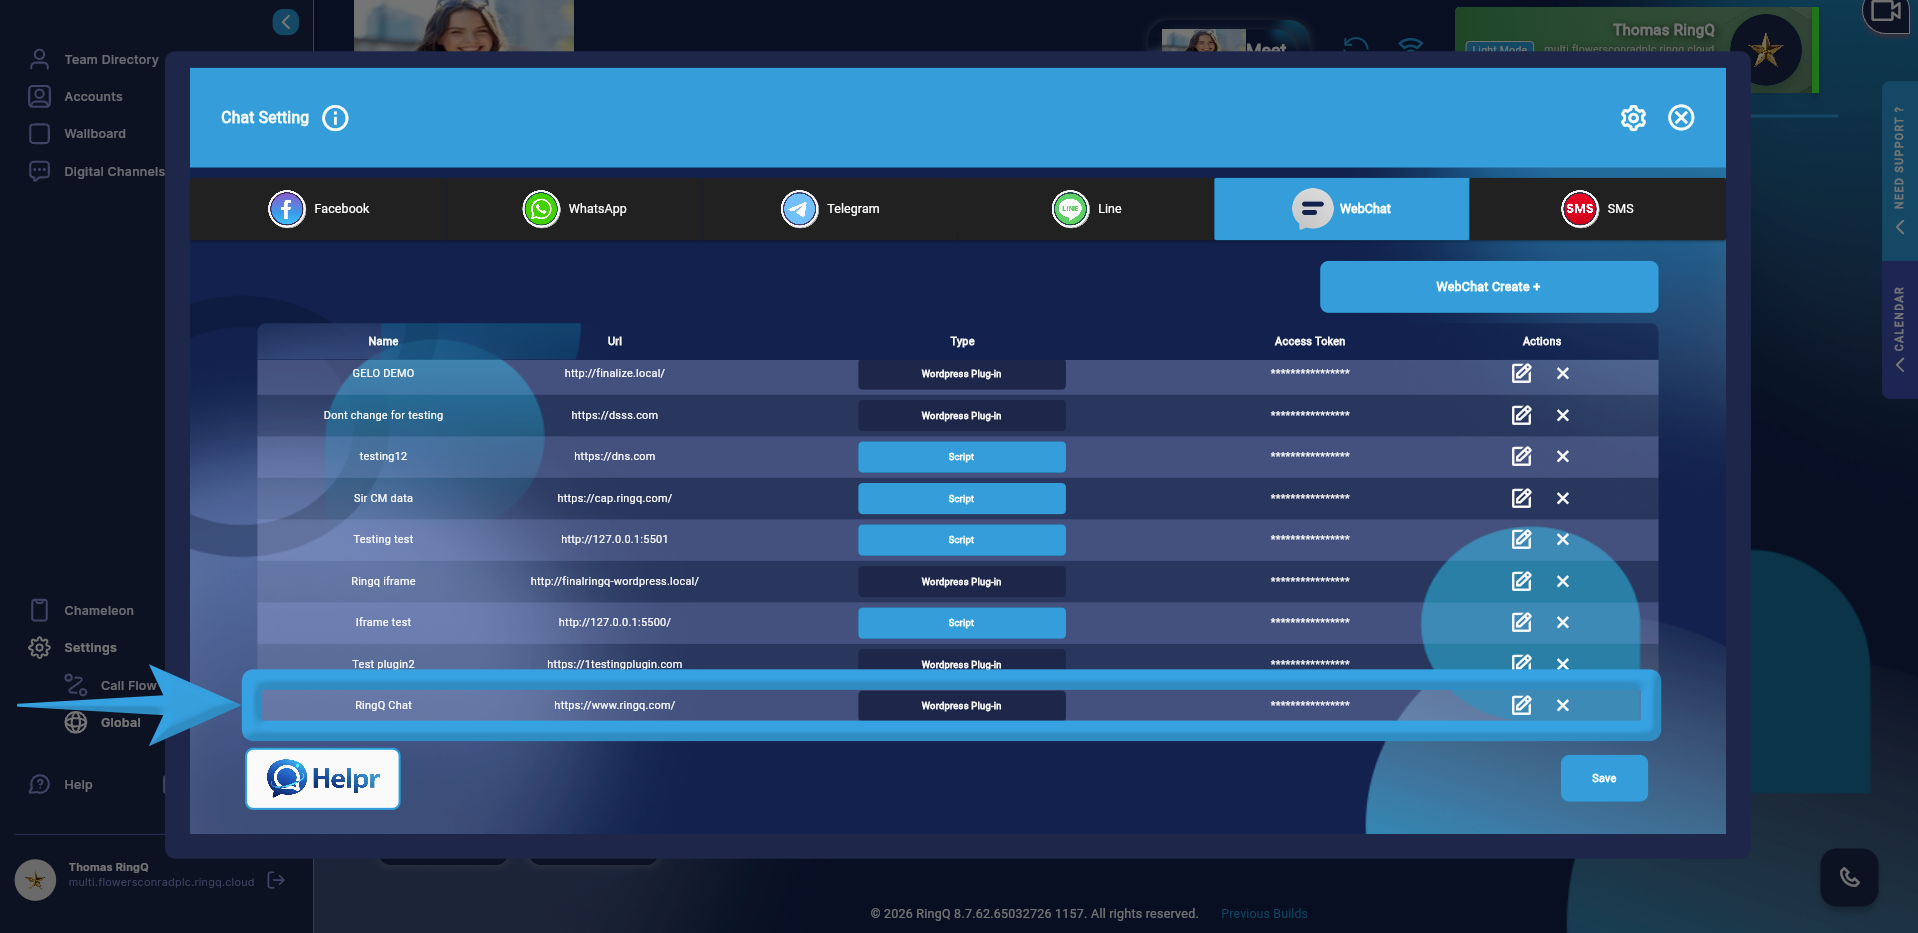
Locate the WebChat you just created in the list.
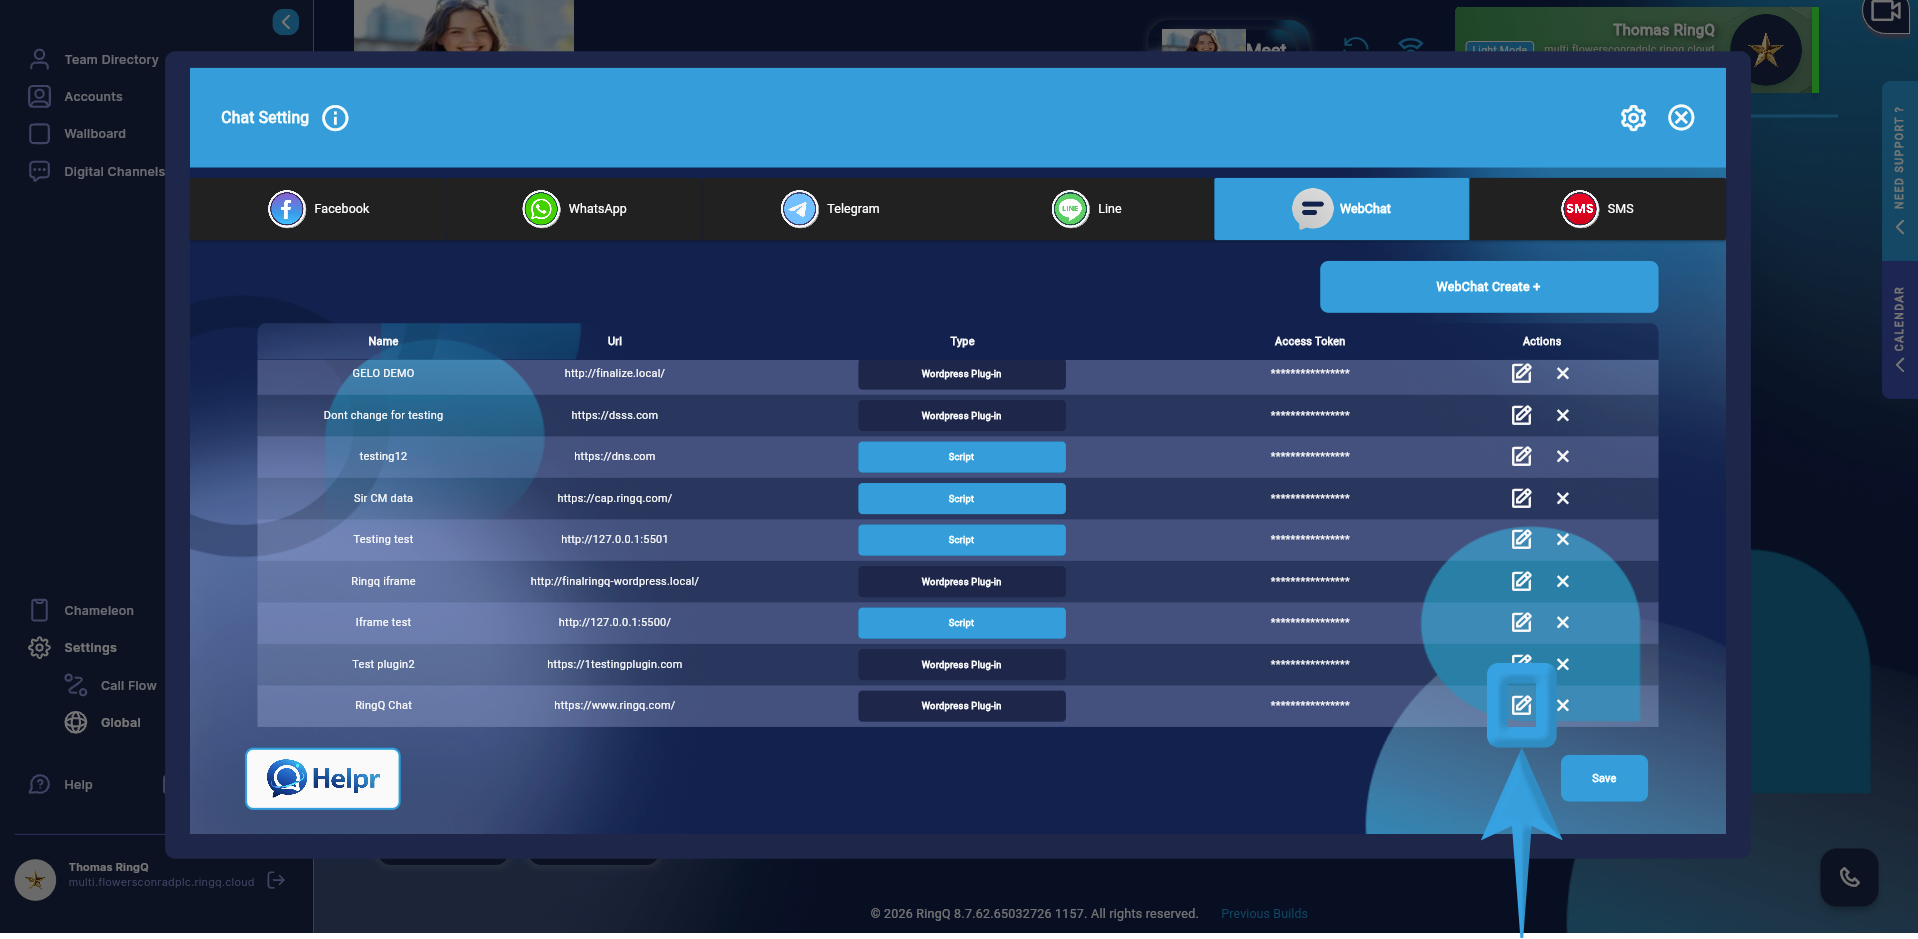
Click the Edit icon under the Actions column.
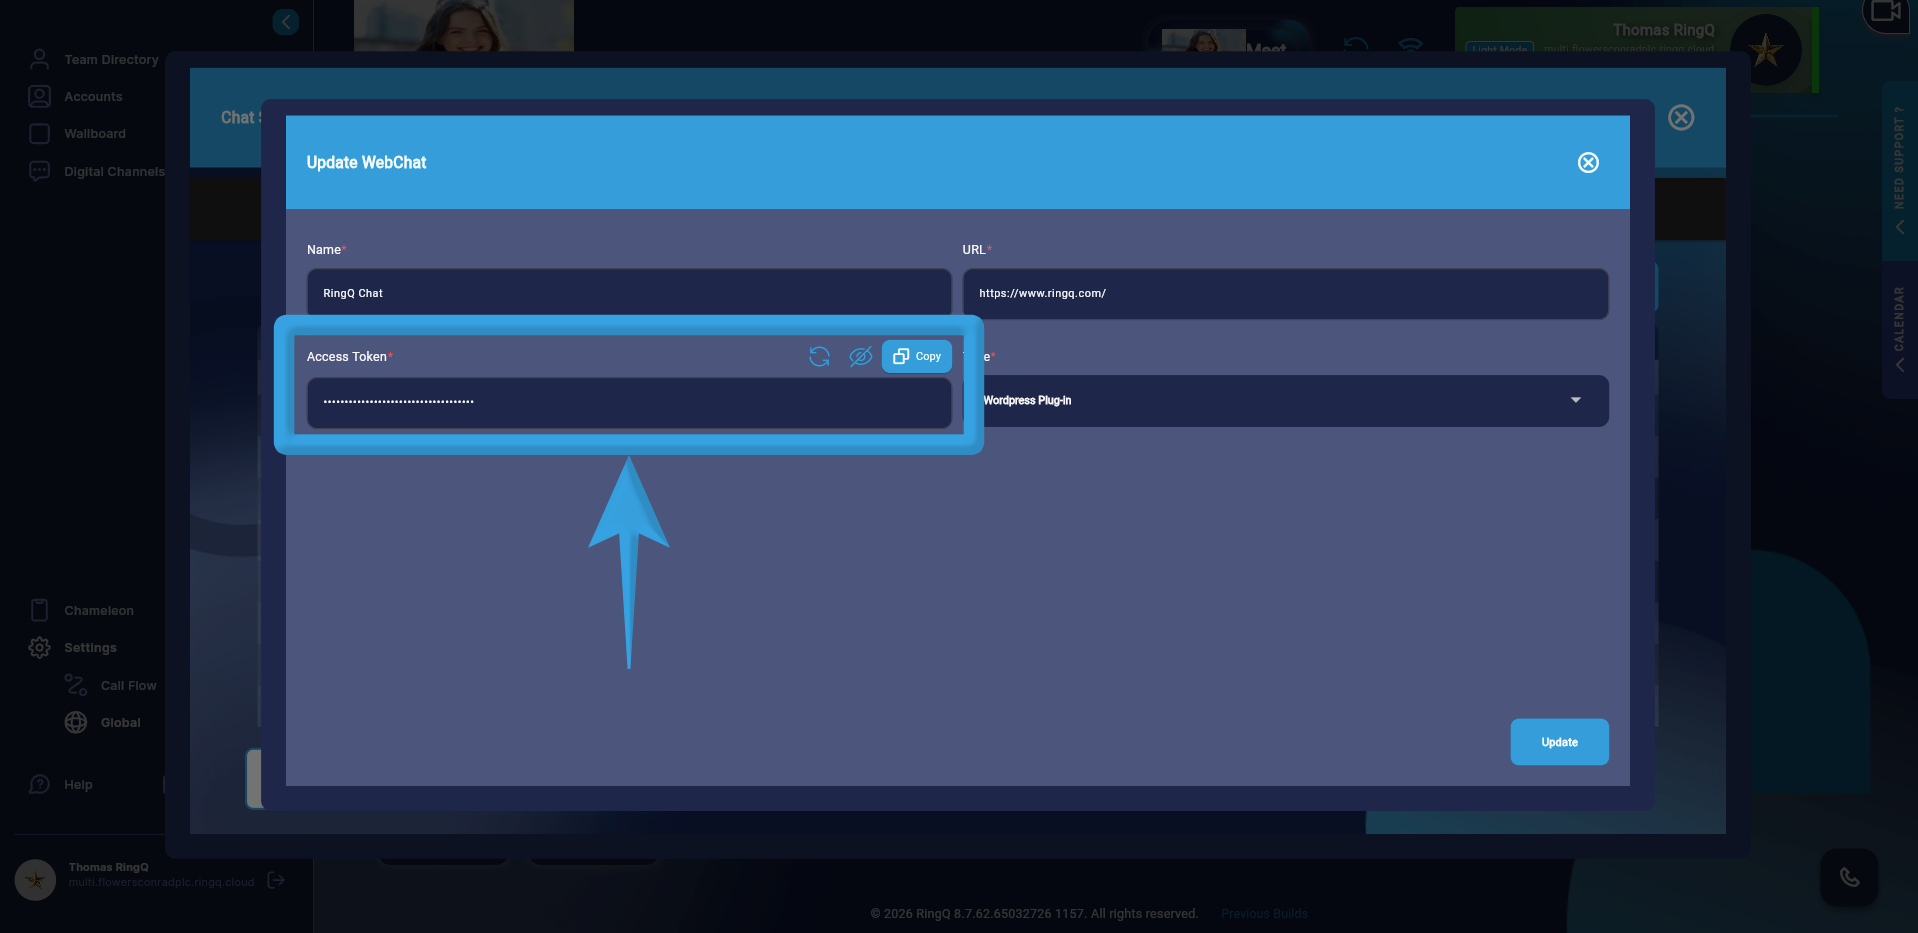
Copy the Access Token for use in your WordPress plug-in configuration. Your WebChat WordPress plug-in is now configured and ready for integration with your website.
