RingQ Customer Centric Communications

Hosted By Ringq


Configuring a Hosted by RingQ Instance 

Introduction

This guide walks you through setting up your Self-Hosted RingQ instance using the Customer Access Portal. It covers how to purchase the appropriate license, configure your hosting settings, and complete the installation process to get your RingQ instance up and running.

Prerequisites

  • A valid RingQ Customer Access Portal account.
  • Billing is enabled for your account.
  • You’re aware of the license size you need (Concurrent Calls capacity).

Purchasing a License

1. Sign in to your RingQ Customer Access Portal.
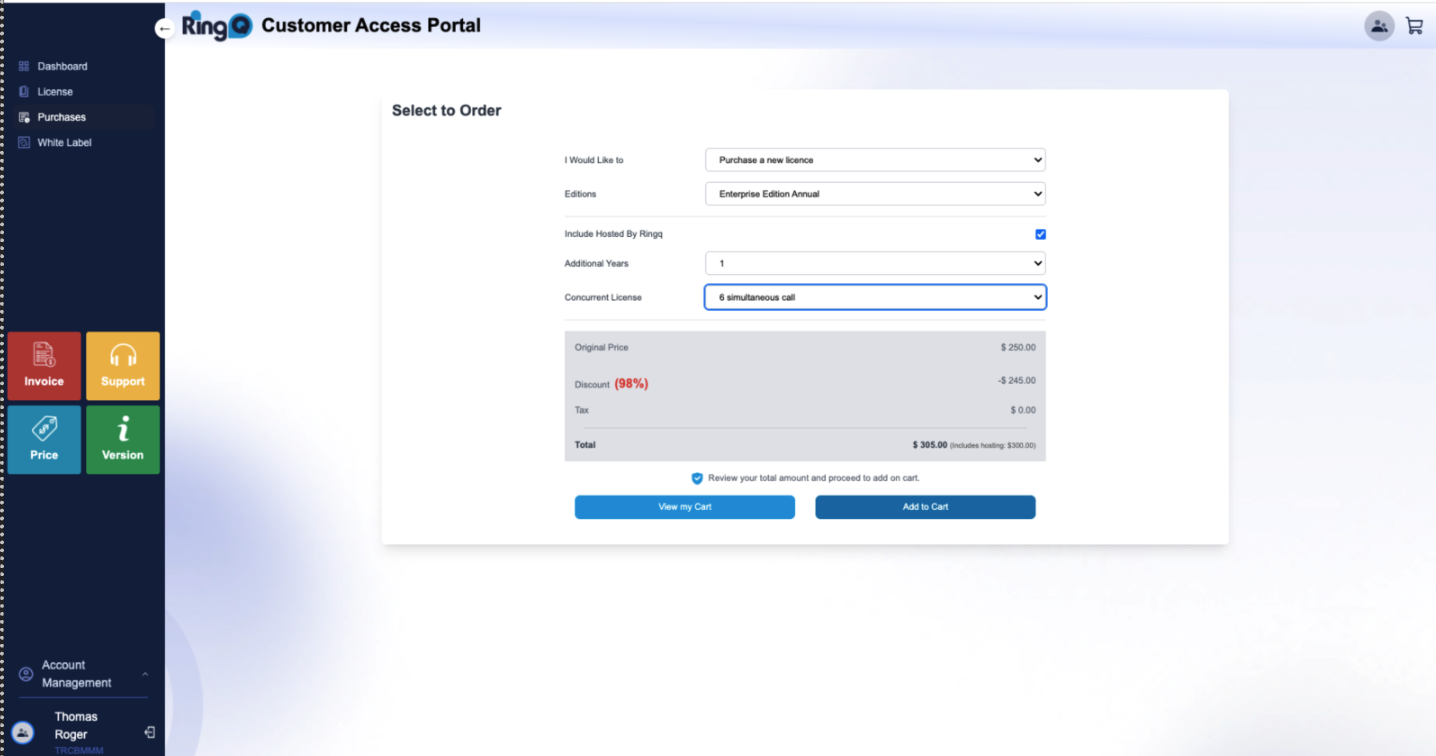
Purchasing a new RingQ license.

Purchasing a new RingQ license.

2. From the left sidebar, go to Purchases.

  1. Choose “Purchase a new license”.
  2. In the “Editions”, select Enterprise Edition (Annual).
  3. Check Hosted by RingQ to include the RingQ-managed hosting.
  4. Optional) Set Additional Years if you want a multi-year term.
  5. Set Simultaneous Calls for your Concurrent License (this defines your call capacity).
  6. Click Add to Cart.
  7. Click OK to confirm.
  8. You’ll be redirected to Review Order → click Proceed to Checkout.
  9. Under Payment Summary, click Proceed to Payment.
  10. When the payment succeeds, click OK on the confirmation. If payment fails, verify your card/billing details and try again.

Configuring the Hosted Installation

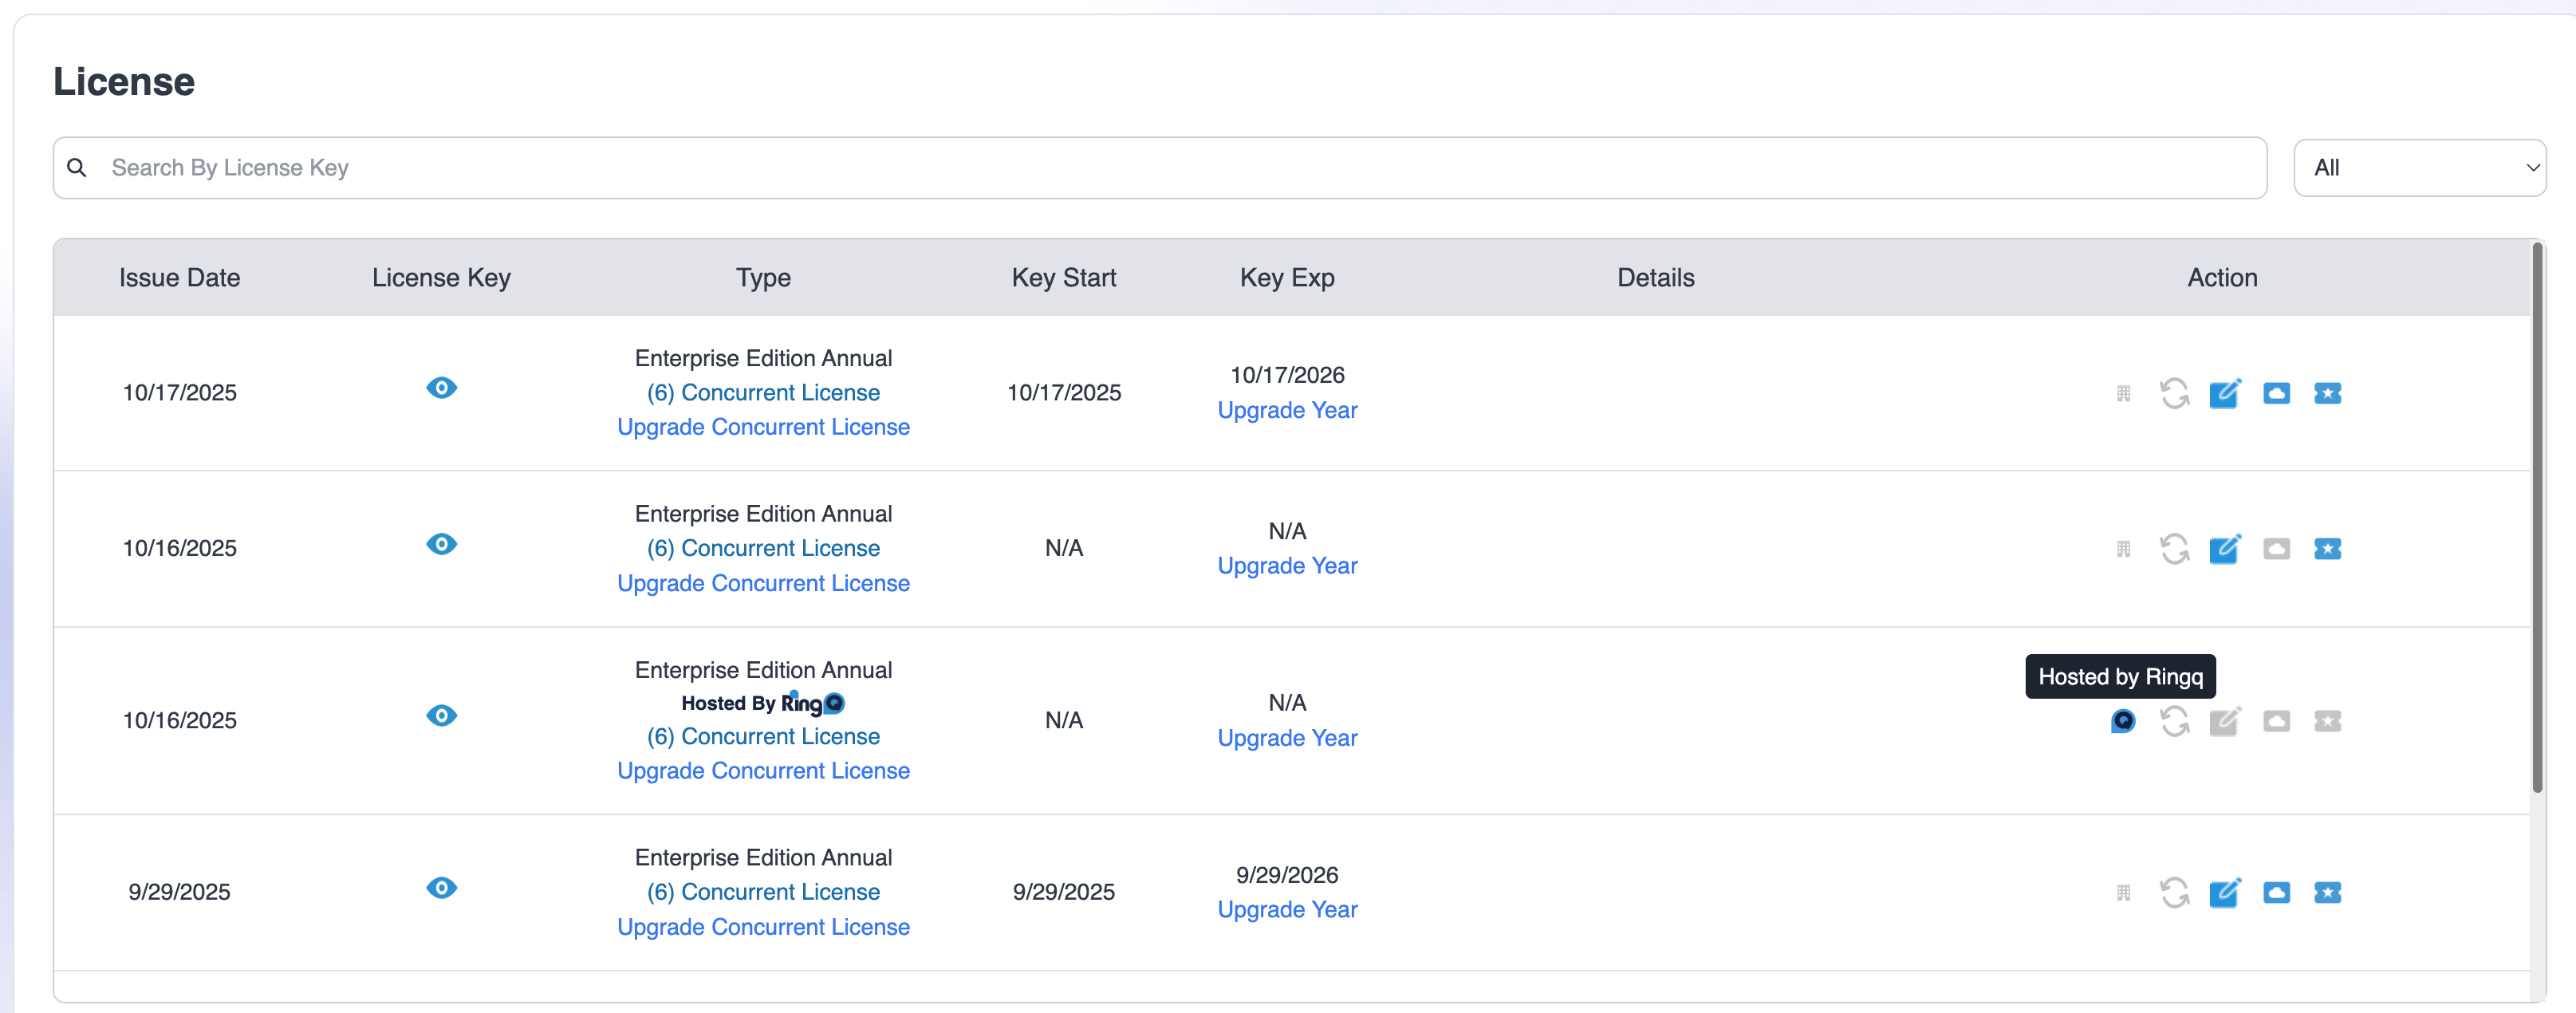
1. You’ll be redirected to the License page.2. Open your current license by clicking on the Hosted by RingQ icon.

RingQ License Page

RingQ License Page

2. Open your current license by clicking on the Hosted by RingQ icon.

RingQ License Registration Page

RingQ License Registration Page

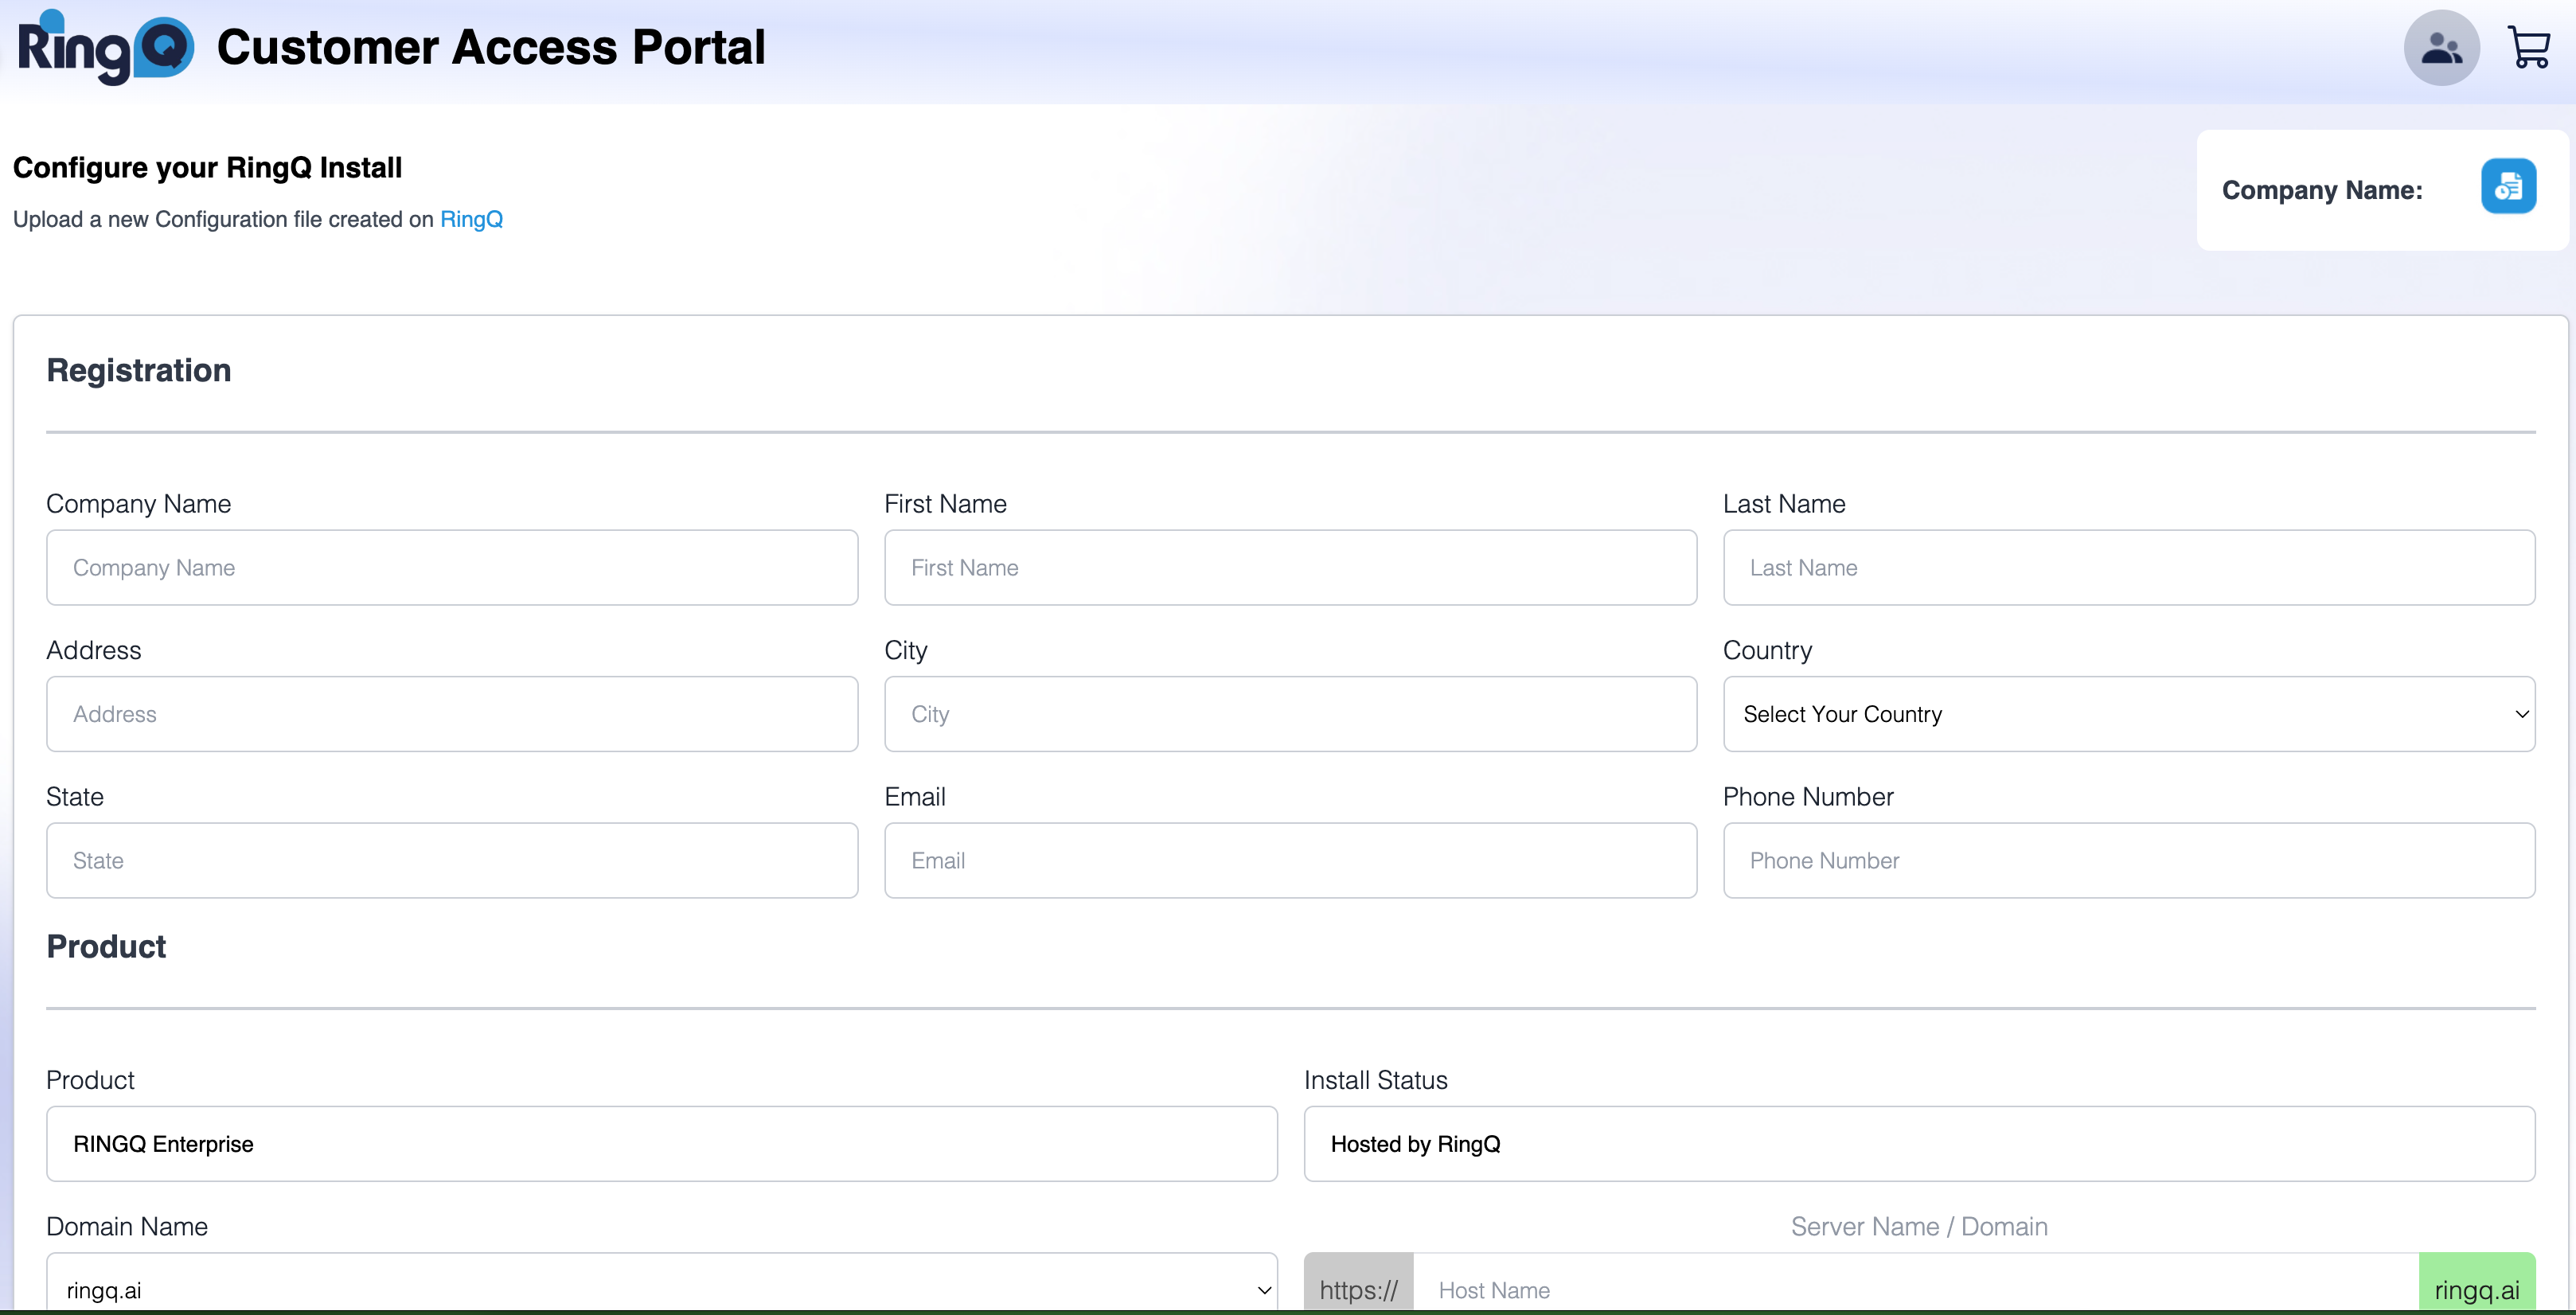
3. You’ll be directed to the Registration page to configure your installation.

4. Fill out all required fields (company/contact details and any install parameters).

5. In the “Install Status” field, select “Hosted by RingQ”.

6. Click Next to proceed to System Preference.
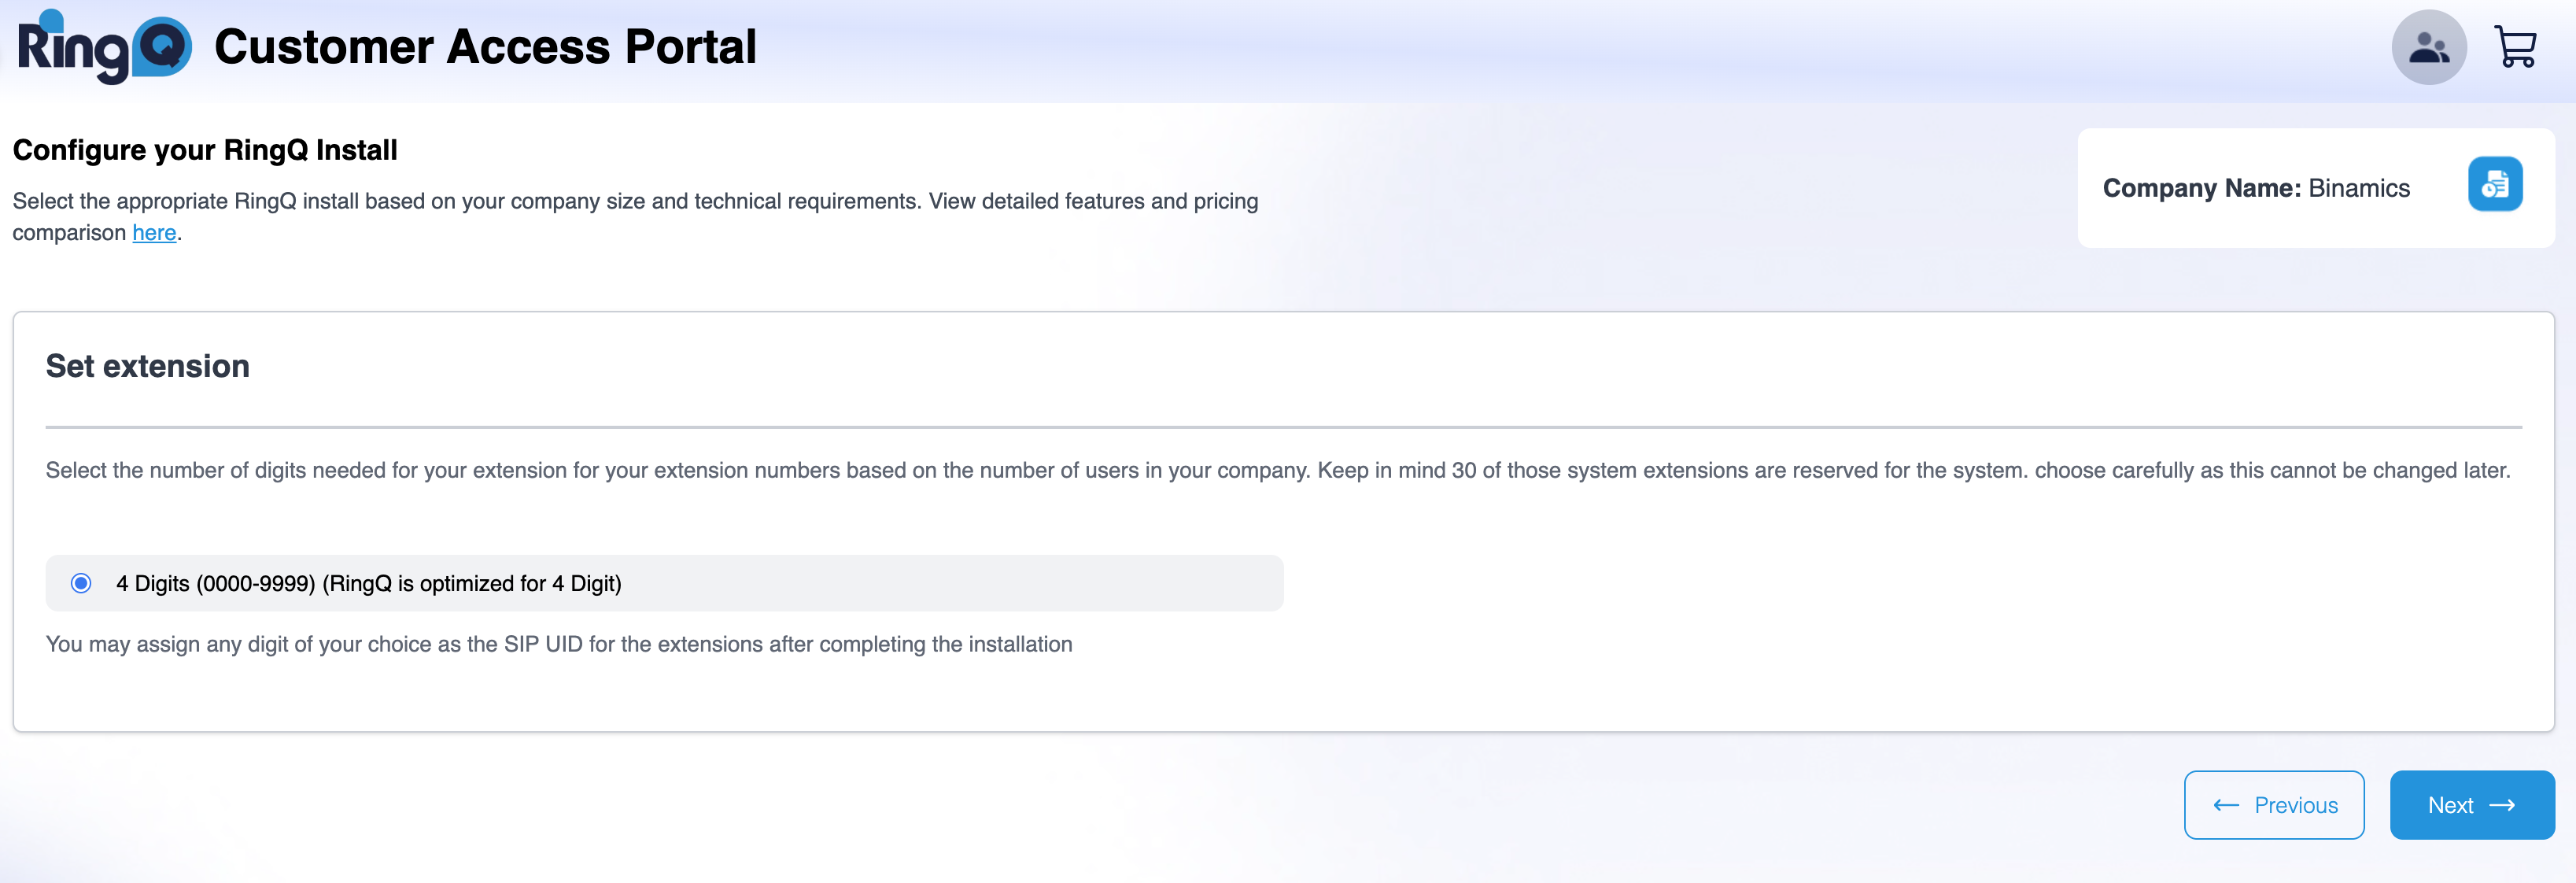
Enter your extension range

Enter your extension range

7. Set your Extension range.

Select your country, timexone and datacenter

Select your country, timexone and datacenter

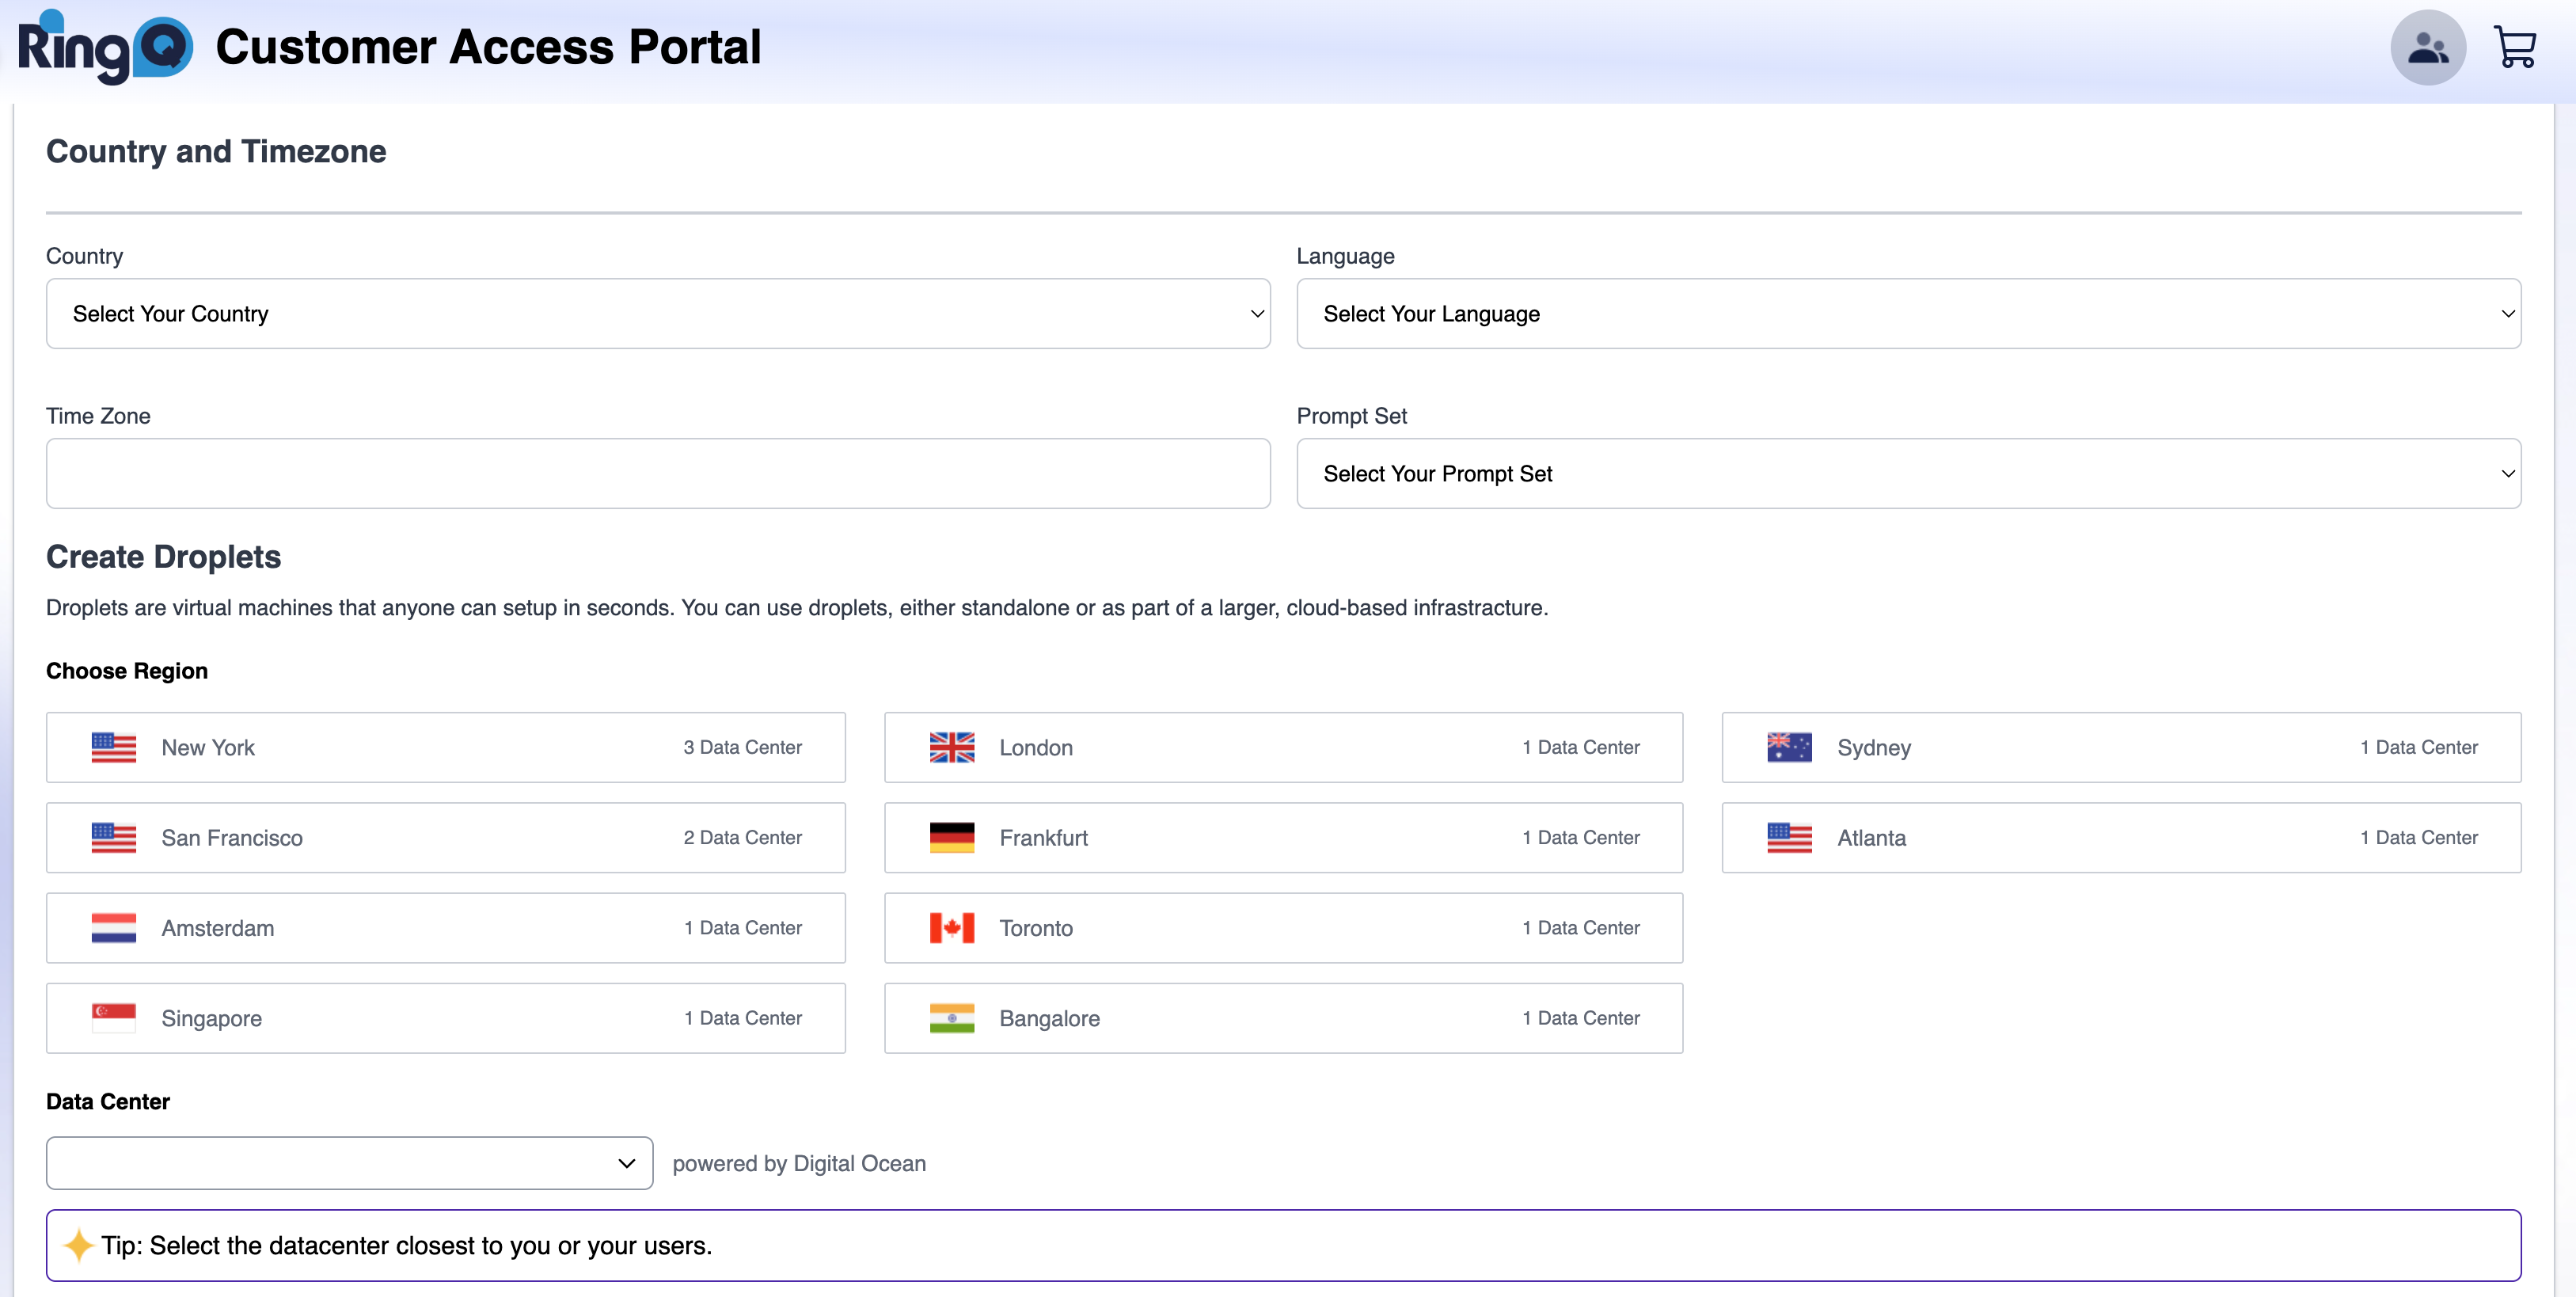
8. Select your country, timezone and datacenter.

Provisioning & Completion

Provisioning your hosted by RingQ Cloud PBX

Provisioning your hosted by RingQ Cloud PBX

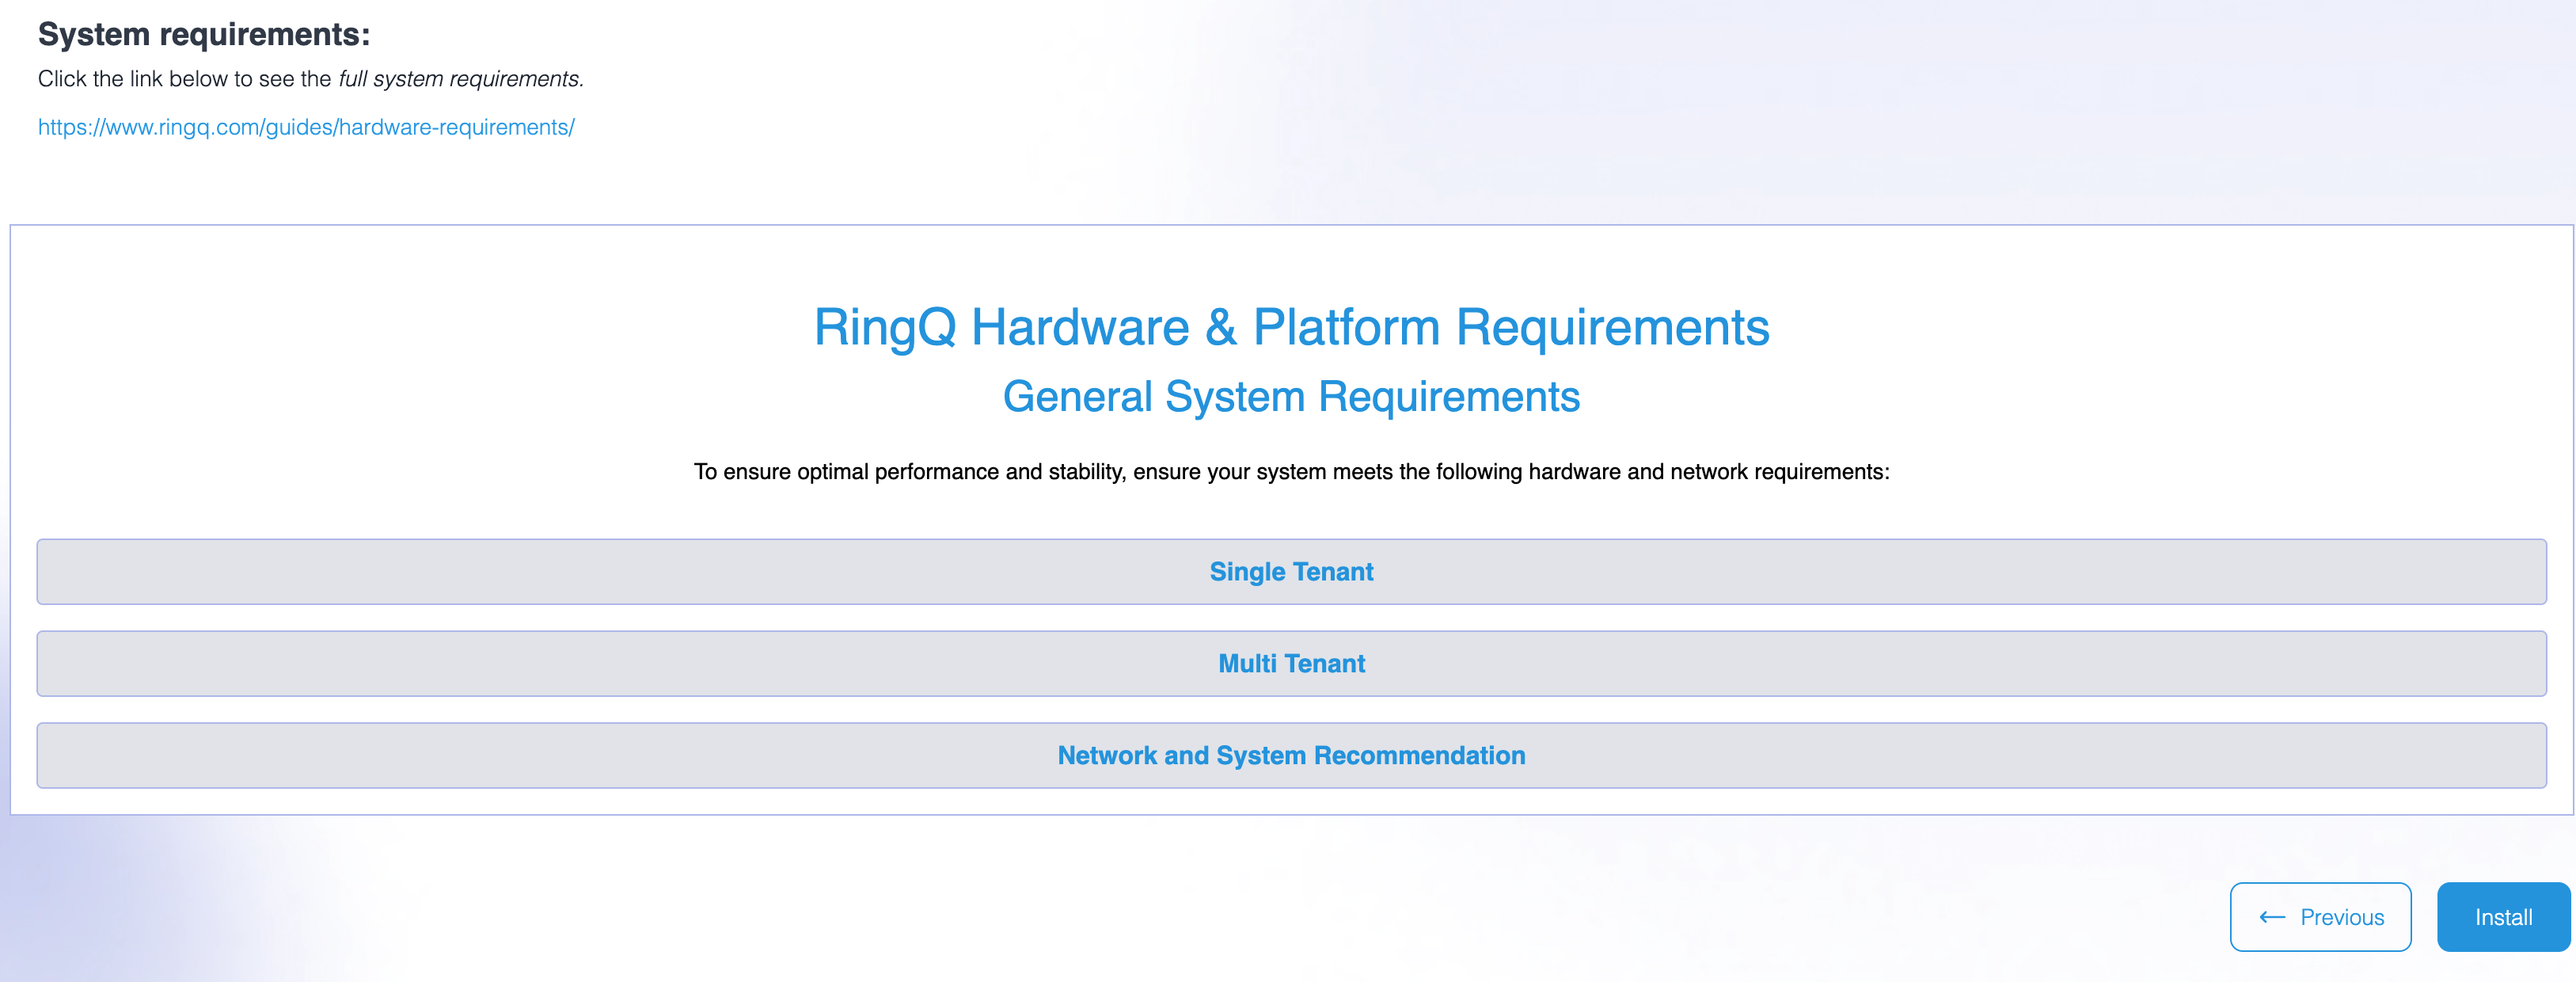
1. You’ll be redirected to Next Steps & System Requirements.

2. Click “Install” to begin provisioning. The system will show the installation progress (server setup, services, and checks).
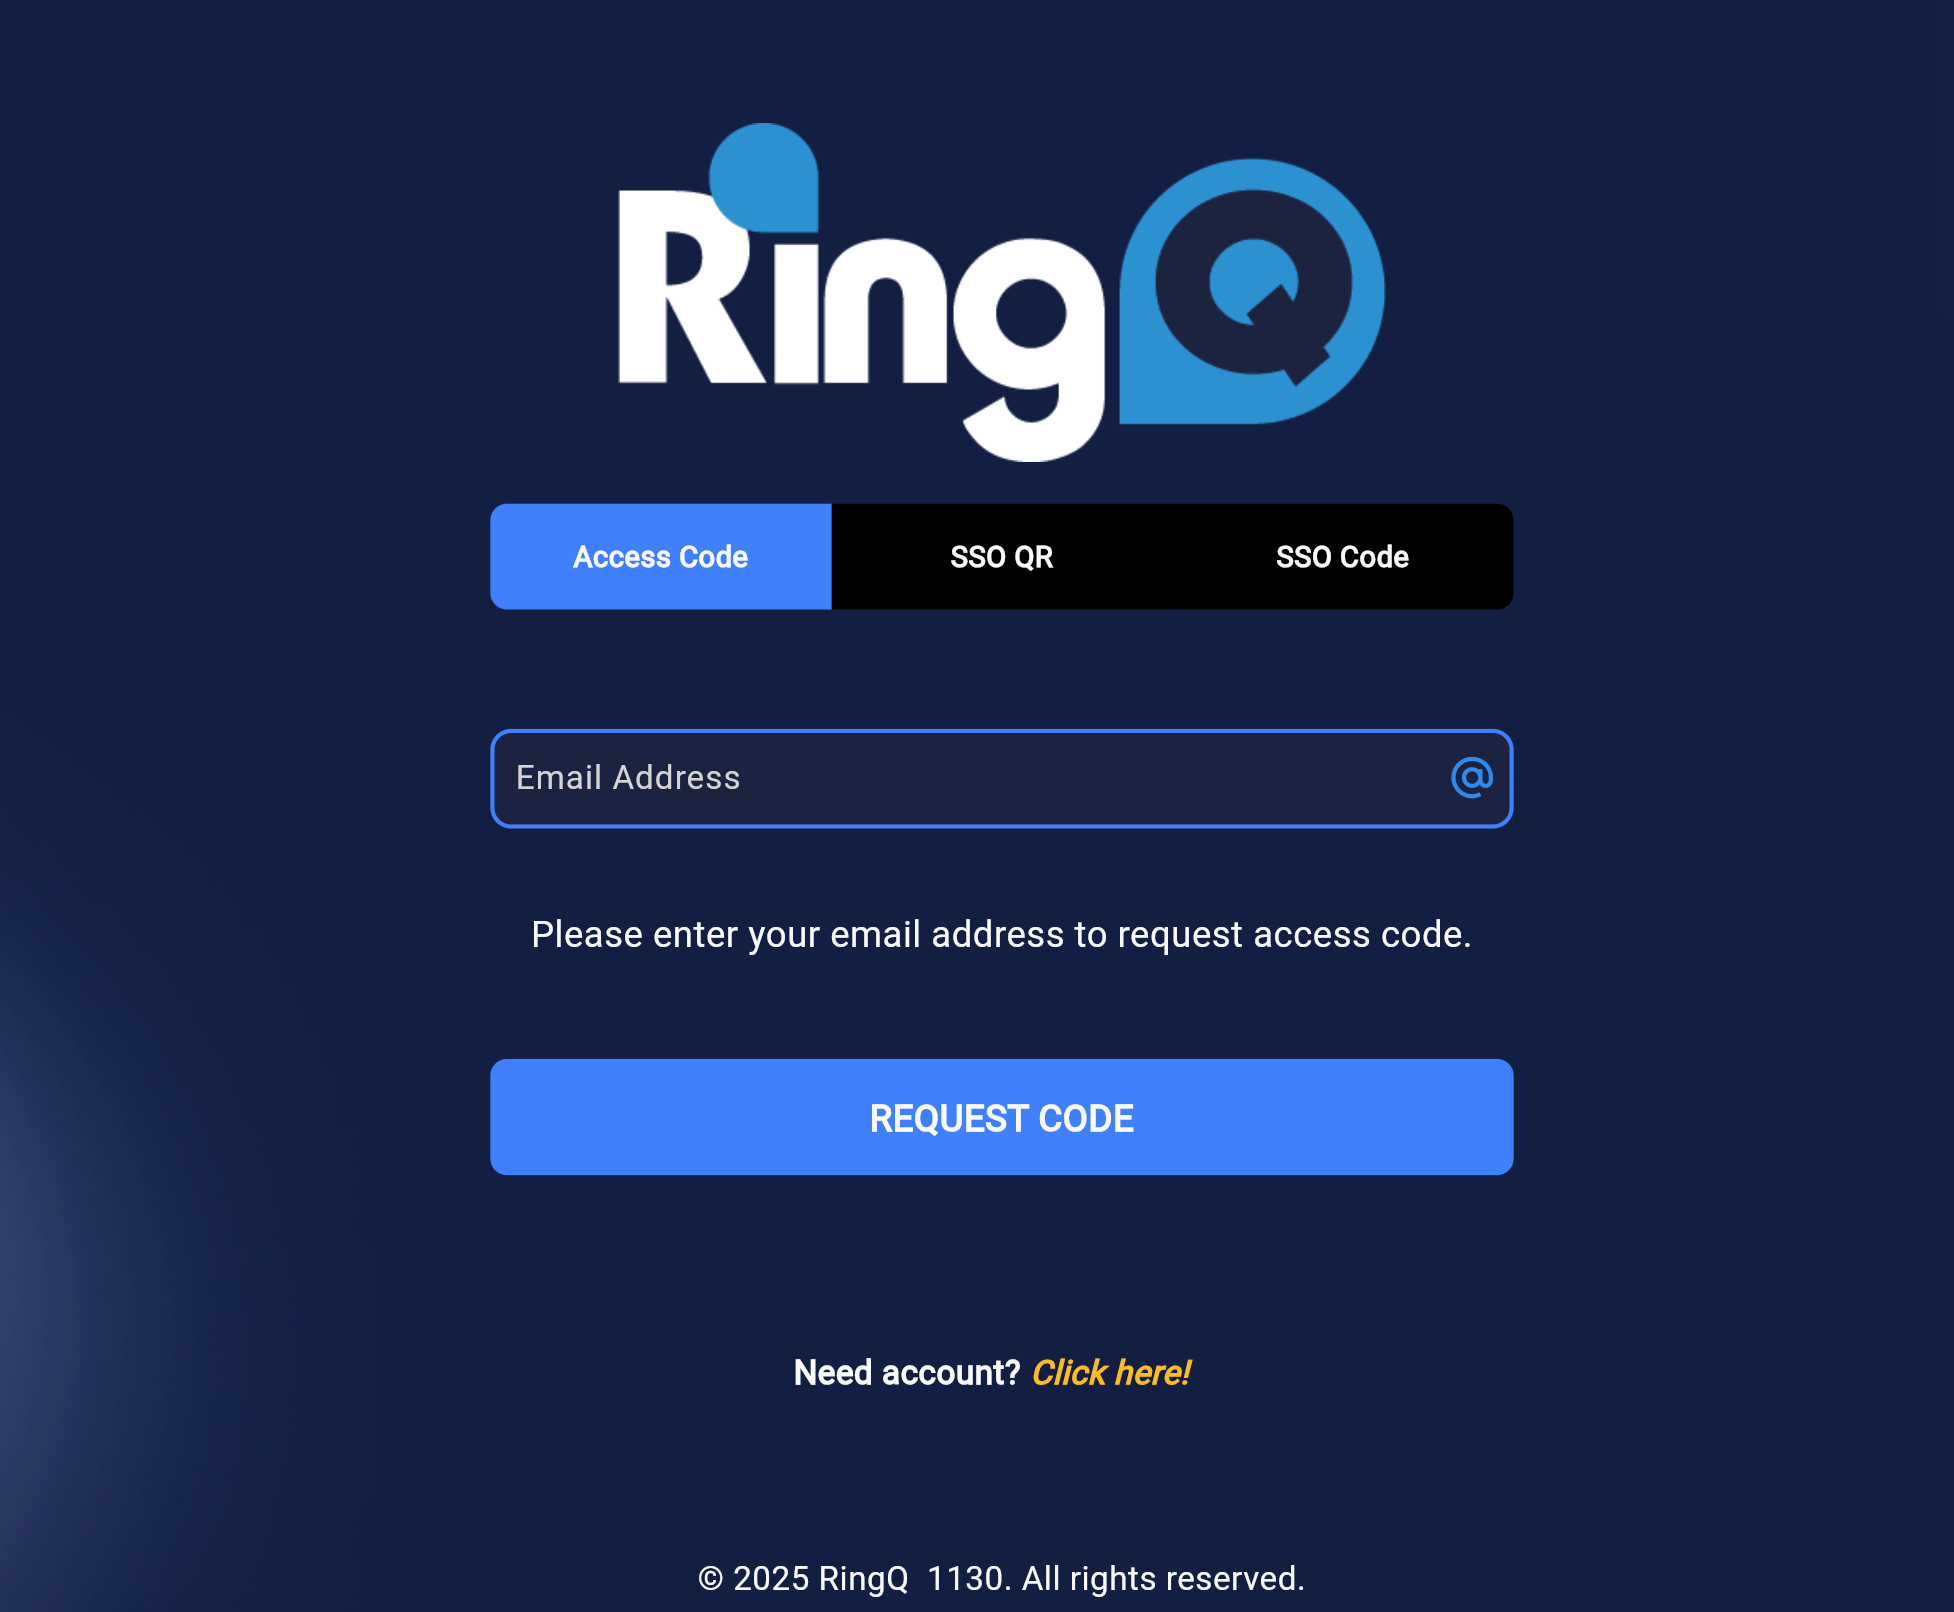
RingQ login page

RingQ login page

3. When the process completes, you’ll be redirected to your RingQ Instance Login Page. Save the instance URL so you can easily login in the future.

What’s Next

1. Sign in to your new RingQ instance and complete the initial setup (admins, users, numbers, call flows).

2. Verify the time zone and regional settings match your team.

3. Run a quick test call to confirm inbound/outbound calling works.