This guide provides a step-by-step process for launching and configuring a RingQ instance on Digital Ocean using the Digital Ocean Droplet. Whether you are new to Digital Ocean or familiar with its services, the instructions are designed to walk you through each stage clearly—from checking your existing running instances to deploying a new RingQ server and accessing it through your browser.
Follow this guide to purchase and activate a license key.
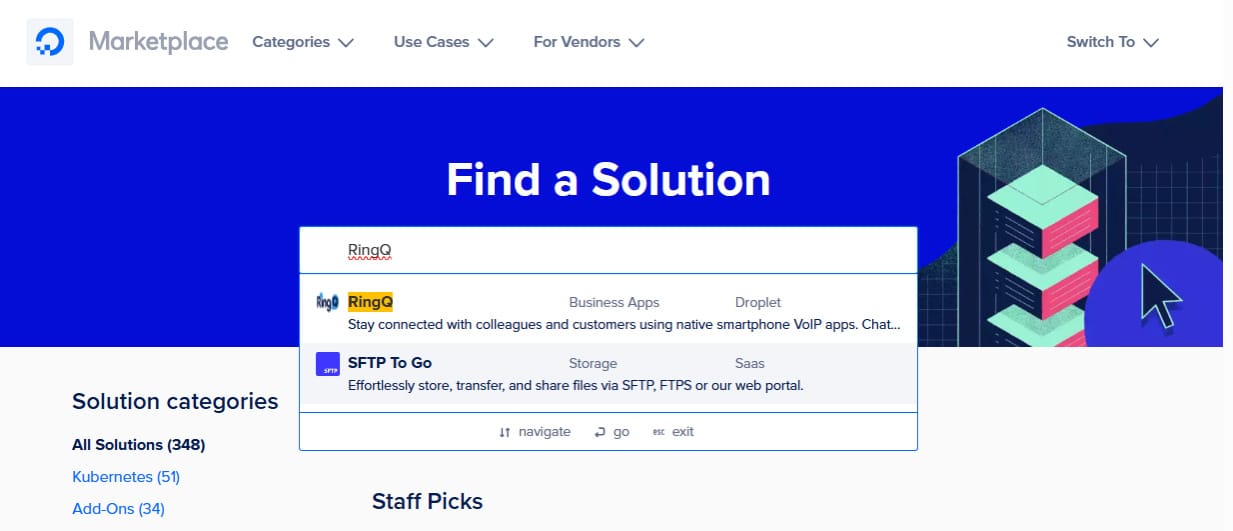
Log in to the DigitalOcean Marketplace. In the search bar, search for and select RingQ.
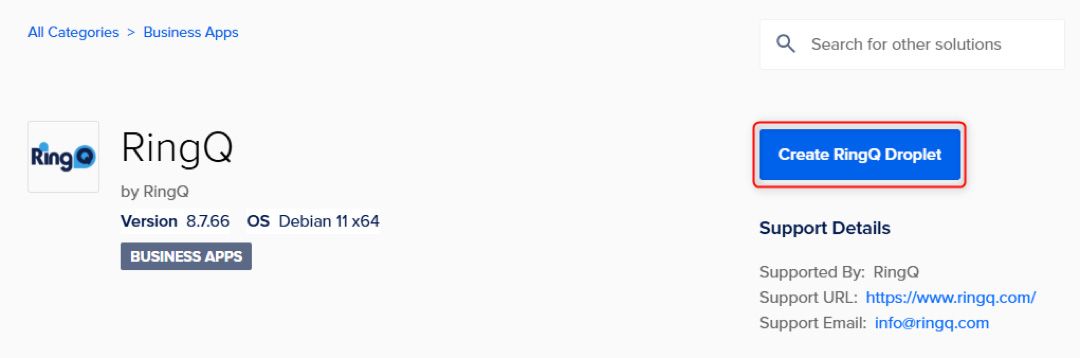
Click Create RingQ Droplet.
To create the droplet (server), select the following:
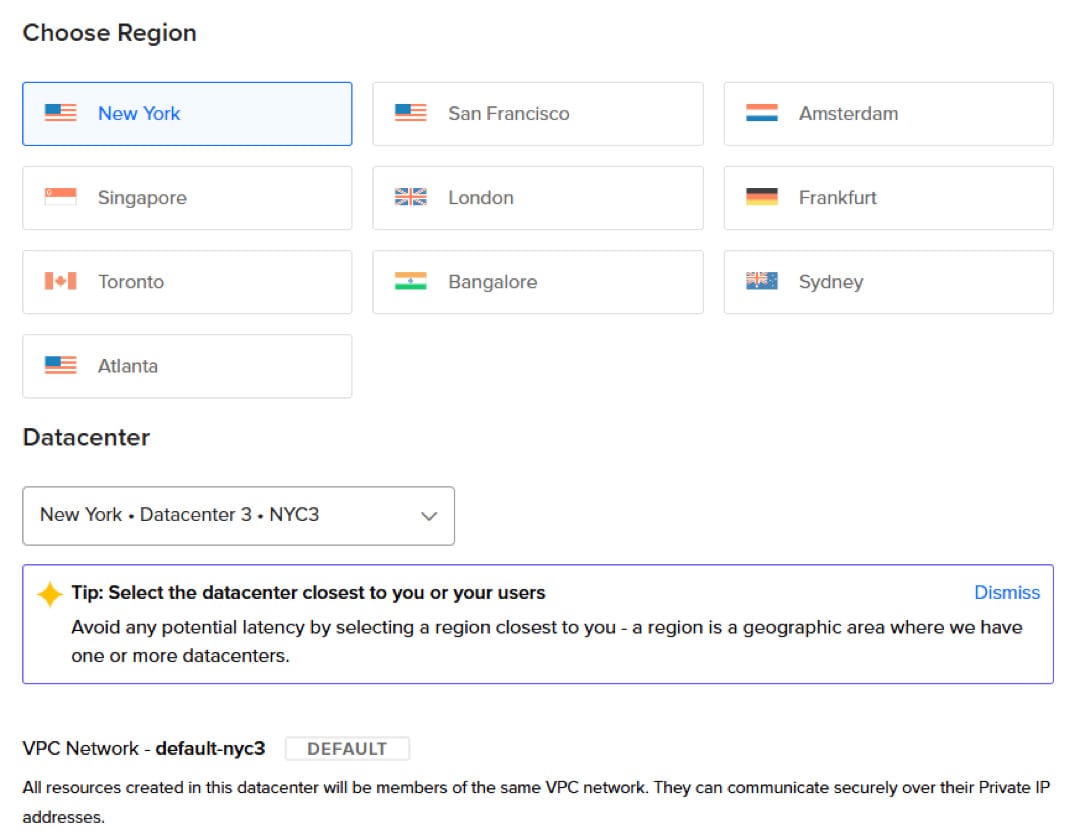
a. The droplet's Region. Select a region close to you to avoid potential latency issues. Some regions may have multiple data centers for you to choose from.
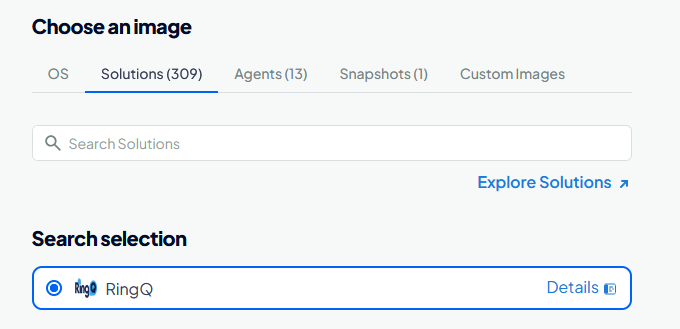
b. Select the image. The RingQ image on the latest version should be selected here.
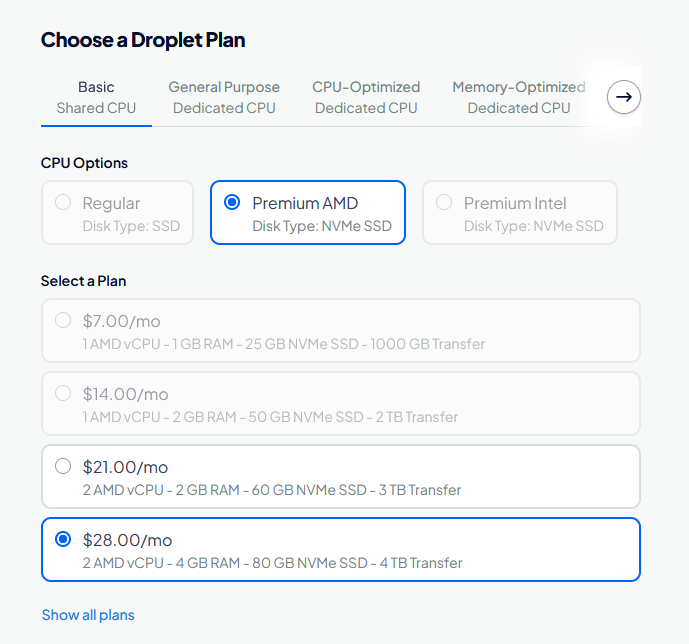
c. Select the size of the machine according to the RingQ Hardware Specifications.
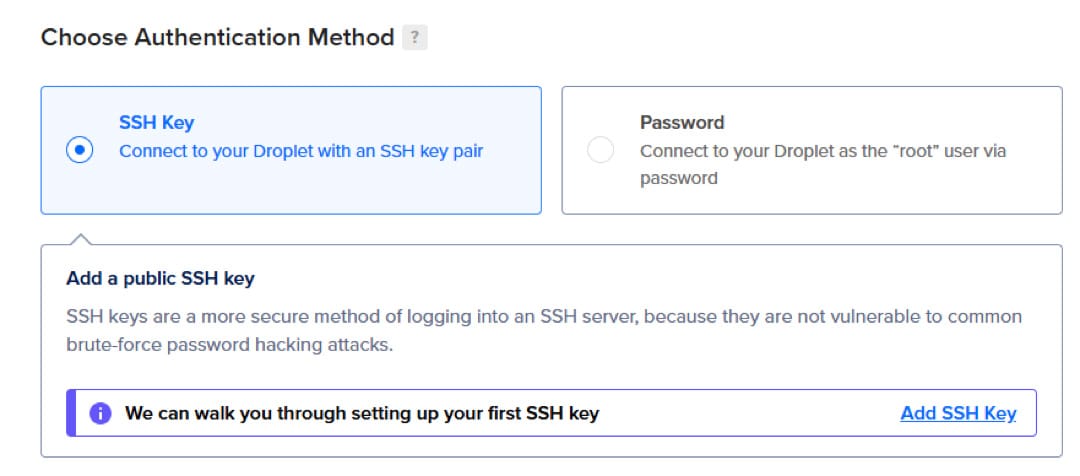
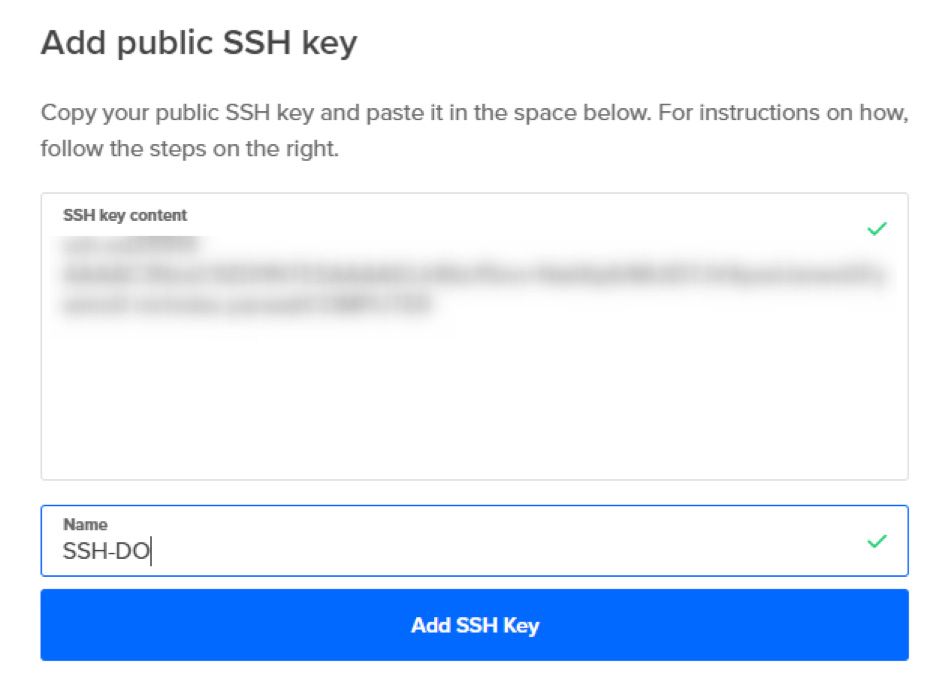
d. Select SSH Key as your authentication method. If you already have an SSH key, click Add SSH Key. If not, DigitalOcean will prompt you to create one when you click Add SSH Key.
.pub file. For Microsoft Office users, this file type might be assigned to Microsoft Publisher. Edit the resulting file in a text editor (Notepad++ is recommended). This will allow you to copy the contents into the SSH key content field above.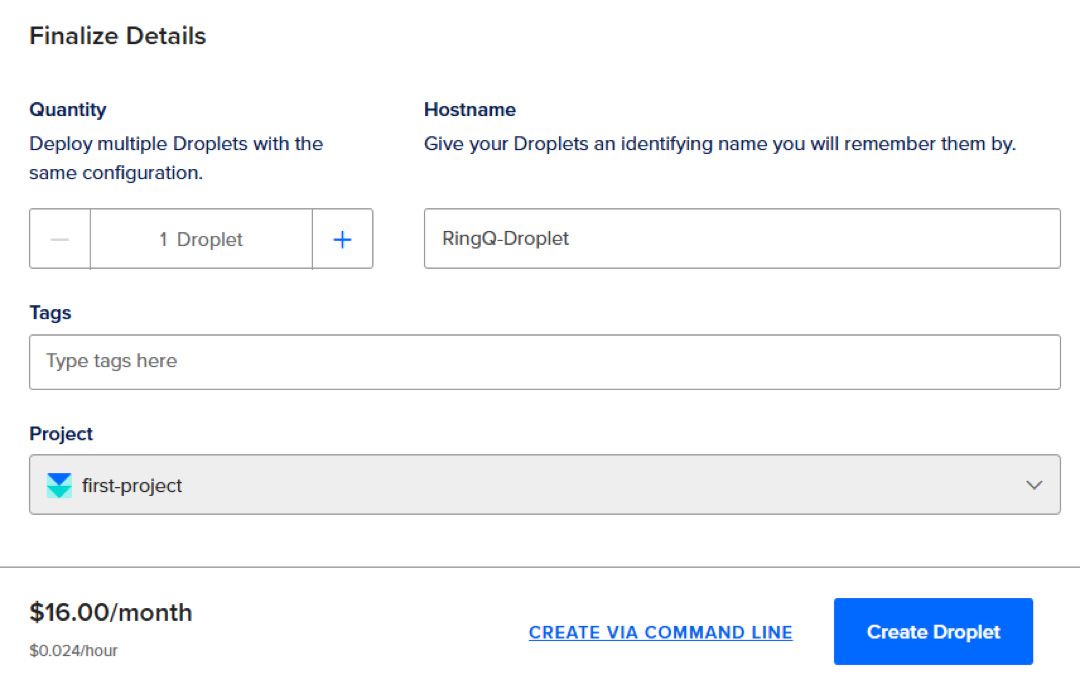
e. Give the droplet an easily identifiable name and click Create Droplet.
f. The droplet will now be created. The status of the droplet is shown as a small colored dot near the name of the droplet. Click the droplet name to open the configuration of the droplet.
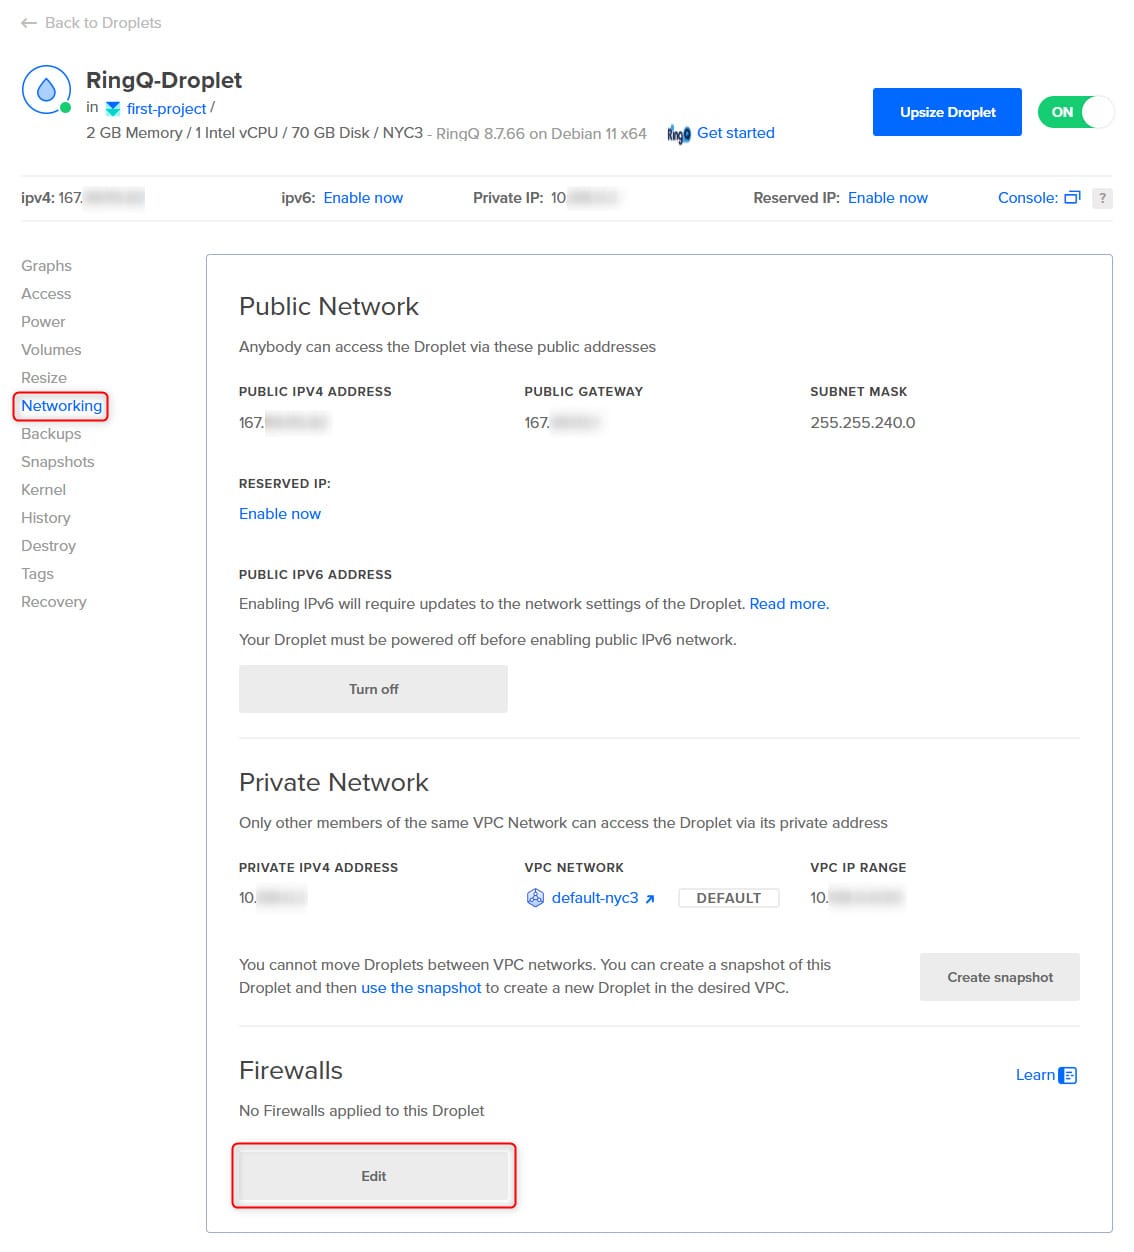
g. Go to the Networking page.
h. In the Firewalls section at the bottom of the page, click Edit.
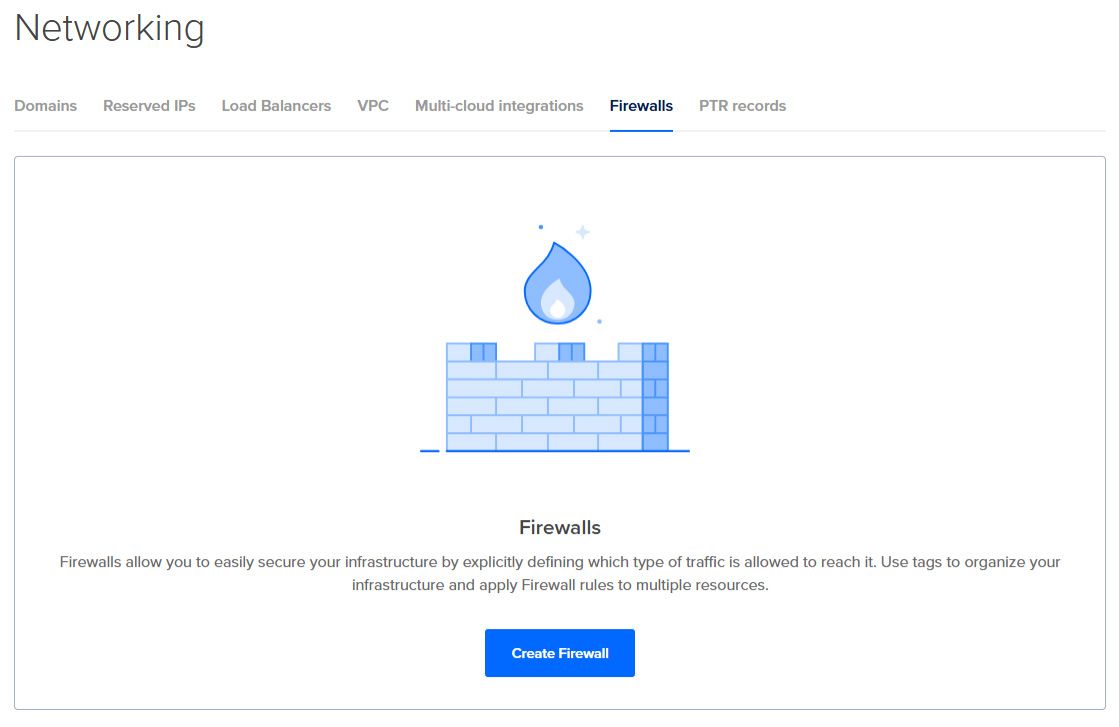
i. Click Create Firewall.
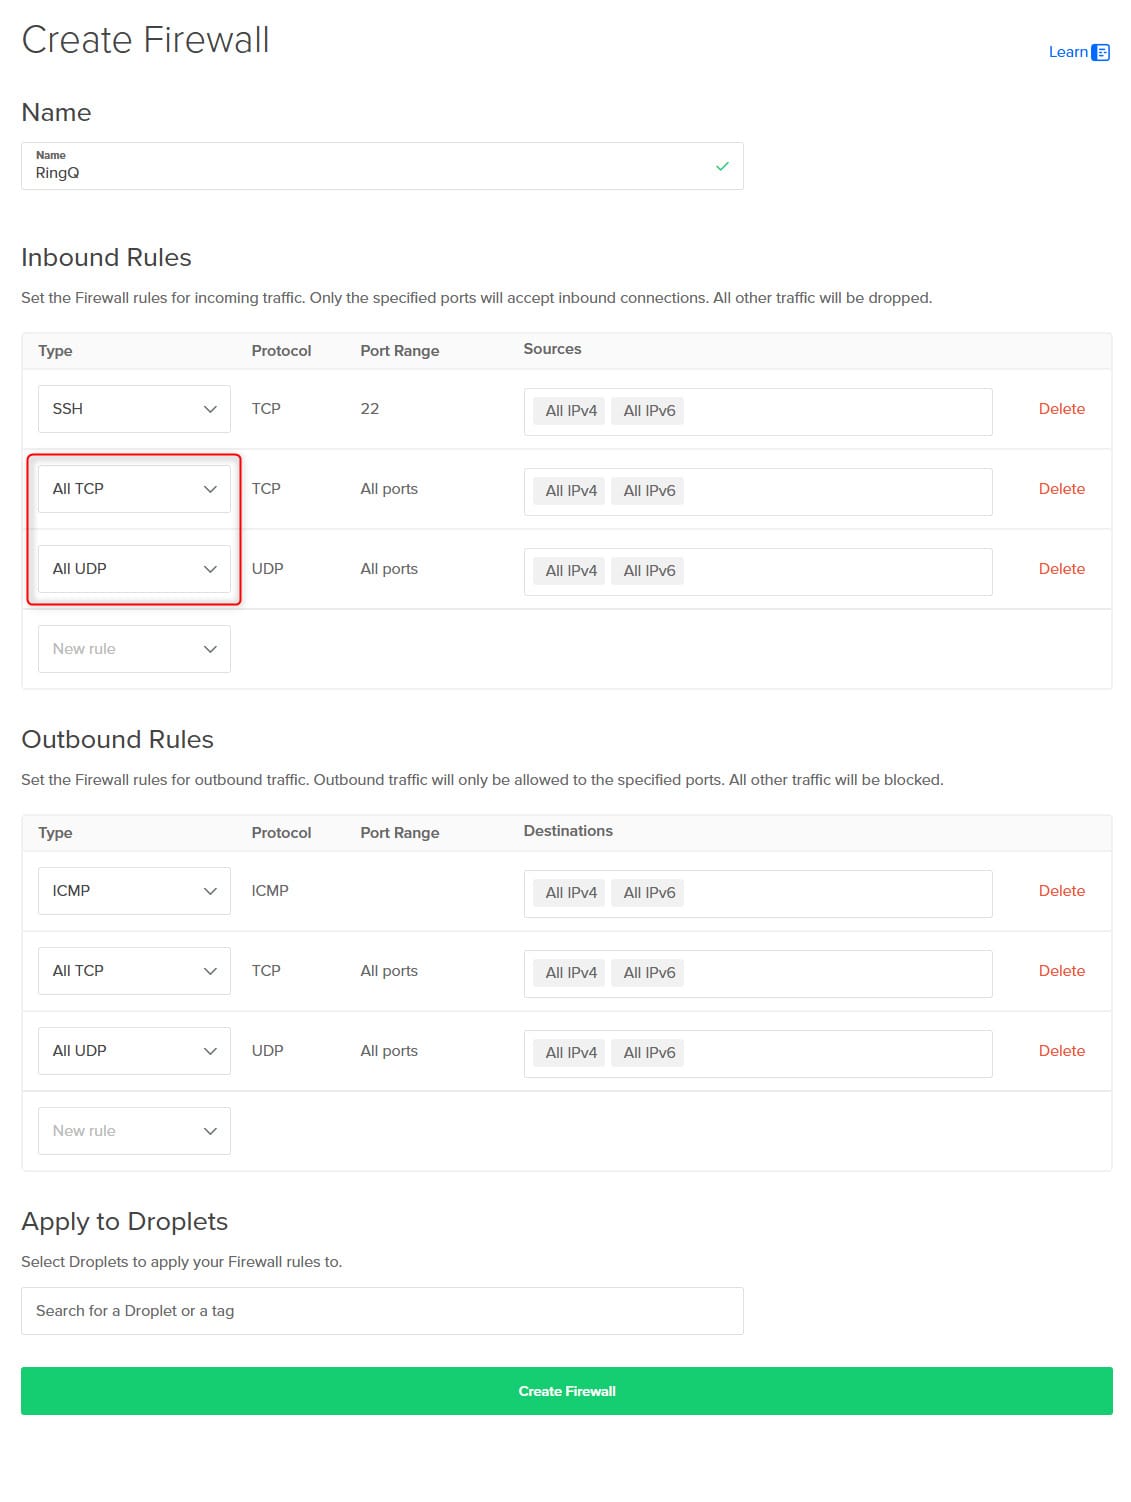
j. Give the rule a name, such as RingQ.
k. In the Inbound Rules section, add 2 firewall rules: All TCP and All UDP.
l. Click Create Firewall to create the firewall access rules for this server.
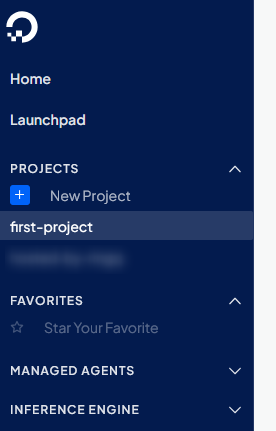
Use the left-hand menu to go to the Droplets page.
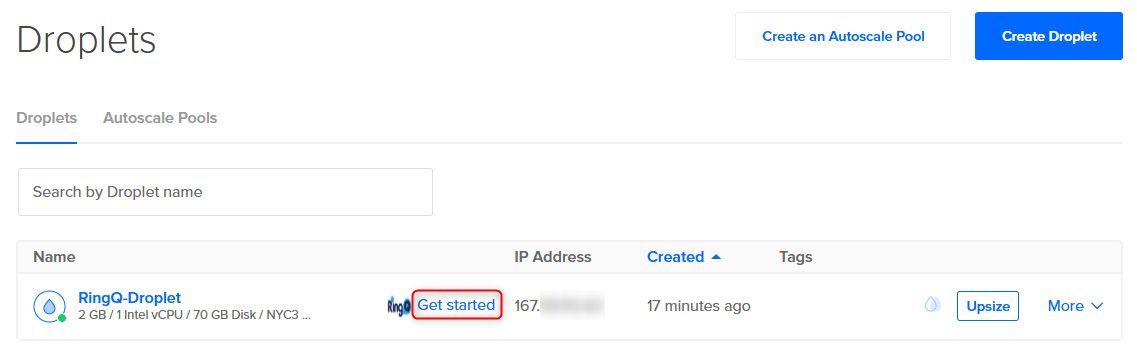
Click the Get Started link.
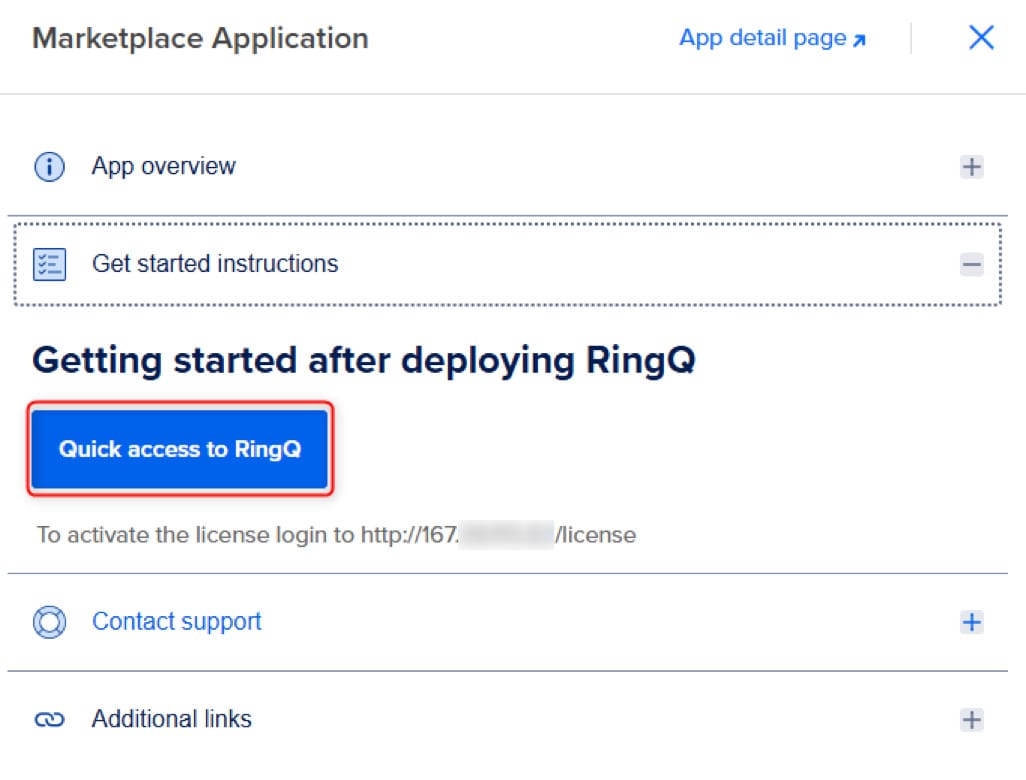
In the Marketplace Application popup, click Quick Access to RingQ. This will take you directly to the Activate Your License page of RingQ.
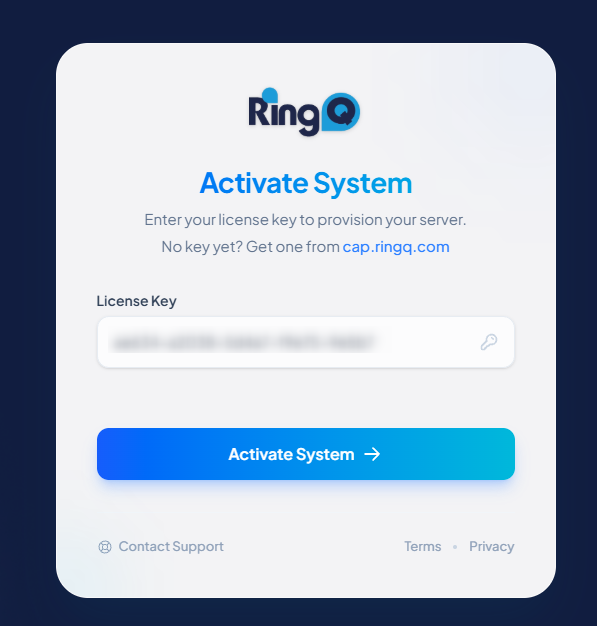
Enter your RingQ License Key and press Activate System, then follow the wizard.
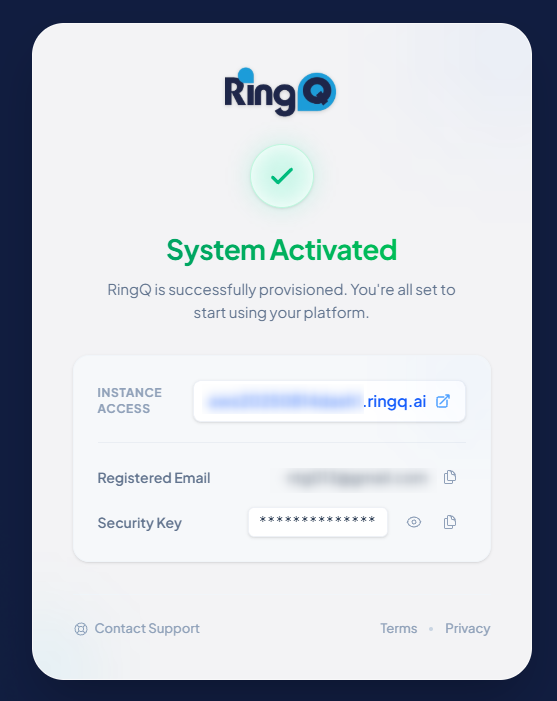
Once the license activation finishes, your RingQ installation is complete, and you can access your instance using your FQDN!
