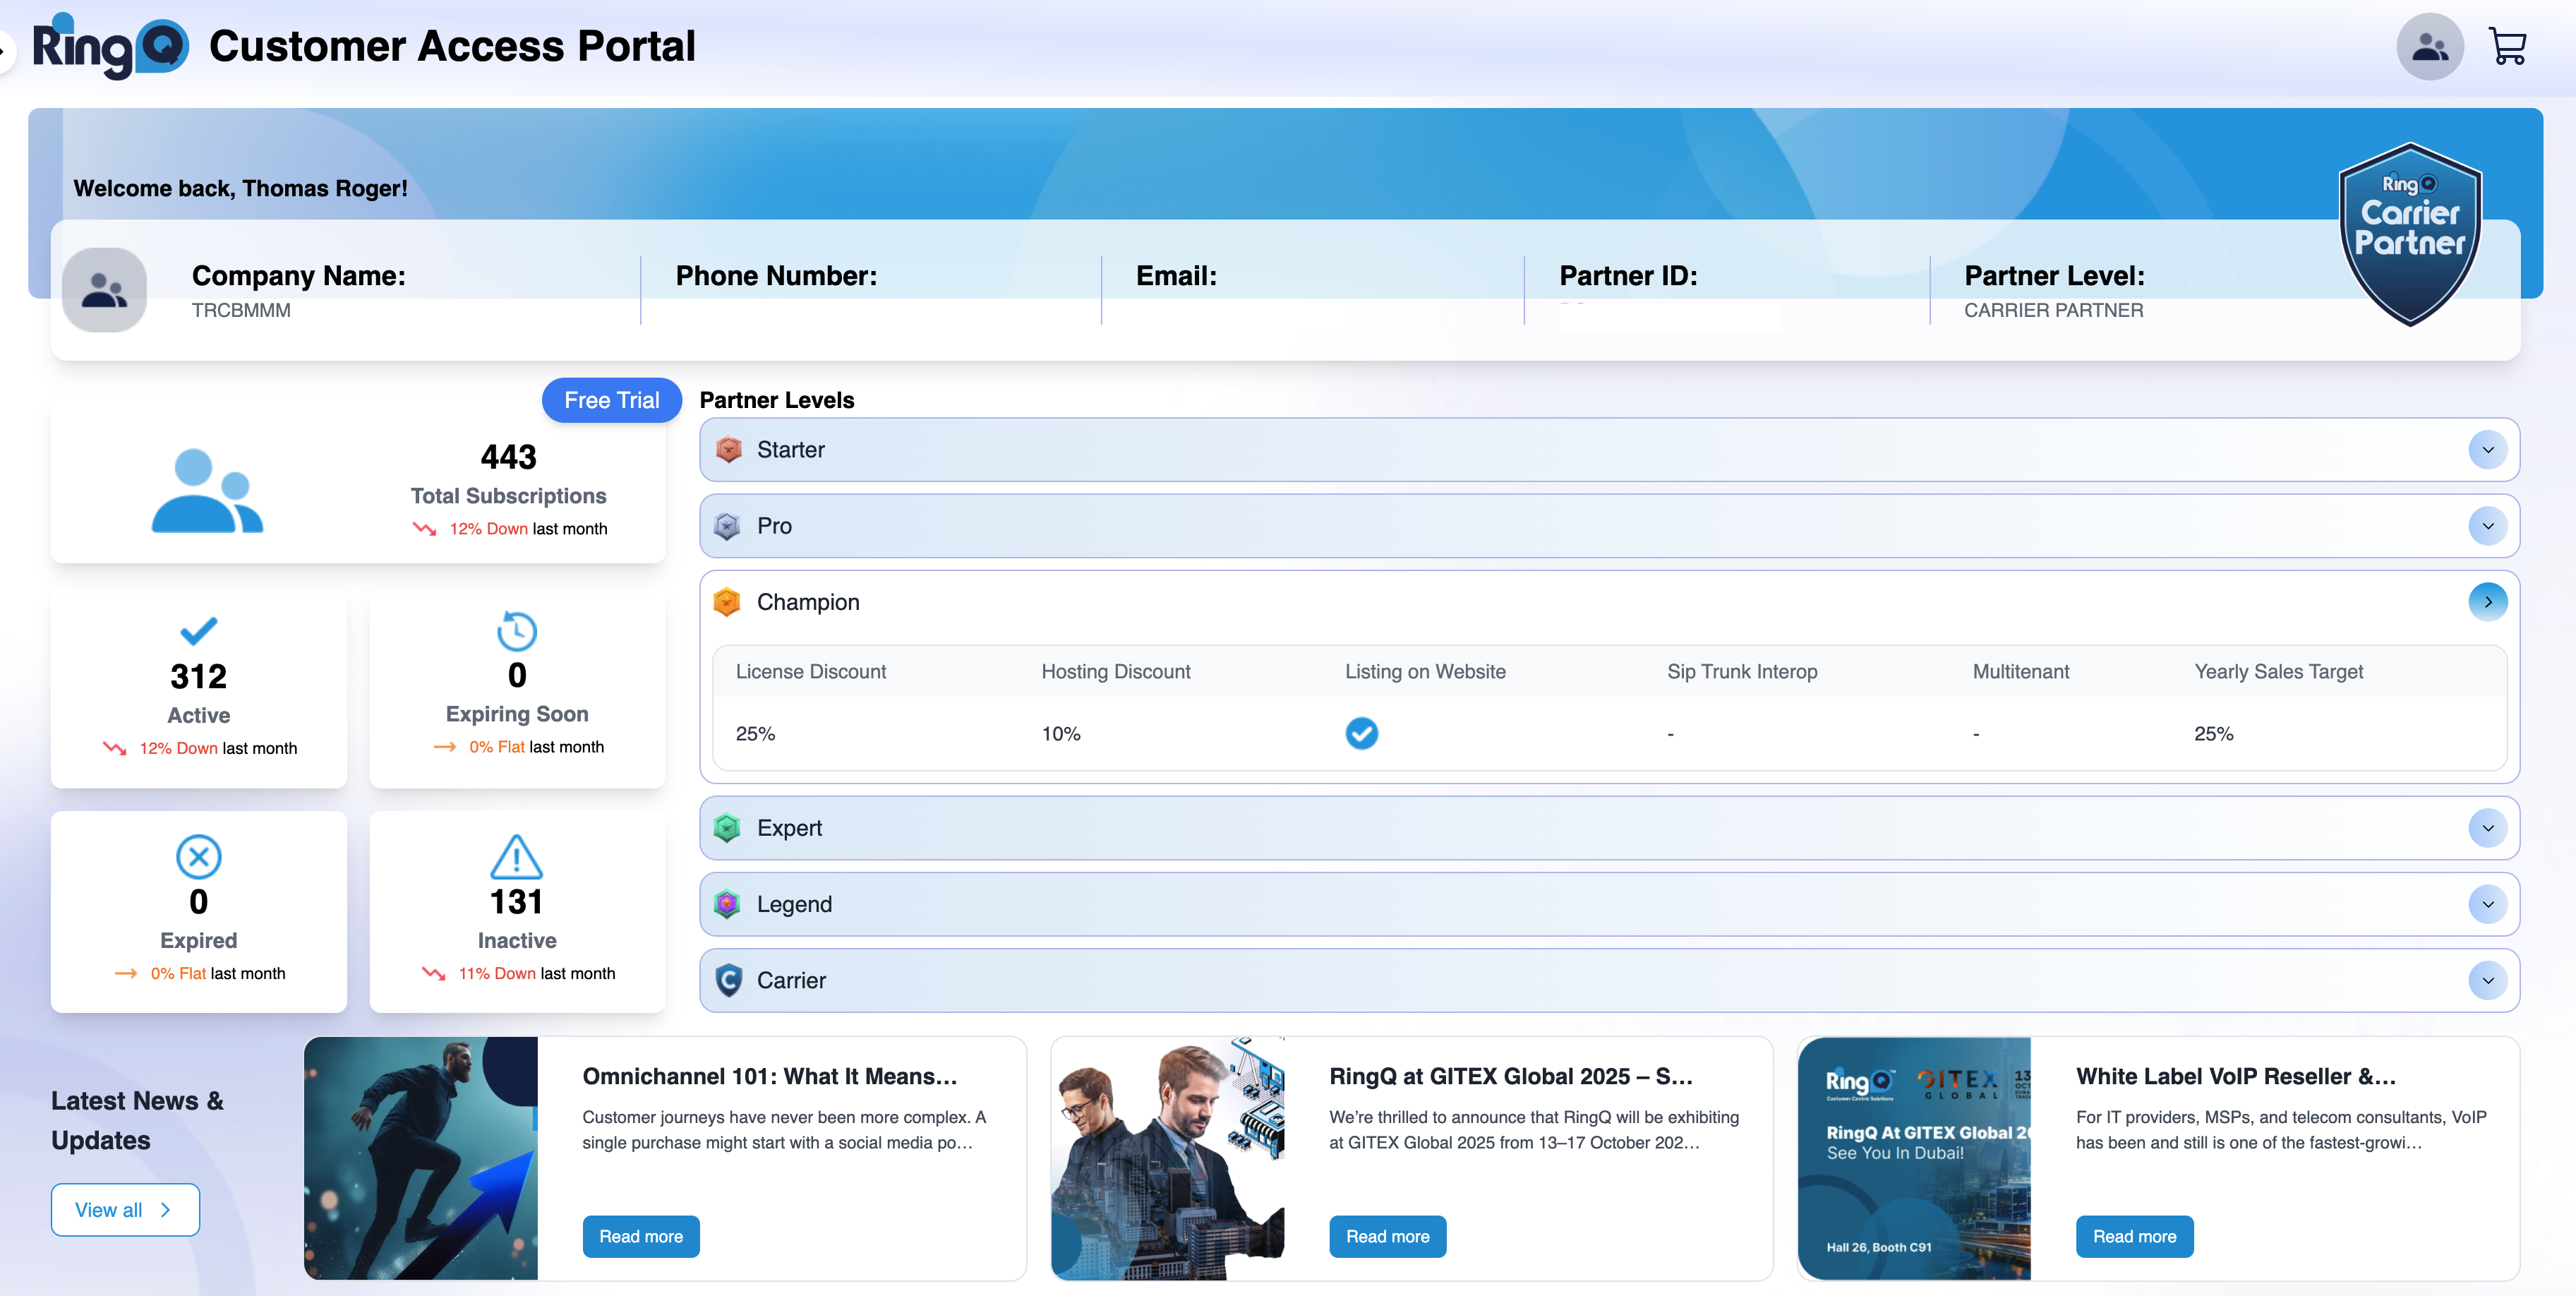
Upon logging in, you will see your dashboard. From here, you’re able to see vital information such as:
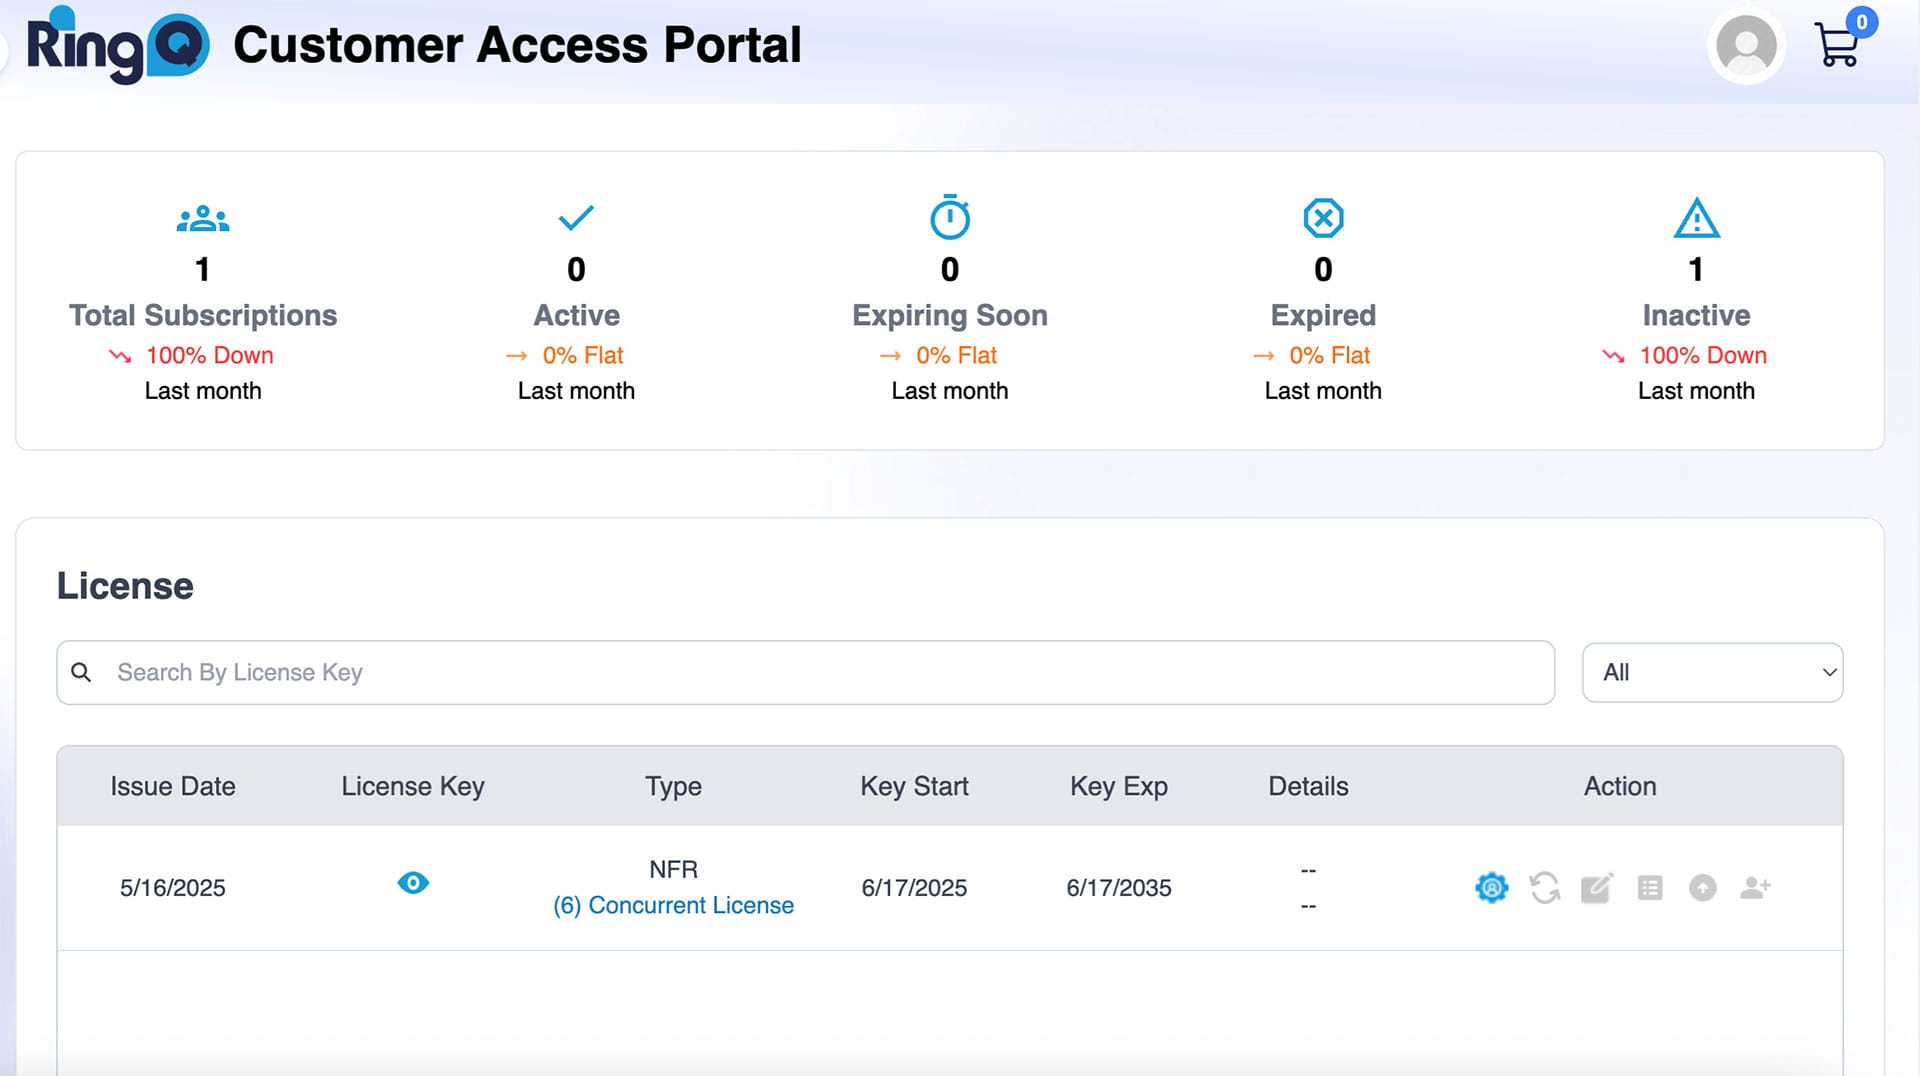
From the License History tab, you can view key information about your RingQ licenses as well as their history—when they were purchased, the type of license, and so on.
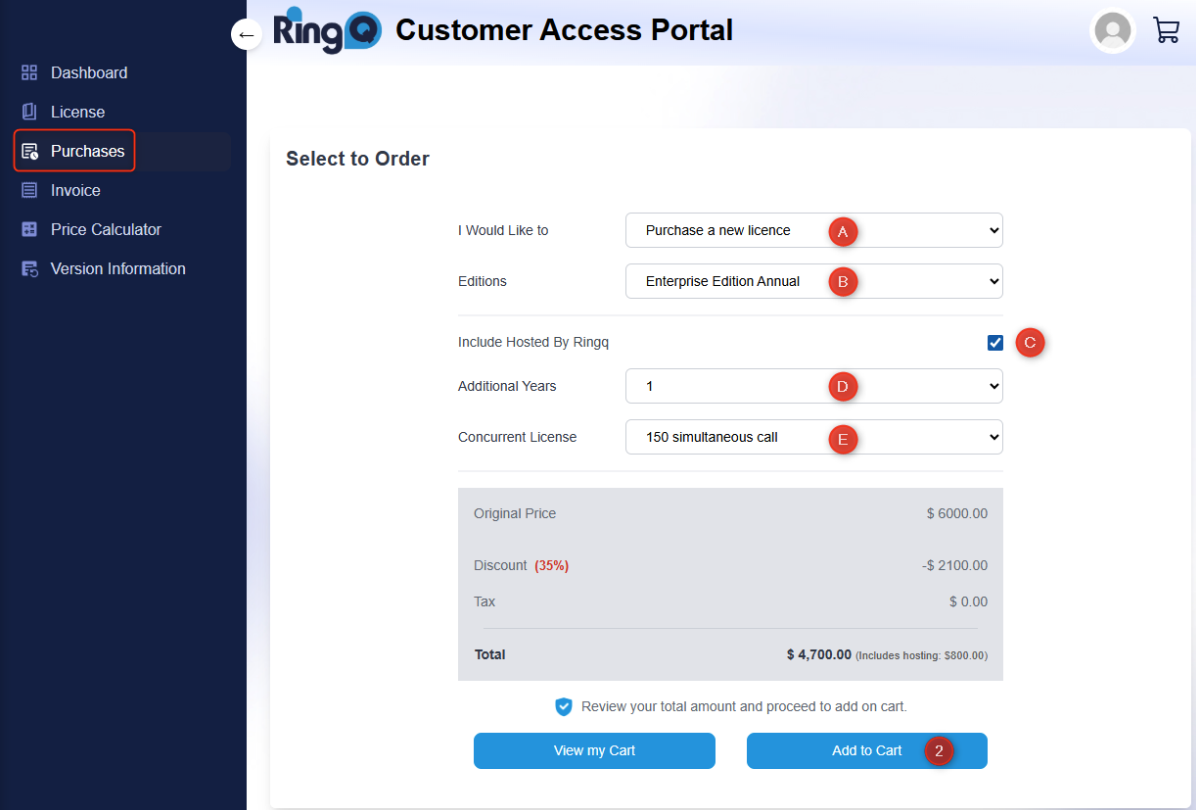
To buy a new license, go to the Purchases tab. 1. Follow the image above and select:
A. Purchase a new license.
B. The edition (Enterprise or Multi-Tenant).
C. Optionally, whether you want RingQ to provide hosting.
D. Any additional years to the subscription (2-10 years).
E. The number of concurrent calls.
Click Add to Cart.
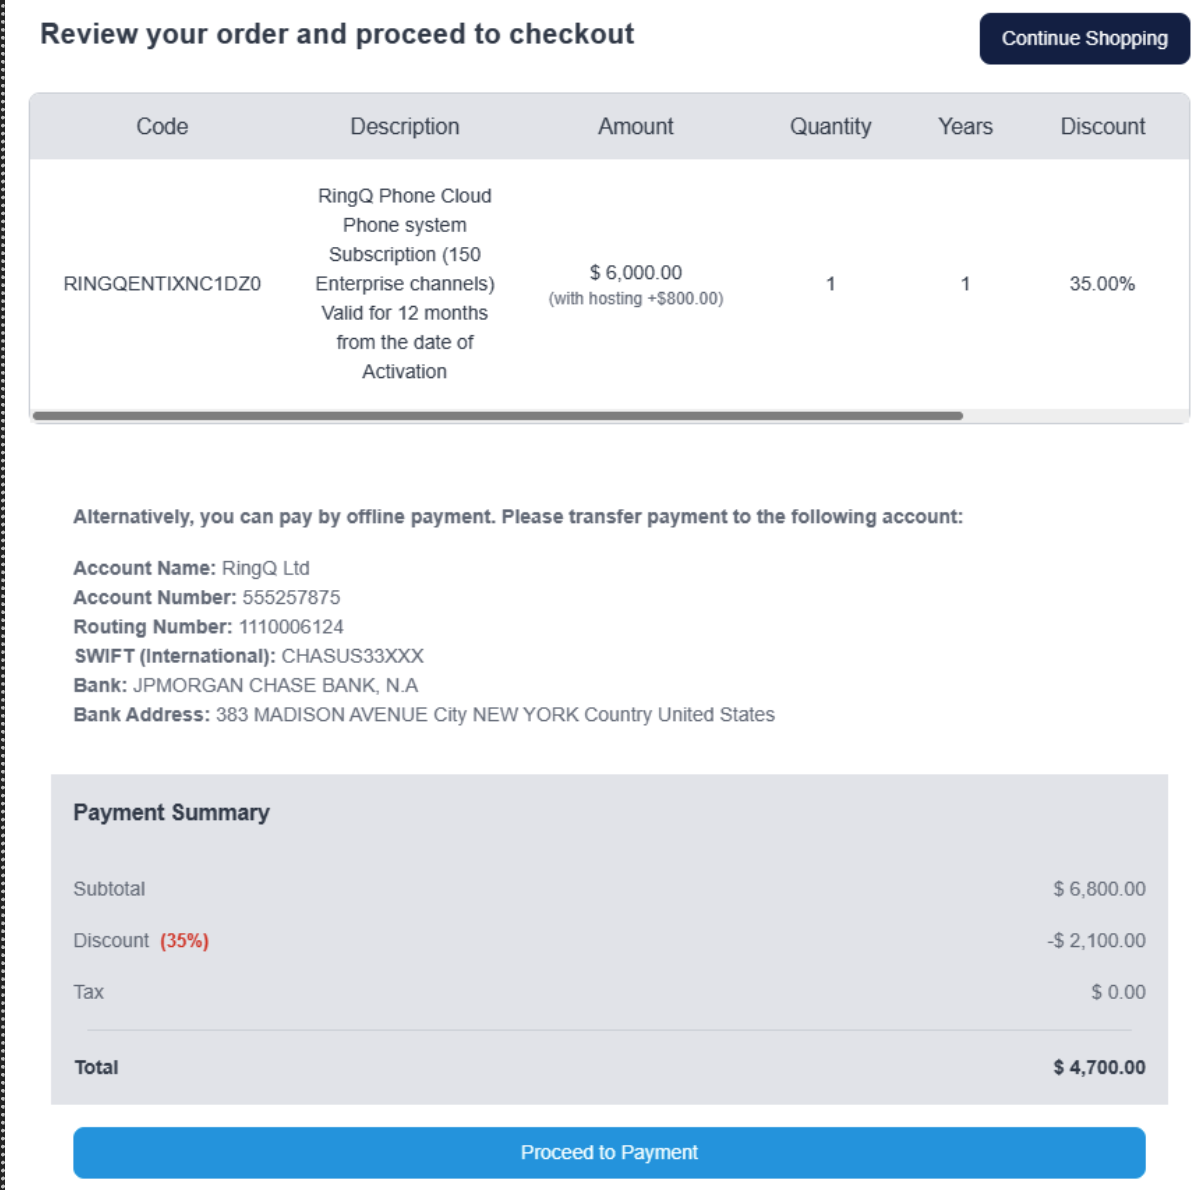
Review your purchase and select Proceed to Payment, or Continue Shopping if you want to purchase more licenses. Payment can be made via credit/debit card or offline bank transfer.
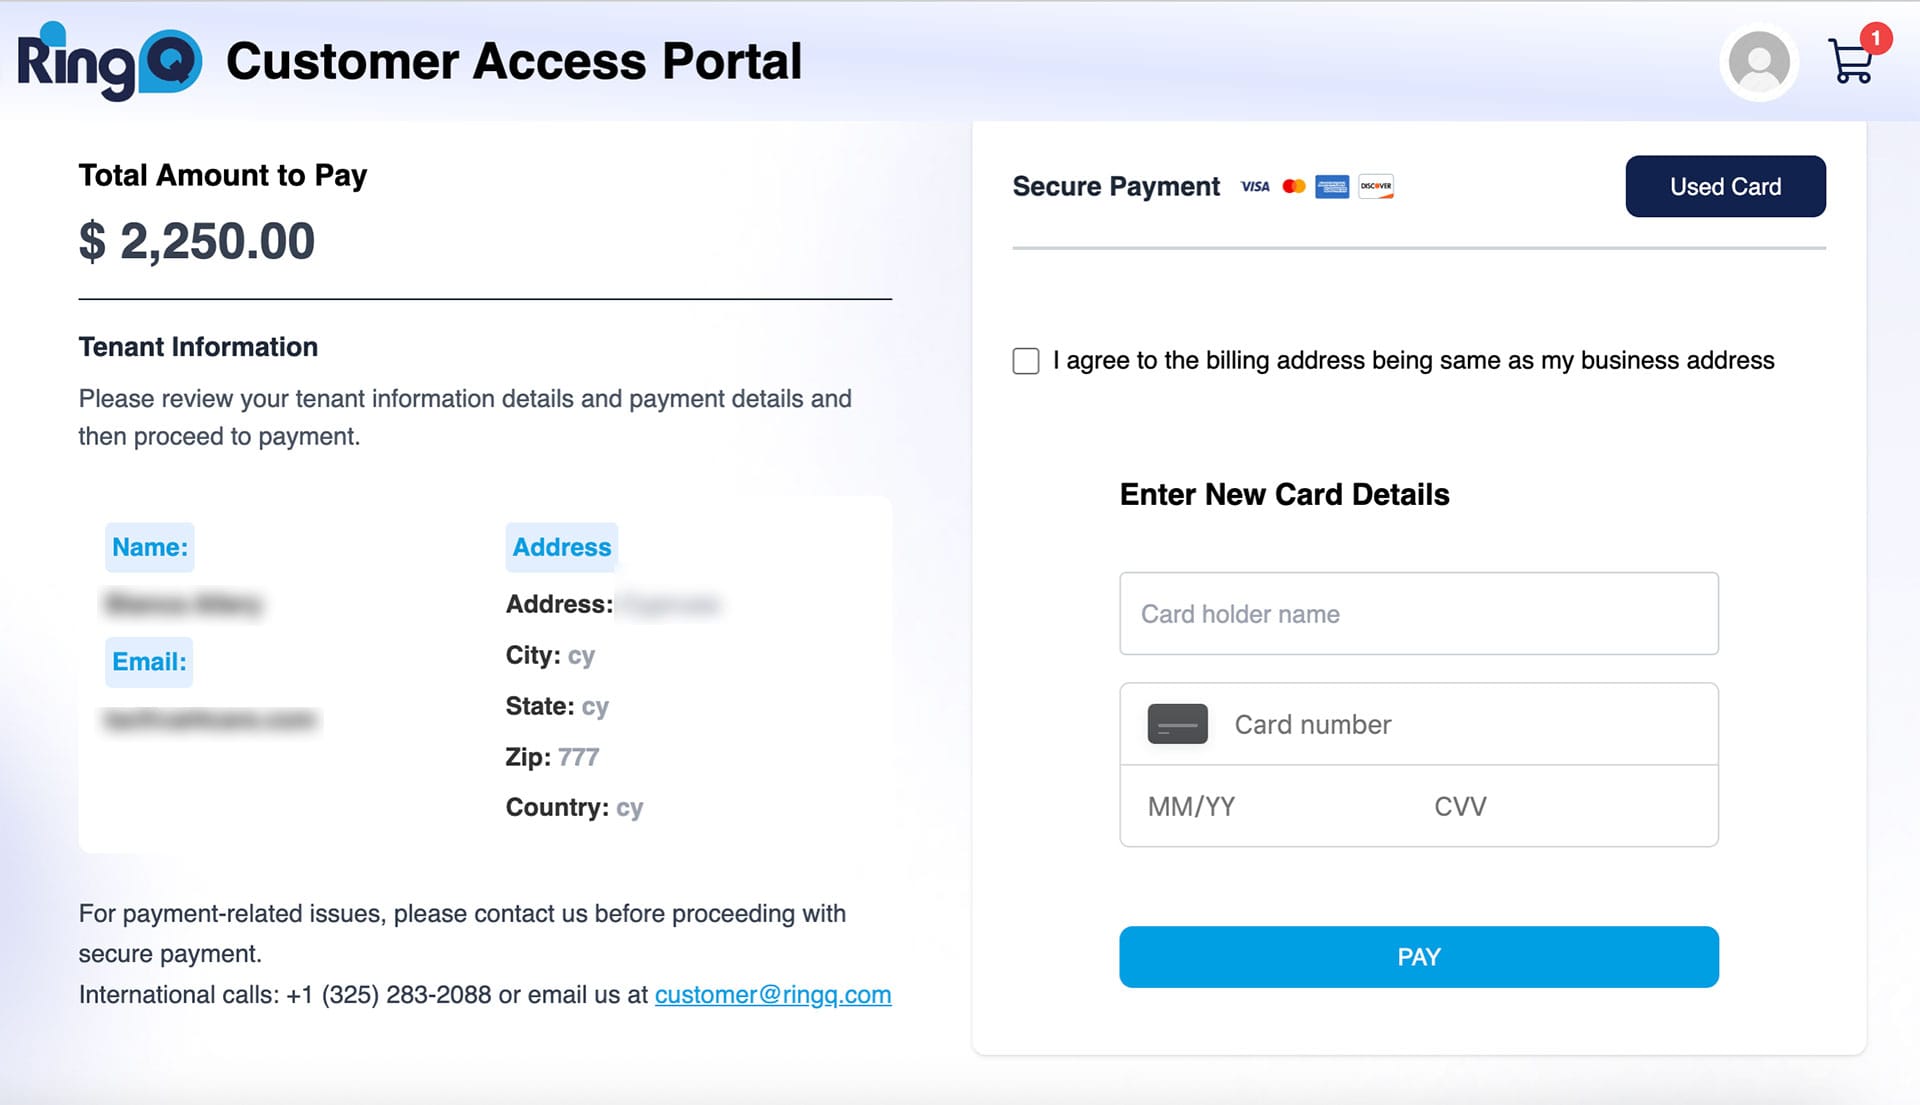
Enter your payment details and click Pay.
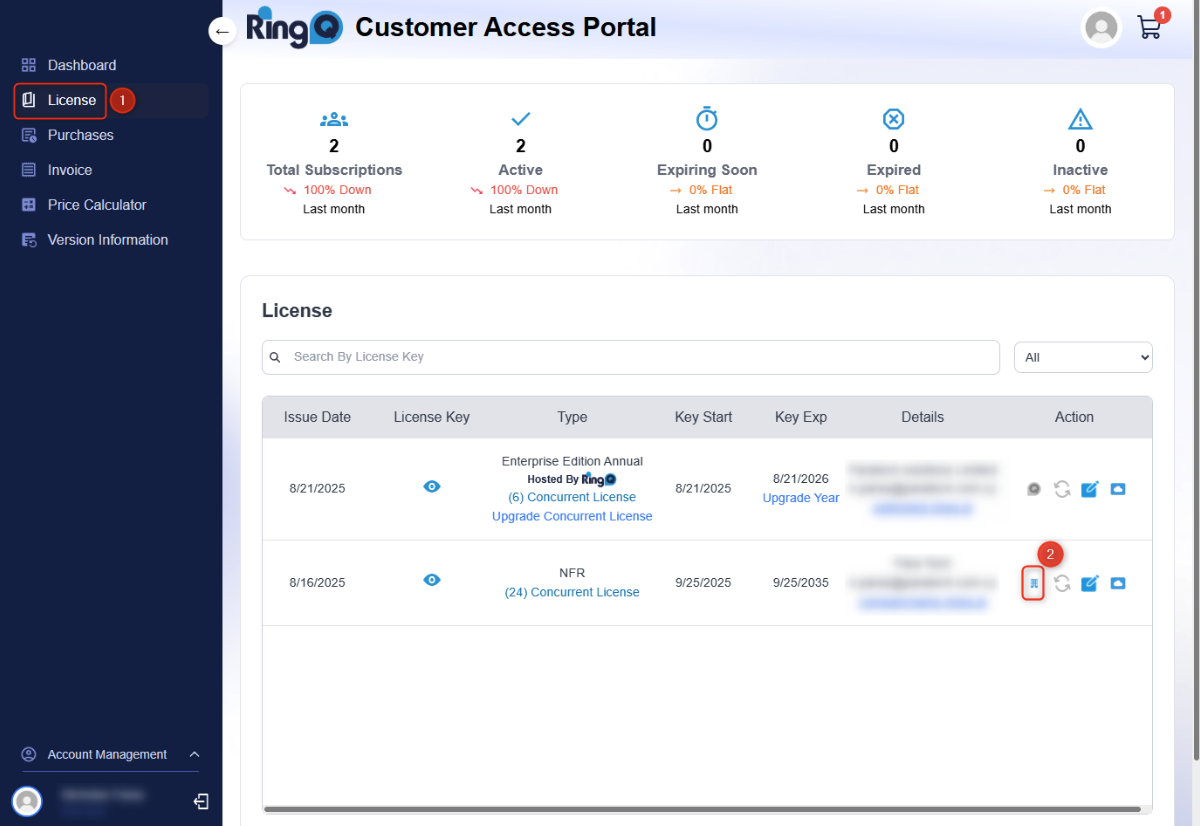
To activate a license key, go to the License page. 2. Click the Single Tenant icon to open the product registration page.
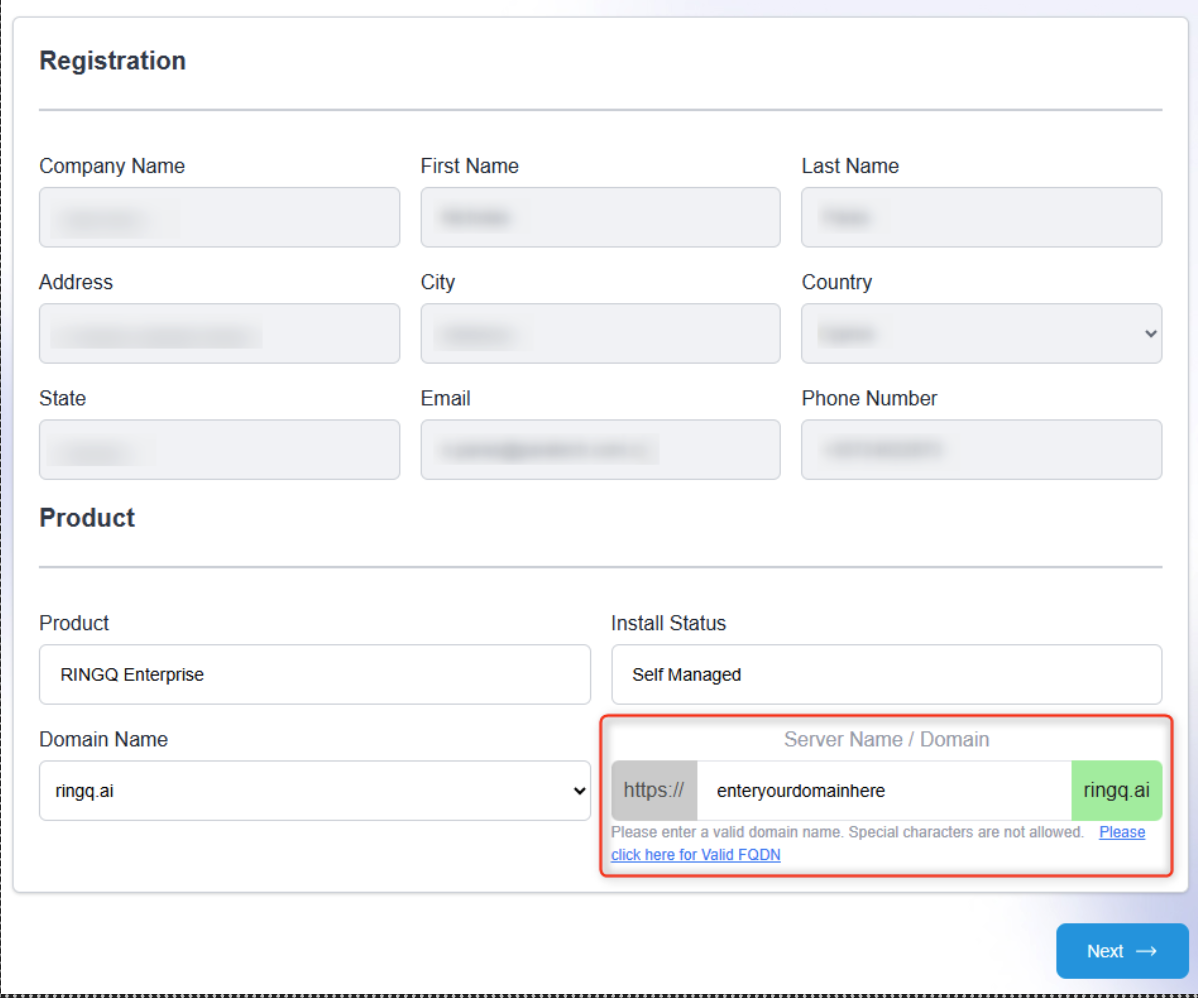
In the Registration section, the details are taken from the Account Management of the RingQ account. 3. In the Product section, the details of the key are shown. Here, the server’s Fully Qualified Domain Name (FQDN) is entered. This is how the instance will be accessed once it is set up. 4. Once the FQDN has been entered, click Next. 5. Confirm the extension digit length. The default is 4 digits. Click Next. 6. Select the system’s locale preferences and click Next. 7. On the final page, there are links to the Hardware Requirements and the RingQ Linux ISO. Click Submit to register your license key.
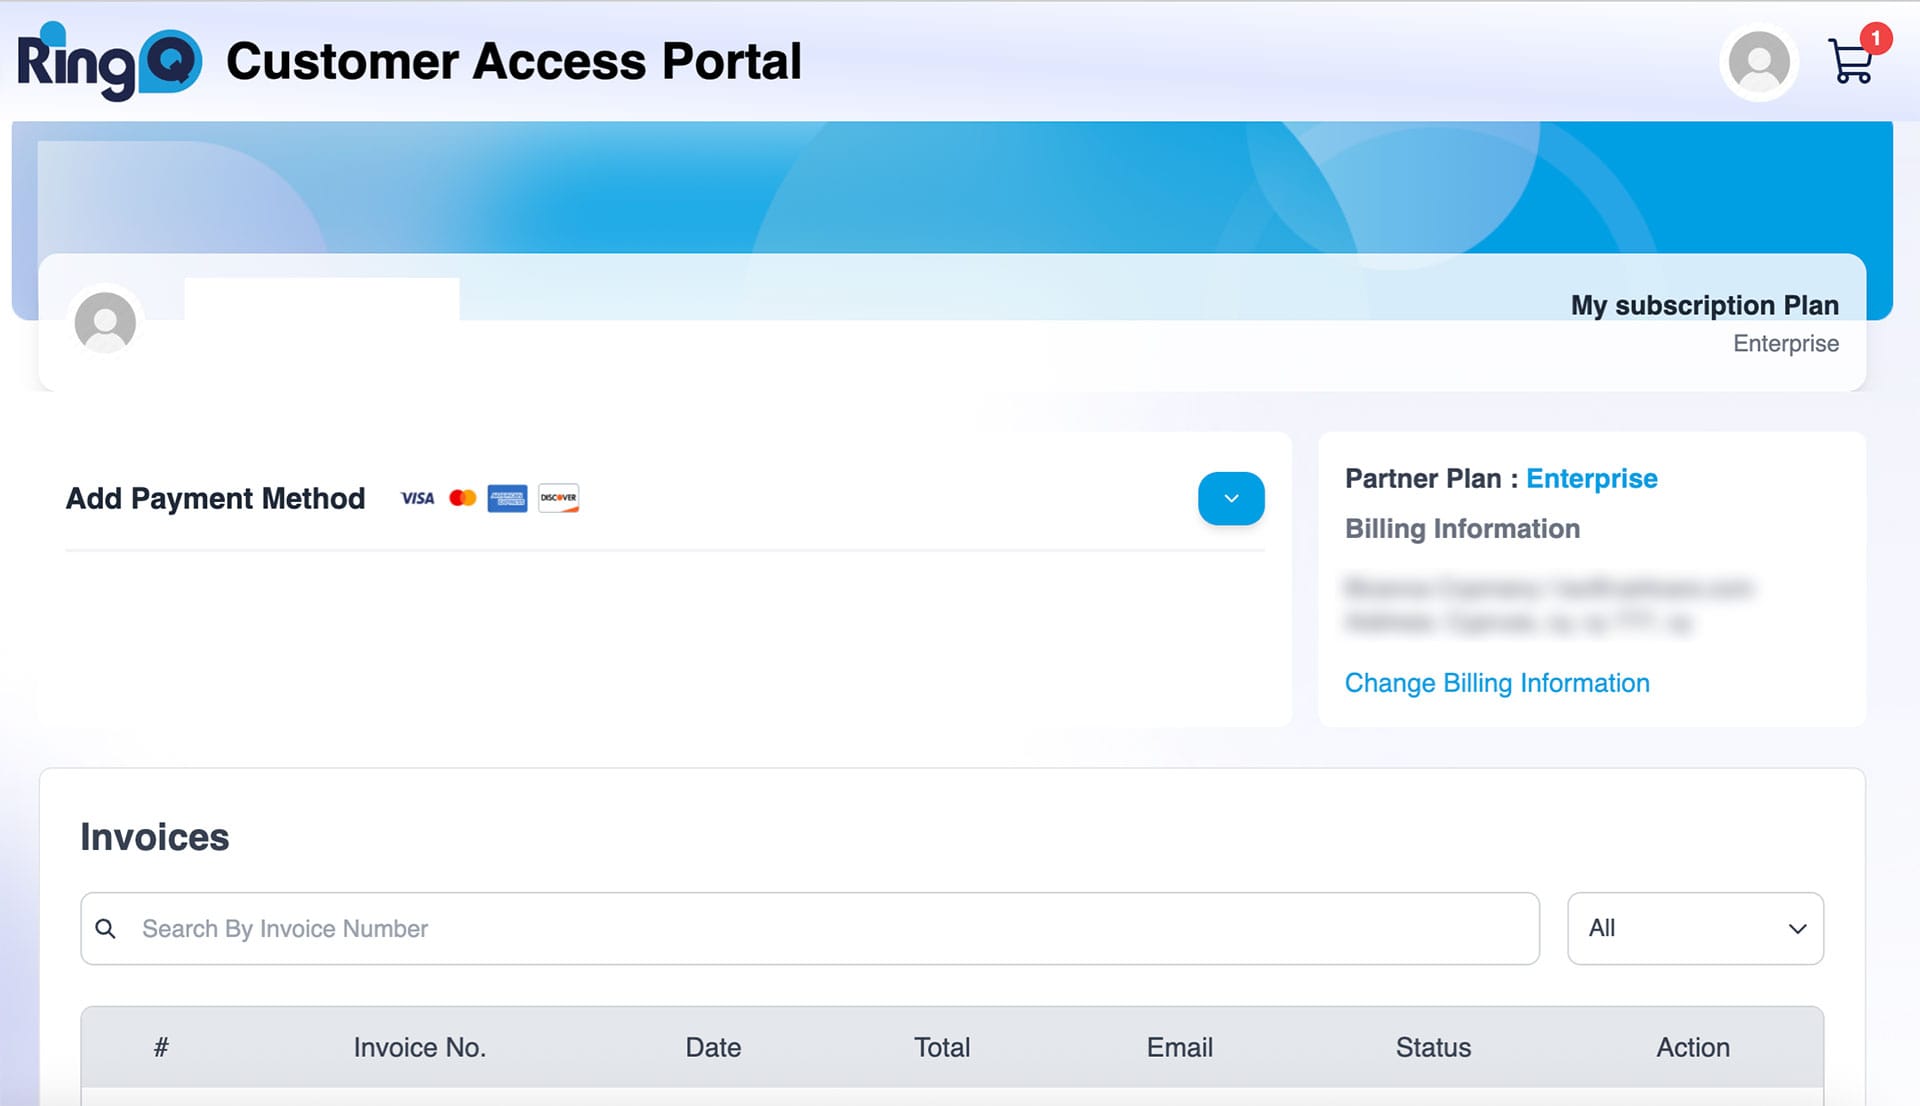
From the Invoice page, you can search for a specific invoice and view all your invoices in the table, along with important information about each one. You can also view your payment details by clicking the blue arrow.
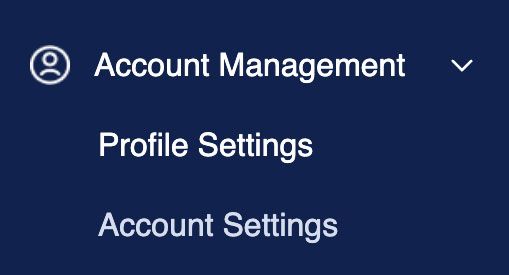
Click the arrow next to the Account Management option in the left-hand panel. 2. Two additional options appear: Profile Settings and Sub Account Settings. Click Profile Settings.
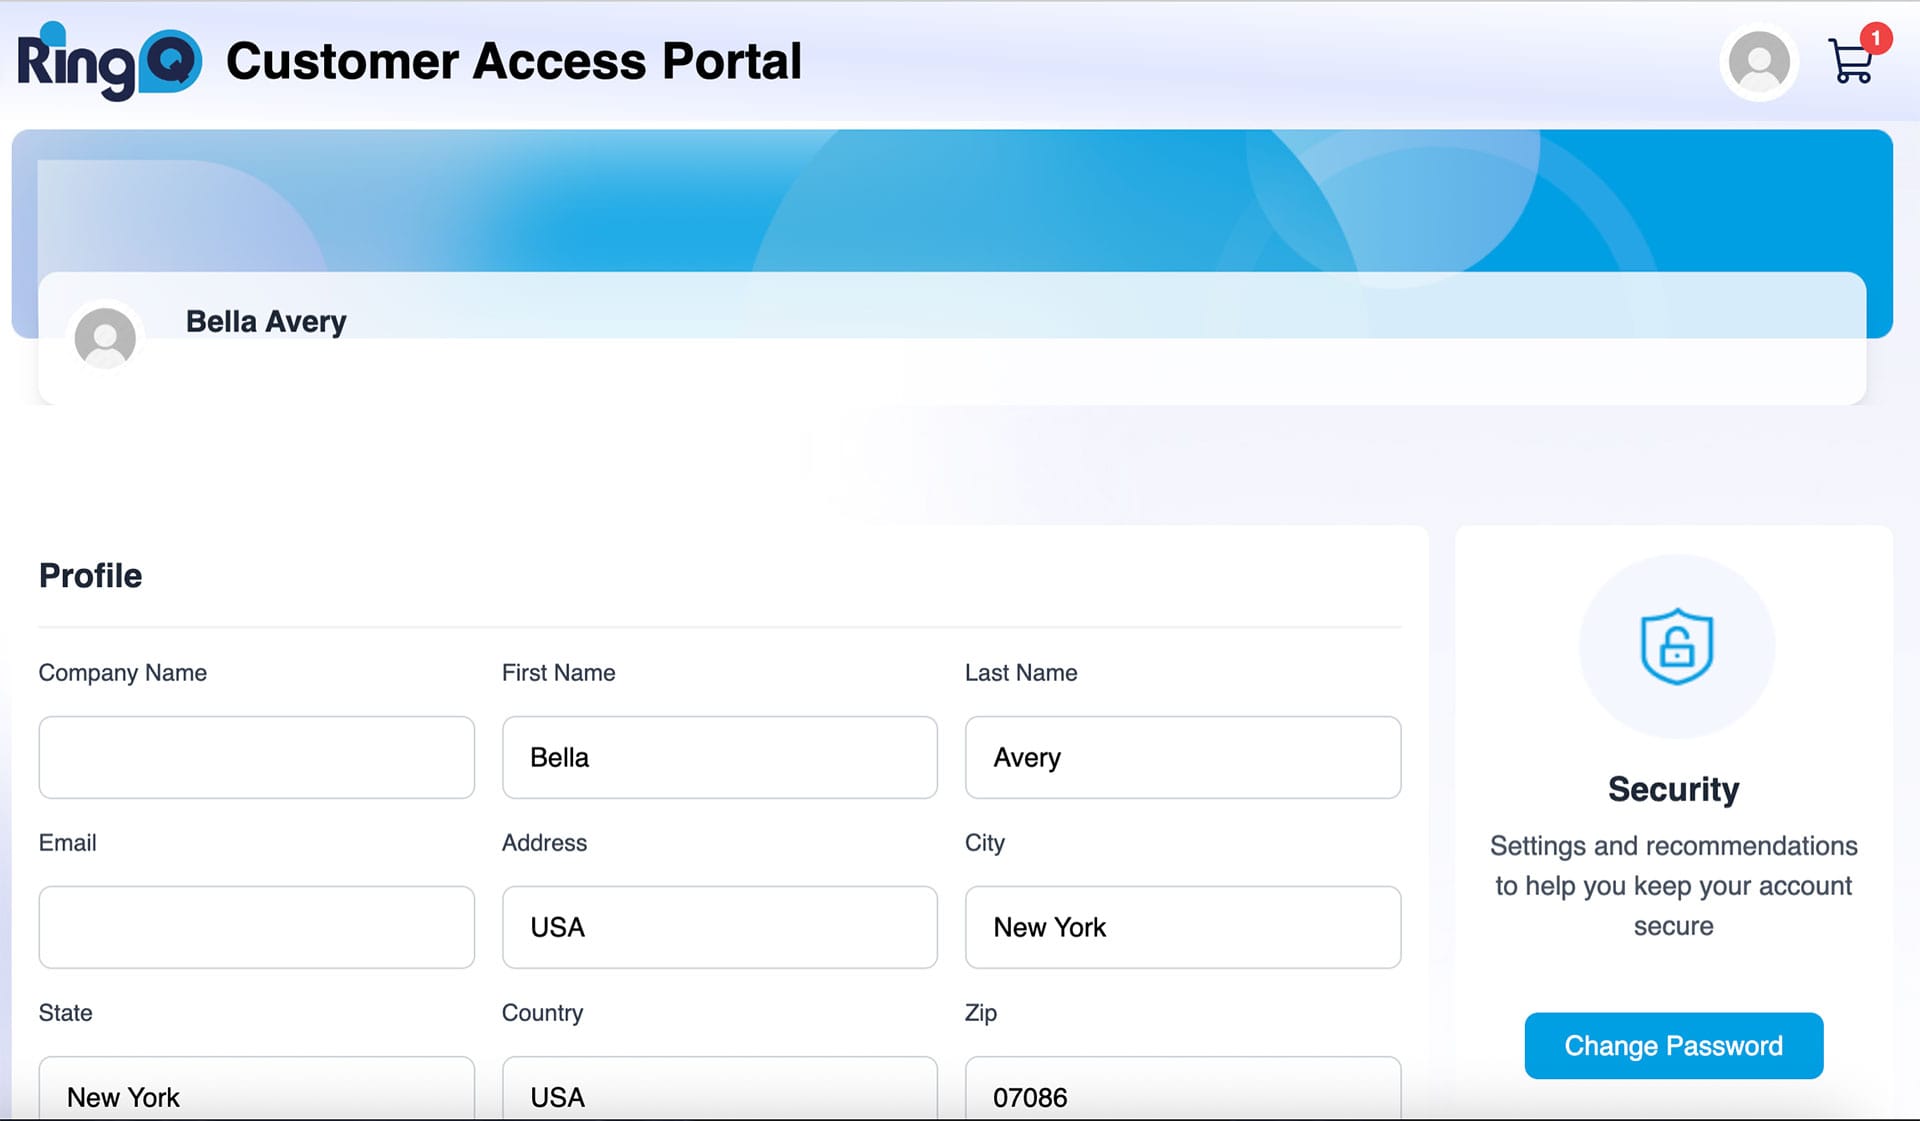
From here you can edit your personal details, such as your name and address. Certain fields—such as Company Name, User ID, and Partner Discount Percentage—cannot be edited. 2. If you make any changes, click Update Profile to save them. 3. Change your password by clicking the Change Password button.
Click +Create Account to create an account for a new user.
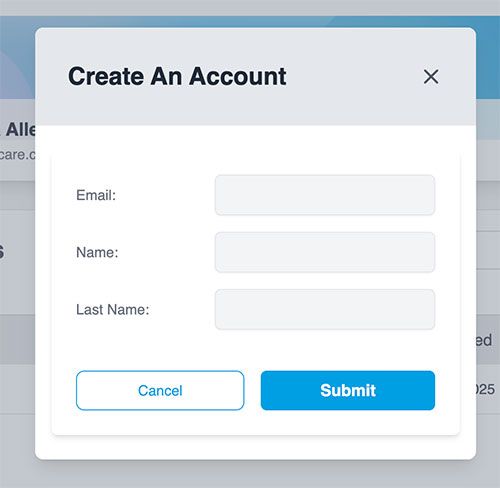
Fill in the new user’s email, first name, and last name. Click Submit. 3. You will see the new user listed in the Accounts table. 4. The new user will receive an email with helpful information about their RingQ account. 5. The new user must click the Verify my Email button within the email to verify their account. 6. Once they click the button, they will be taken to a page where they can create their own password to access their account.
