Setting Up WhatsApp Messaging
This guide walks you through connecting a WhatsApp channel to a queue in RingQ and assigning the agents who will receive and respond to WhatsApp chats. Complete both parts below to have your team ready to handle WhatsApp conversations end to end.
Before you start: You'll need a WhatsApp account already configured in Chat Settings, and admin access to the RingQ dashboard.
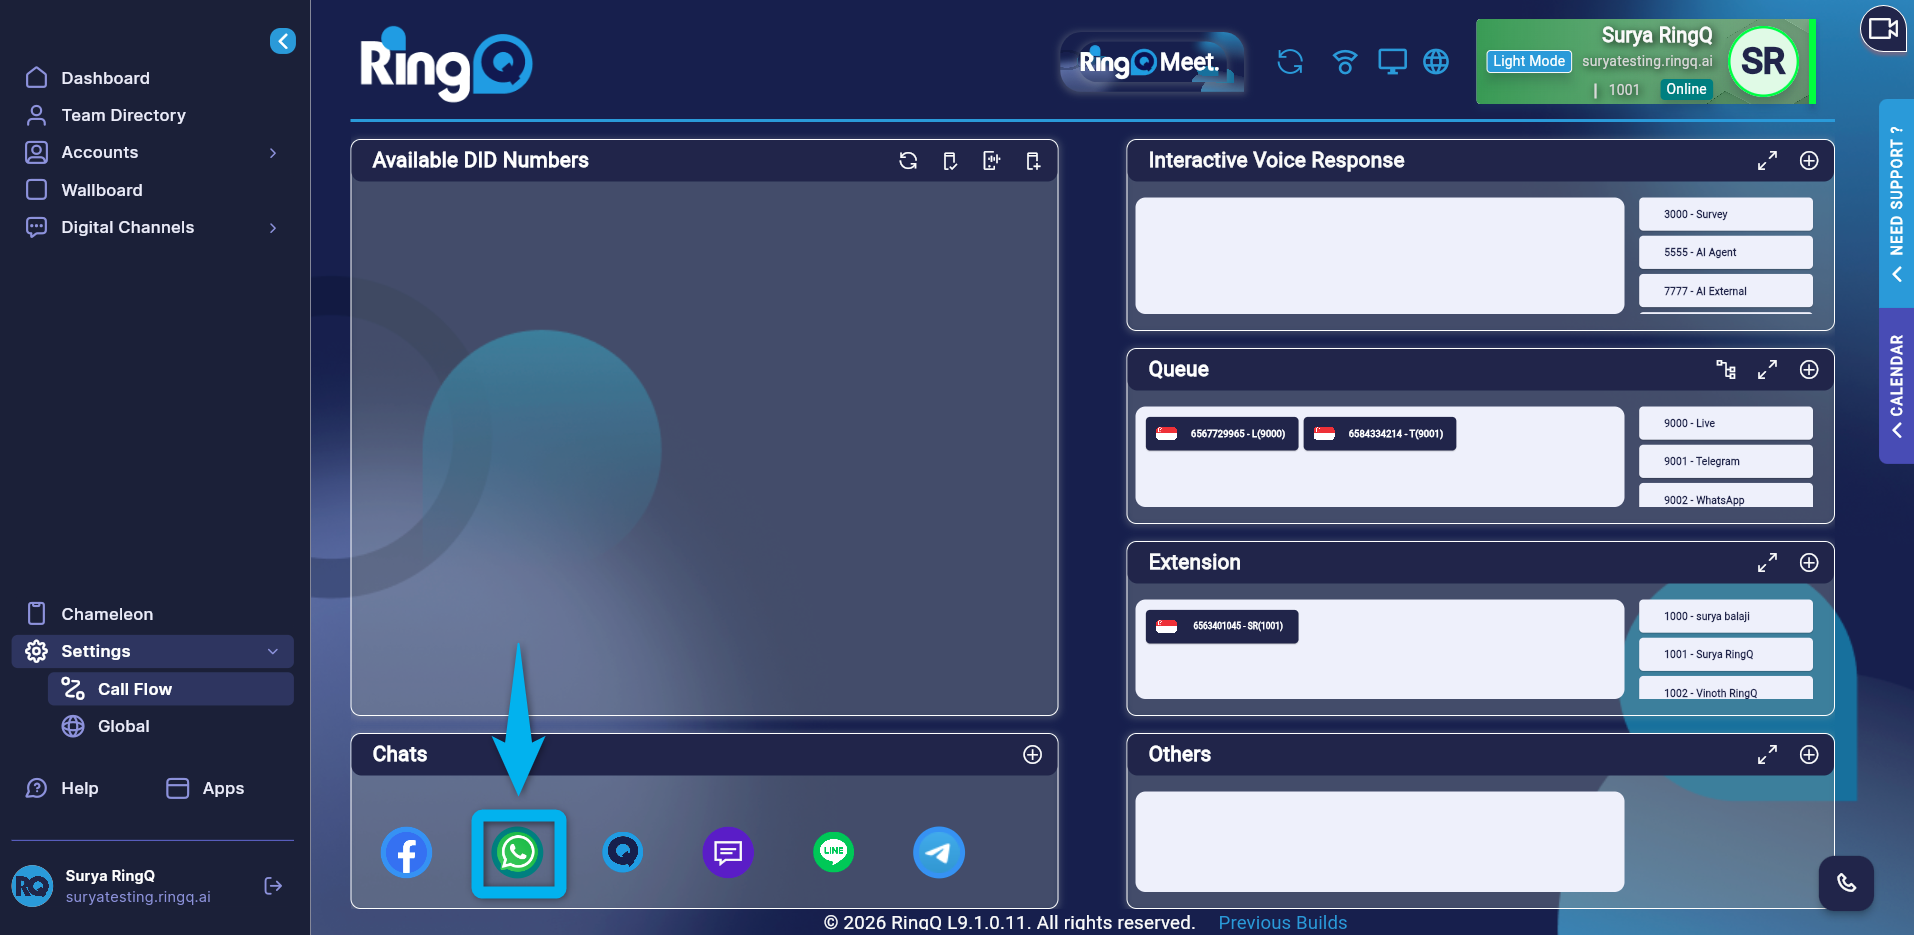
Figure 1 — The Call Flow section in RingQ Settings.
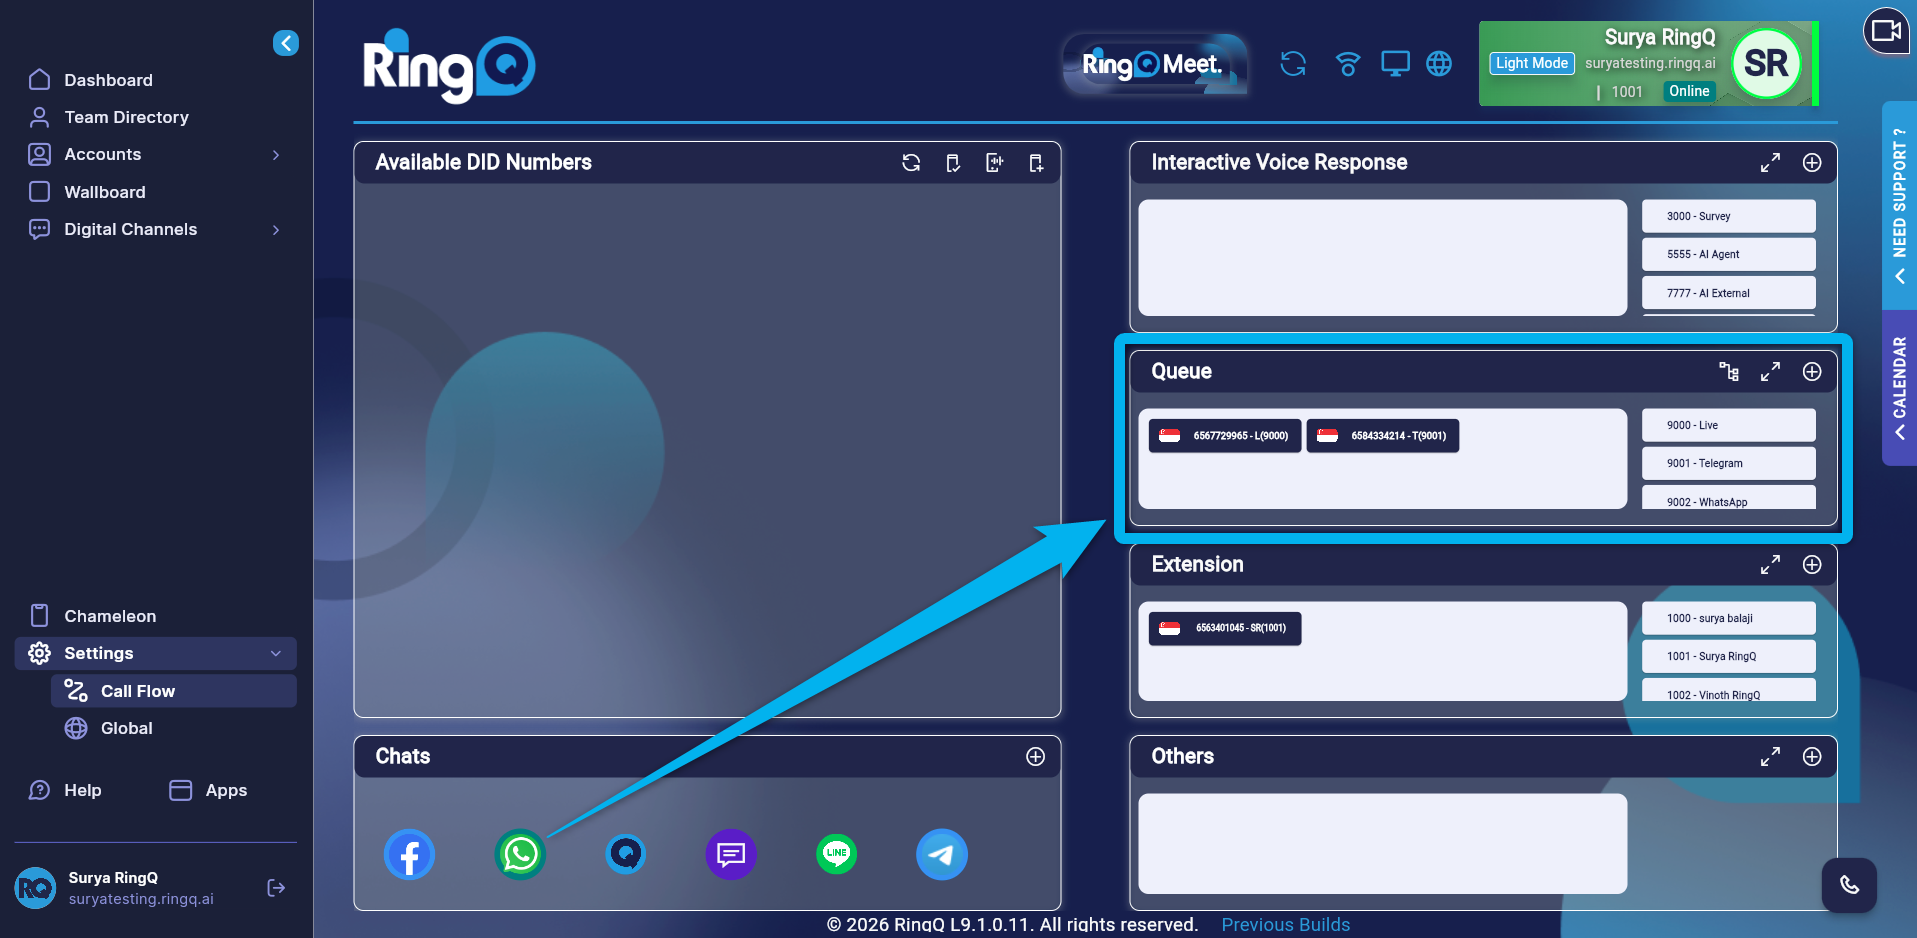
Figure 2 — The WhatsApp icon in the Chats section, ready to drag.
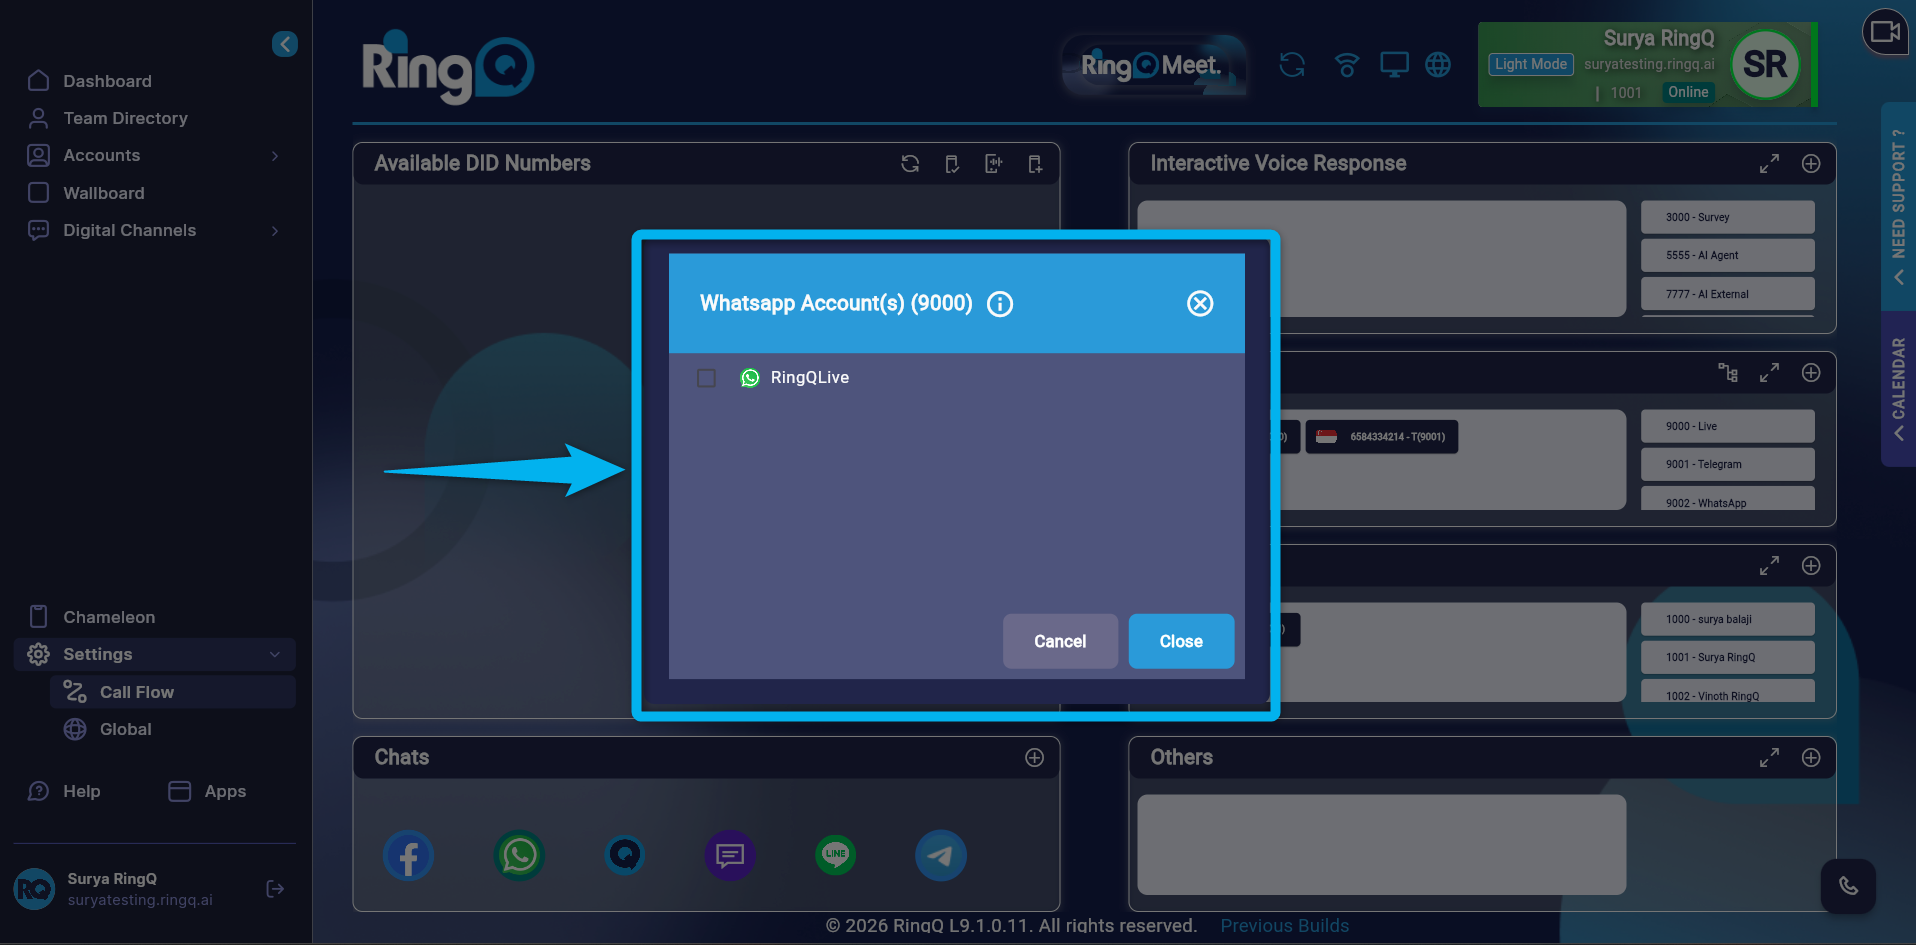
Figure 3 — Dropping the WhatsApp icon into a queue.
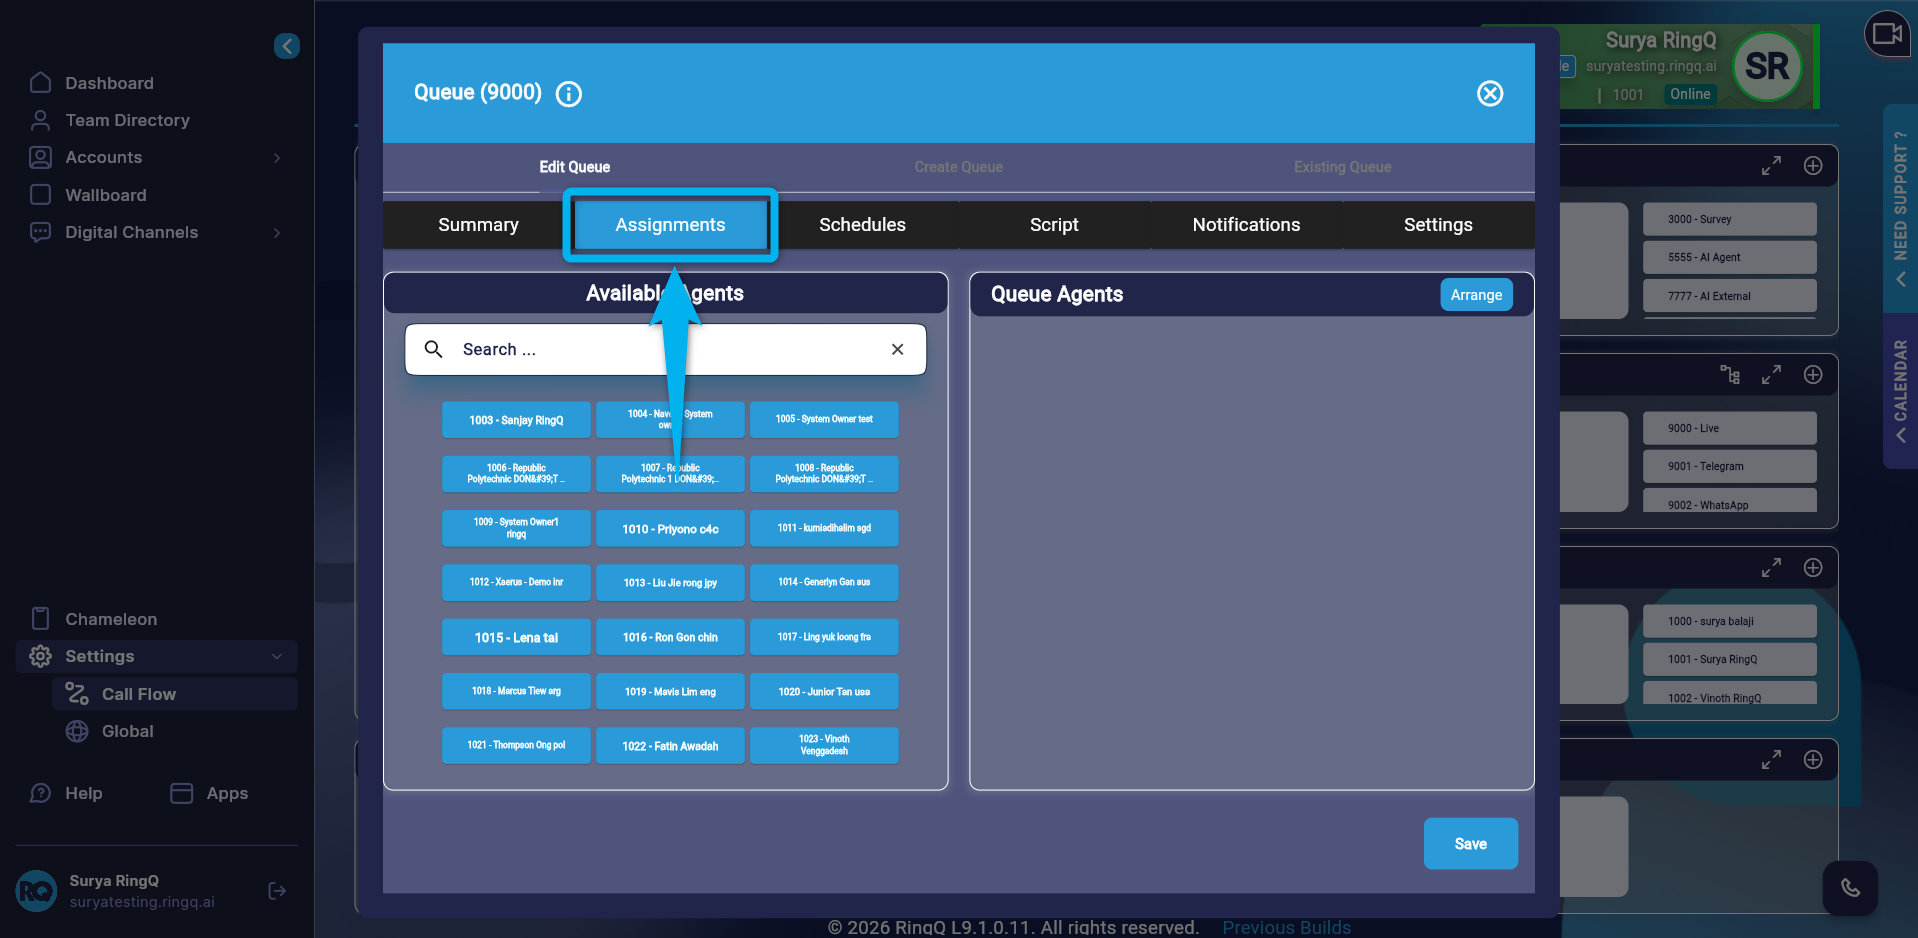
Figure 4 — The queue now shows WhatsApp connected.
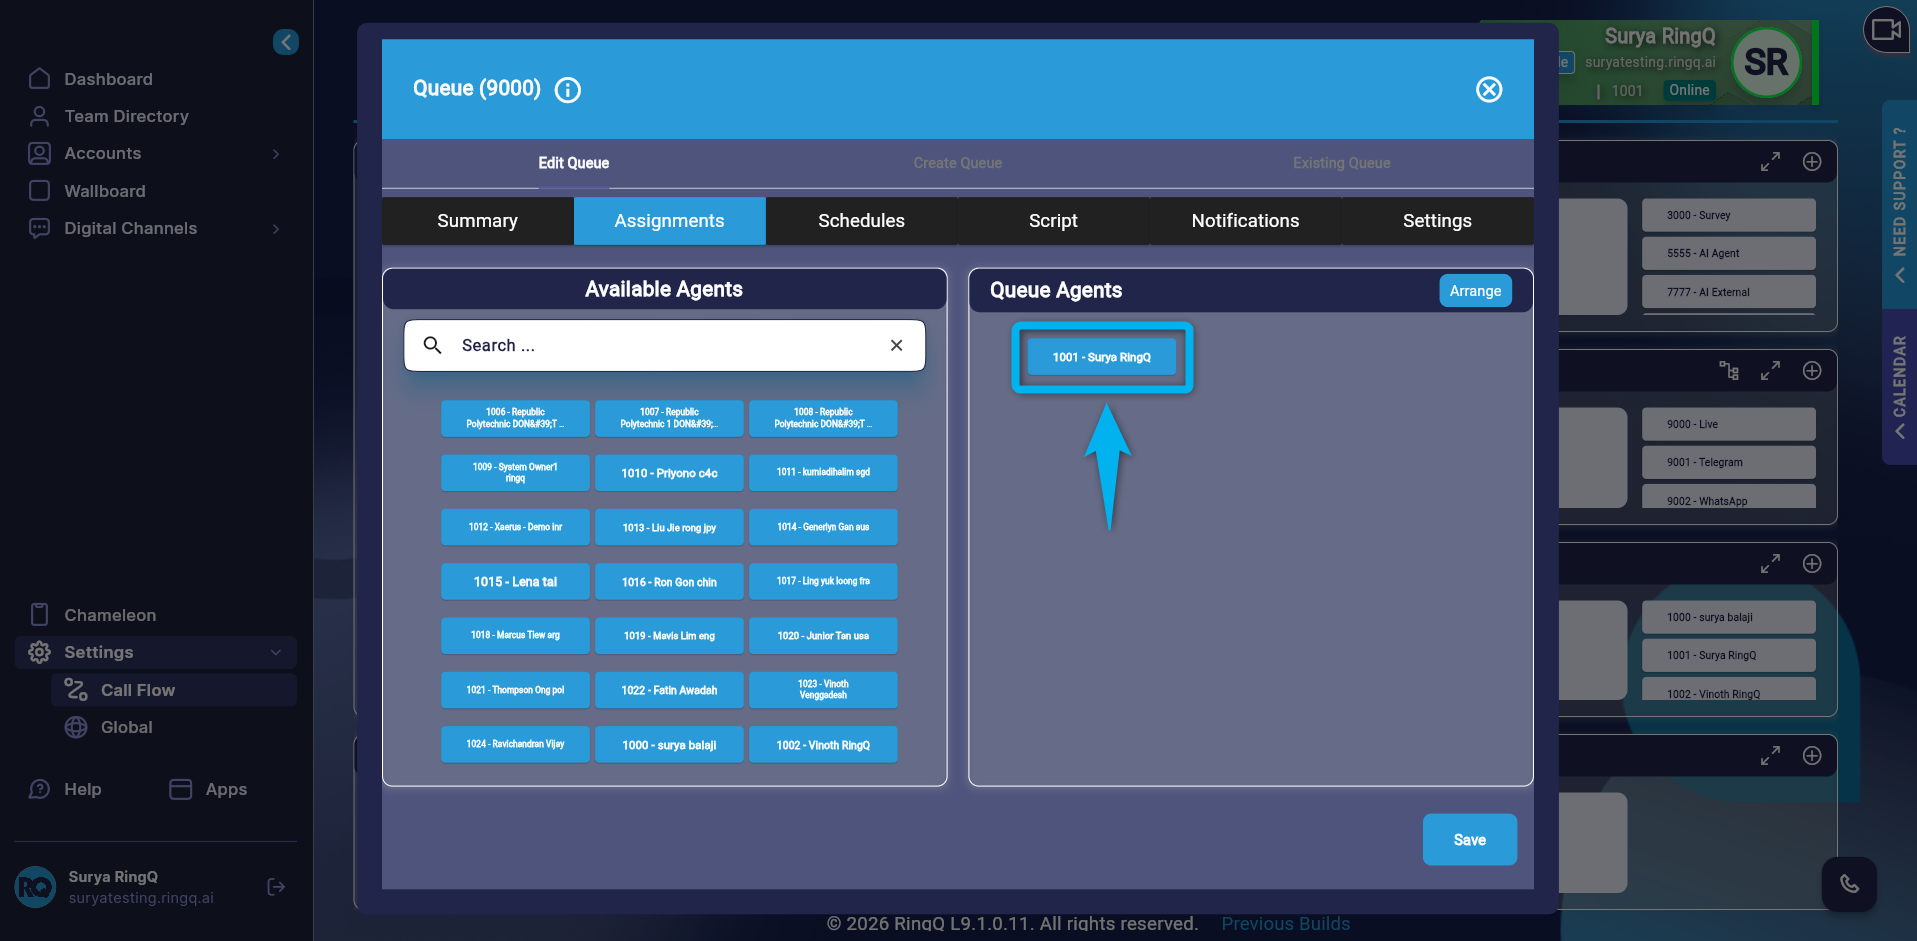
Figure 5 — The Assignments tab for the queue.
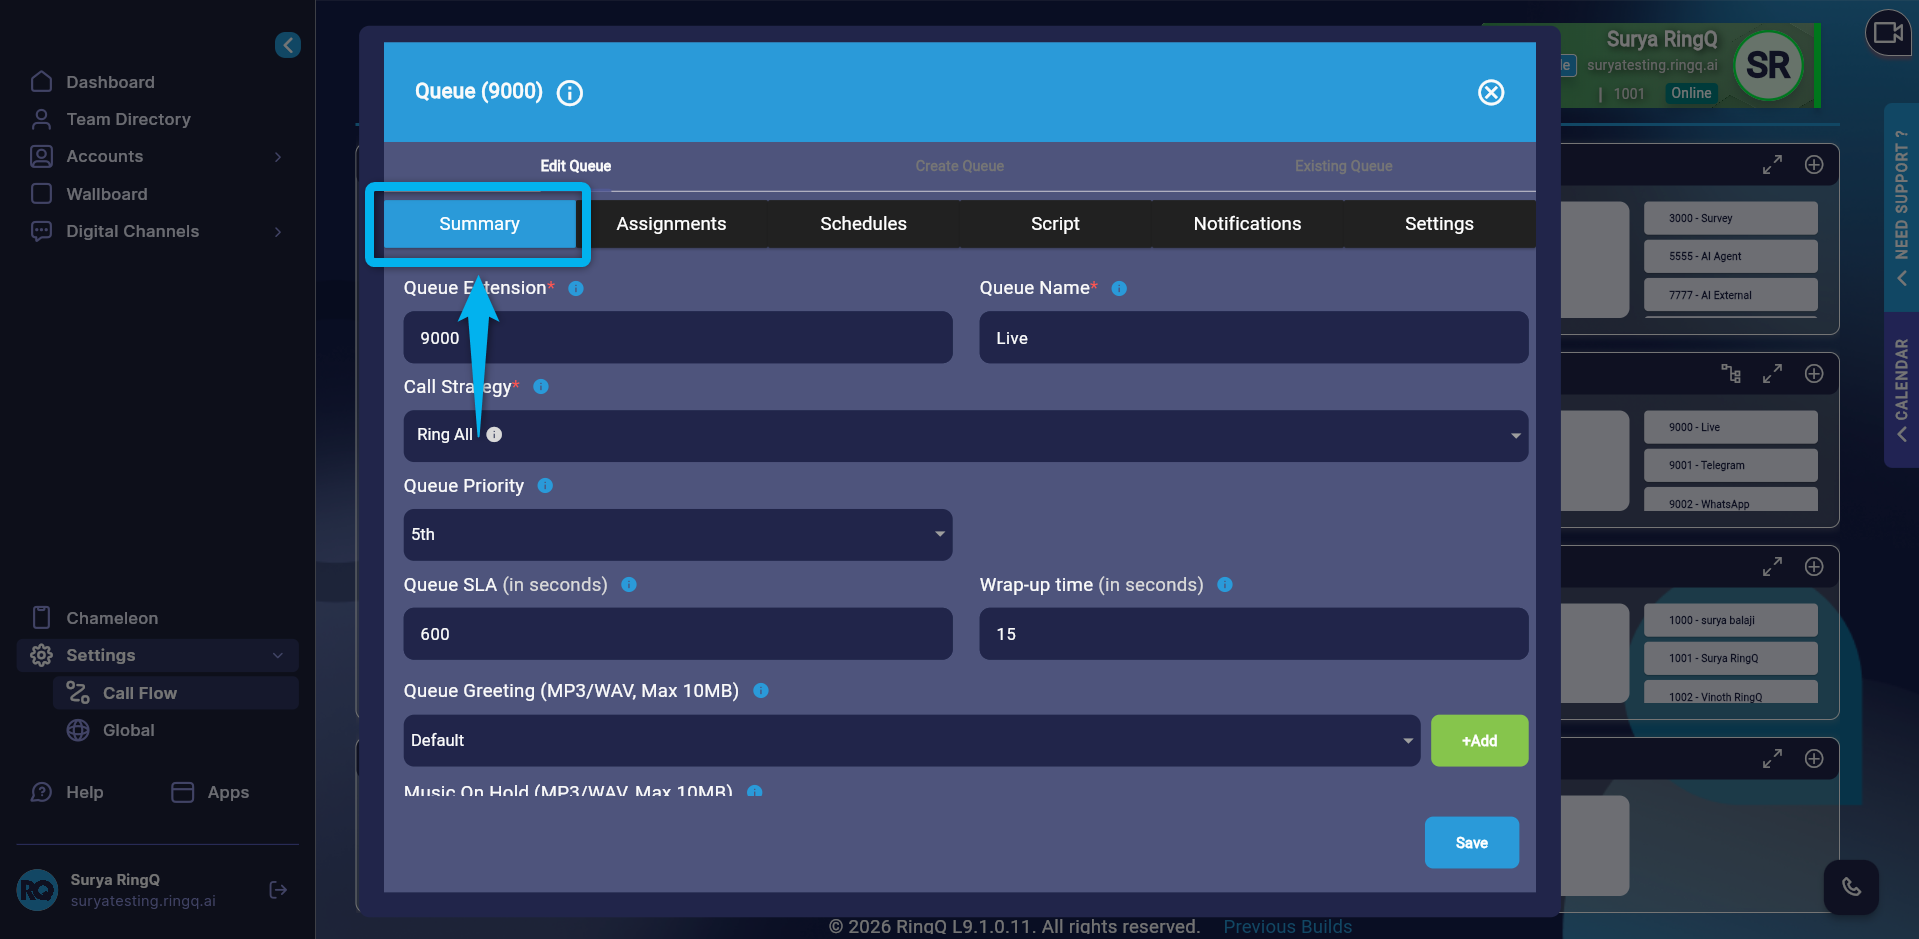
Figure 6 — Selecting agents to receive WhatsApp chats.
Tip: Assign at least two agents per WhatsApp queue so chats are still covered when someone is away.
| Task | Path |
|---|---|
| Connect WhatsApp to a queue | Settings → Call Flow → Chats → drag WhatsApp into Queue |
| Assign agents | Queue → Assignments tab → select agents → Summary → Save |
