Security update: RingQ is patched against the critical PHP vulnerabilities. Update your servers today.
Read nowConfiguring Facebook in the RingQ Web App
This guide explains how to configure Facebook Chat in the RingQ Web App. It covers the required settings and steps to connect your Facebook Page, enabling you to manage customer messages directly within RingQ.
Sign in to your RingQ Web App using your admin credentials.
Navigate to the chat channel settings.
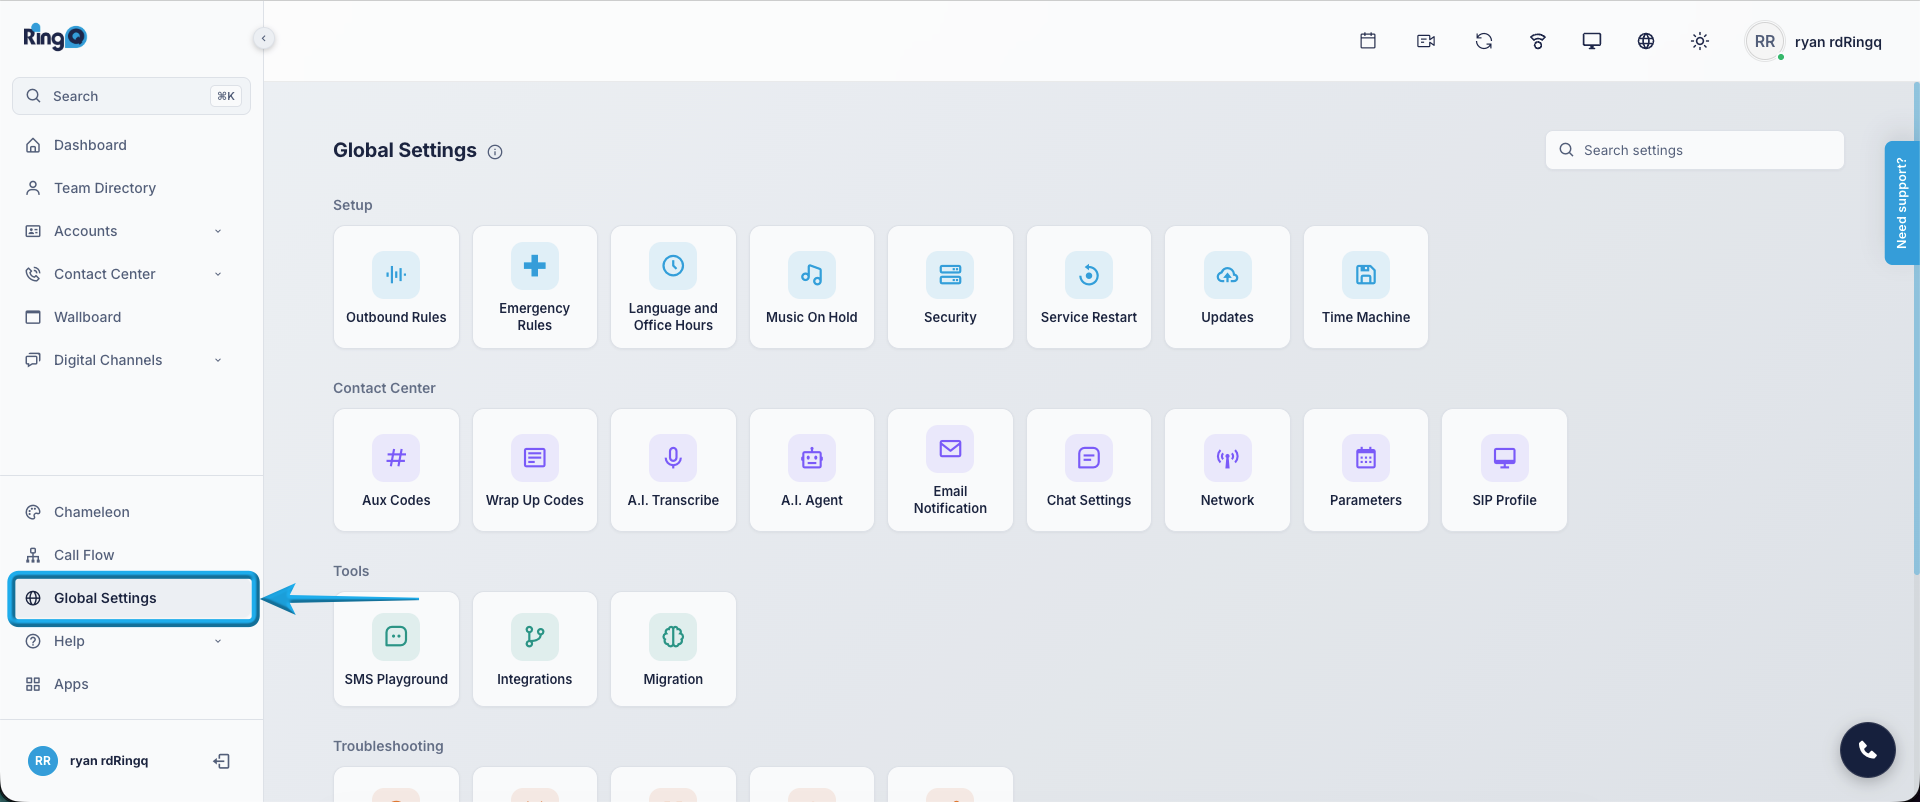
From the main menu, go to Settings.
Select Global Settings.
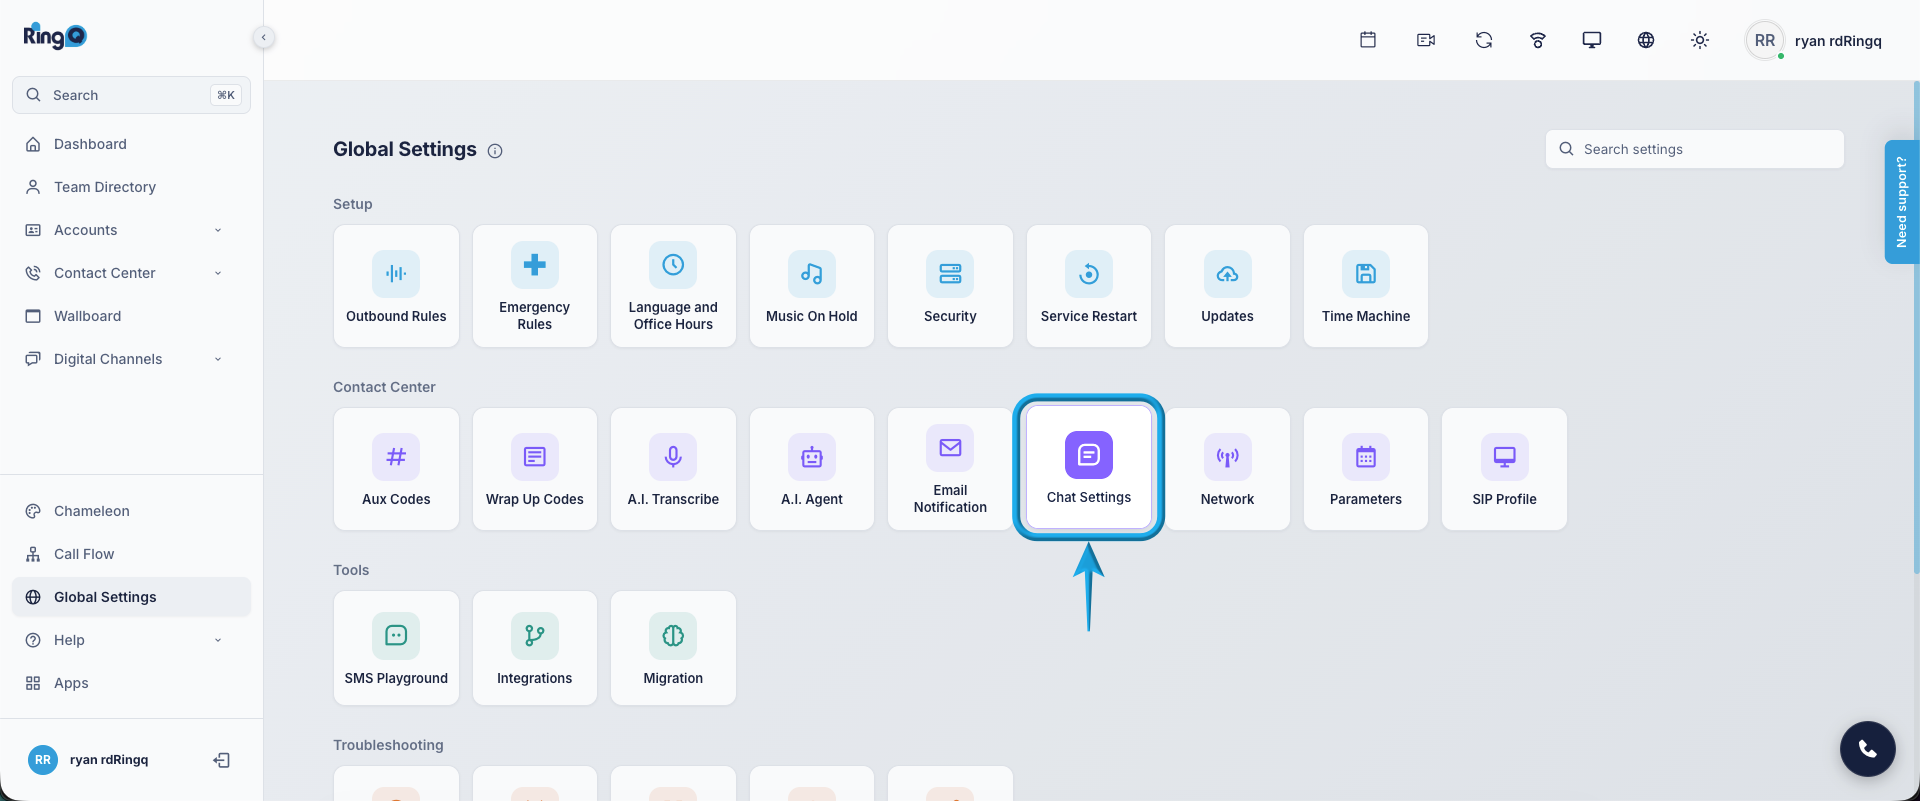
Click Chat Settings.
On the Chat Settings page, locate the list of available chat channels. Select Facebook to begin the configuration process.
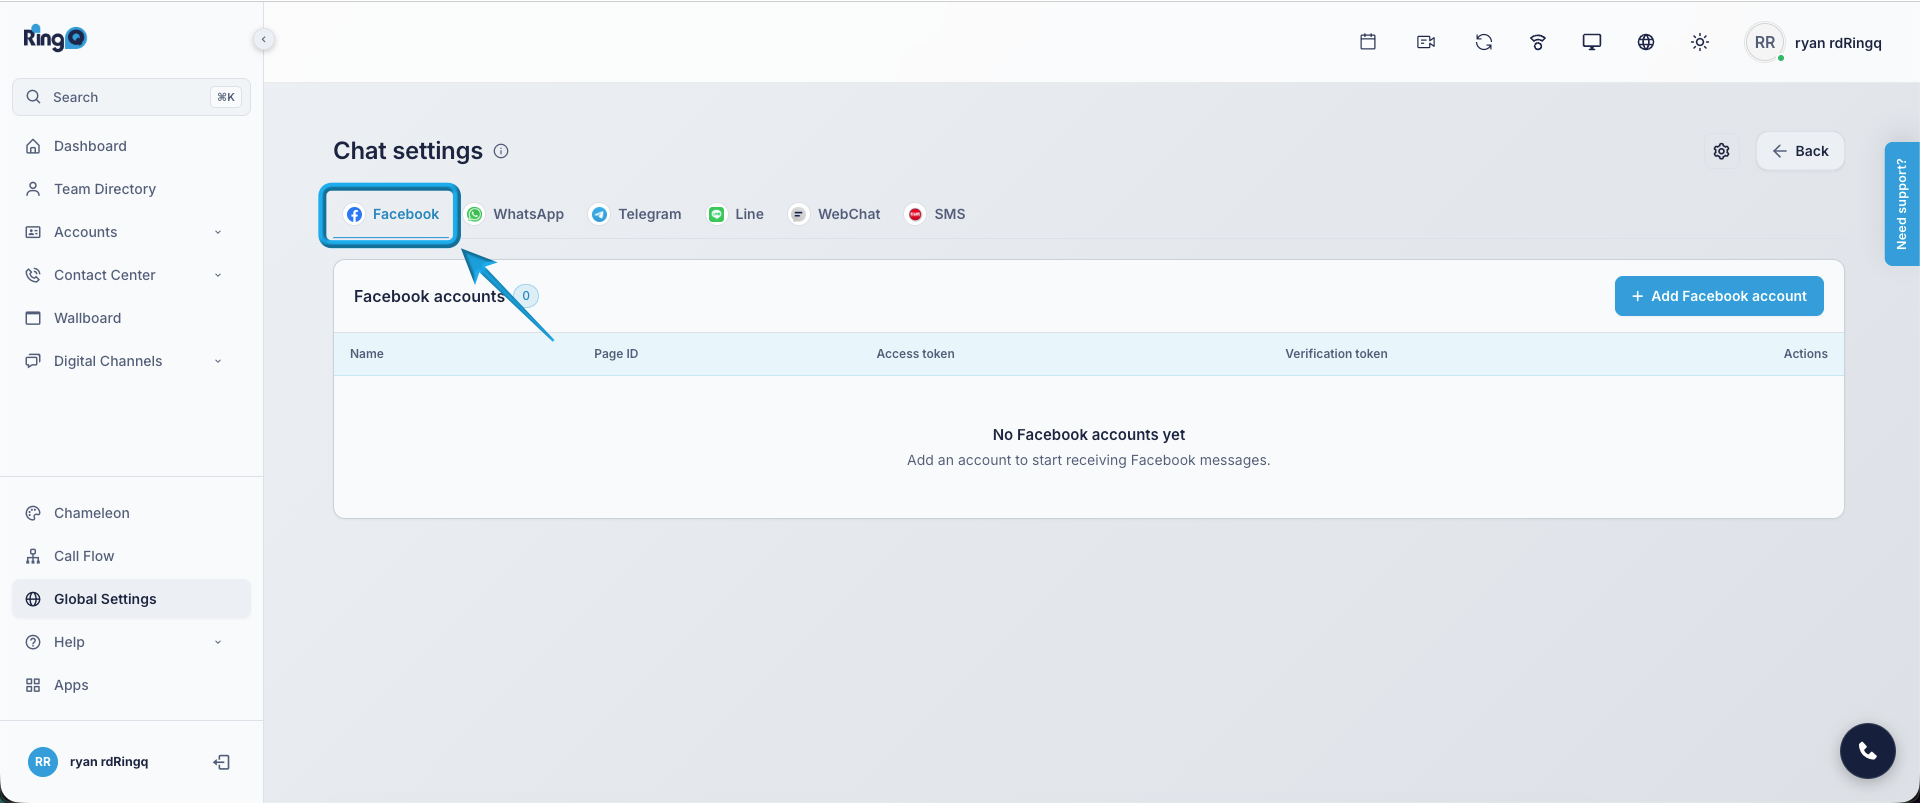
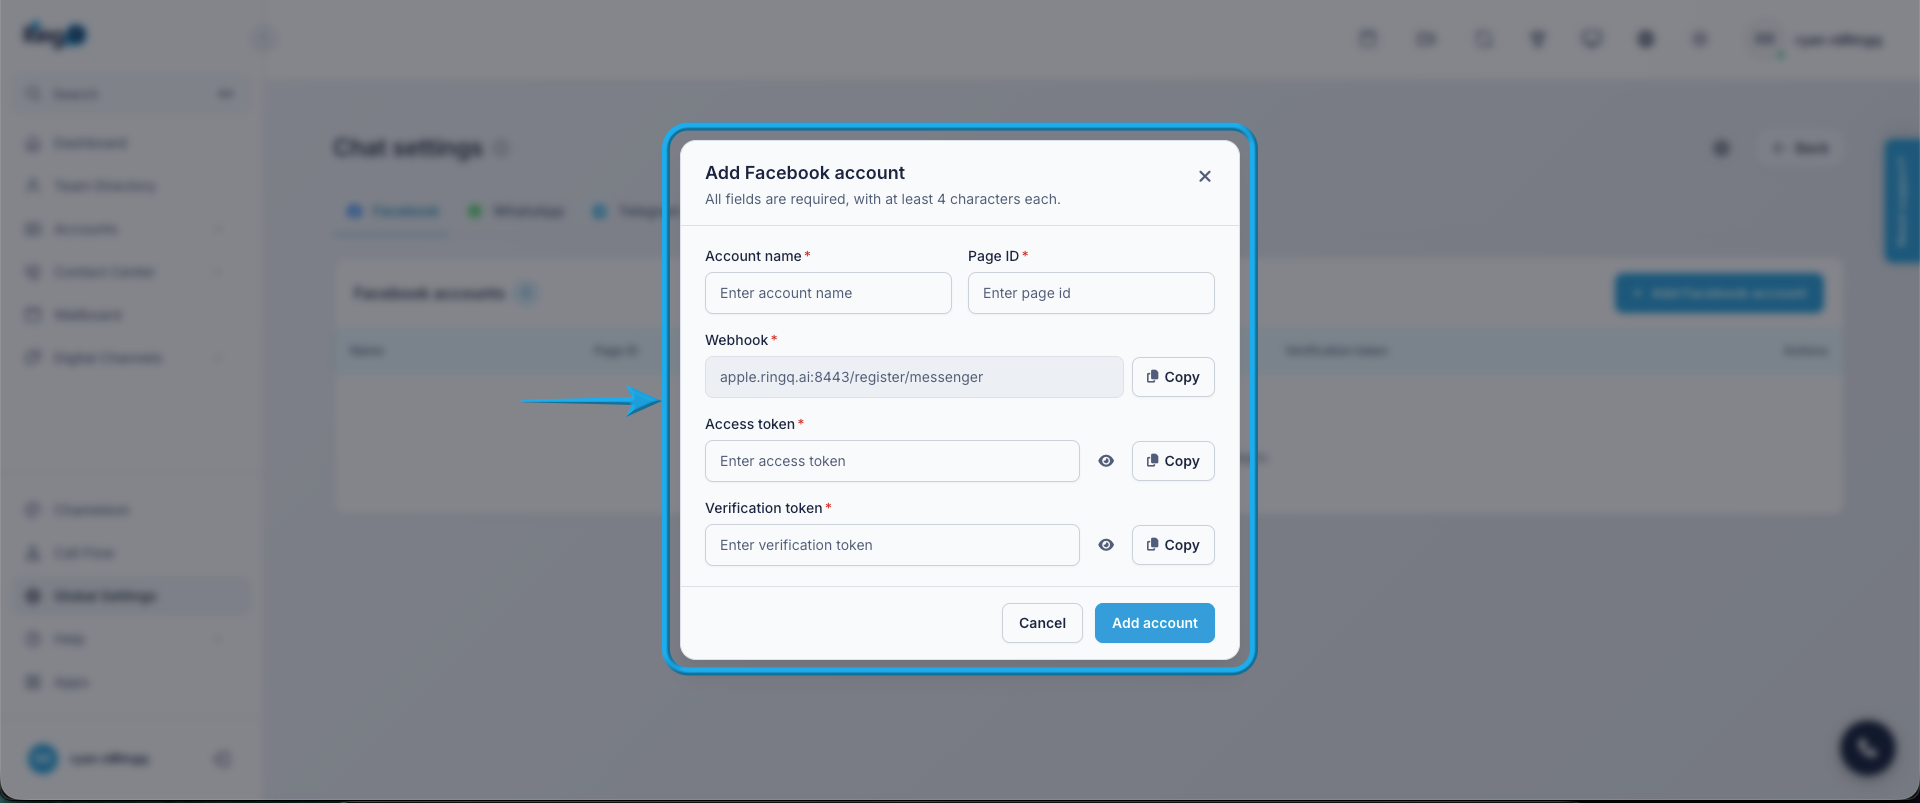
At this point, RingQ is ready to accept Facebook-specific configuration details such as Page ID, Webhook, Access Token, and Verification Token.
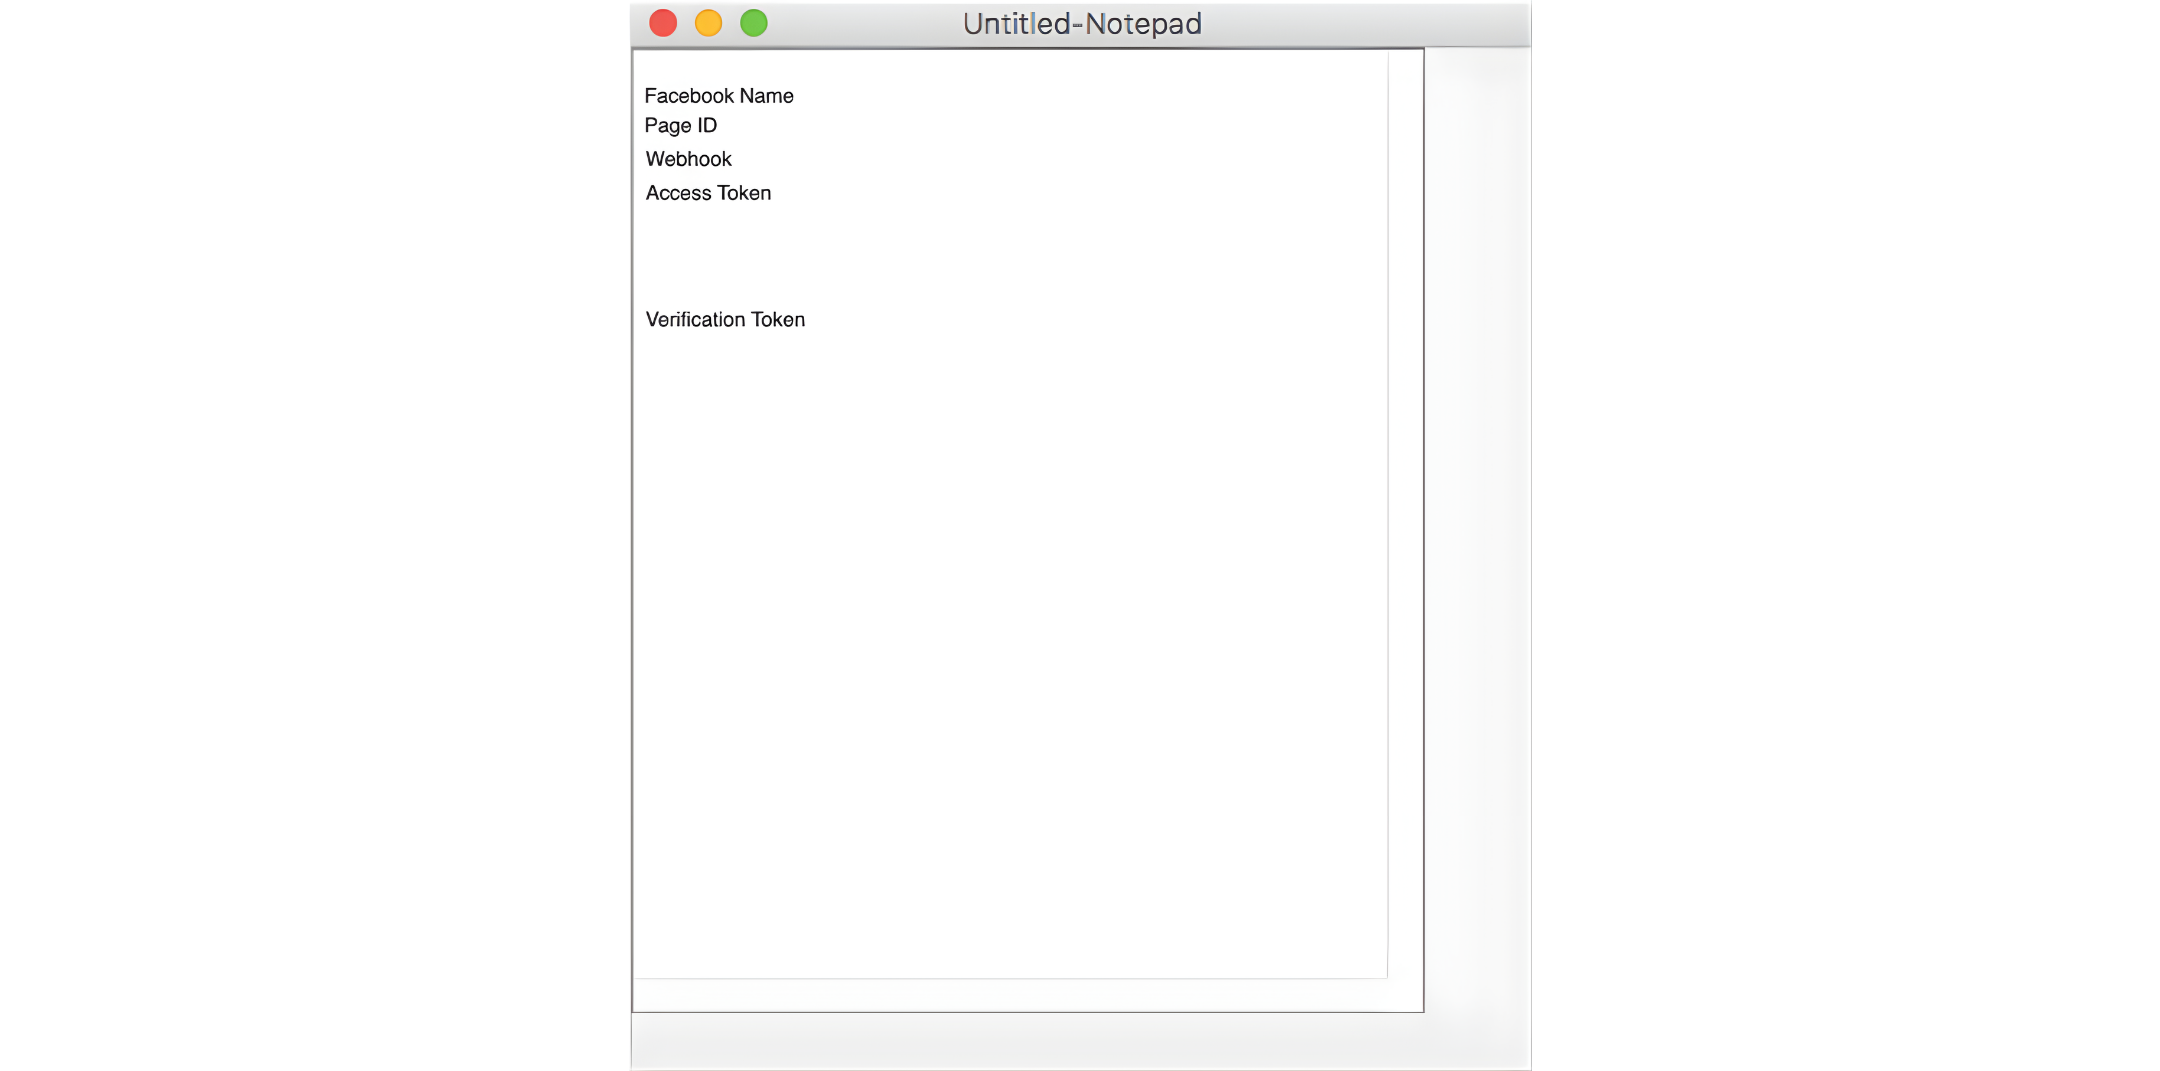
To make the configuration easier, gather all required details beforehand and note them down.
To do so, follow this guide: Meta for Developers – Login Instructions for Facebook-Registered Accounts.
Copy and paste each item into its corresponding field in the RingQ Web App, ensuring that the values are accurate.
Click Save.
