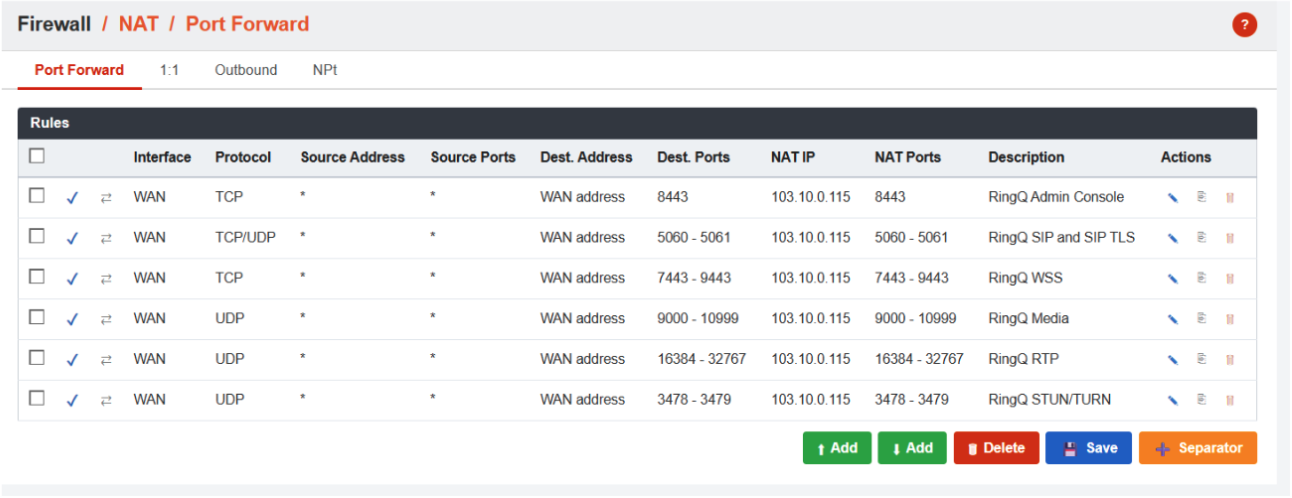
This document describes the configuration of pfSense for use with RingQ. This guide is written for PBX administrators on networks with a single WAN IP, or who are using their primary WAN IP for RingQ.
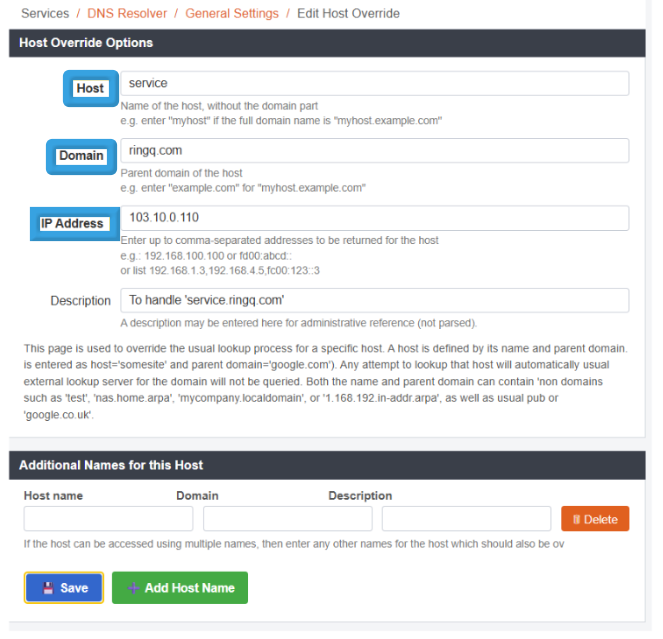
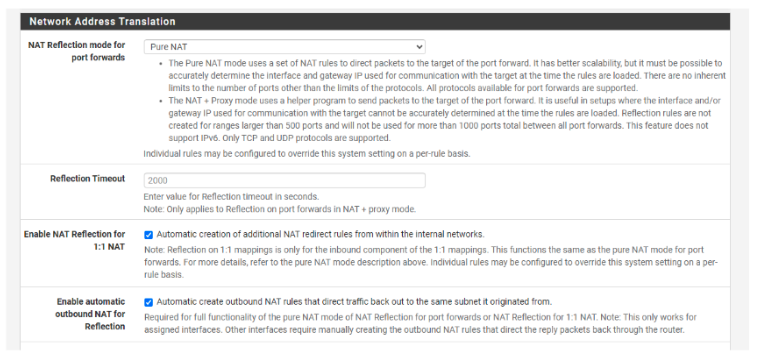
In the next step of this guide, you will need to decide how you want to manage the RingQ FQDN within your network. There are two available options: Split Brain DNS and Hairpin NAT.
Split Brain DNS keeps RingQ network traffic within the internal network instead of sending it through the WAN interface, which helps optimize traffic flow. However, it requires a more complex configuration.
On the other hand, Hairpin NAT is simpler to set up but consumes more WAN bandwidth and may lead to reduced call quality in certain scenarios. For best performance and efficiency, we recommend using Split Brain DNS whenever possible.
To validate your NAT and port-forwarding configuration, go to Dashboard > Firewall in the RingQ Management Console and run the RingQ Firewall Checker. This tool will verify whether your firewall is correctly configured for use with RingQ.
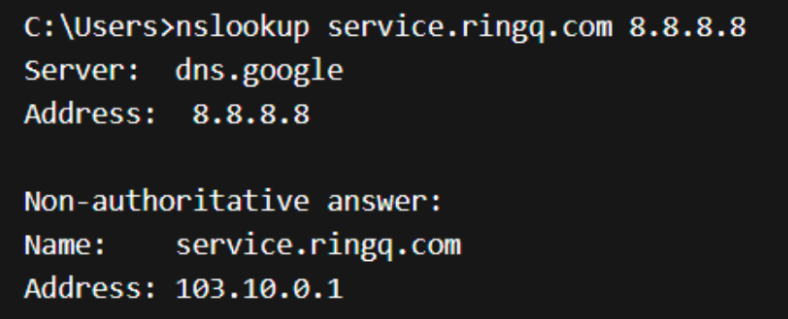
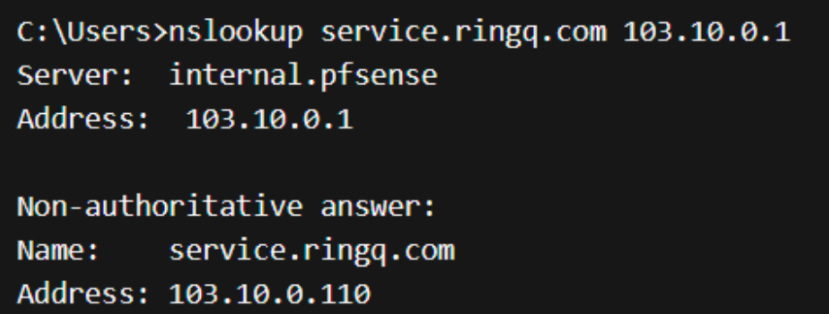
To validate your Split Brain DNS configuration, you can use the nslookup tool from within your network (behind your pfSense firewall) to check how DNS is being resolved. Simply enter the command nslookup <fqdn> <dns-server>, where <fqdn> refers to your RingQ FQDN and <dns-server> is the IP address of the DNS server you want to query.
When querying an external DNS server, the result should return your WAN IP address, while querying your internal pfSense DNS Resolver should return the internal IP address of the RingQ Phone System.