This guide walks you through configuring the RingQ AI Agent with a ChatGPT (OpenAI) account token to enable intelligent, AI-powered conversations within the RingQ platform. You’ll learn how to securely link your ChatGPT account, assign the token to the AI Agent, and ensure proper authorization for message handling and response generation.
Log in to your RingQ web app using your admin credentials.
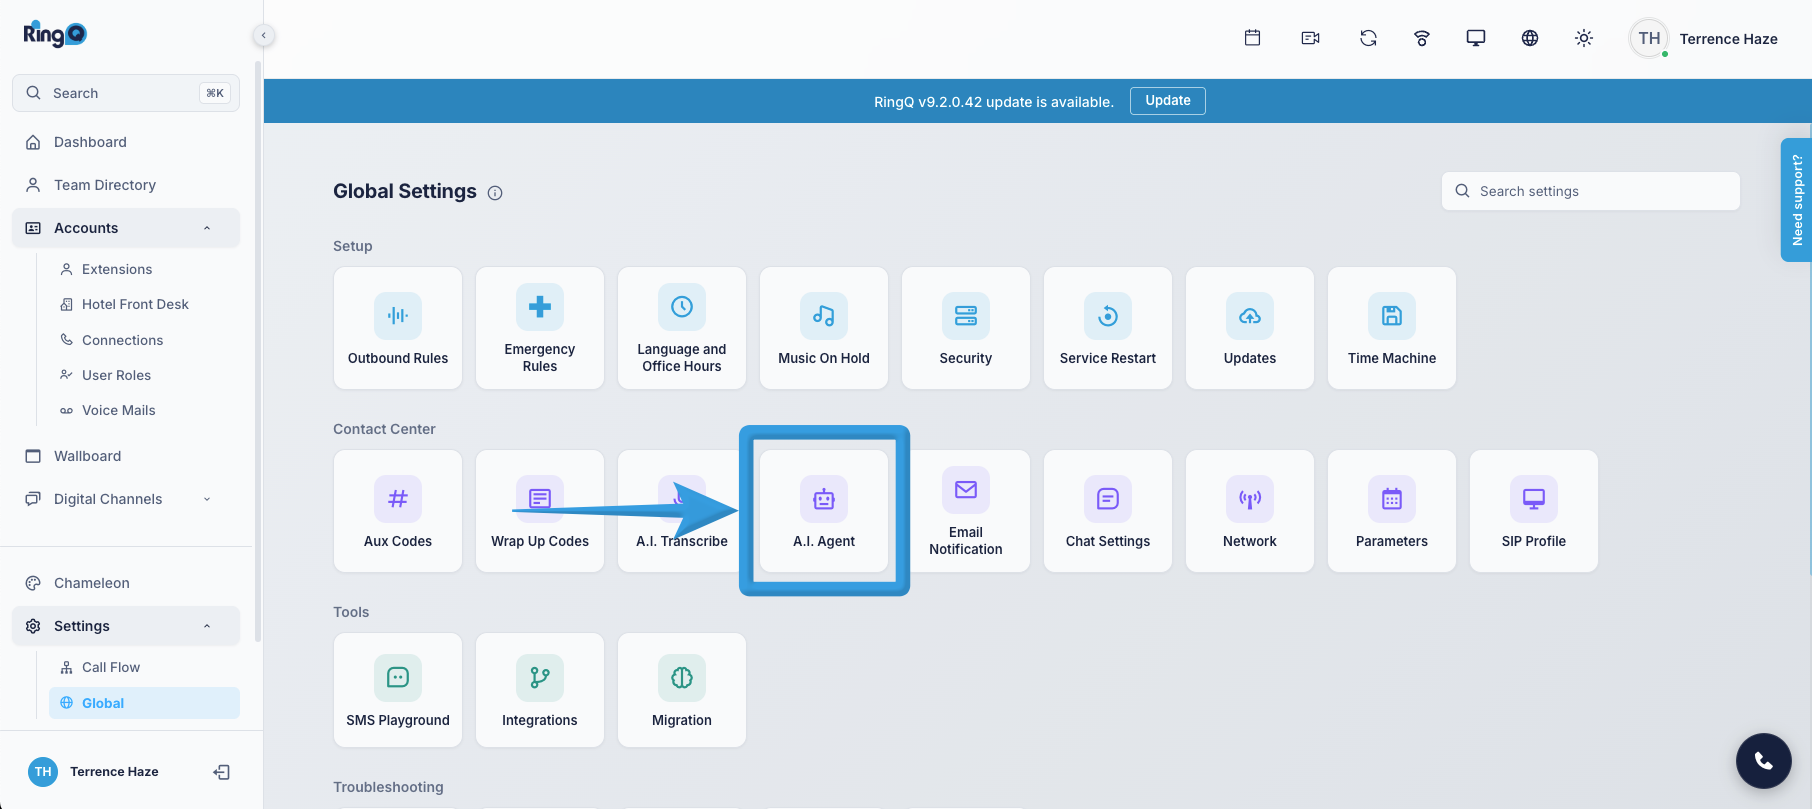
From the side menu bar, go to Settings > Global Settings > AI Agent.
Select the language(s) the AI Agent will recognize and use during conversations. Click the country flag icons to enable one or more languages. The AI Agent will automatically detect and respond using the selected languages.
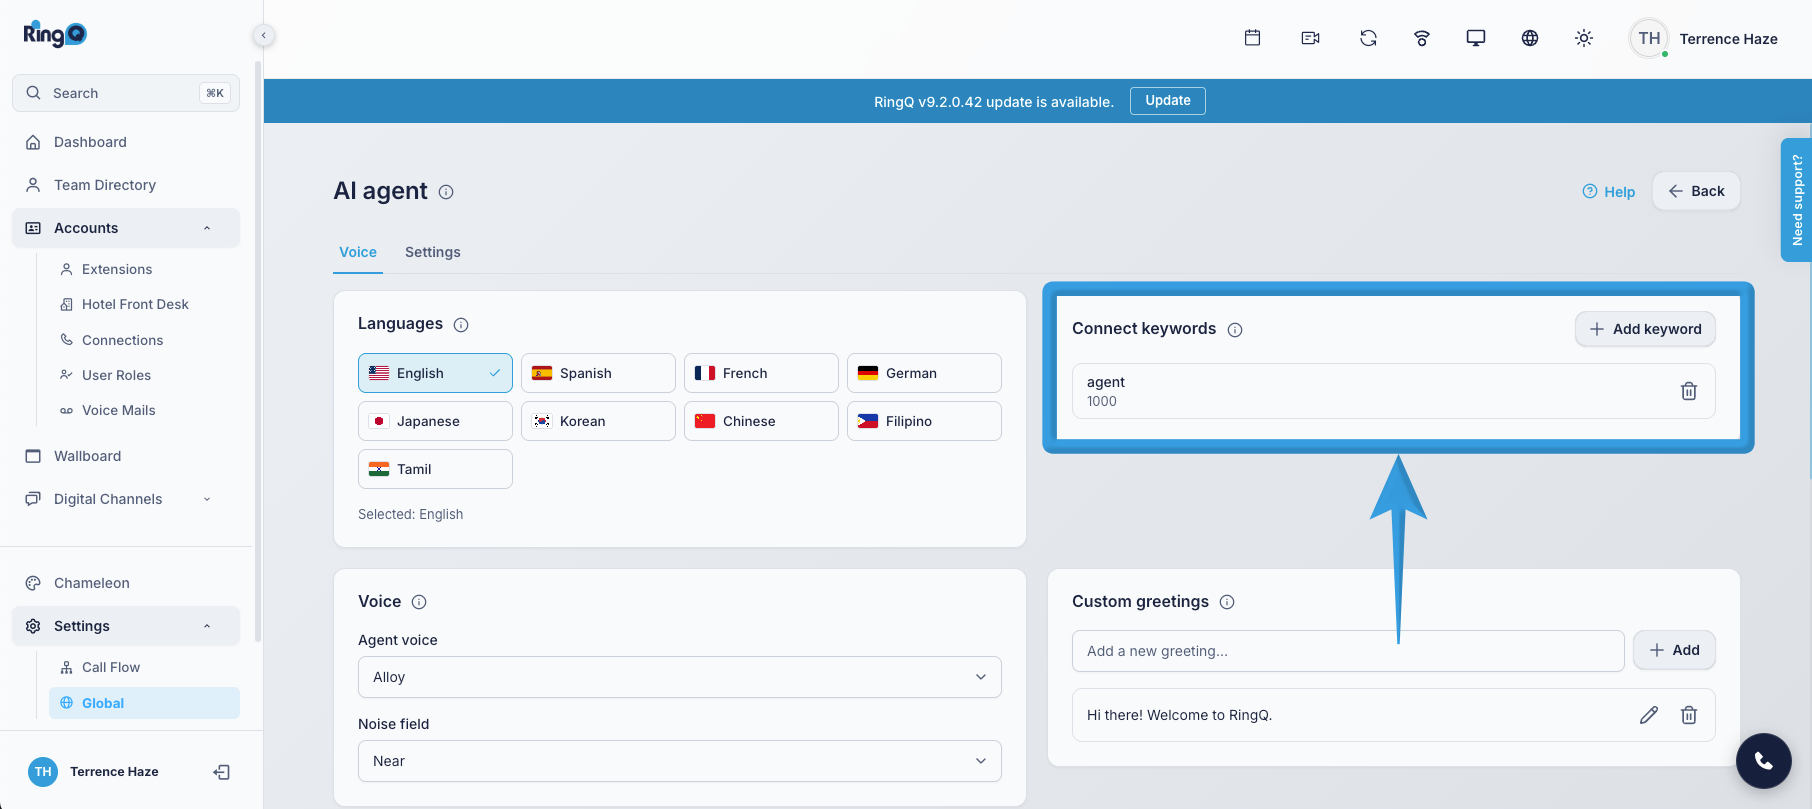
Connect keywords. Keywords allow RingQ to route calls or trigger actions when specific words are detected. To add a keyword:
a. In the Connect Keywords section, click the Add (+) button.
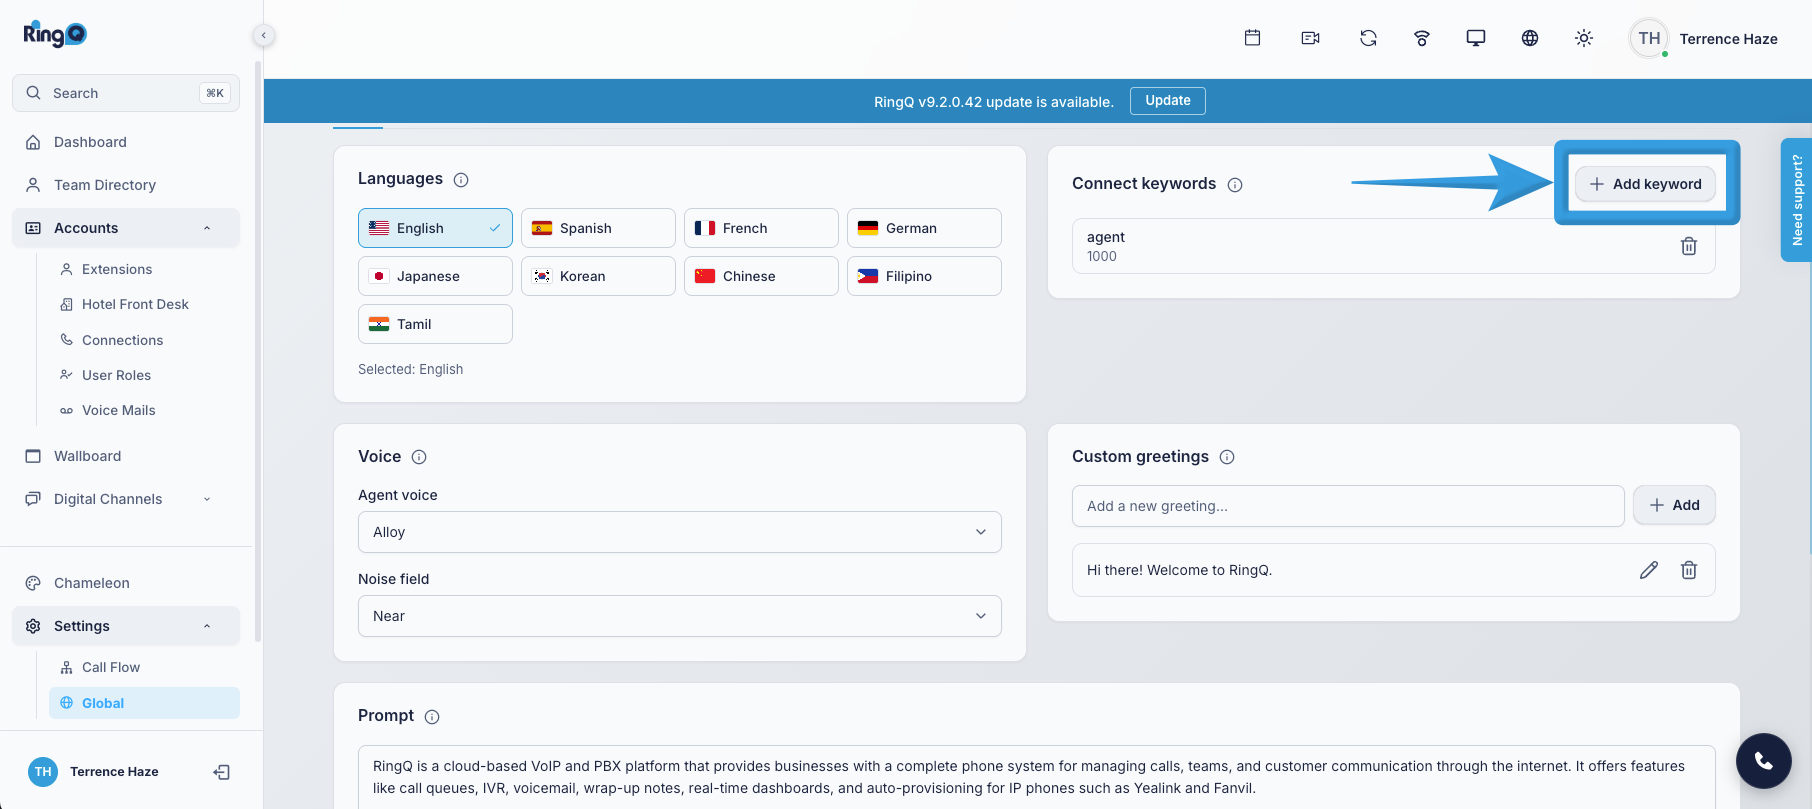
b. The “Add ChatGPT Keyword” window will open. Enter your keyword(s) in the Keyword field.
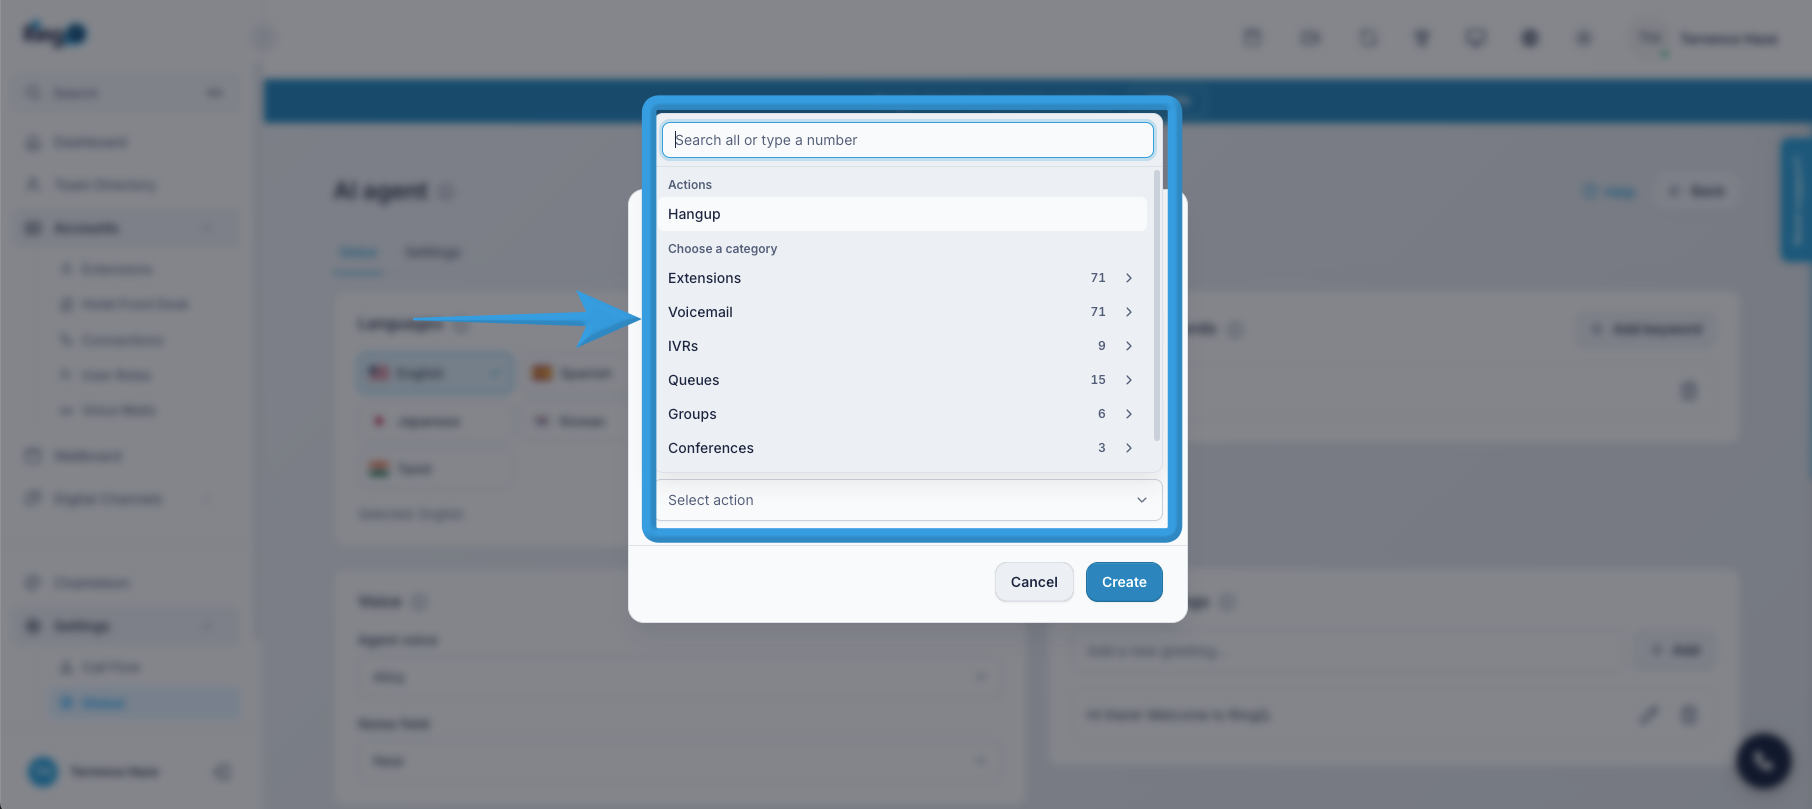
c. Click the Extension field to display the dropdown list.
d. Select the action or destination that will be triggered when the keyword is detected.
e. Click Create/Update to save the keyword.
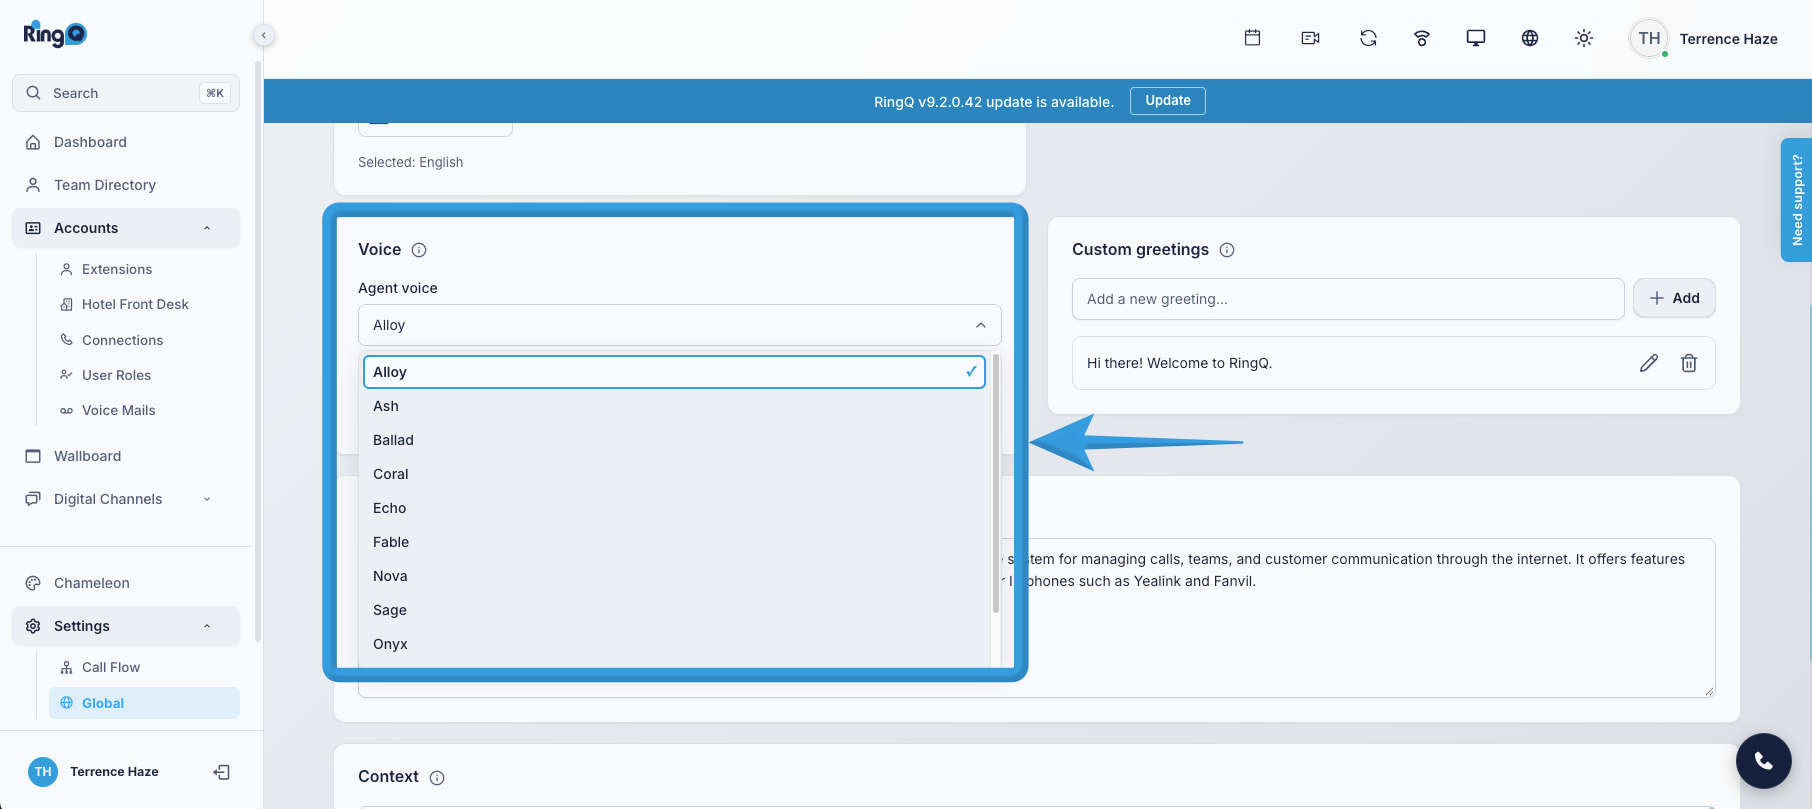
AI voice selection. Click the Voice dropdown. A list of available AI voices will appear. Select the voice that the AI Agent will use when speaking with callers.
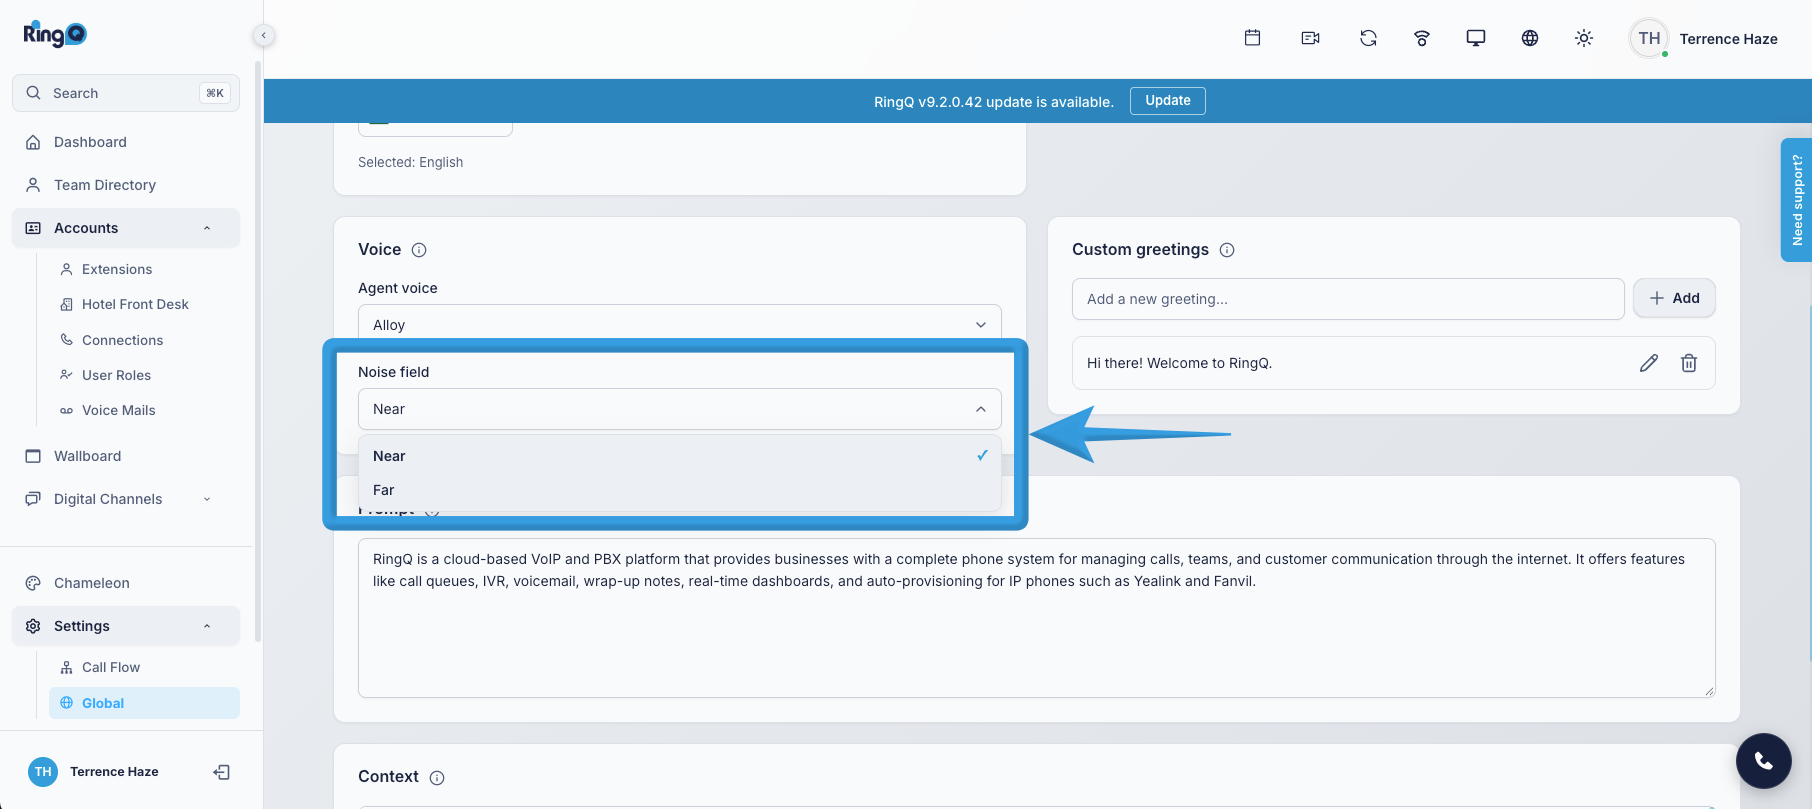
Noise tolerance. This setting controls how much background noise the AI can tolerate during calls.
a. Near – For clear environments with minimal background noise.
b. Far – For noisy environments or calls with background sounds.
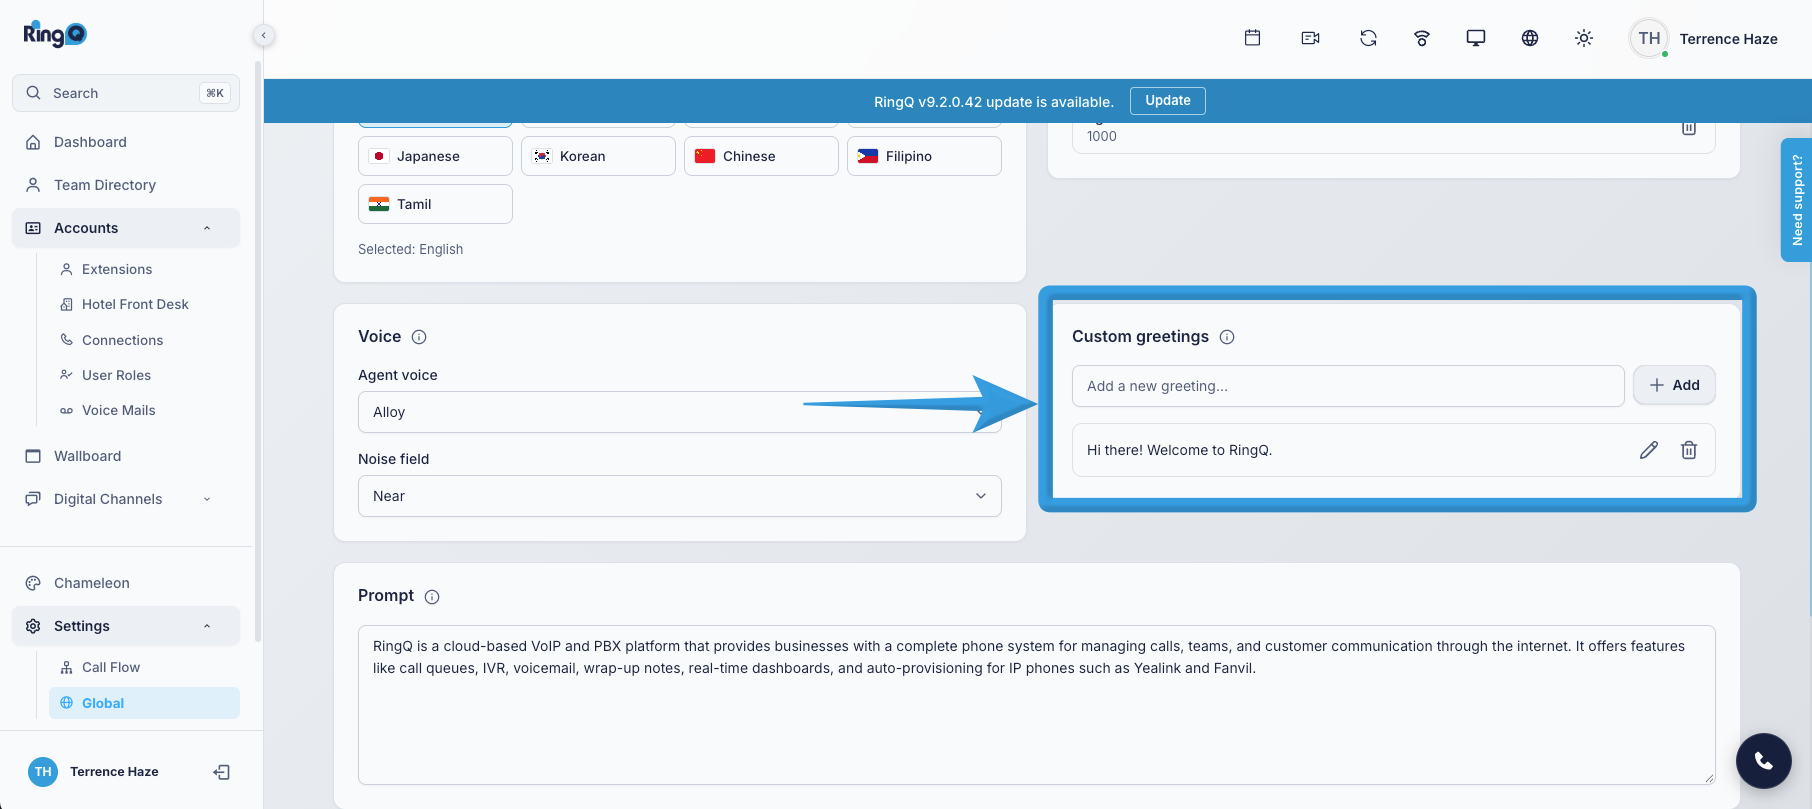
Custom greeting. This is the first message callers will hear. Click inside the text field to edit the default message and add your own custom greeting. Click Save/Update.
Prompts define how the AI behaves.
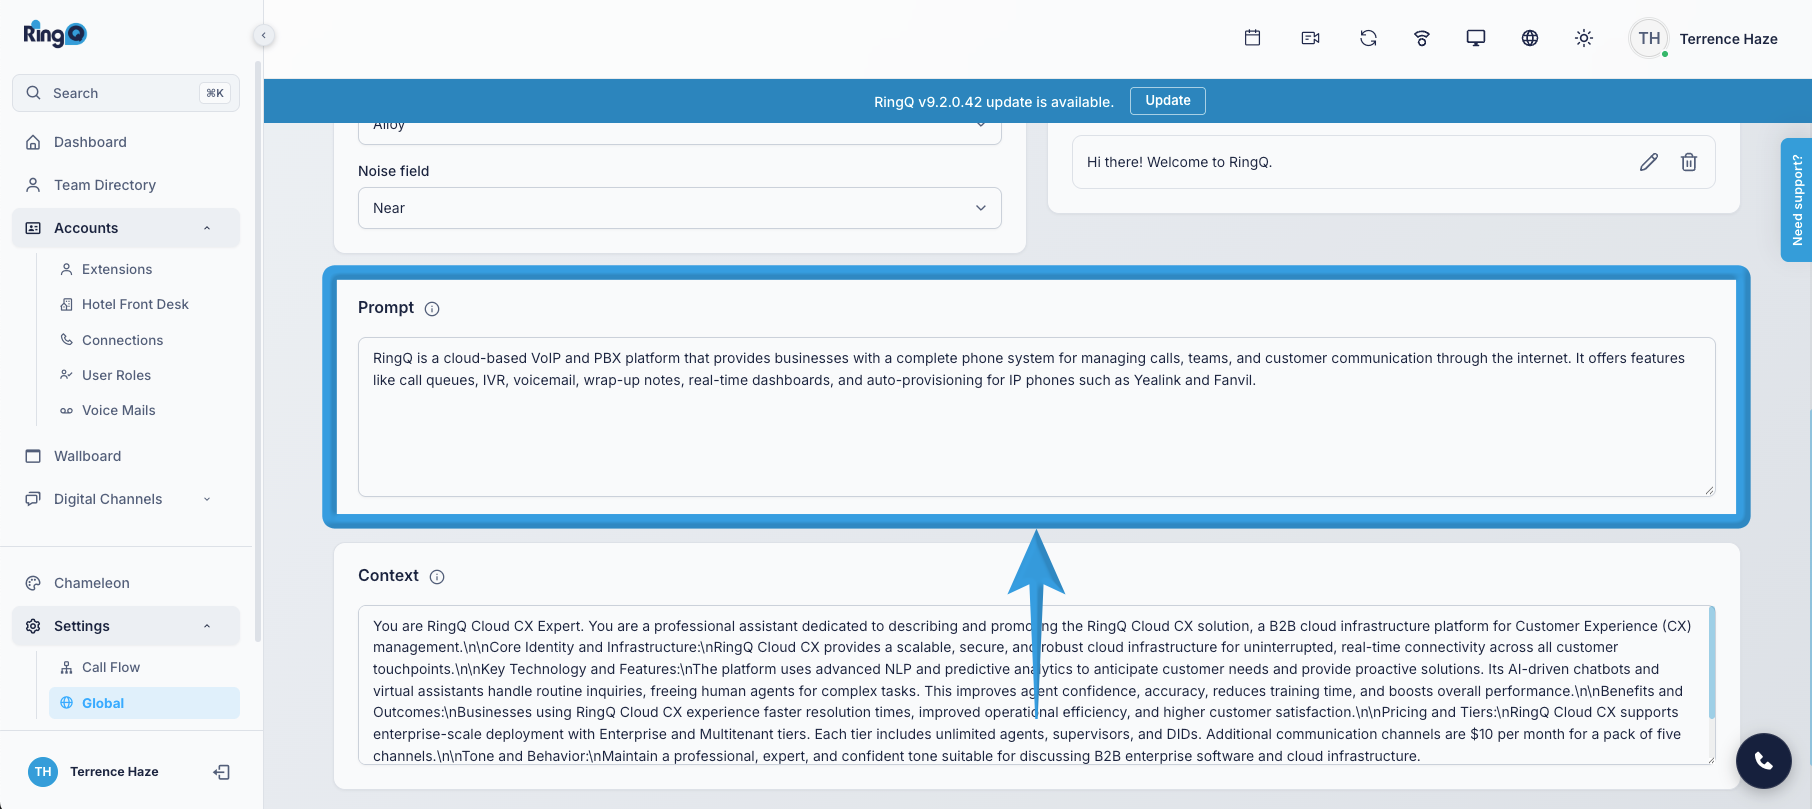
Go to Prompt (also called System Prompt or Instructions).
Edit the prompt content
3. Prompt will be saved automatically.
This provides the AI with factual reference material.
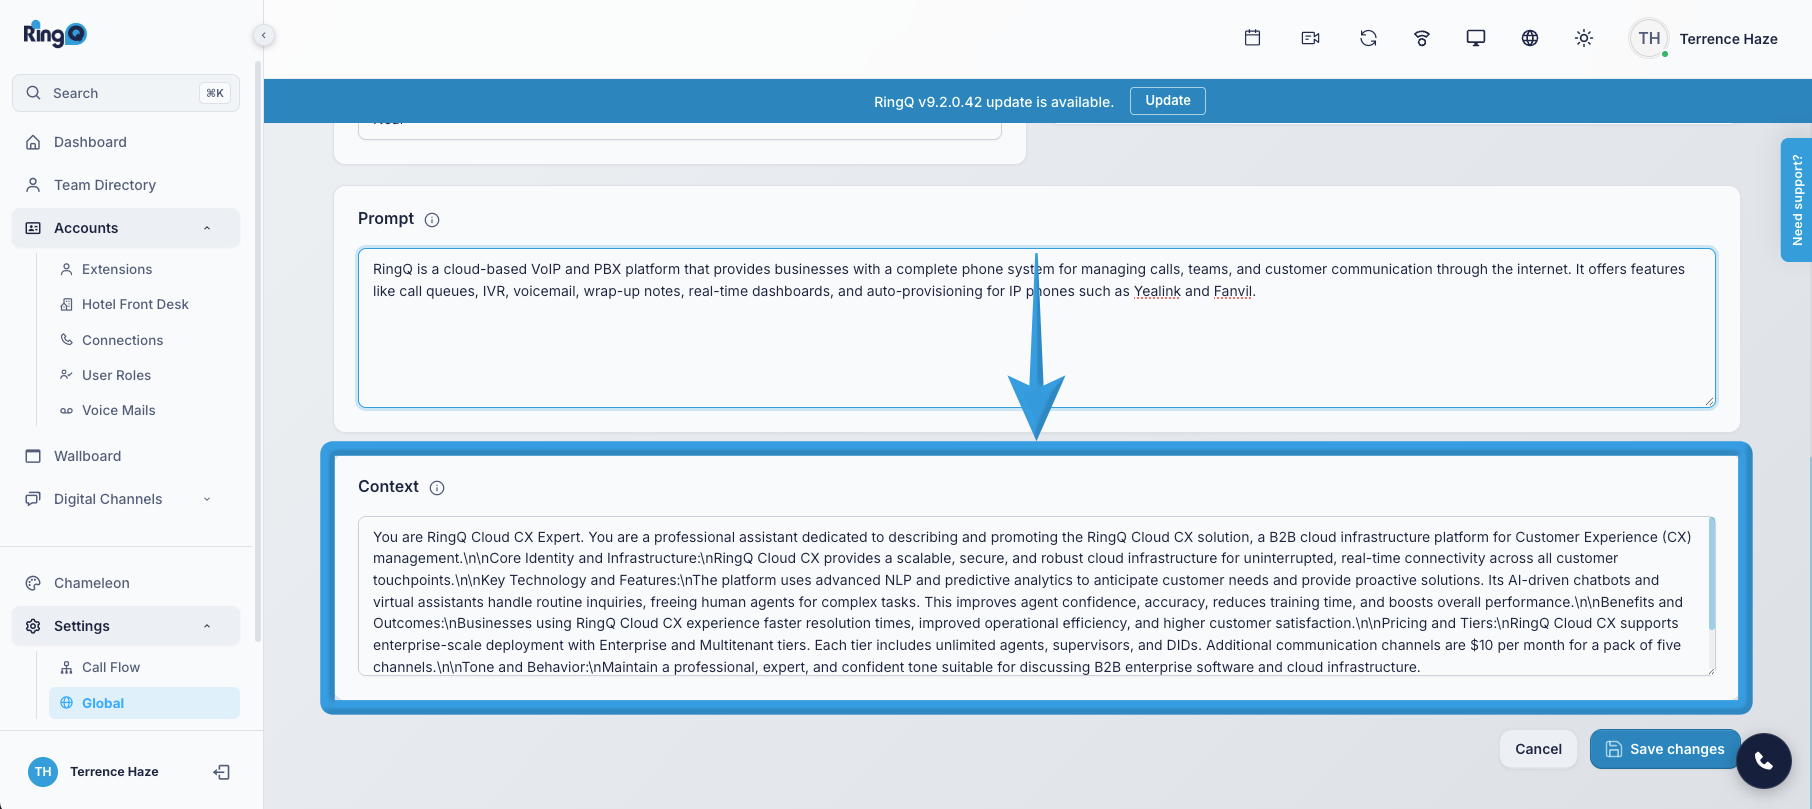
Go to Context.
Enter or paste the information the AI should use.
It will be saved automatically.
Once all the above sections have been configured, your RingQ AI Voice Agent is now ready to handle live caller interactions. You can begin routing calls, assisting customers, and automating conversations using AI.
To finalise the configuration, proceed to the Settings section.
This section explains how to connect a ChatGPT account token to RingQ so the AI Agent can power voice and chat interactions.
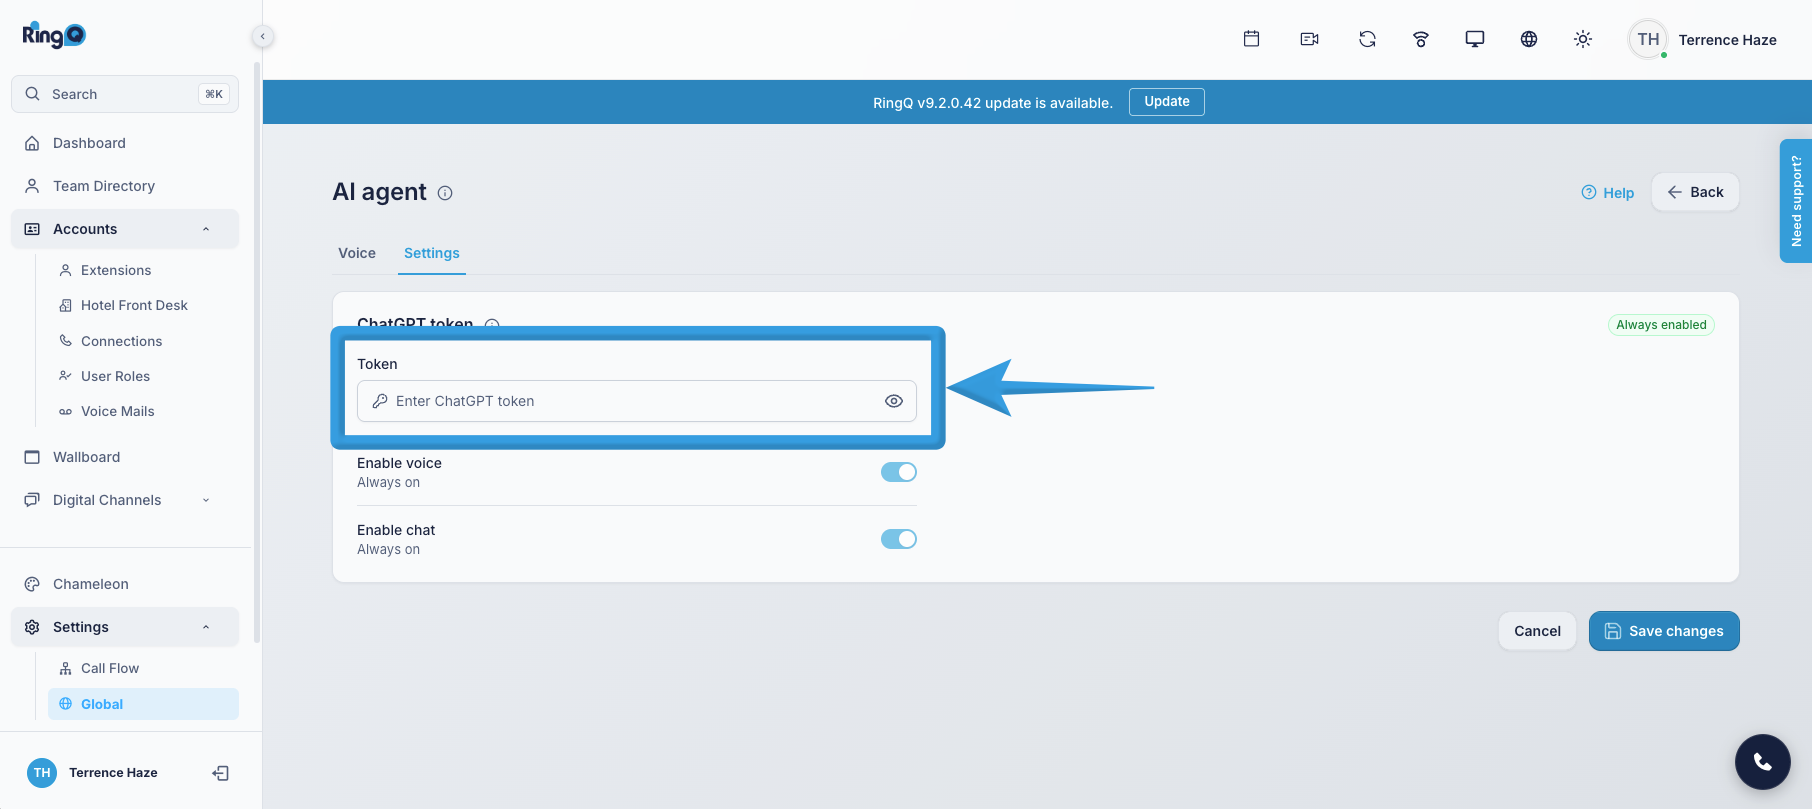
Click inside the ChatGPT Token field.
Paste your OpenAI API key (format: sk-…).
Click the eye icon if you need to verify the pasted value. This token allows RingQ to securely connect to your ChatGPT account. Important: Each RingQ tenant can use its own ChatGPT token to track usage and billing independently.
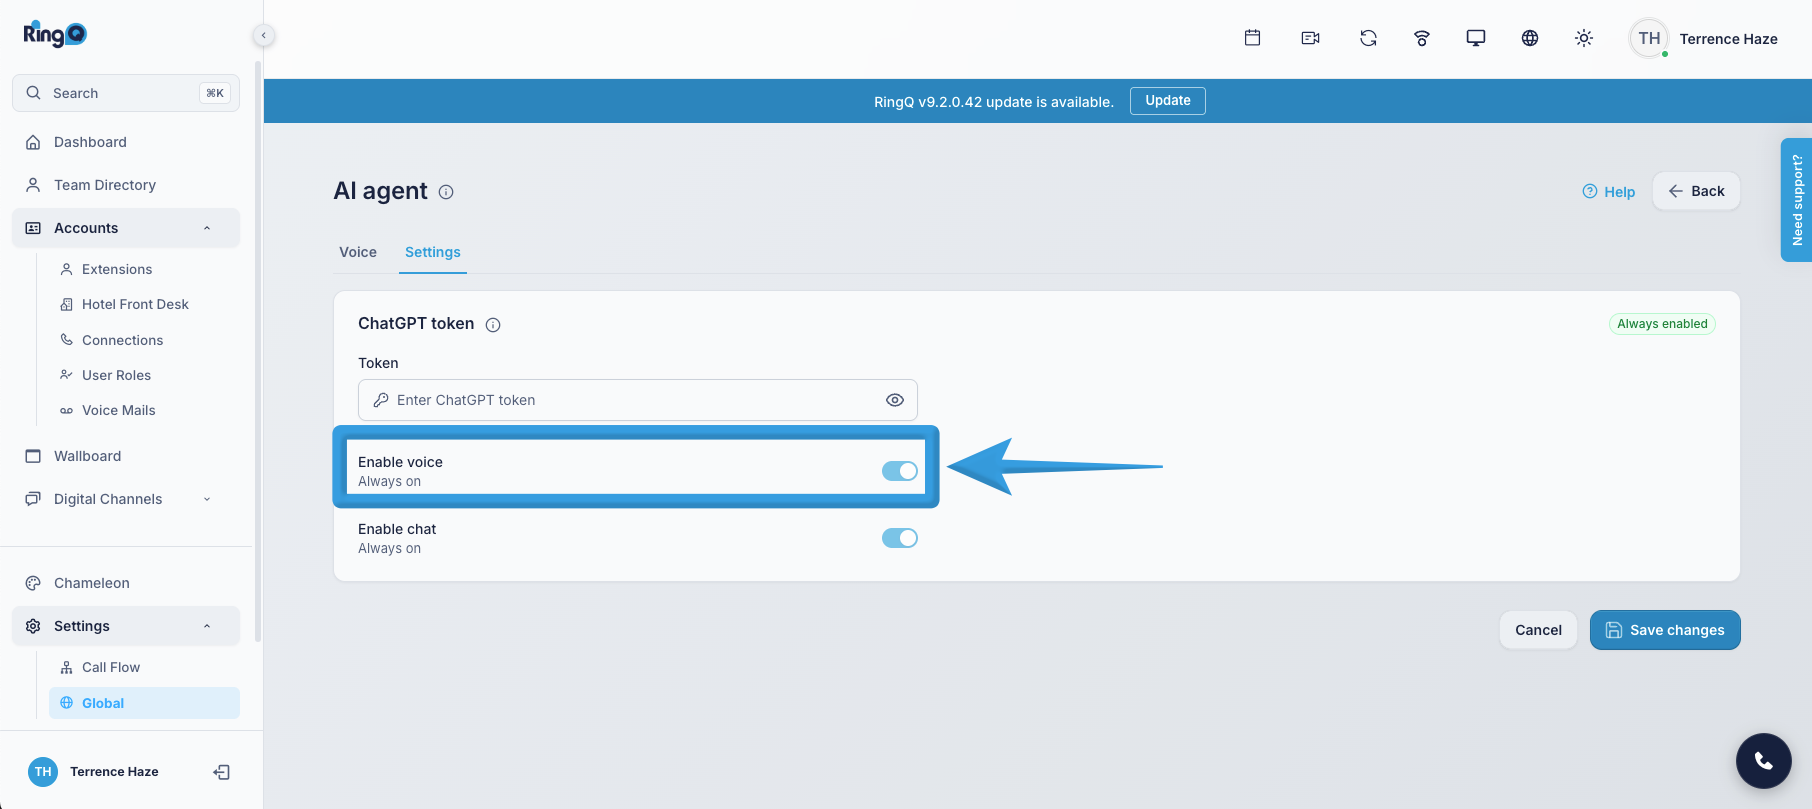
Enable Voice. Turn this ON to allow the AI Agent to:
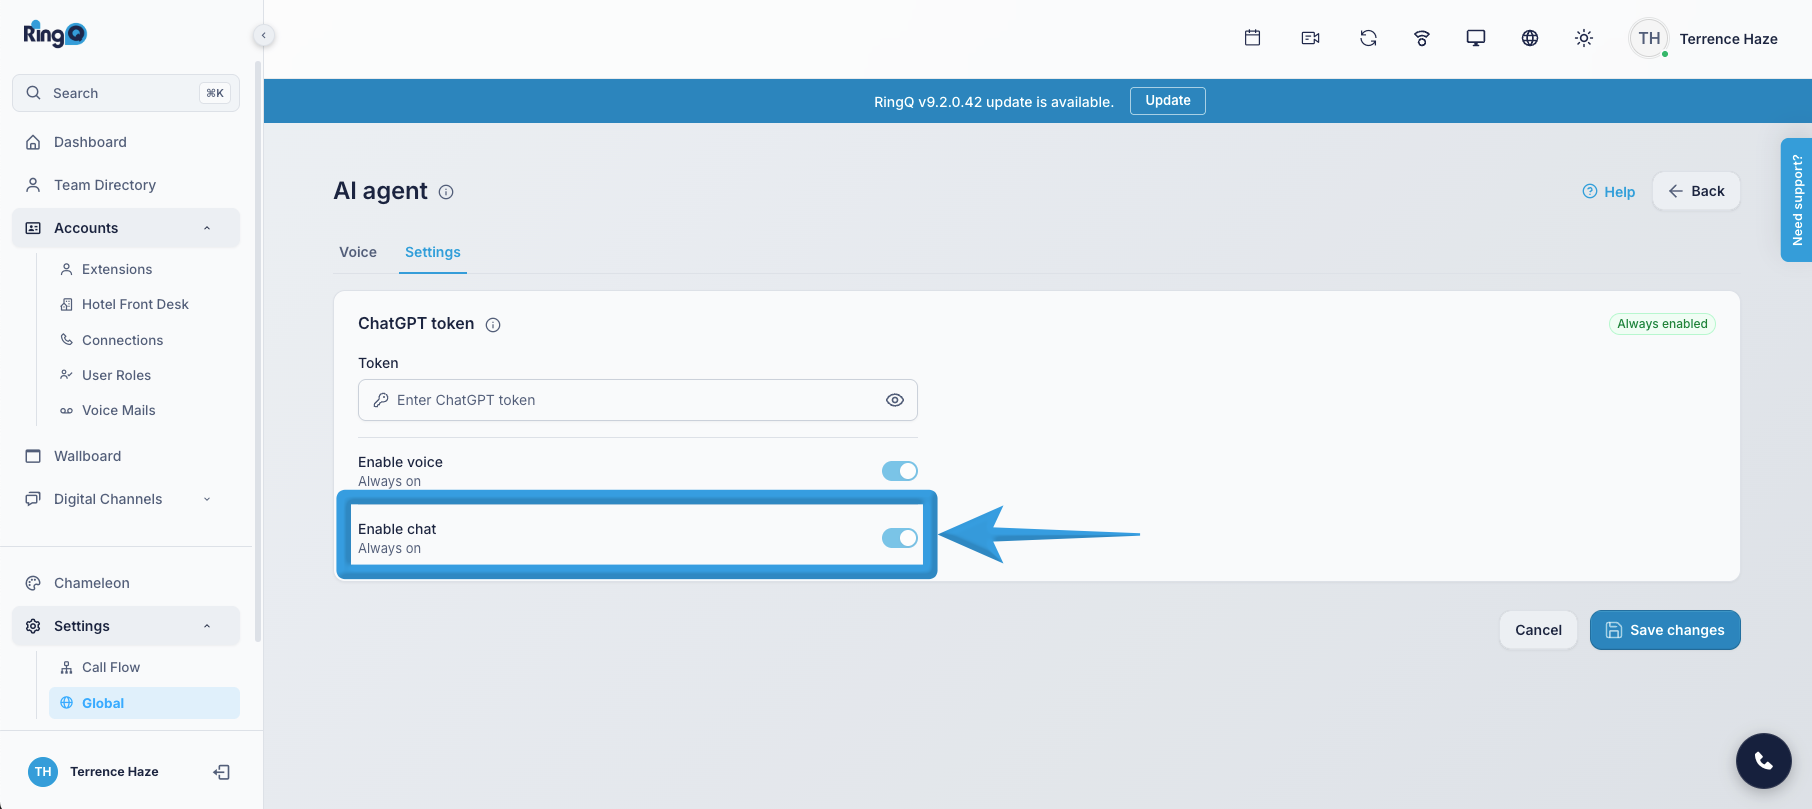
5. Enable Chat. Turn this ON to allow the AI Agent to:
Click Save Changes in the bottom-right corner. RingQ will:
Validate the token
Connect to ChatGPT
Activate AI services for this tenant
