This guide provides step-by-step instructions for creating a Telegram bot and configuring it in the RingQ Web App for chat integration. By the end, you'll have connected your Telegram account to RingQ so your system can send and receive messages — letting agents handle Telegram conversations directly within RingQ for more efficient, centralized communication.
Open your browser and go to https://web.telegram.org.
A QR code will be displayed.
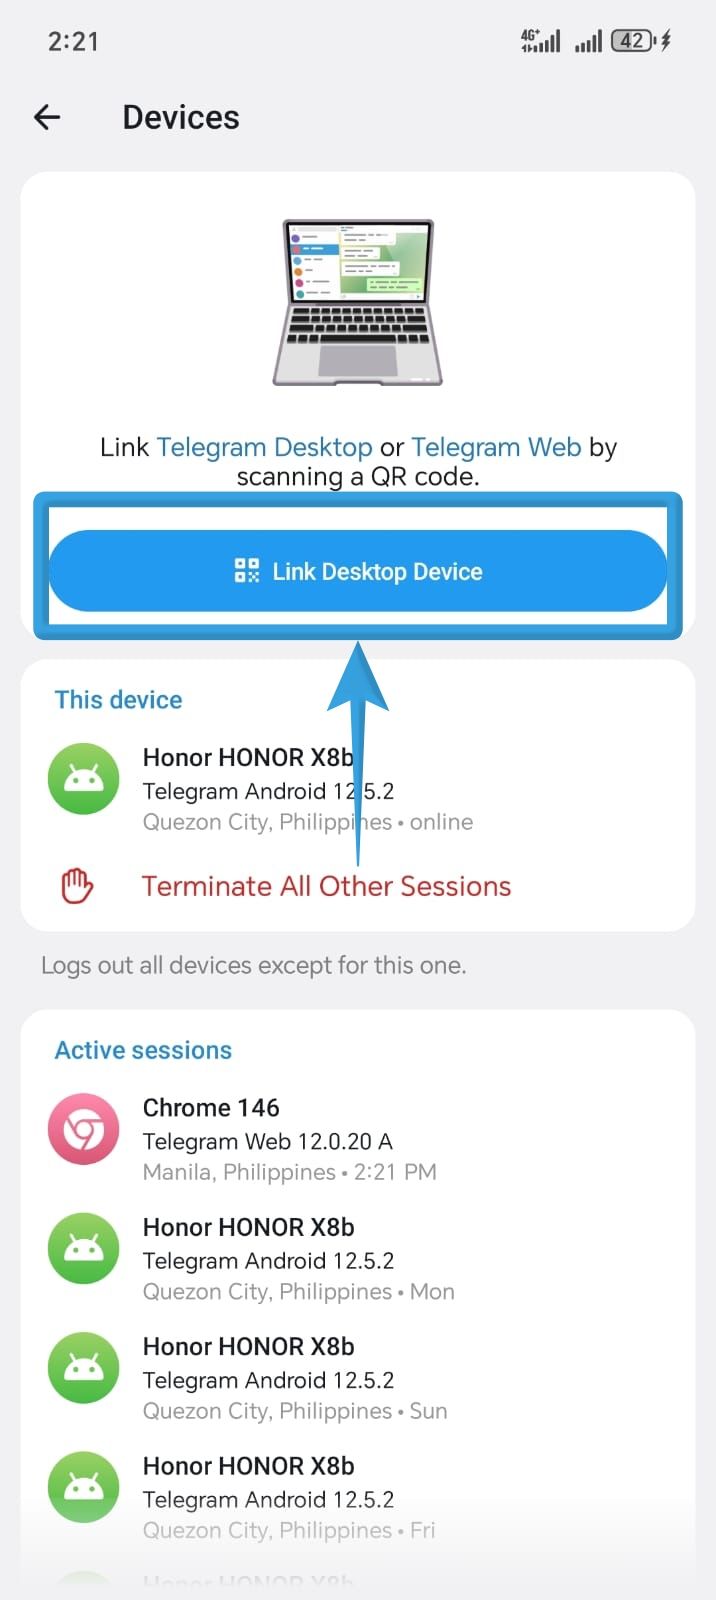
On your mobile device (with Telegram logged in):
Scan the QR code shown in your browser to log in.
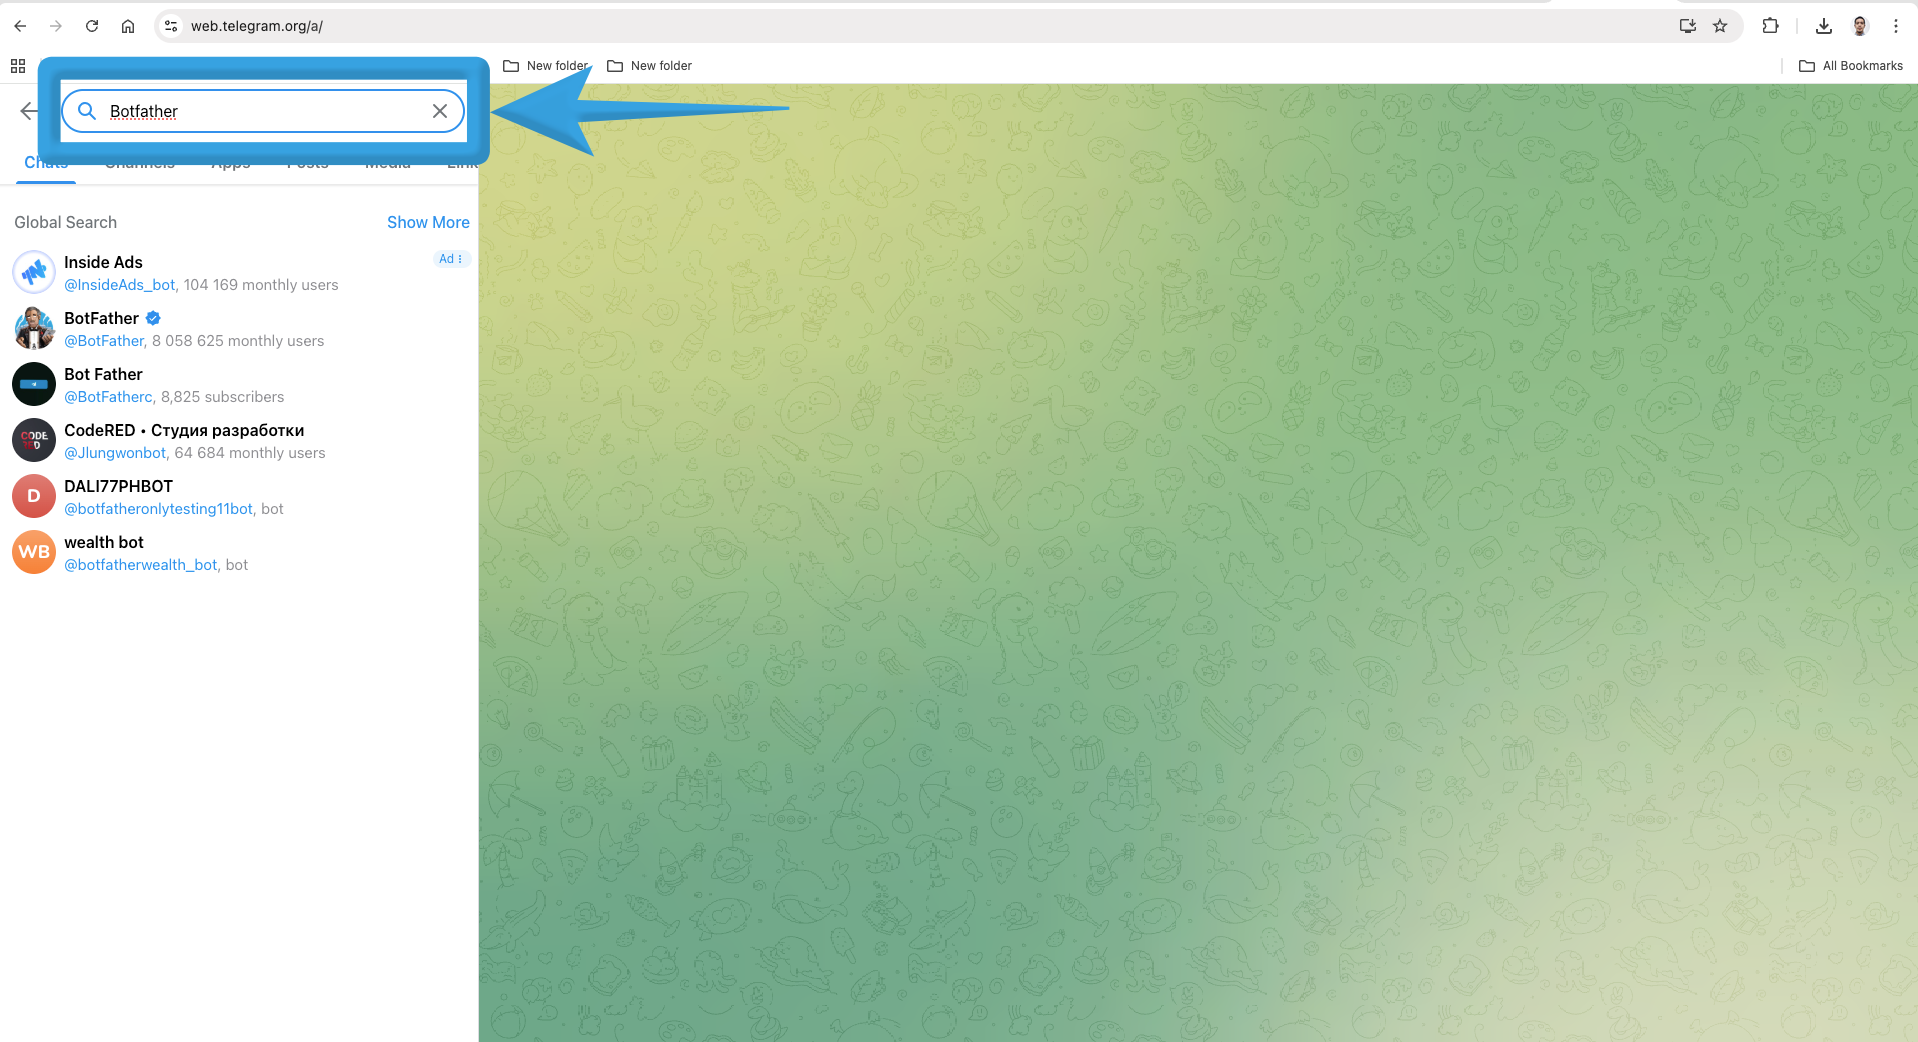
In Telegram Web, use the search panel on the left.
Search for BotFather and open the chat.
Click Start in the top-right corner.
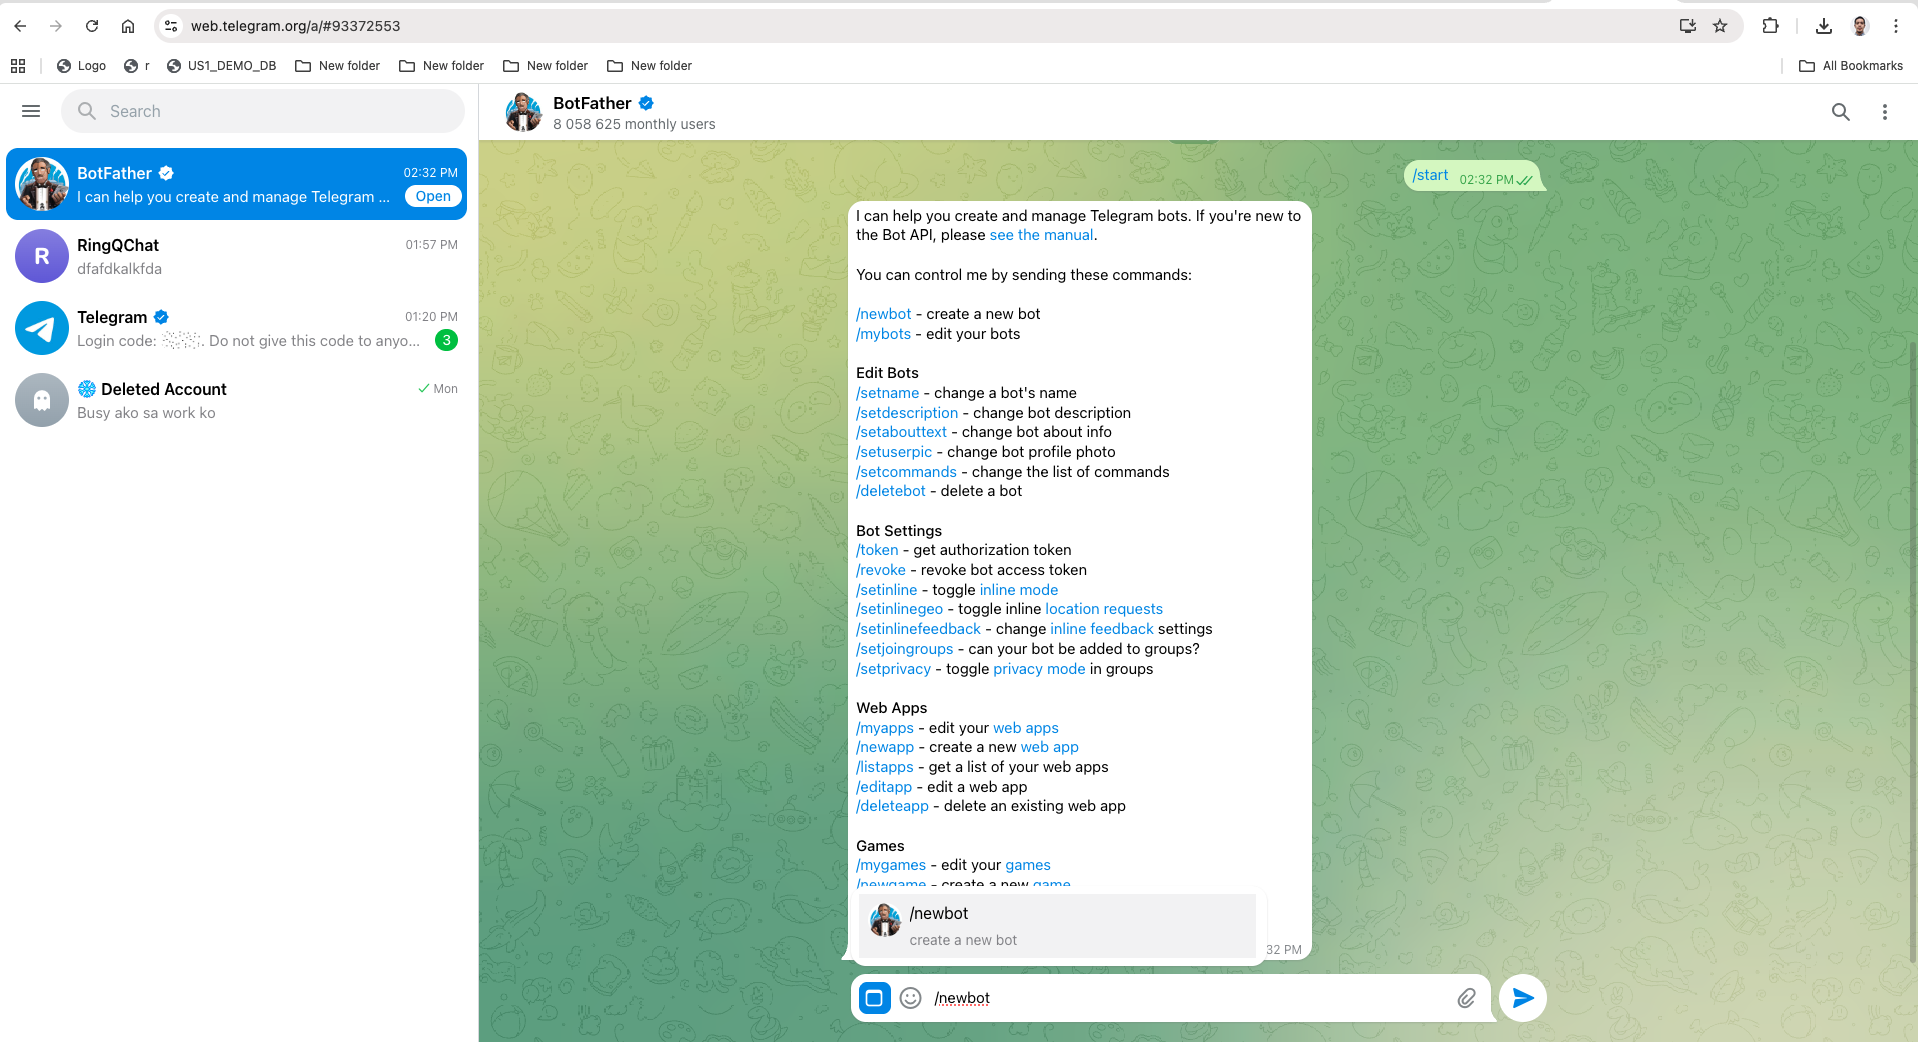
Type or select the command /newbot.
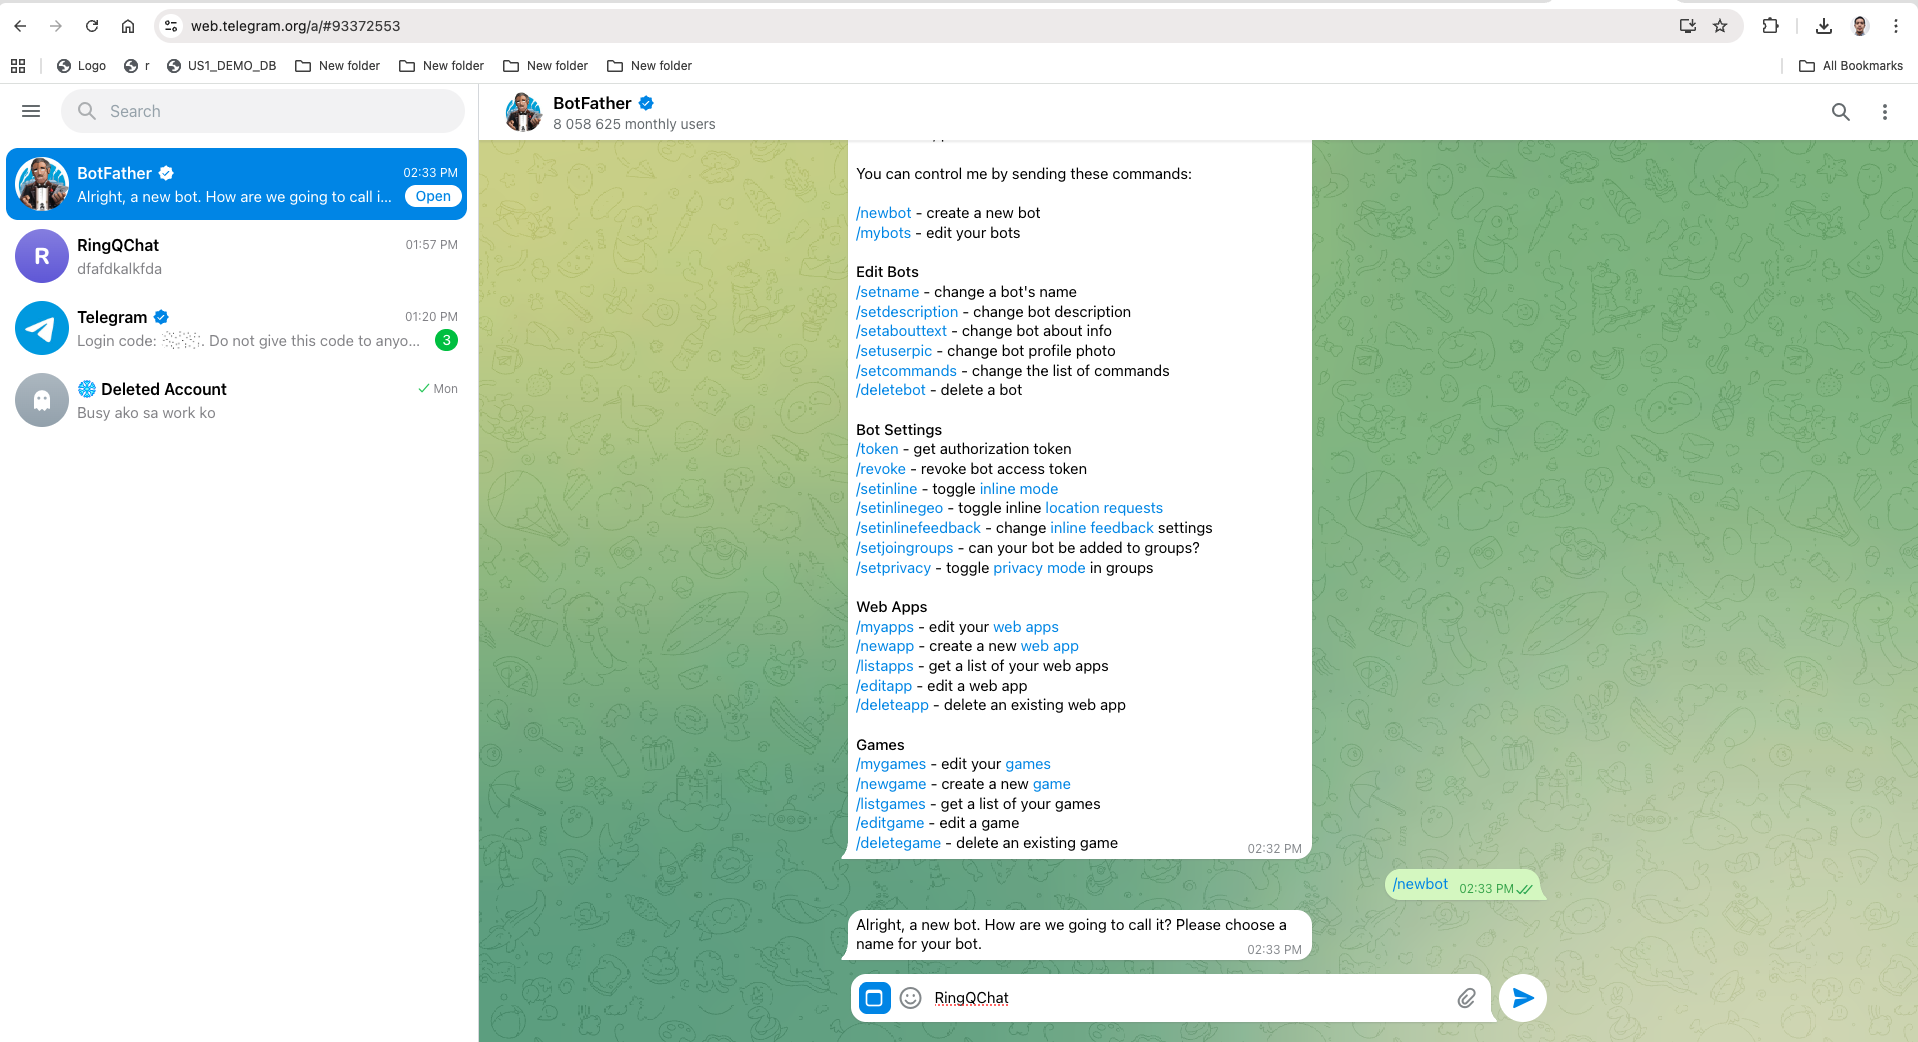
Enter your bot name — for example, RingQChat.
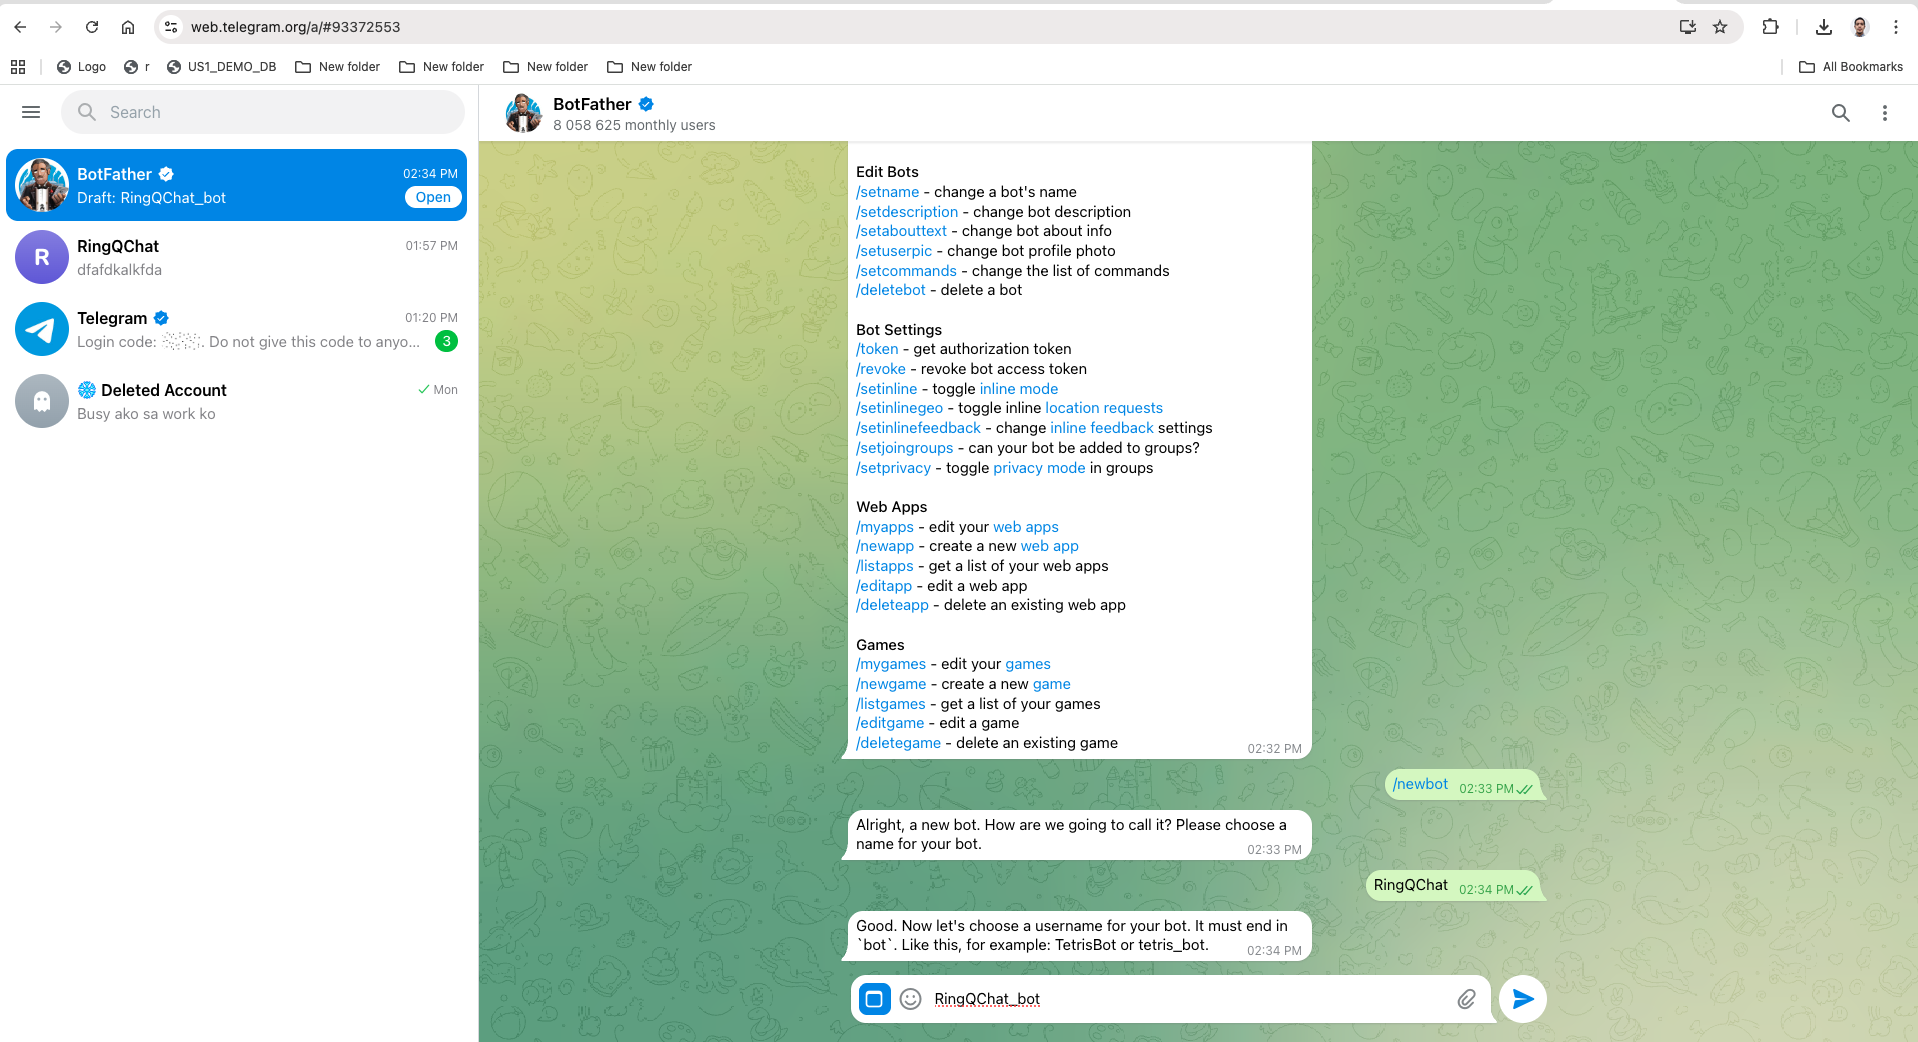
Enter your bot username. It must end with bot — for example, ringqchat_bot.
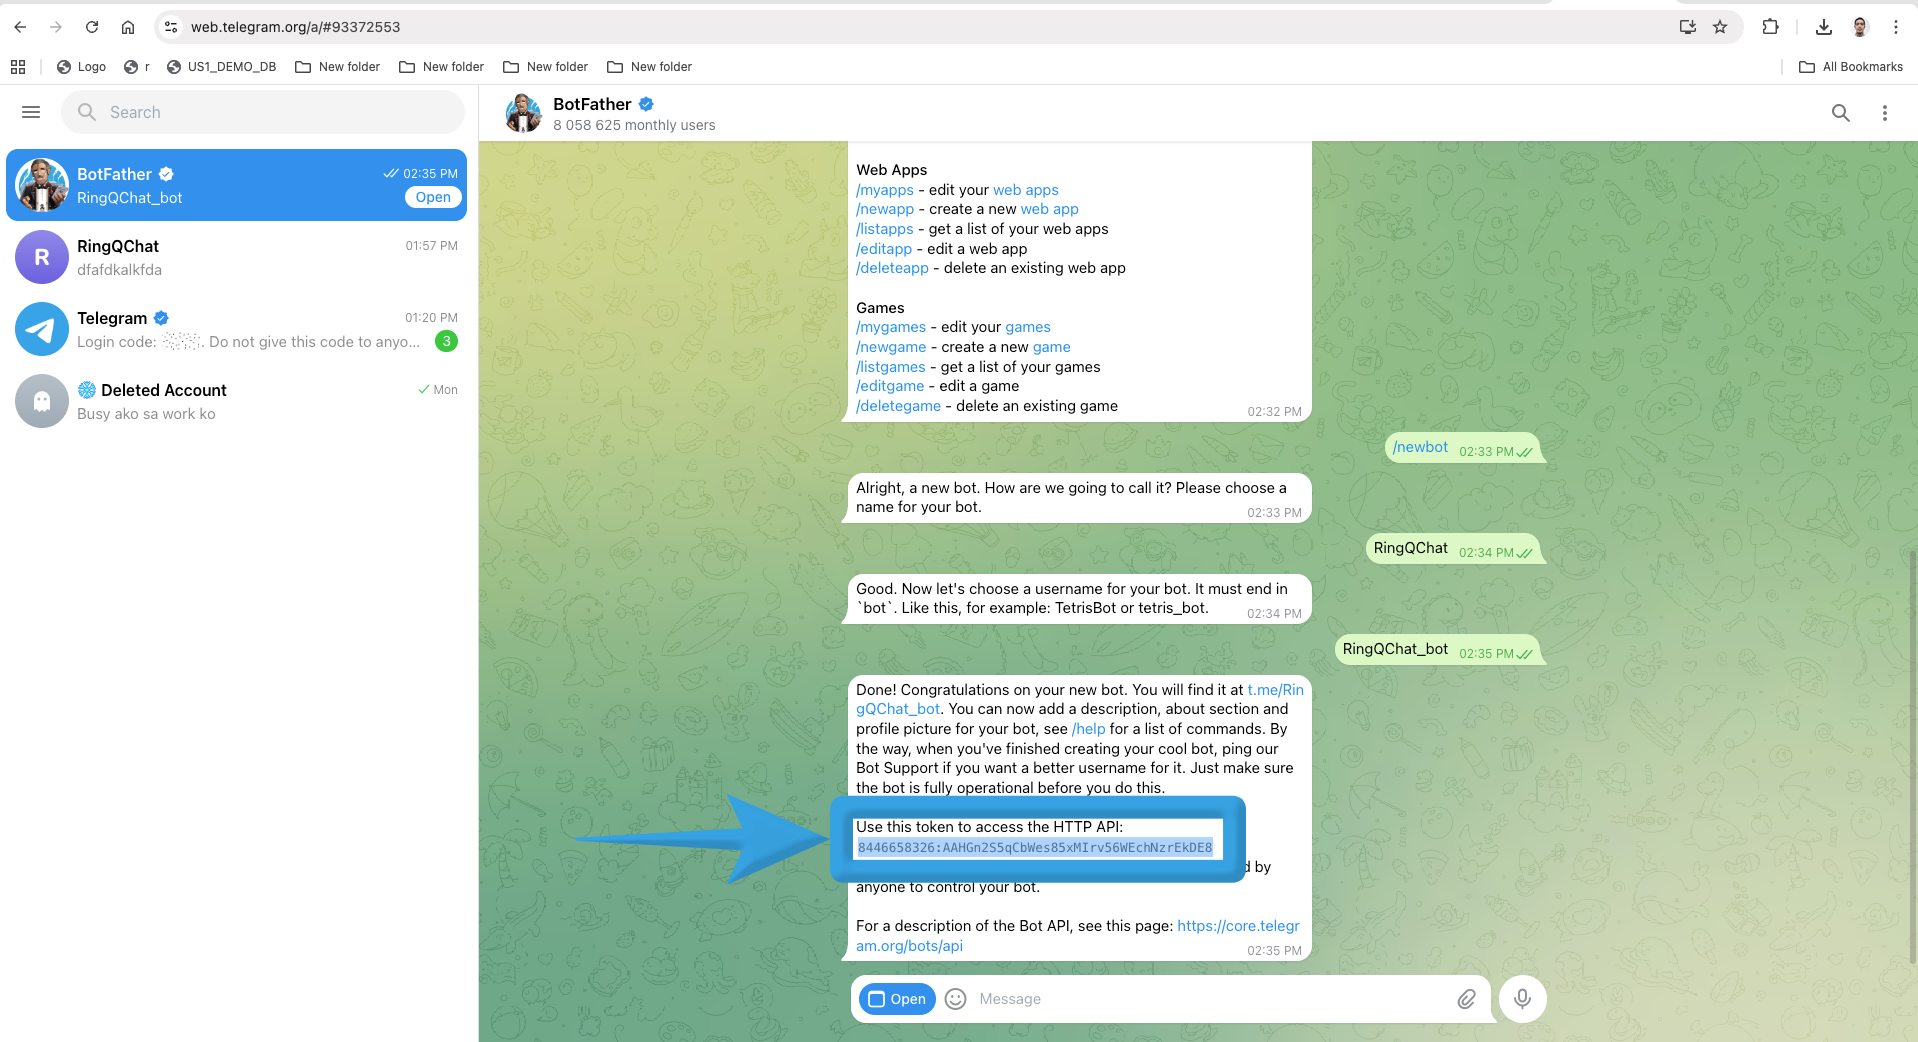
Once complete:
Follow the user guide on how to configure Telegram in the RingQ Web App.
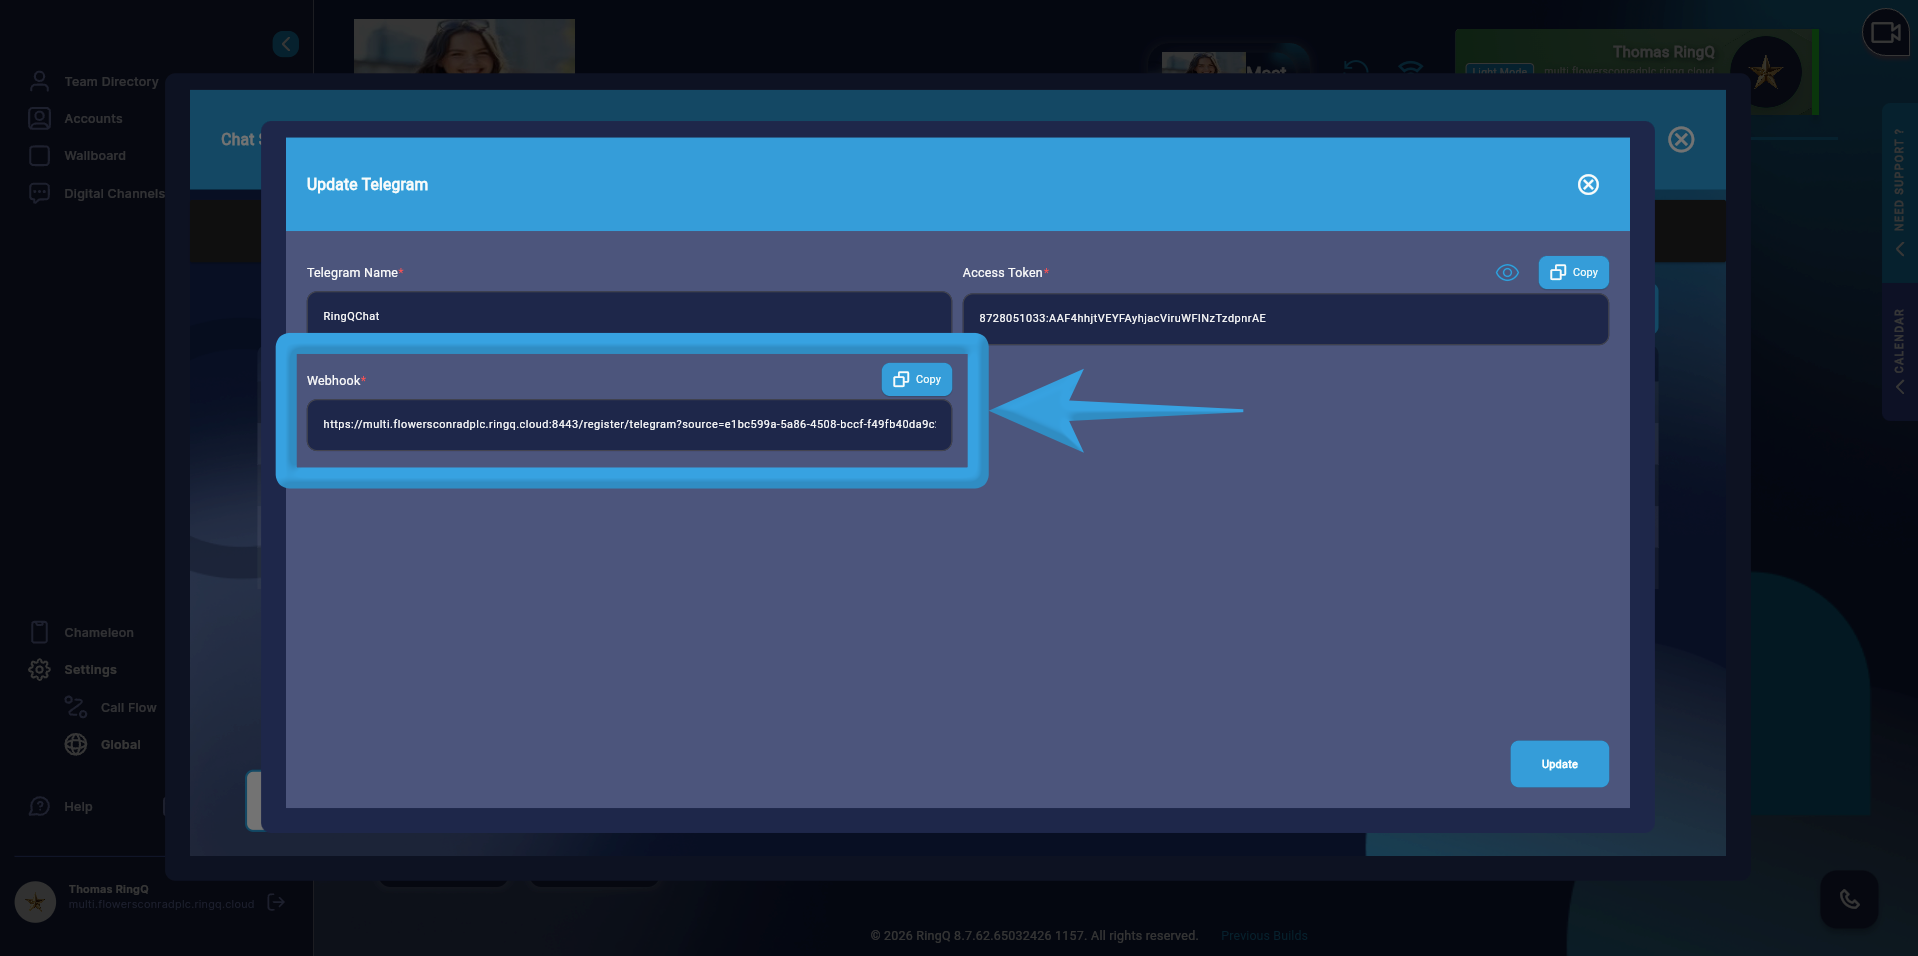
After saving, locate your Telegram configuration in the list.
Click the Edit icon in the Action column.
Copy the generated webhook URL.
Open your browser and prepare a URL in this format: https://api.telegram.org/bot<token>/setWebhook?url=<webhook_url>
Replace the placeholders:
<token> — your BotFather access token.<webhook_url> — the webhook URL from RingQ.Example: https://api.telegram.org/bot<token>/setWebhook?url=https://<your-subdomain>.ringq.cloud:8443/register/telegram?source=<source-id>
Paste the final URL into your browser and press Enter.
If successful, Telegram confirms that the webhook is set.
Your Telegram integration is now active — you can start receiving and managing Telegram chats directly in RingQ.
You can now assign Telegram chats to your queue and allocate agents within your RingQ system.
