RingQ Customer Centric Communications

Installing Ringq On A Kvm Server


Installing RingQ on a KVM Server

Introduction

This guide provides the step-by-step procedure for installing RingQ on a KVM Server using Debian 12. It covers the initial boot selection, network interface configuration, user account setup, disk partitioning, and the final RingQ installer prompt. Before starting the installation, make sure the server has a stable network connection and that the required firewall or network ports are allowed to avoid service connection issues during setup.
Installation Steps

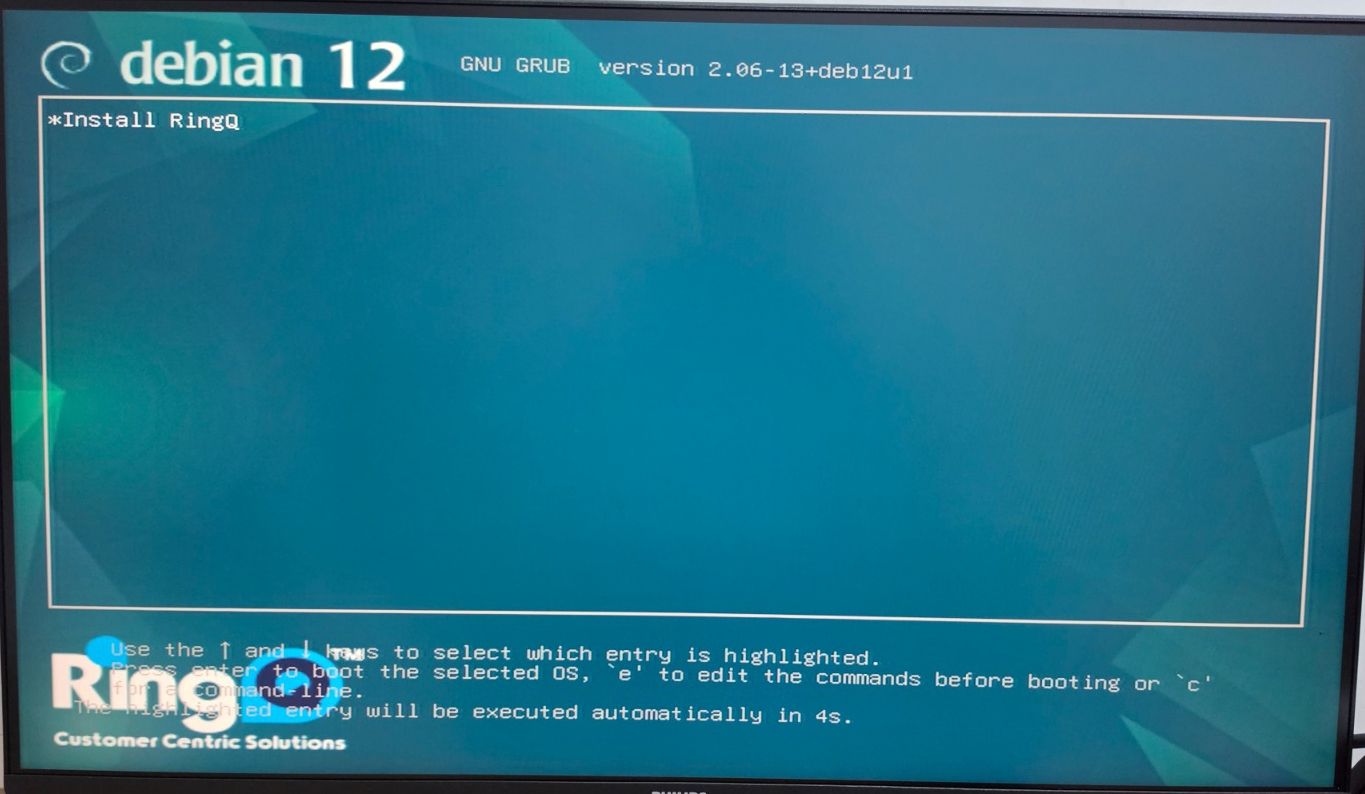
  1. Choose “Install RingQ” from the boot menu, select Install RingQ to begin the RingQ installation process on the KVM server.
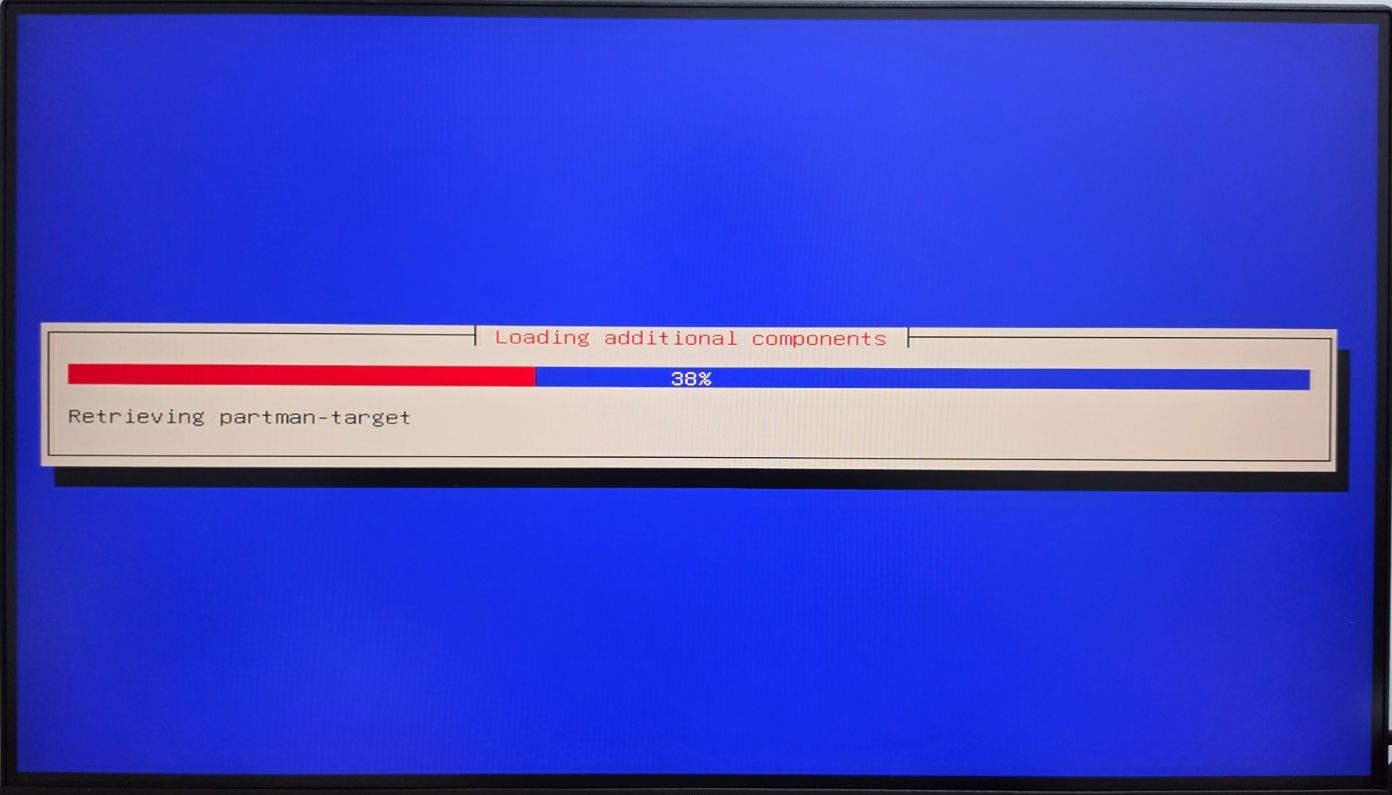
  1. Wait for the Preliminary Installation - Allow the installer to load the required installation components. This may take a few minutes depending on the server performance.
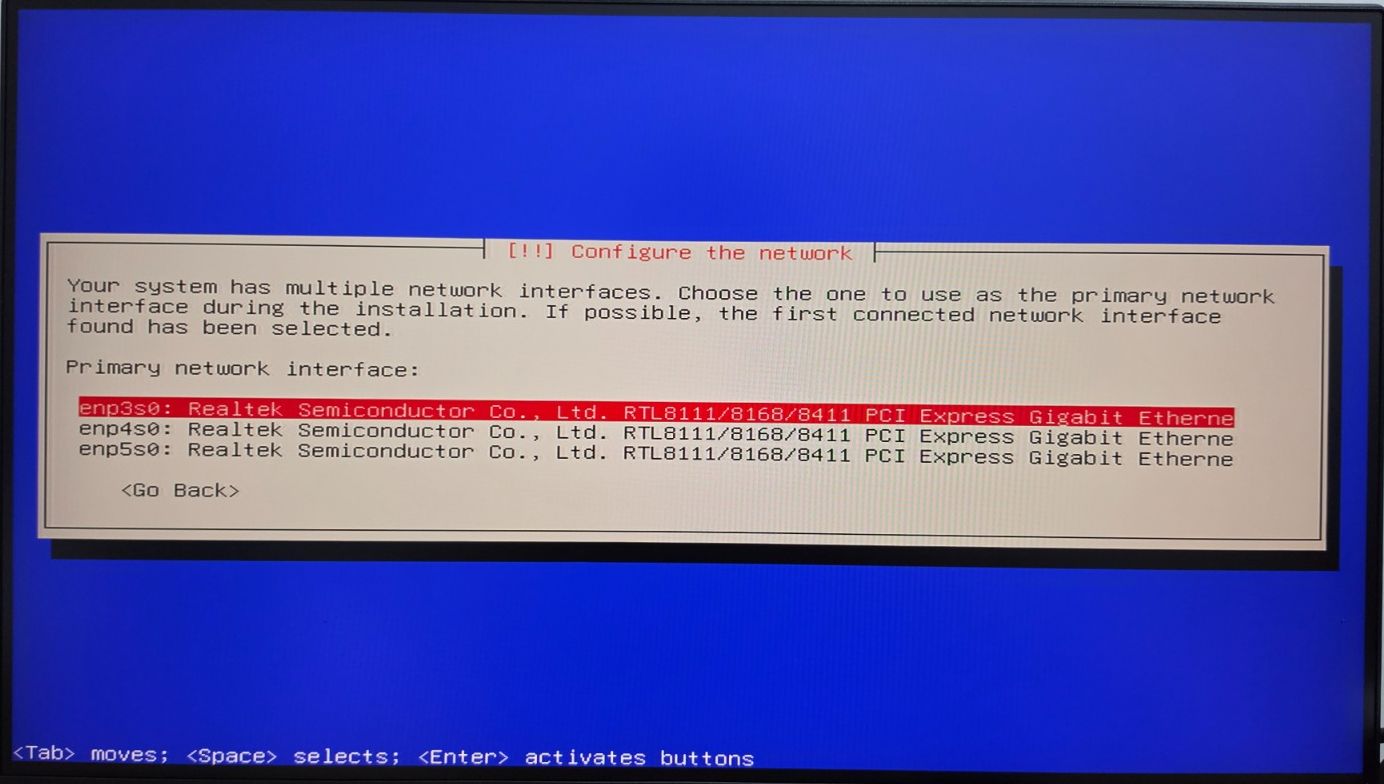
  1. Choose the Network Interface - Select the correct network interface that will be used by the RingQ server. Make sure the selected interface is connected to the proper network and has internet access.
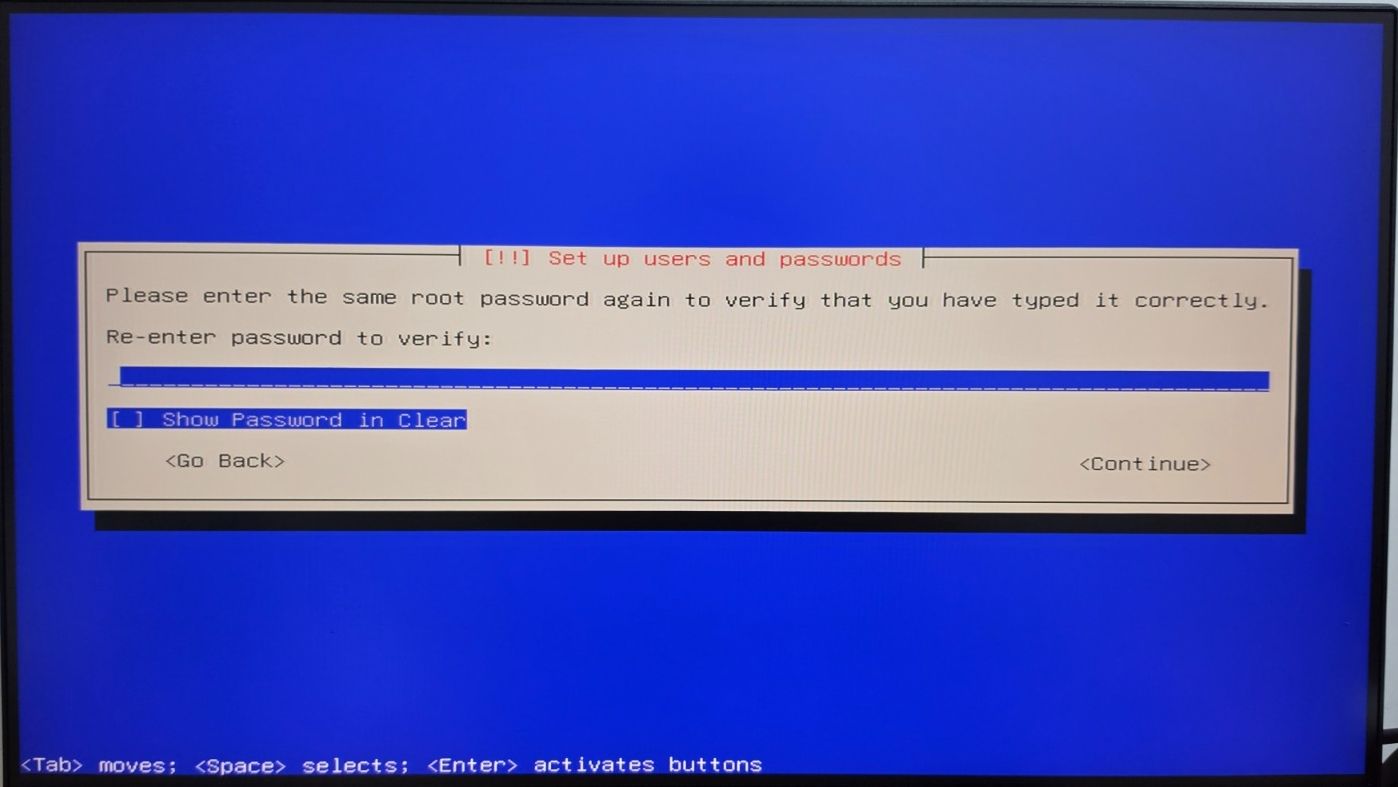
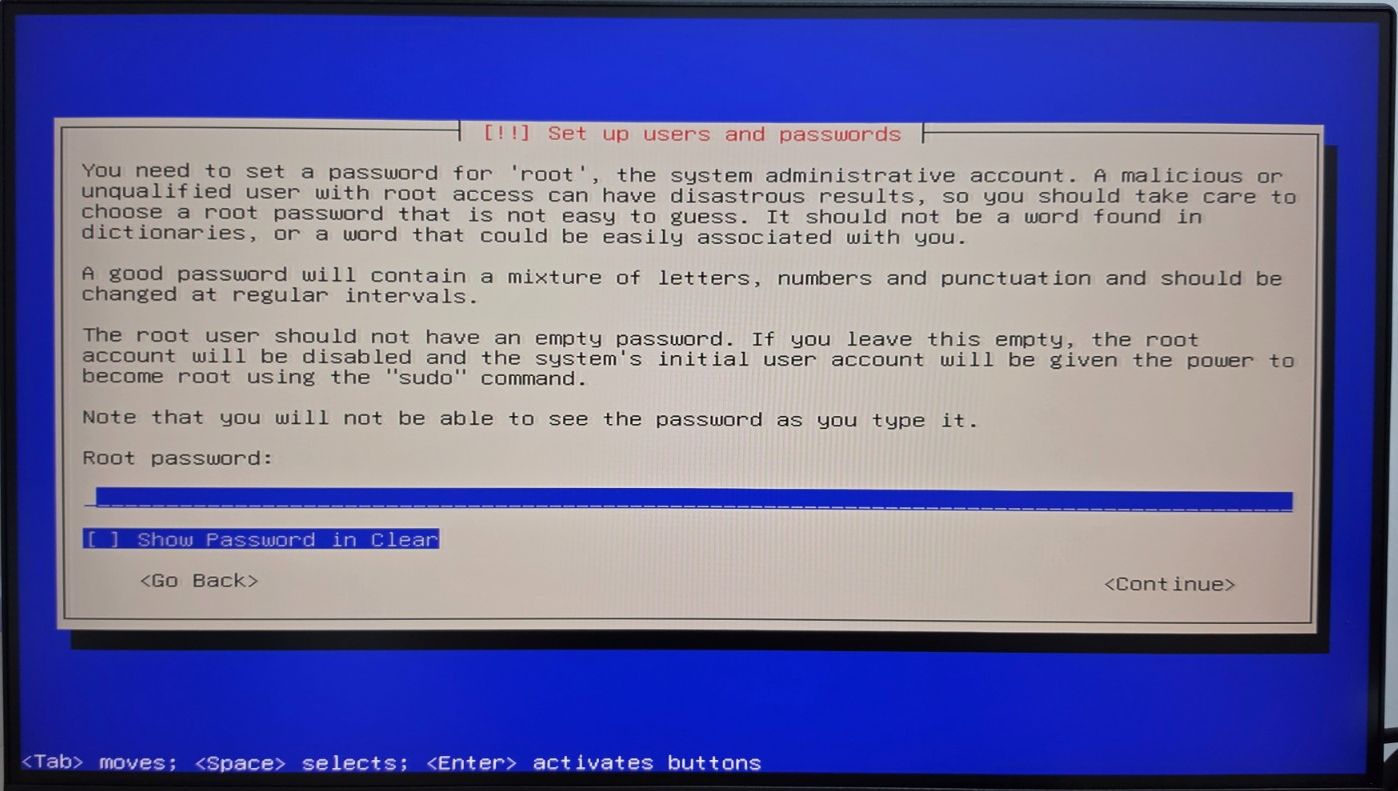
  1. Leave the Root Password Blank - When prompted to set the root password, leave it blank and continue. This allows the system to disable direct root login and use a standard user account instead.
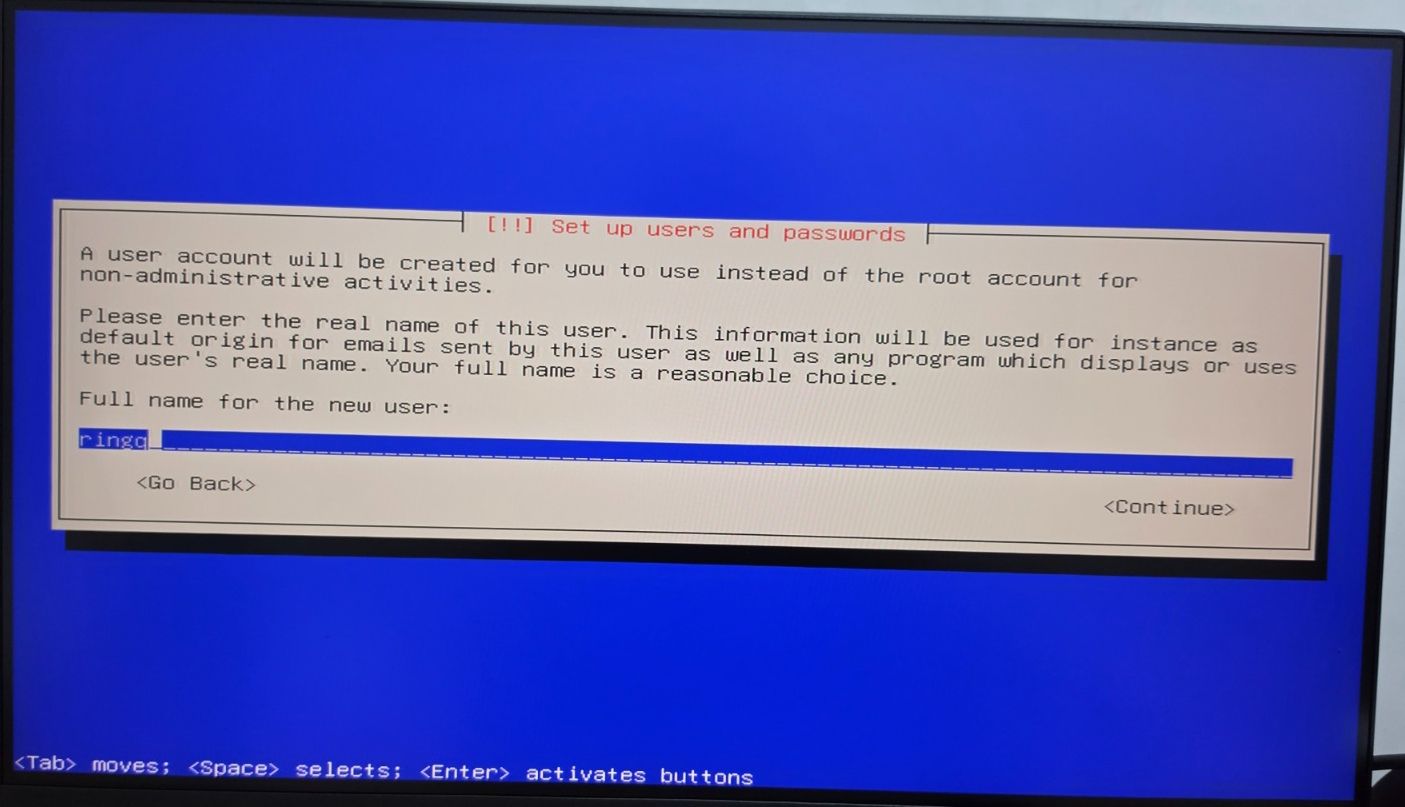
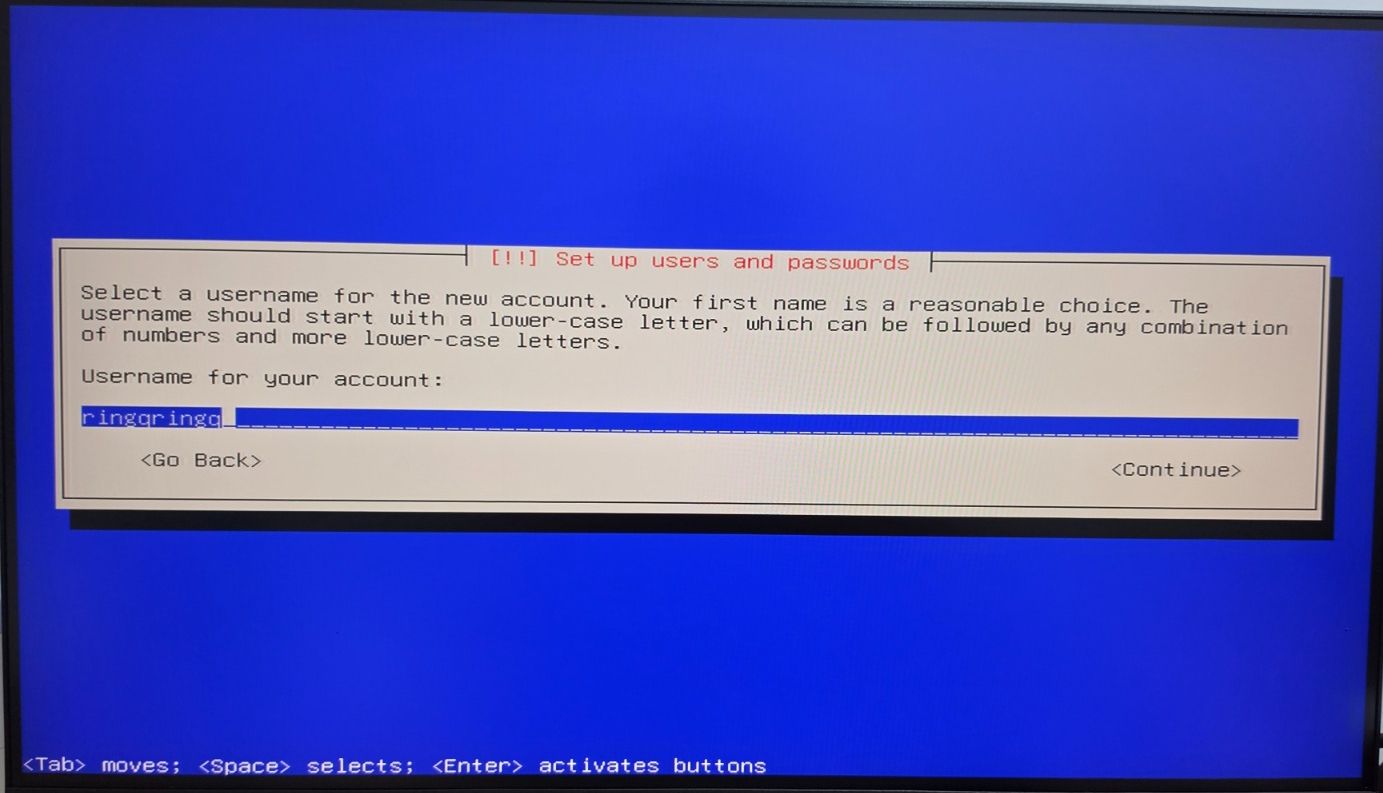
  1. Create a Username - Enter the full name and username for the new user account. This account will be used to access and manage the server after installation.
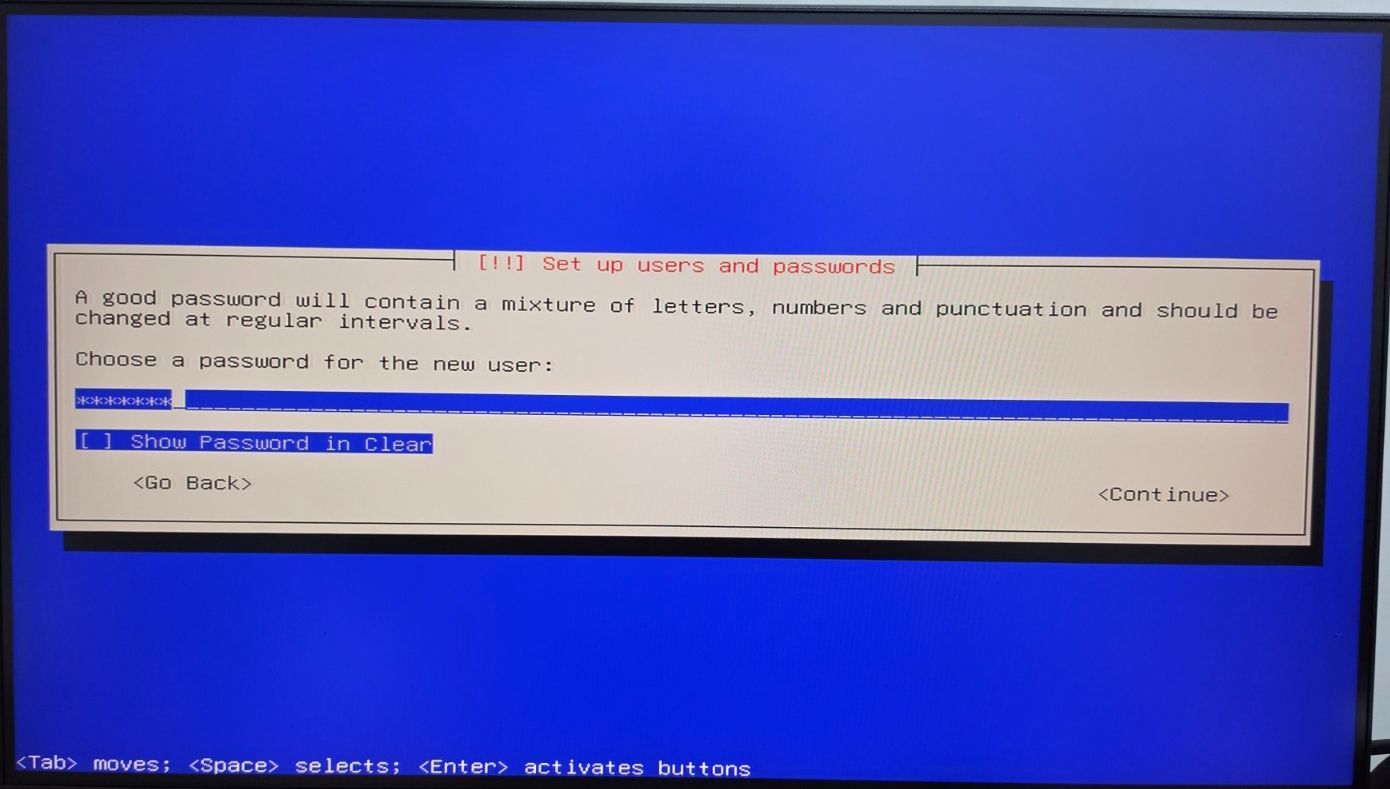
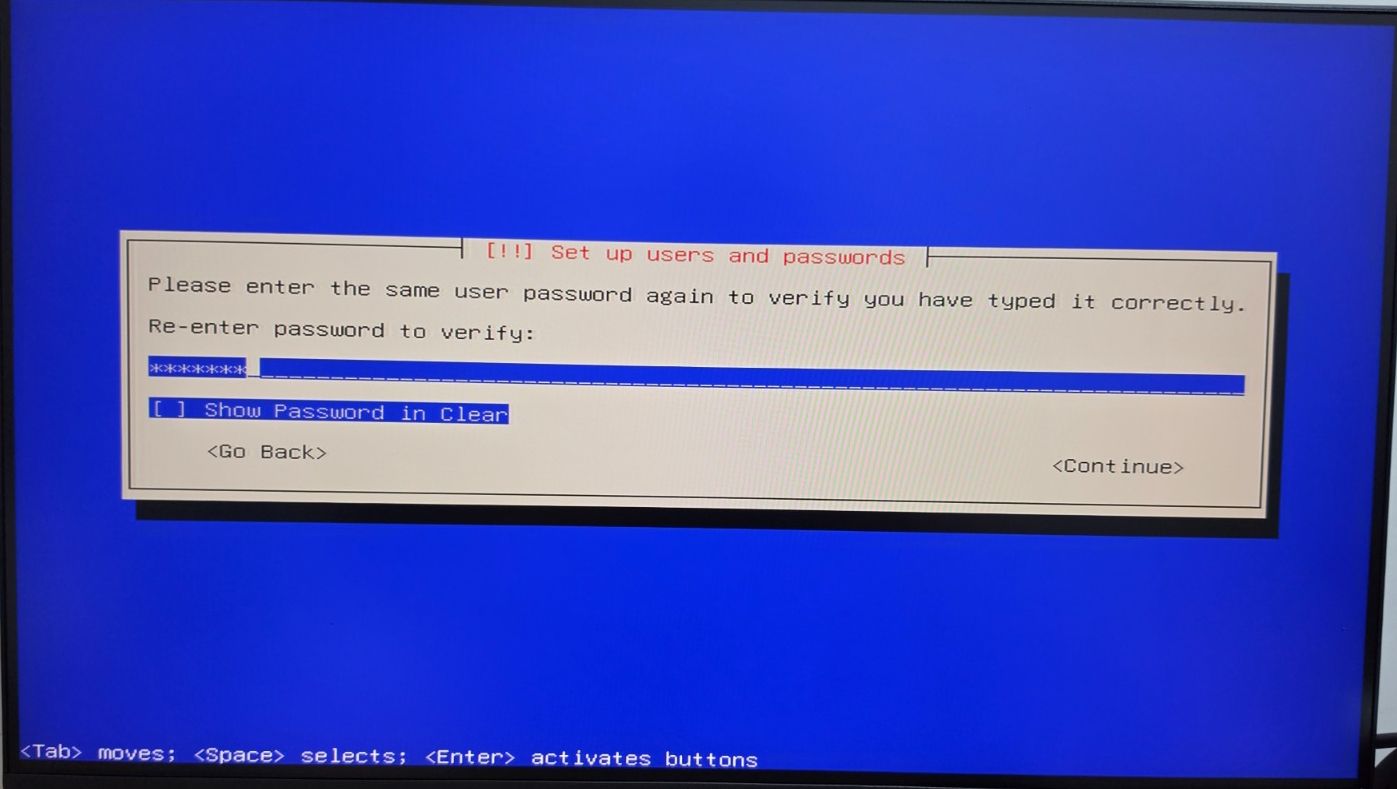
  1. Set the User Password - Create and confirm a secure password for the user account. Use a strong password with a combination of letters, numbers, and special characters.
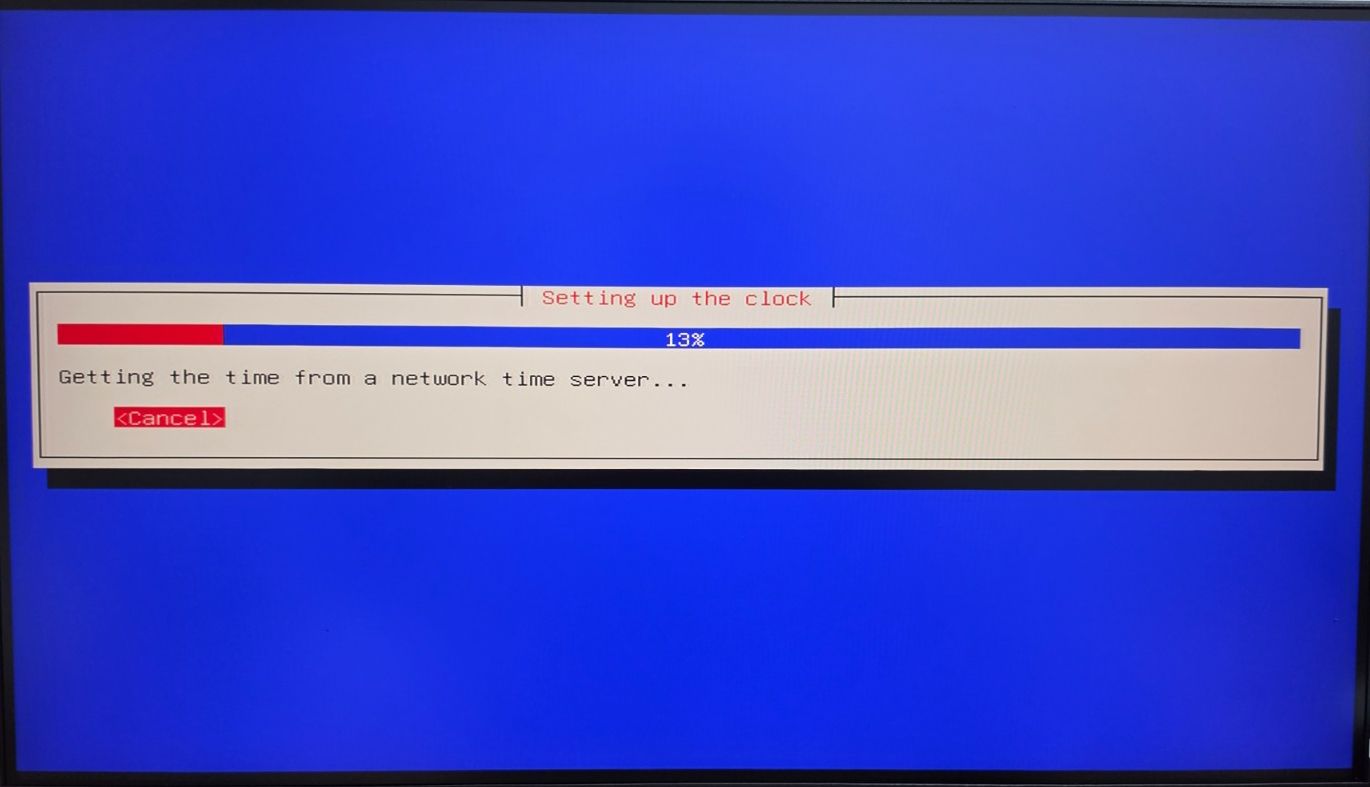
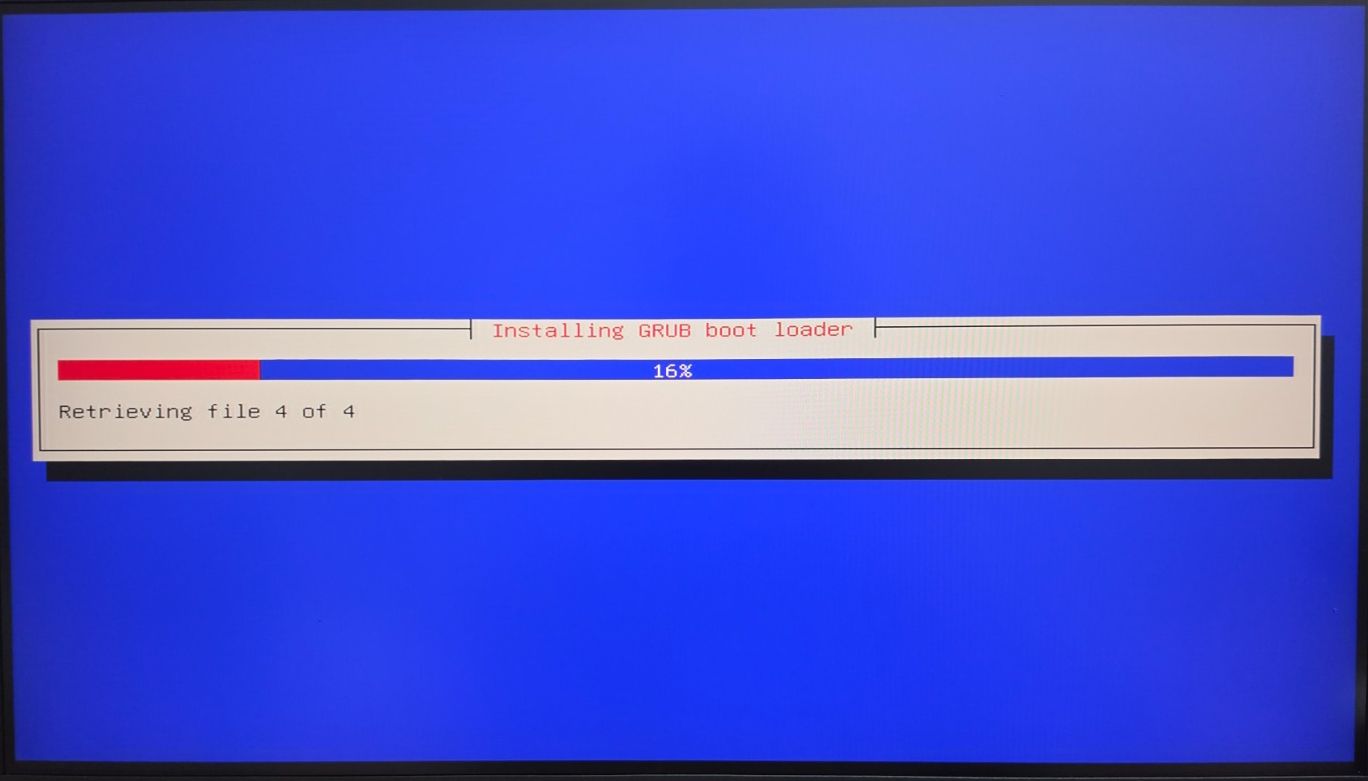
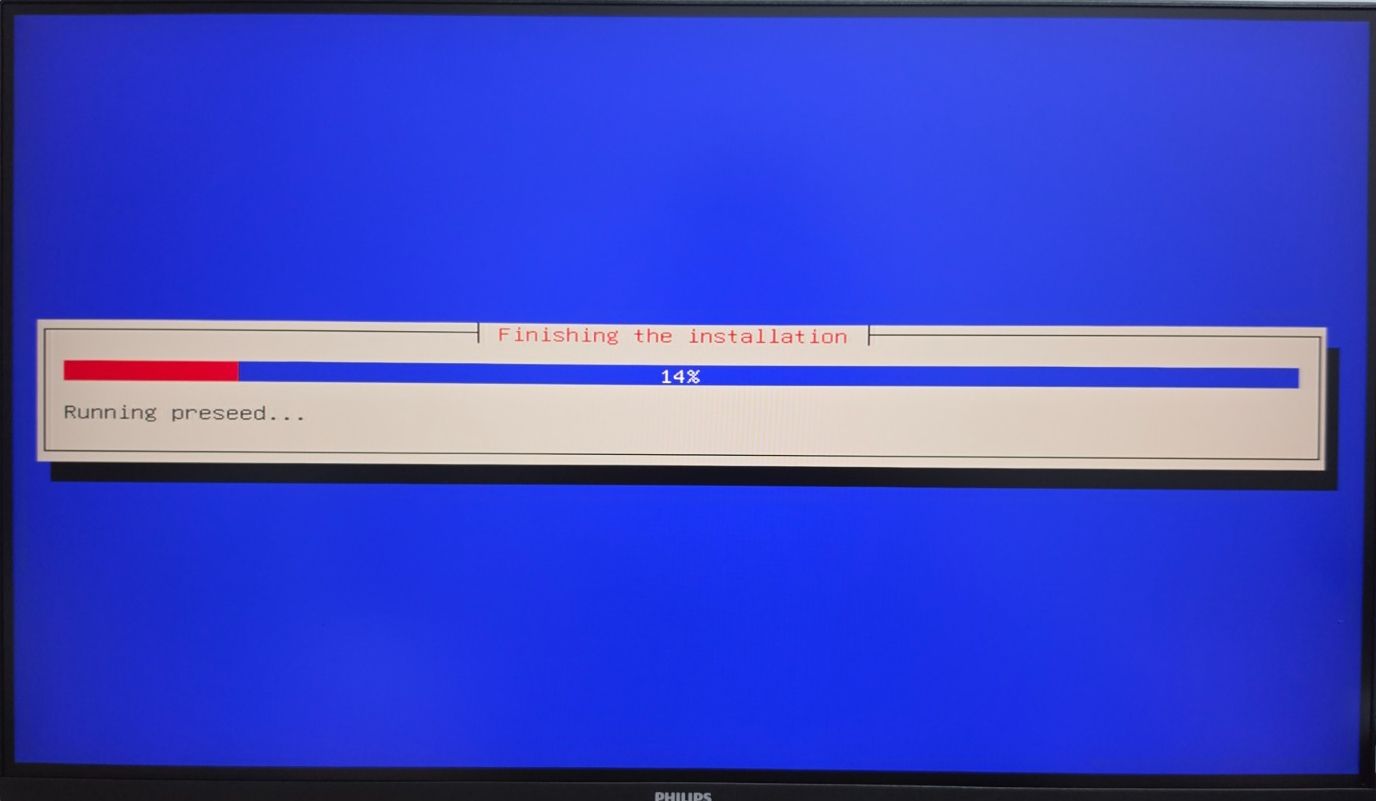
  1. Wait for the Installation Progress - Allow the system to continue installing and configuring the required packages. Do not restart or shut down the server during this process.
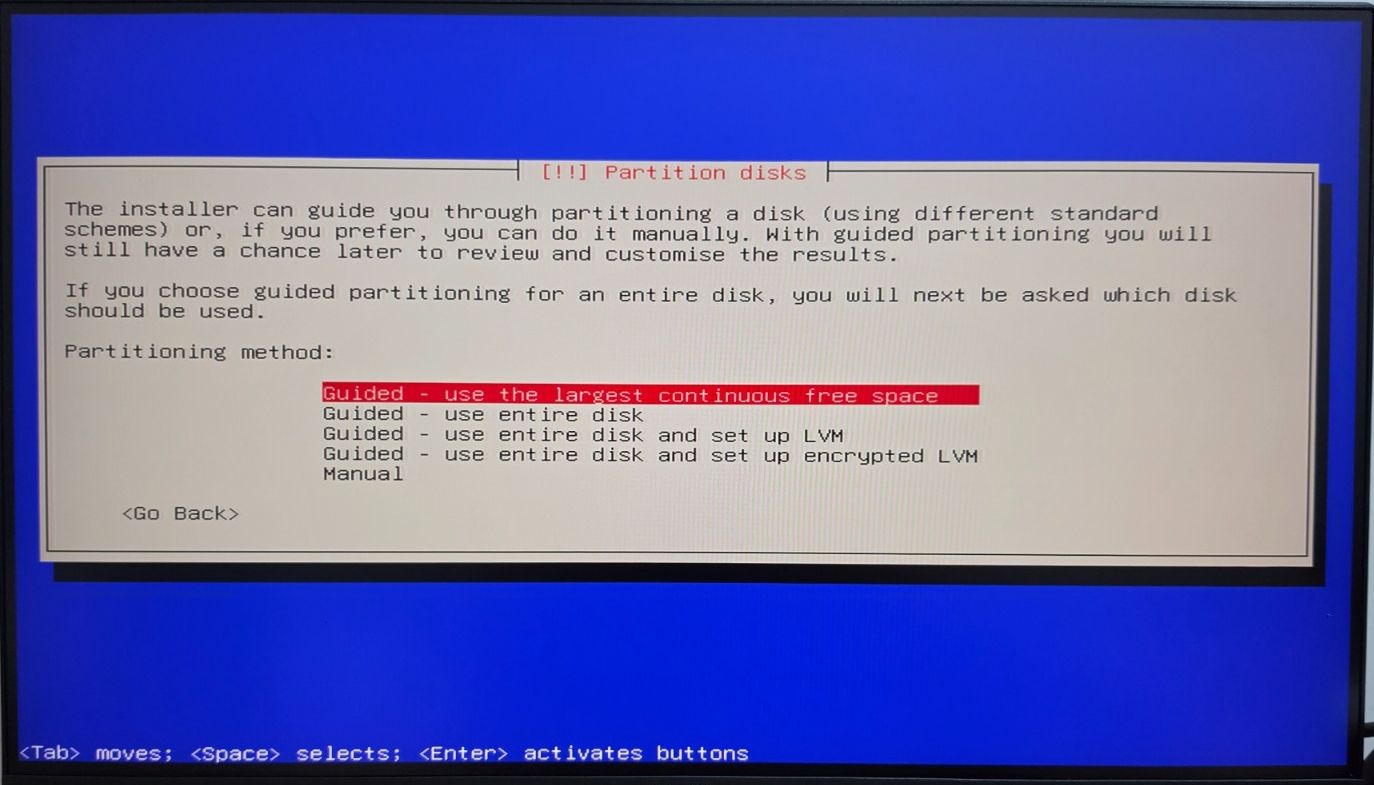
  1. Choose Entire Disk - Select the option to use the entire disk for installation. This will allow the installer to automatically prepare the disk for RingQ.
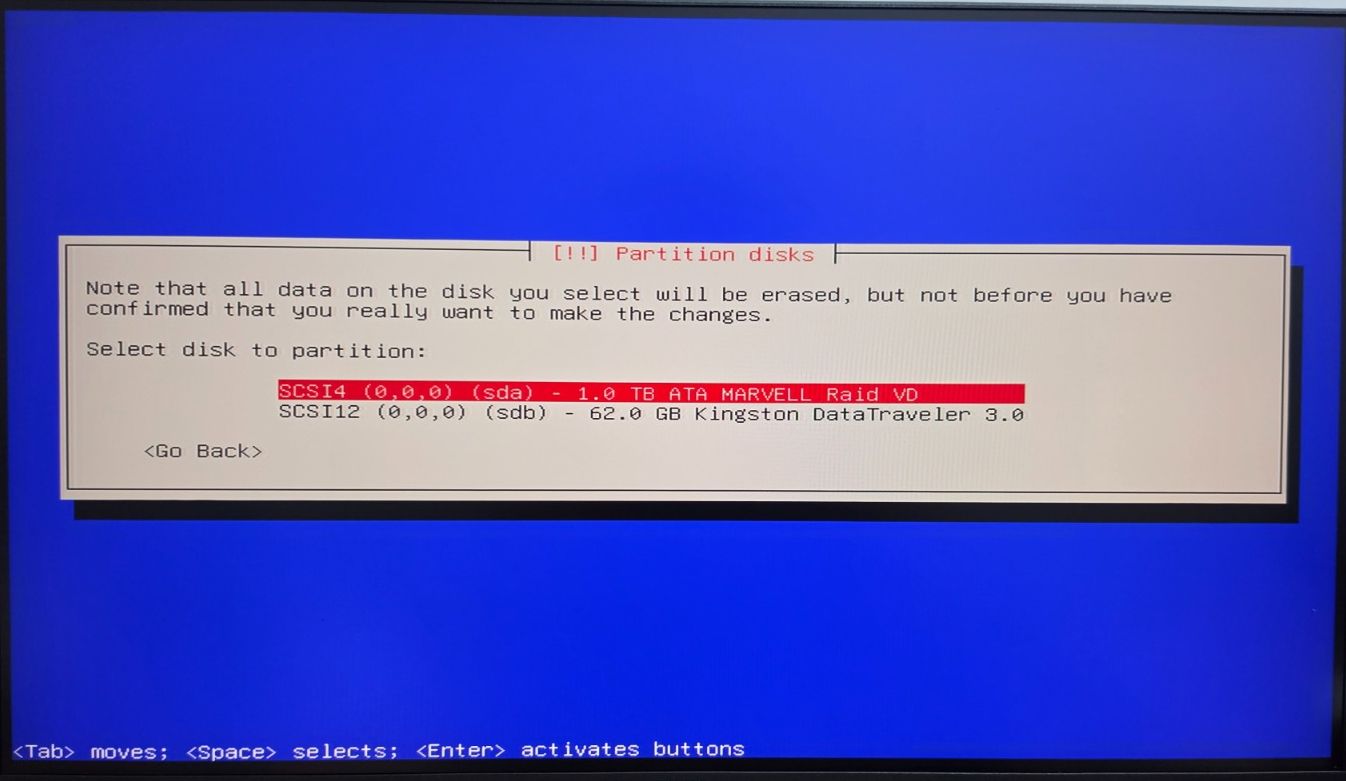
  1. Choose the First Disk Option - Select the first available disk from the list. Make sure the correct disk is selected because the installation process will format the selected disk.
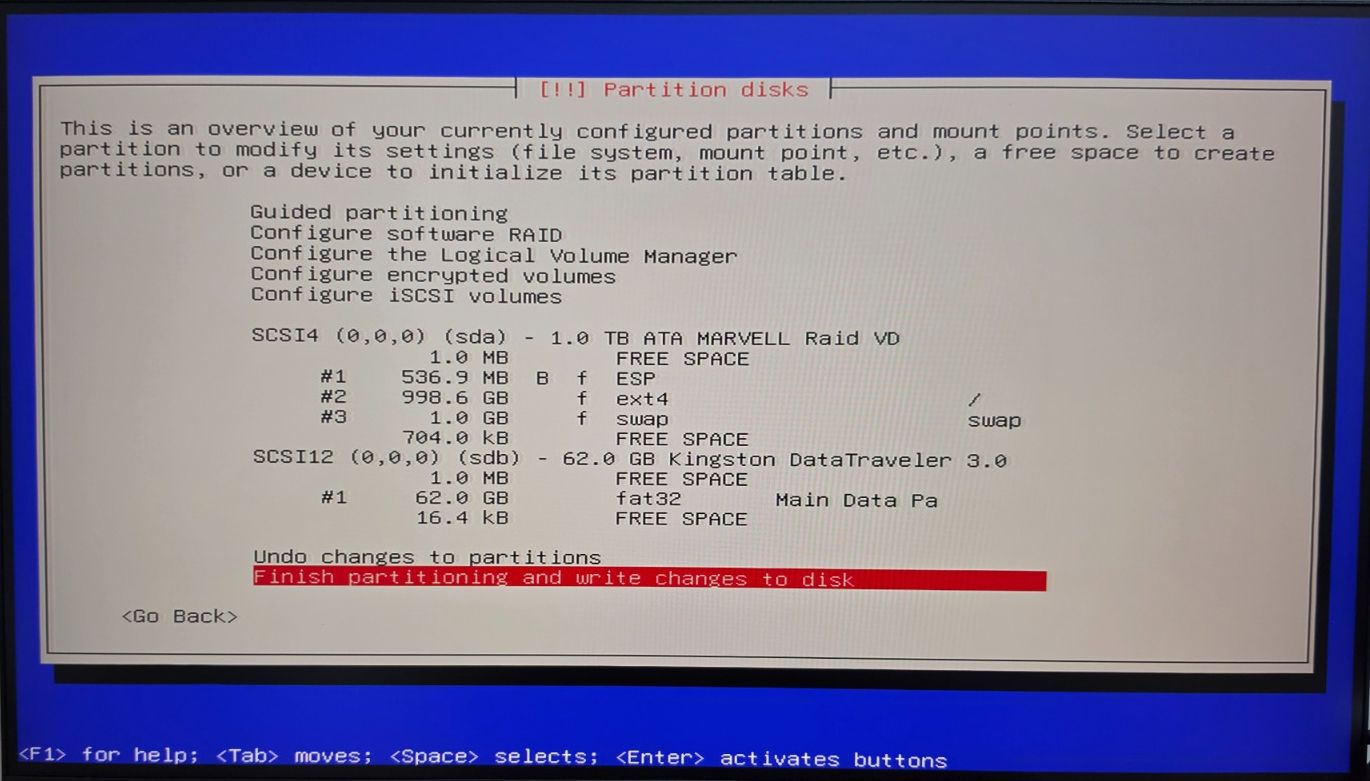
  1. Choose “Finish Partitioning and Write Changes to Disk” - After reviewing the partition setup, select Finish partitioning and write changes to disk to proceed with the disk configuration.
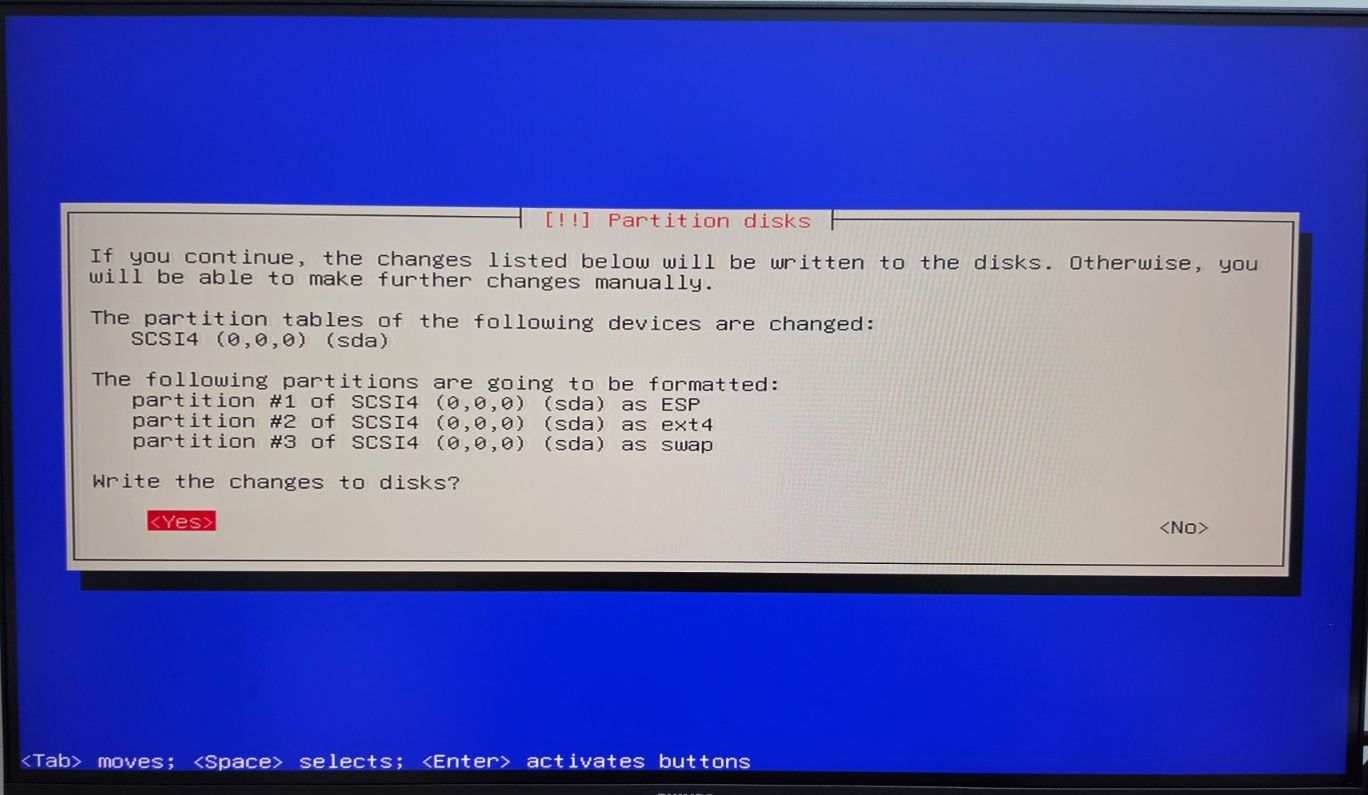
  1. Click “Yes” to Confirm Disk Changes - Confirm the changes to write the partition setup to the disk. This step will apply the disk formatting and continue the installation.
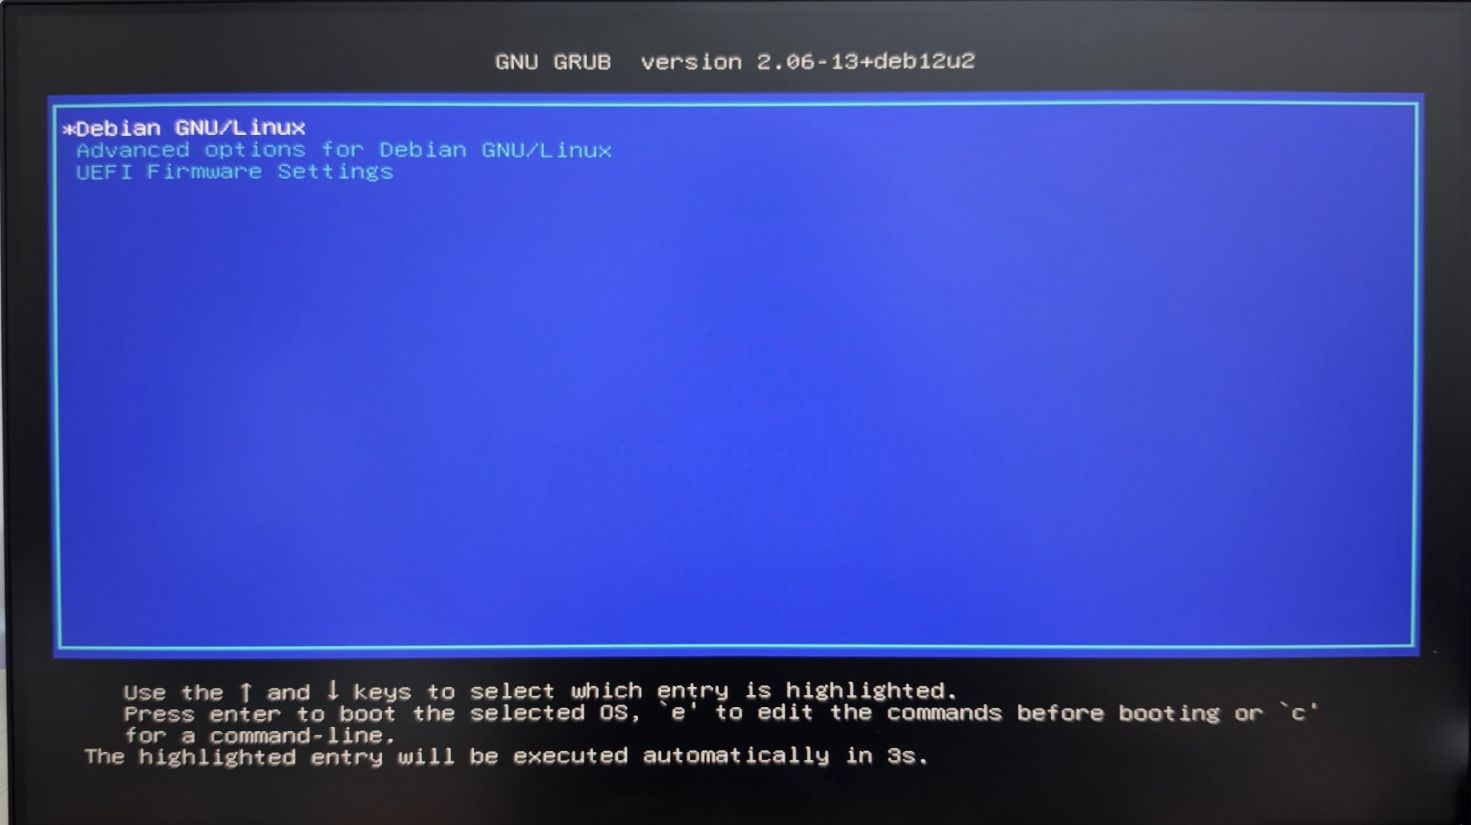
  1. After Restart, Choose Debian GNU/Linux - Once the device restarts, select Debian GNU/Linux from the boot menu to start the installed operating system.
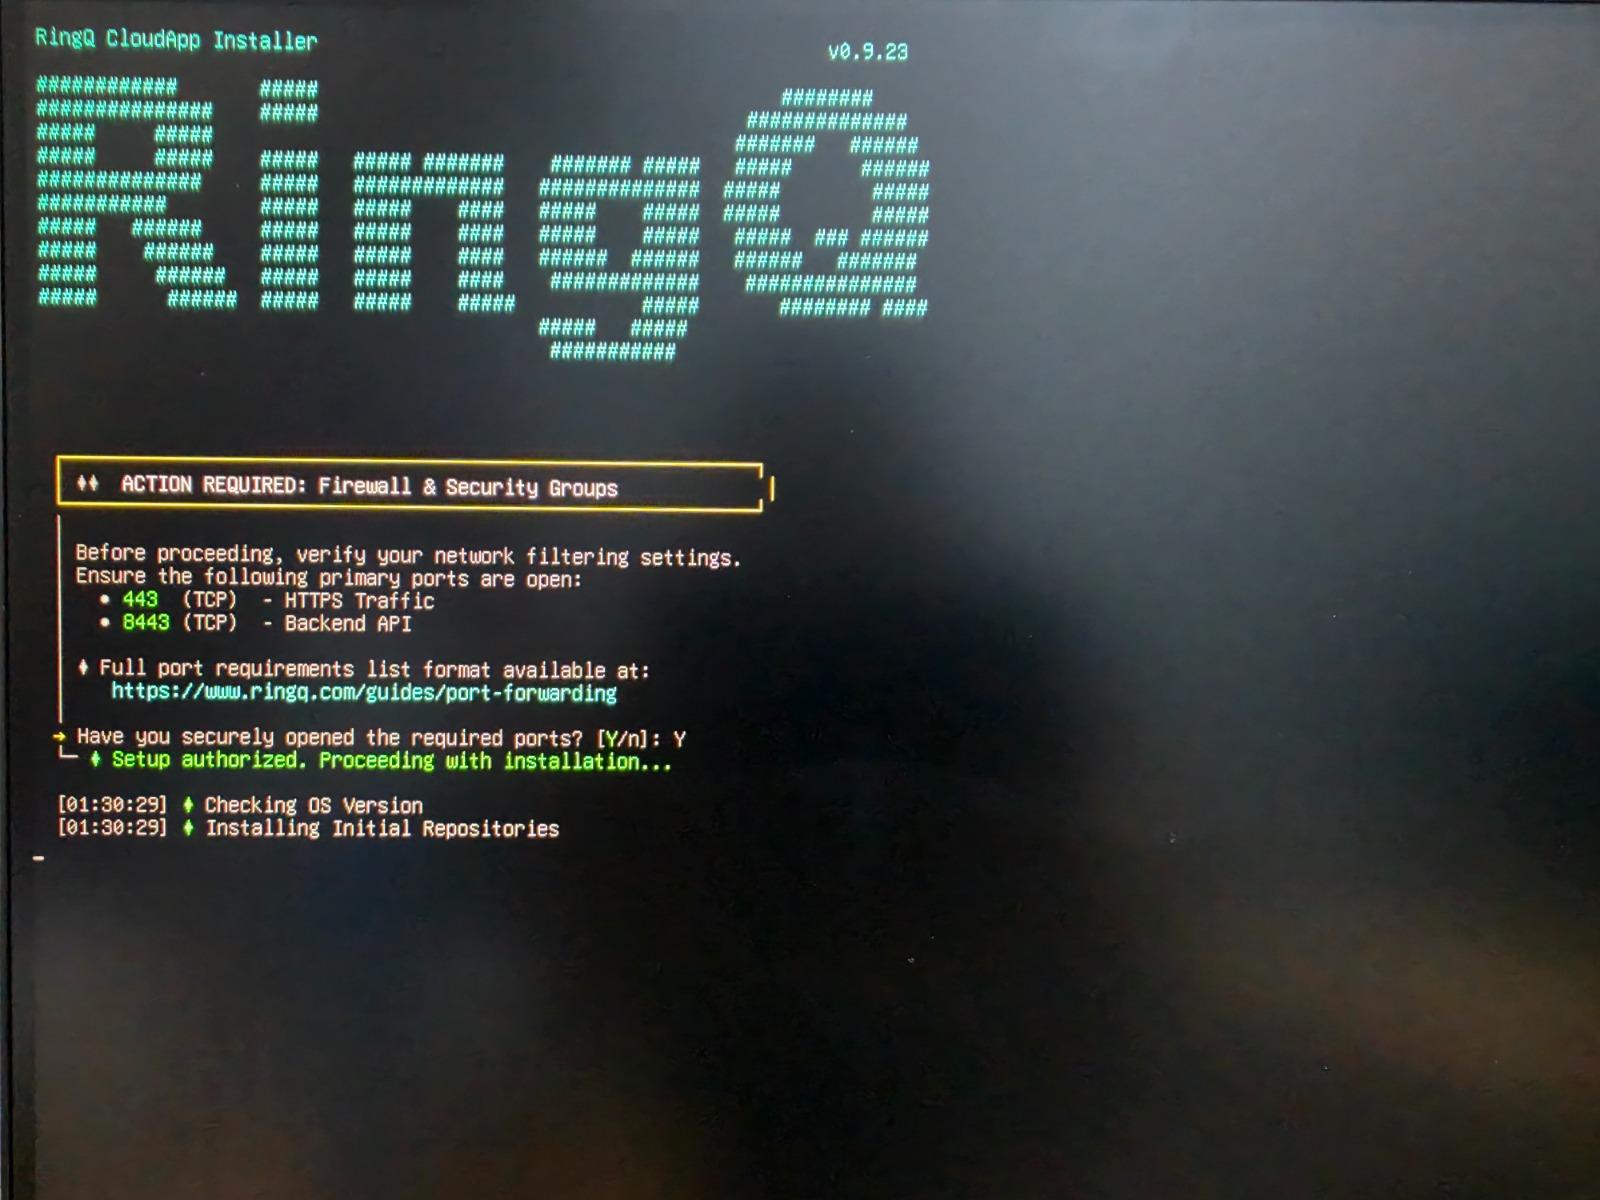
  1. Wait for the RingQ Prompt - After the system boots, the RingQ installer prompt will appear. Follow the on-screen instructions to continue the RingQ setup.

Note: Before proceeding with the installation, make sure the required network ports are allowed in your firewall or network settings to avoid connection or service issues.