Configuring Telnyx in a Queue and Assigning Agents
Introduction
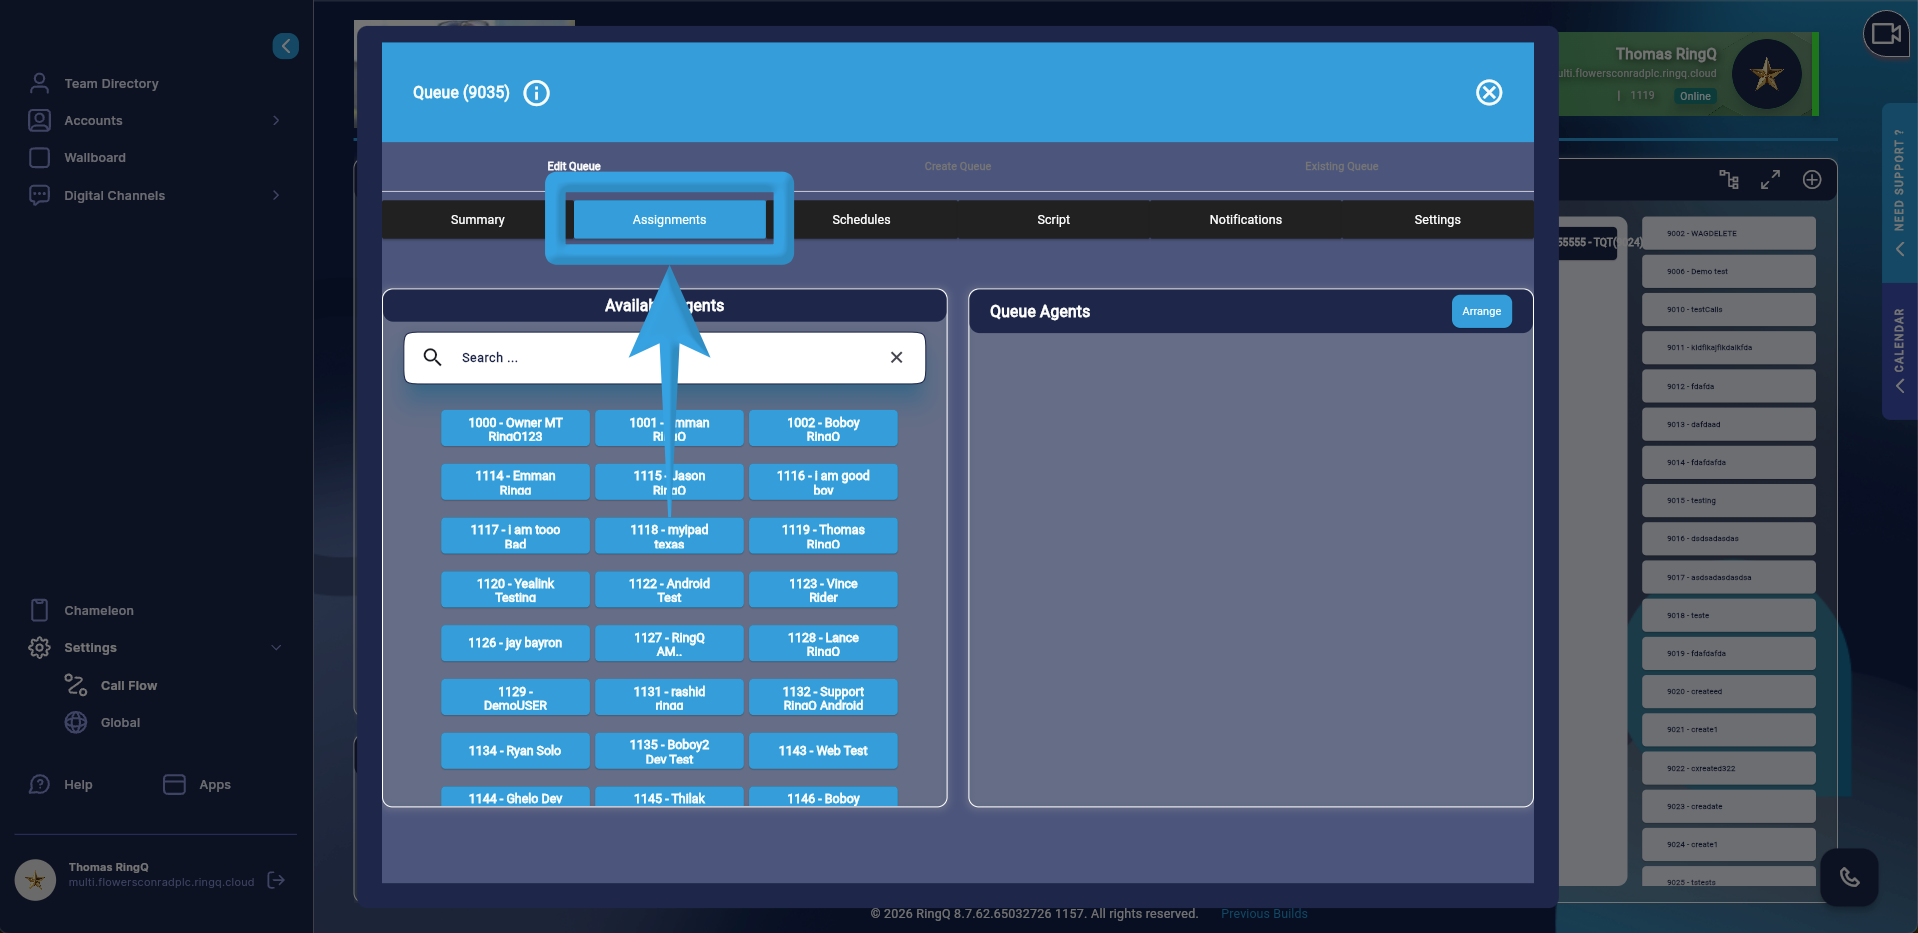
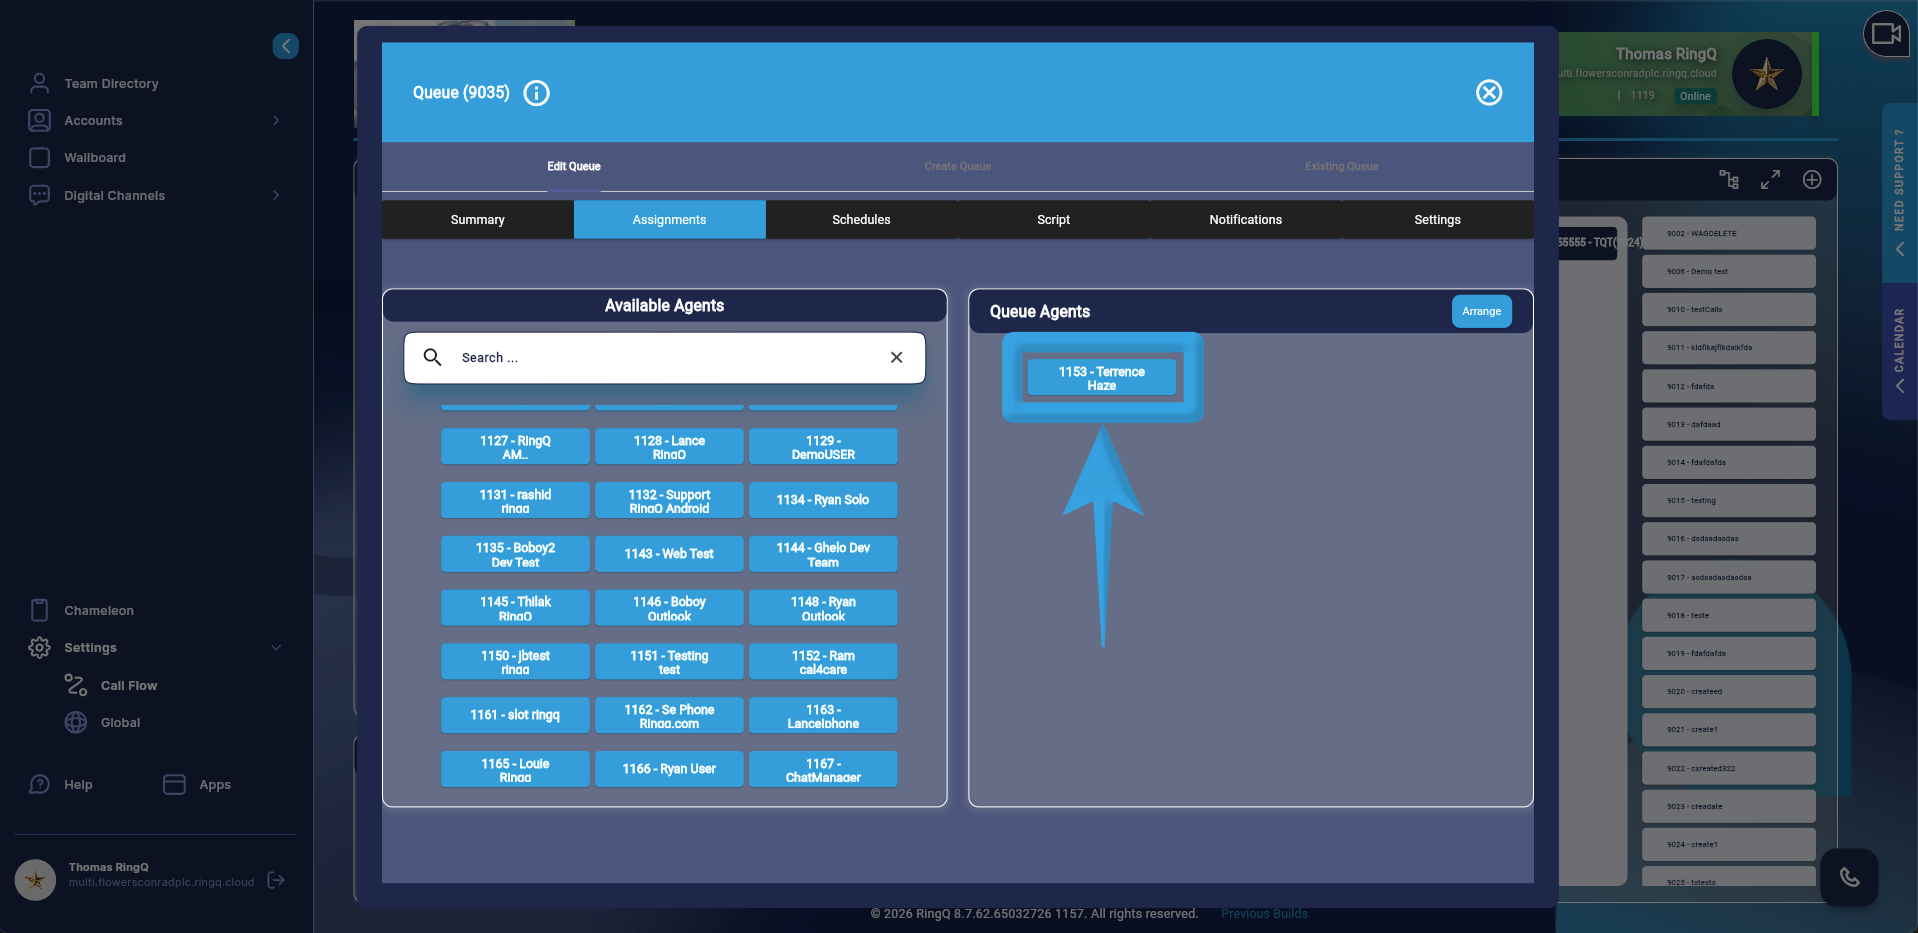
This guide explains how to configure Telnyx in a queue and assign agents, enabling them to receive and respond to chat messages from within the RingQ dashboard.
Assign Telnyx to a Queue
Sign in to your RingQ Admin Dashboard.
From the main menu, go to Settings > Call Flow.
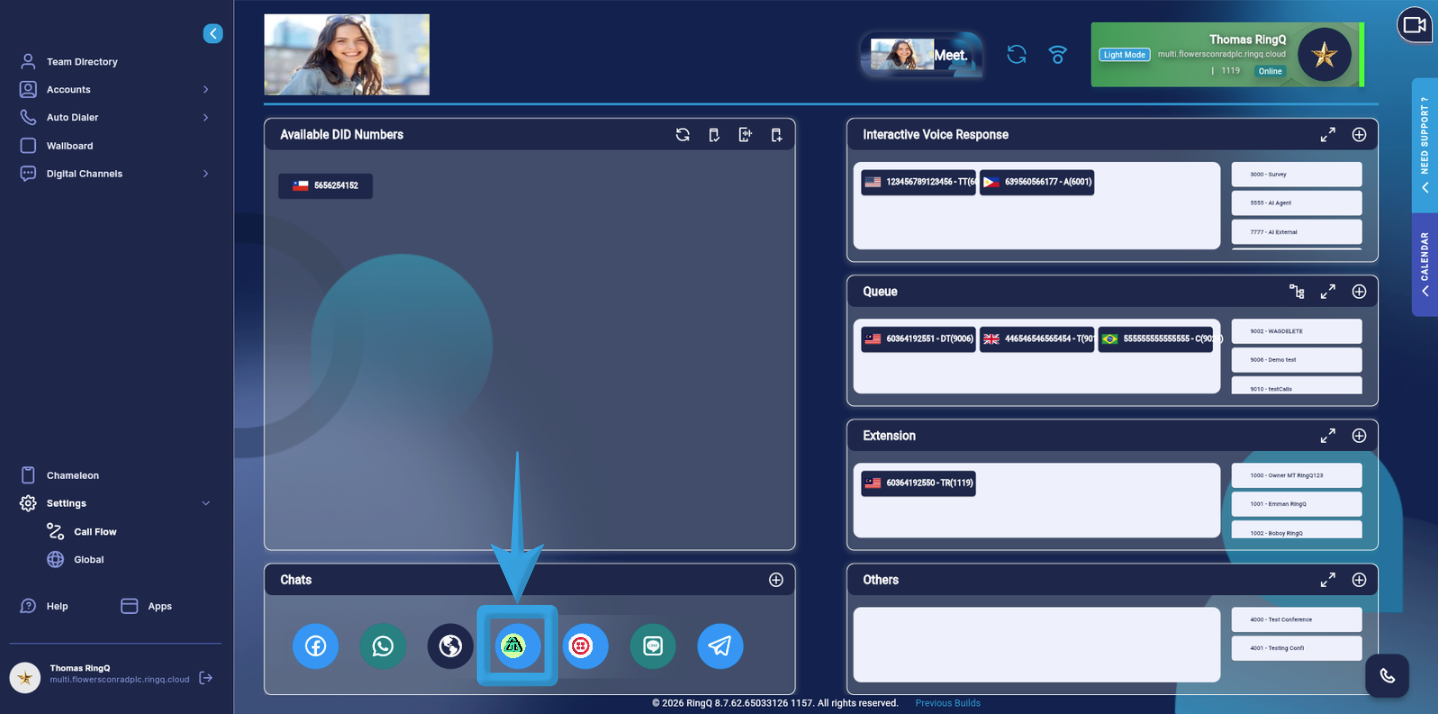
Navigate to the Chats section in the Call Flow and select Telnyx.
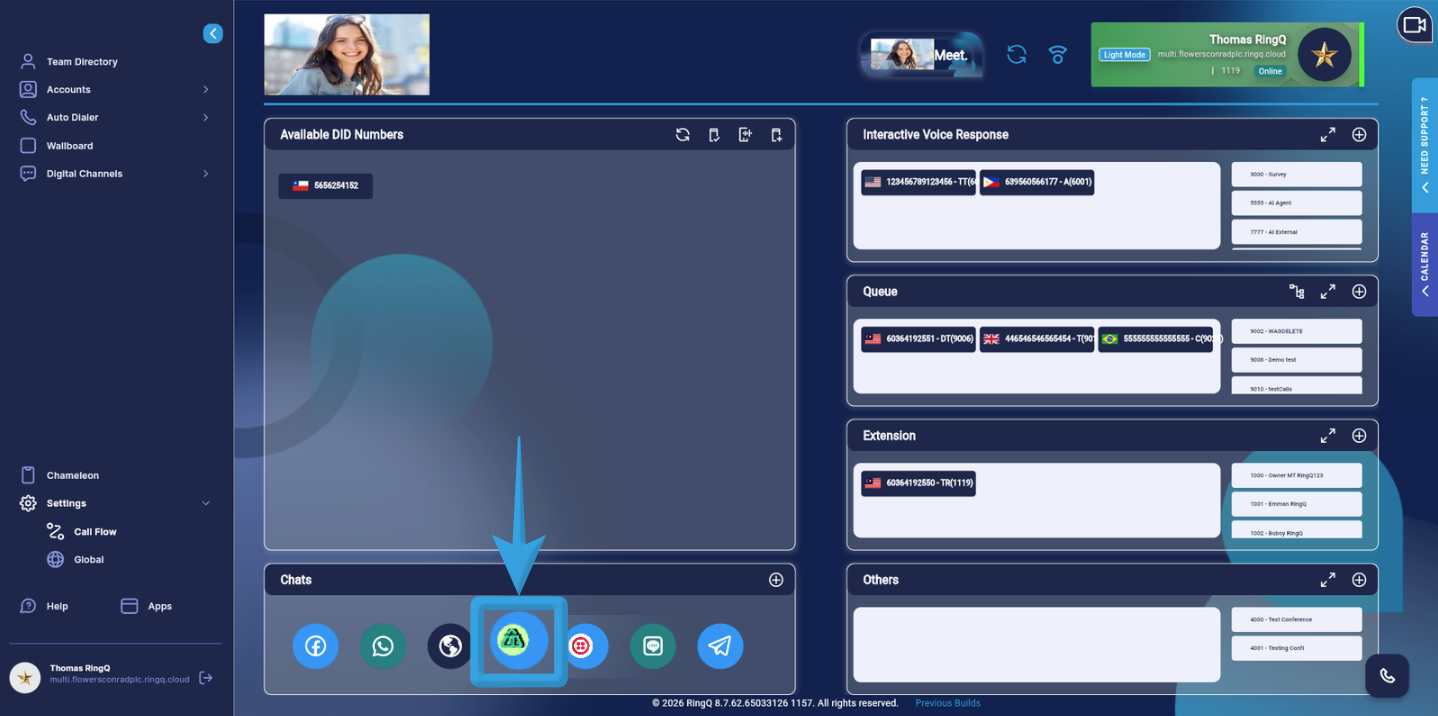
Click and hold the Telnyx icon.
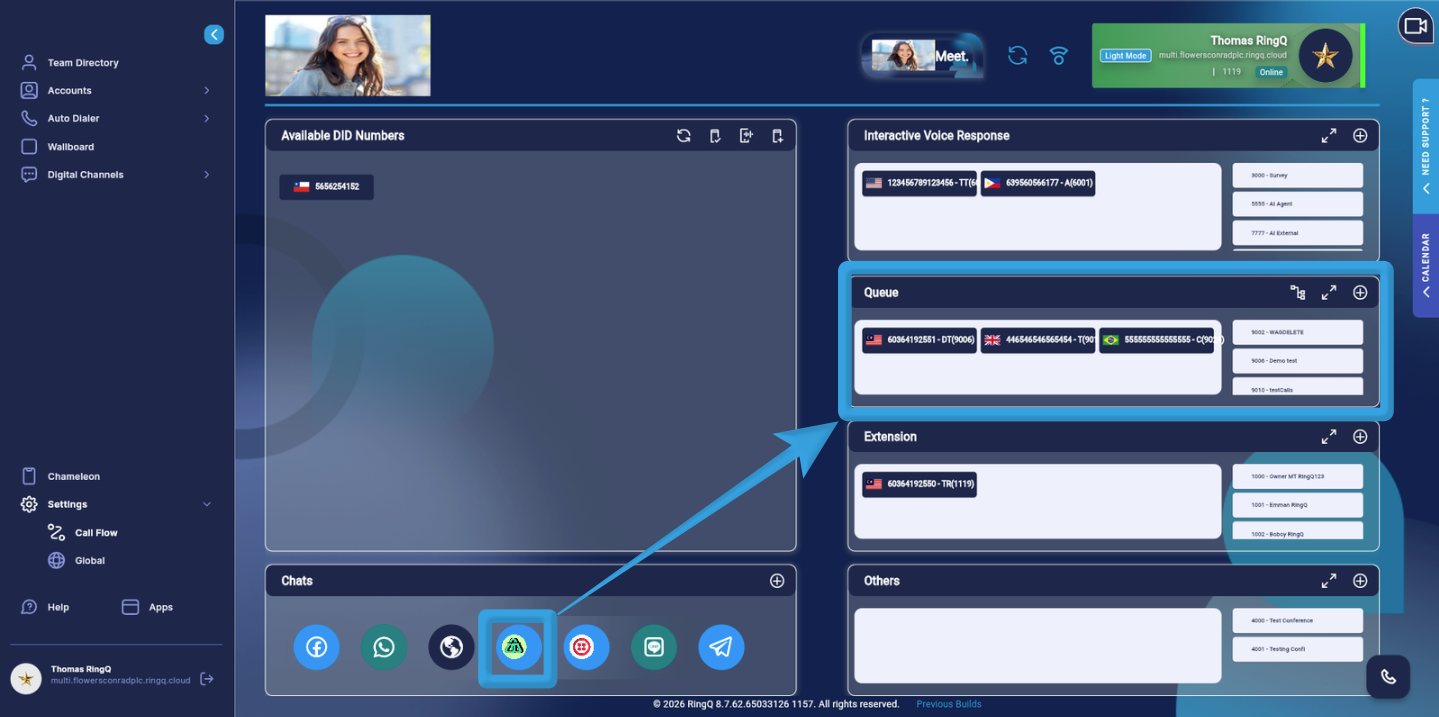
Drag the icon to the Queue section and drop it into your target queue.
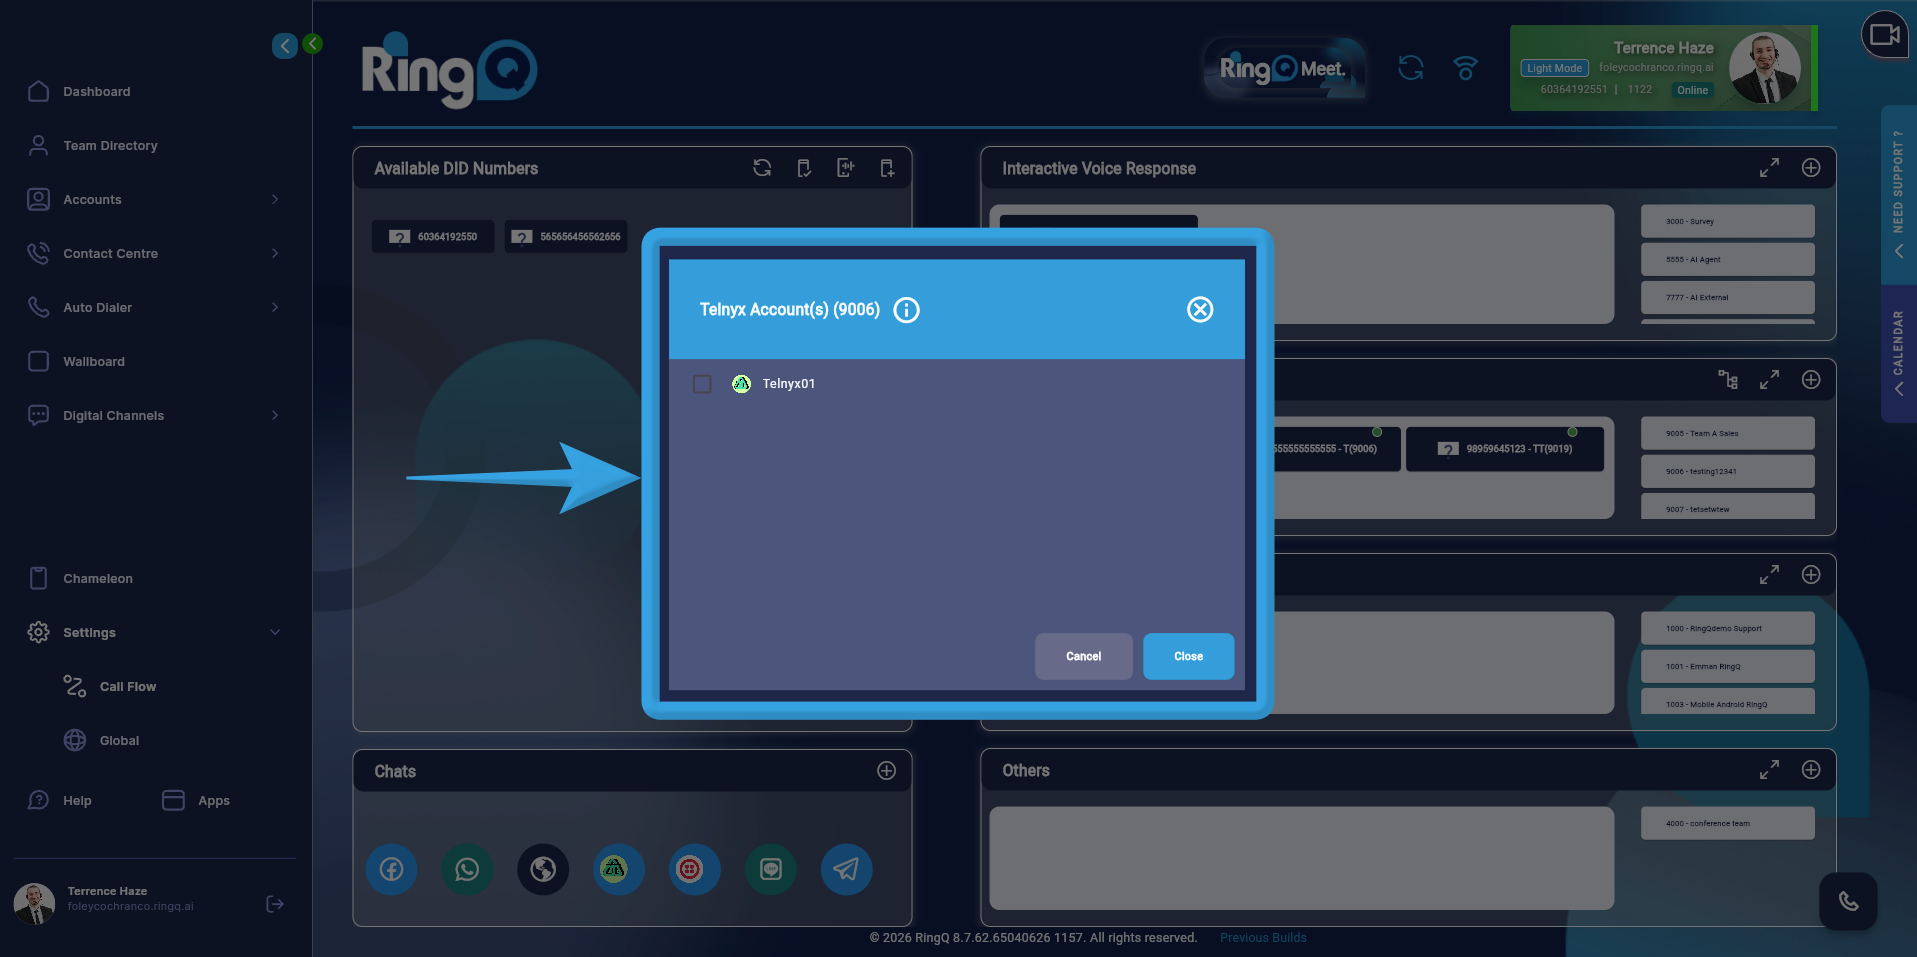
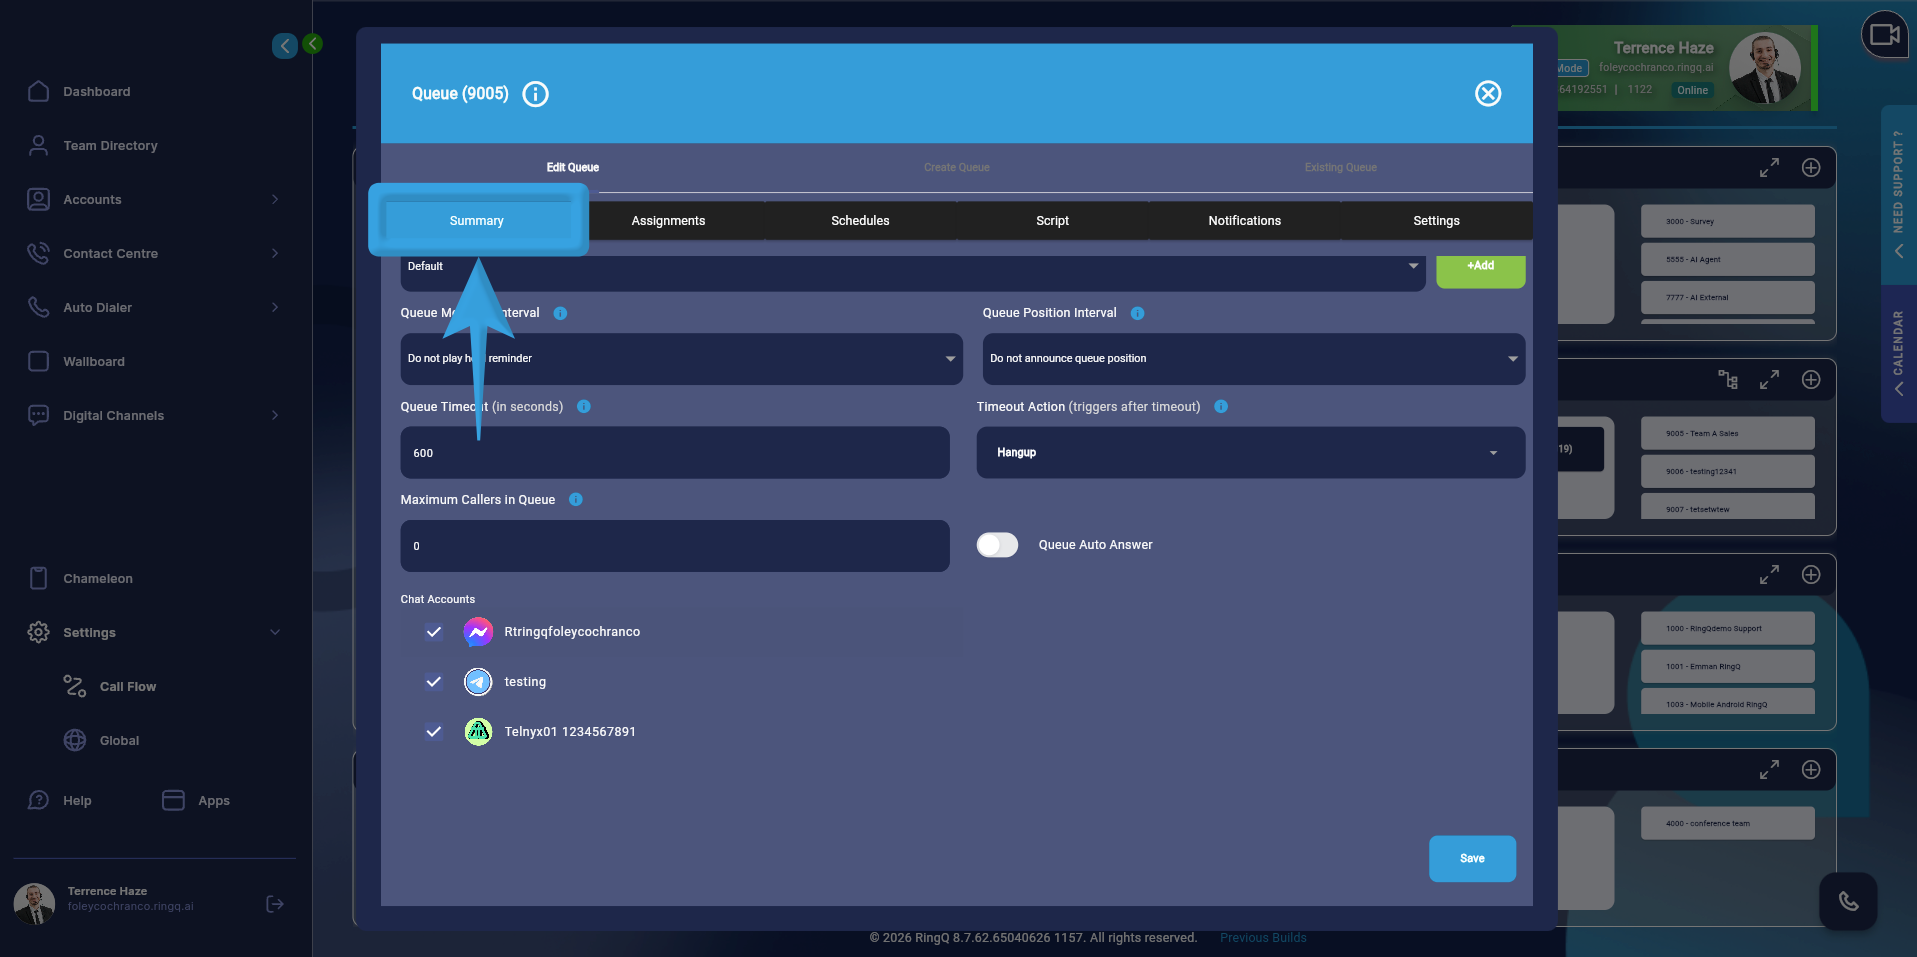
A pop-up window will display all Telnyx accounts configured in Chat Settings. Select your desired Telnyx account by ticking the checkbox for the selected account.