Introduction
Stay connected anytime and anywhere with the RingQ App for Android. Follow the steps below to quickly install the application, log in to your account, and start making and receiving calls directly from your mobile device.
Downloading the Android App
1. Open the Google Play Store on your Android device.
2. Tap the search bar and type “RingQ”.
3. Select the RingQ App from the search results to open the app page in the Play Store.
4. Tap the Install button and wait for the installation process to complete.
Logging into your App
1. Once the installation is completed, tap Open to launch the application.
2. You will be redirected to the RingQ Mobile App welcome page. Scroll through the welcome screens to continue with configuration.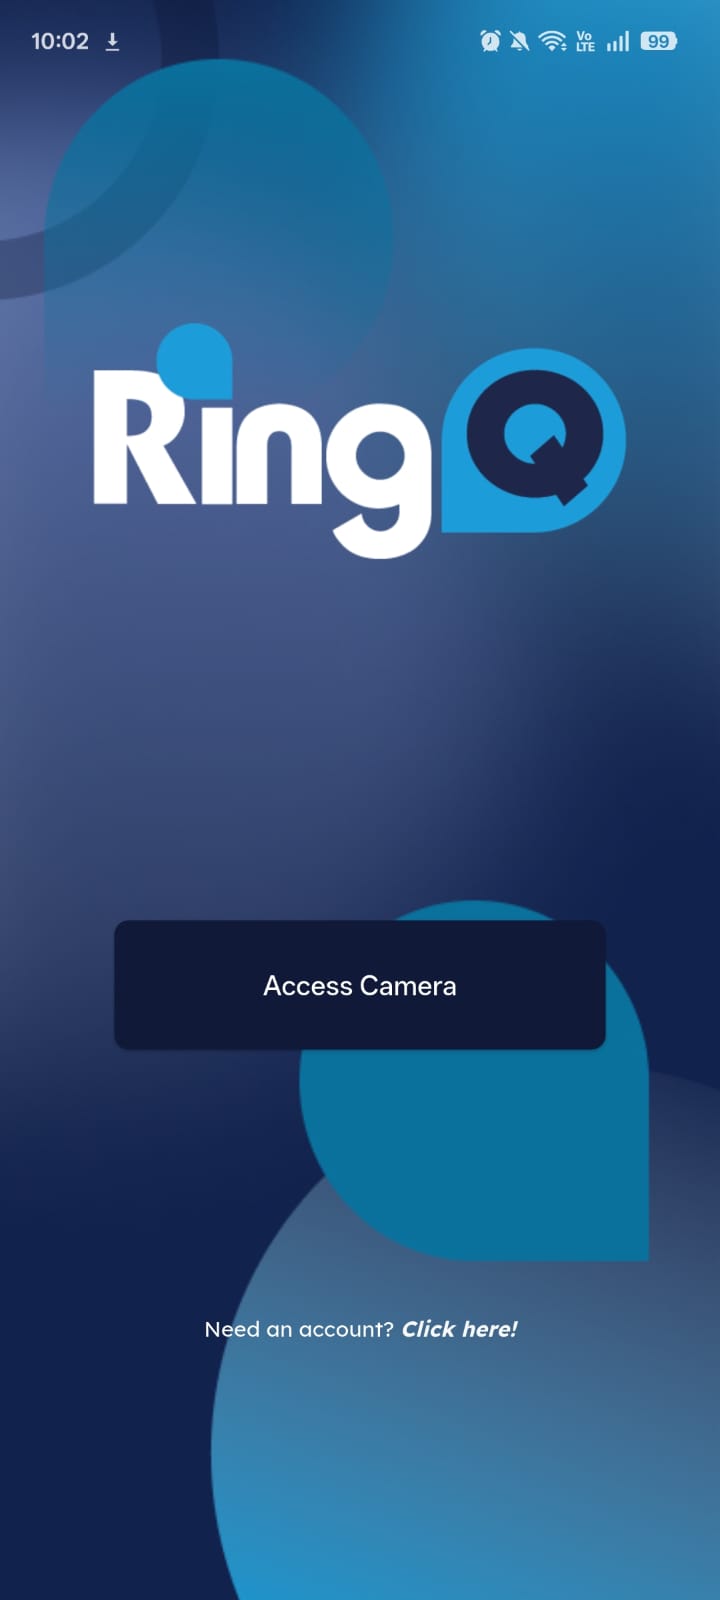
3. The app will request permission to access your device camera for QR code scanning. Tap on “Access Camera”.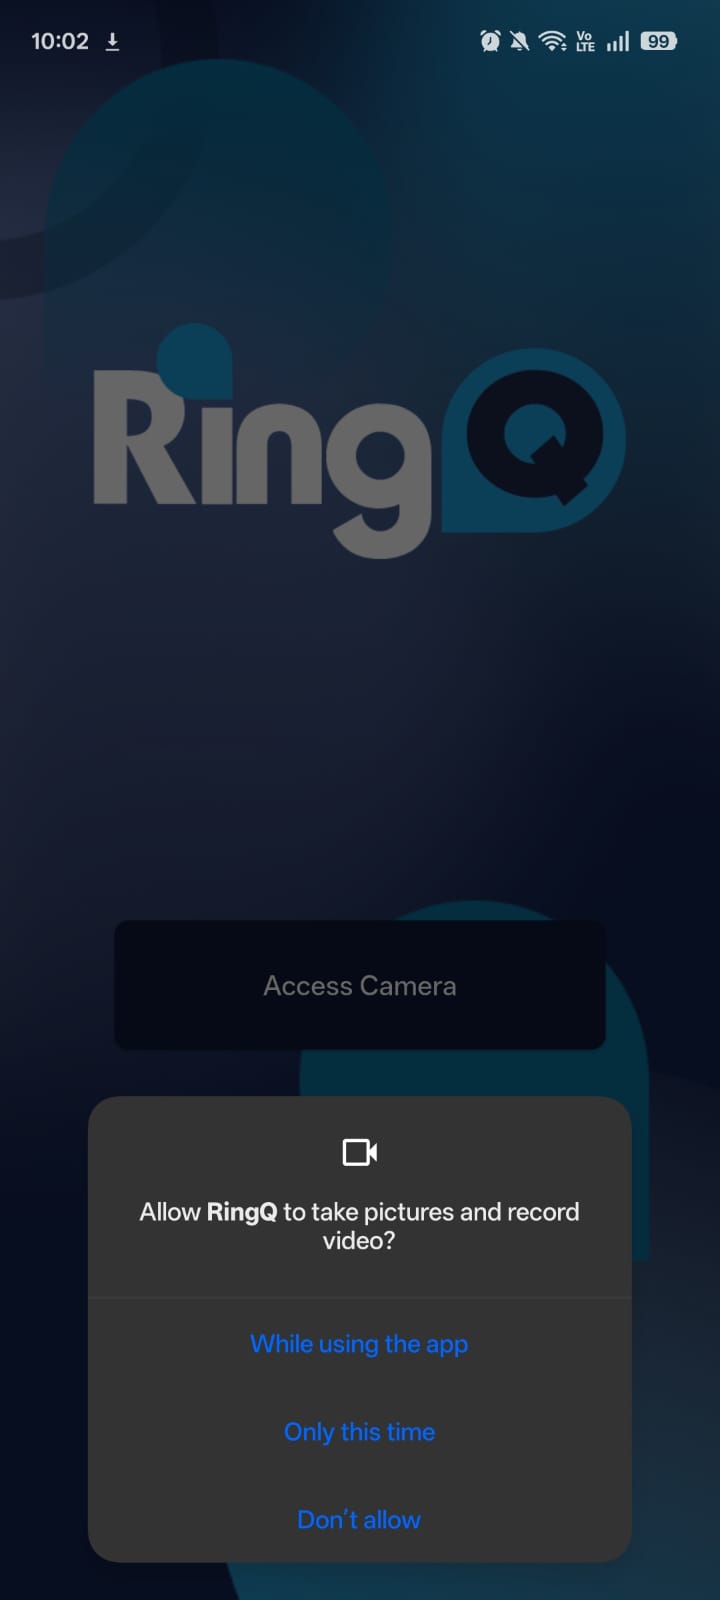
4. Tap “Allow” to grant permission for taking pictures and recording videos.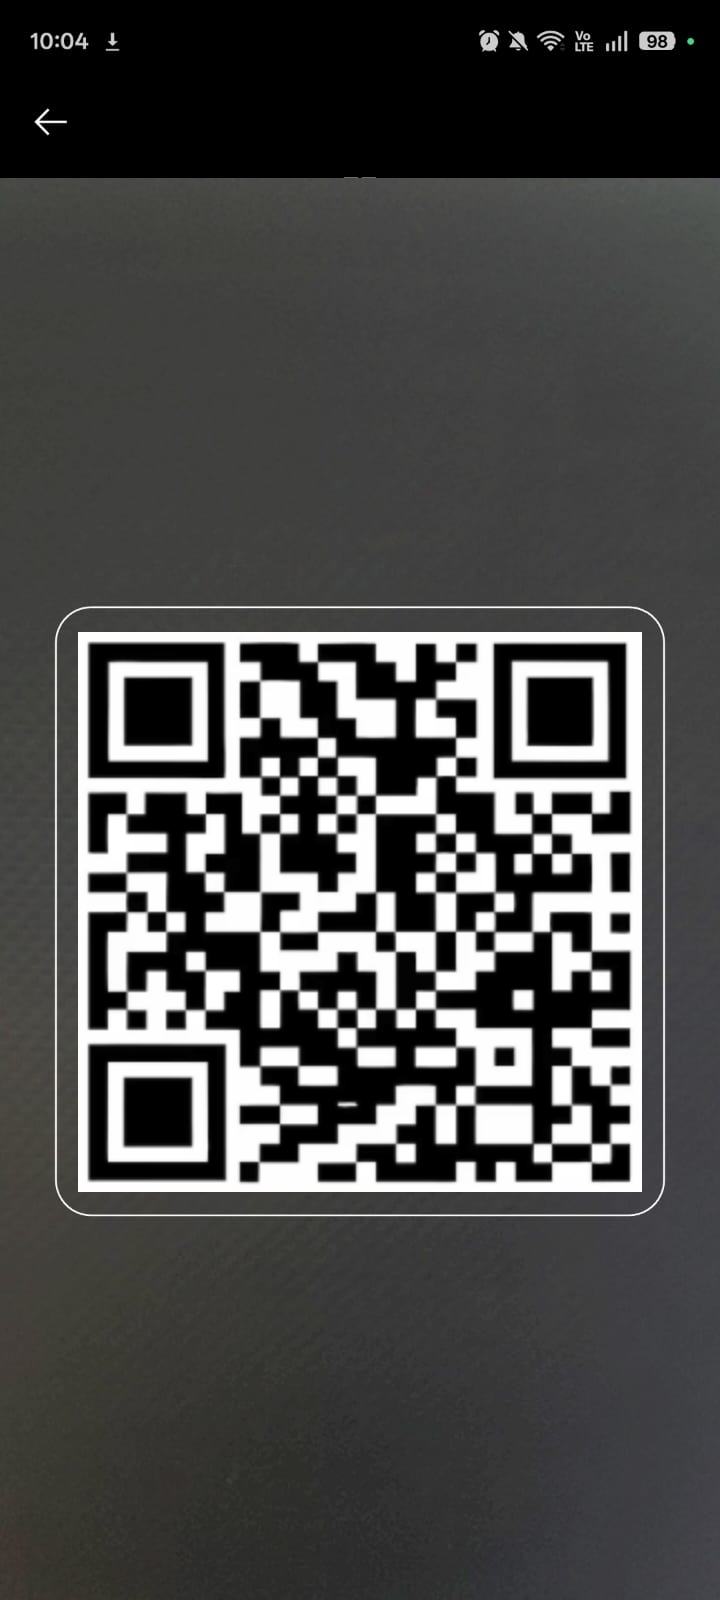
5. Once permission is granted, scan the QR code provided for your RingQ account login. This can be found in the welcome email or in your web app.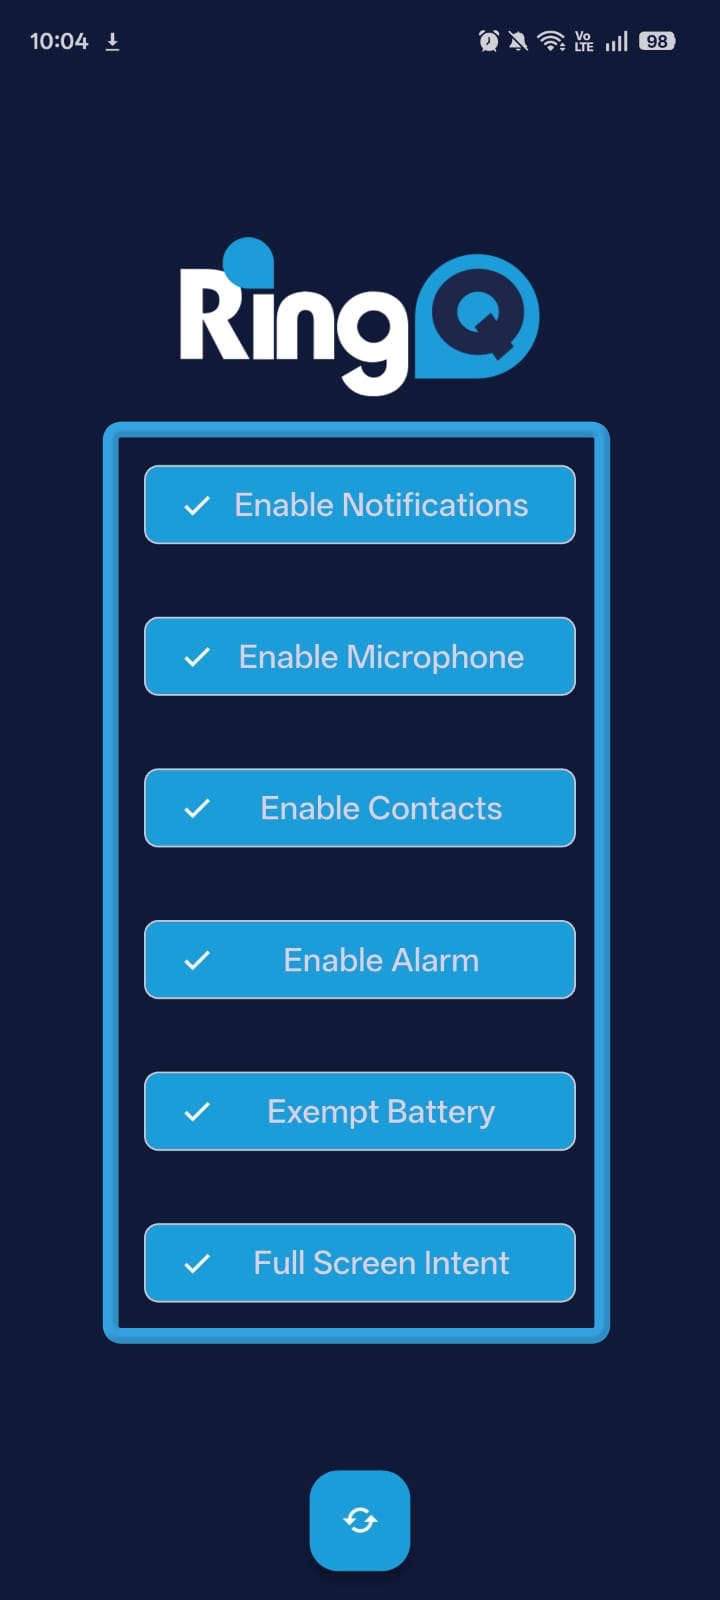
6. For the best experience, make sure to grant all required permissions requested by the application.