RingQ Multi-Tenant UCaaS Now Available for Scalable, Cloud-Native Deployment — Designed for Service Providers, MSPs, and Resellers
HOUSTON, TEXAS – 10/21/2025 — RingQ, a customer-centric Cloud CX communications platform, announces the release of its multi-tenant edition, now available for deployment via ISO download from the Microsoft Azure Marketplace.
This strategic release empowers service providers, MSPs, and resellers to seamlessly deploy and manage scalable Unified Communications as a Service (UCaaS) solutions through an optimized cloud-native experience. With built-in automation and simplified infrastructure requirements, the multi-tenant edition significantly accelerates time-to-market while reducing operational overhead.
“With this release, our partners can go to market faster and smarter,” said Manikandan Chockalingam, CEO at RingQ. “Multi-tenancy is just the beginning — we’ve built RingQ to deliver flexibility, brand control, AI-driven capabilities, and long-term profitability for our partners.”
Robust Partner Enablement: Introducing the RingQ 6-Tier Partner Program
To support partners at every stage of growth, RingQ is also introducing its structured 6-Tier Partner Program, offering scalable benefits and increasing profit potential across six levels: Starter, Pro, Champion, Expert, Legend and Carrier. Each tier includes dedicated support, licensing discounts, and go-to-market resources.
| Partner Level | Key Benefits |
|---|---|
| Starter | Website listing, NFR key, dedicated account manager, unlimited support |
| Pro | All Starter benefits plus elevated discounts |
| Champion | Full marketing support and extended partner enablement |
| Expert | Early access to features, tailored development options |
| Legend | Higher margins, priority support, and strategic co-marketing opportunities |
| Carrier | Highest margins, dedicated support and account management, co-marksting. Sole Access to RingQ Multi-Tenant |
This program is designed to reward partner loyalty and success while offering technical and business support aligned with each partner’s growth trajectory.
Why Choose RingQ?
In addition to multi-tenancy and frictionless deployment, RingQ delivers a modern UCaaS experience with a comprehensive feature set:
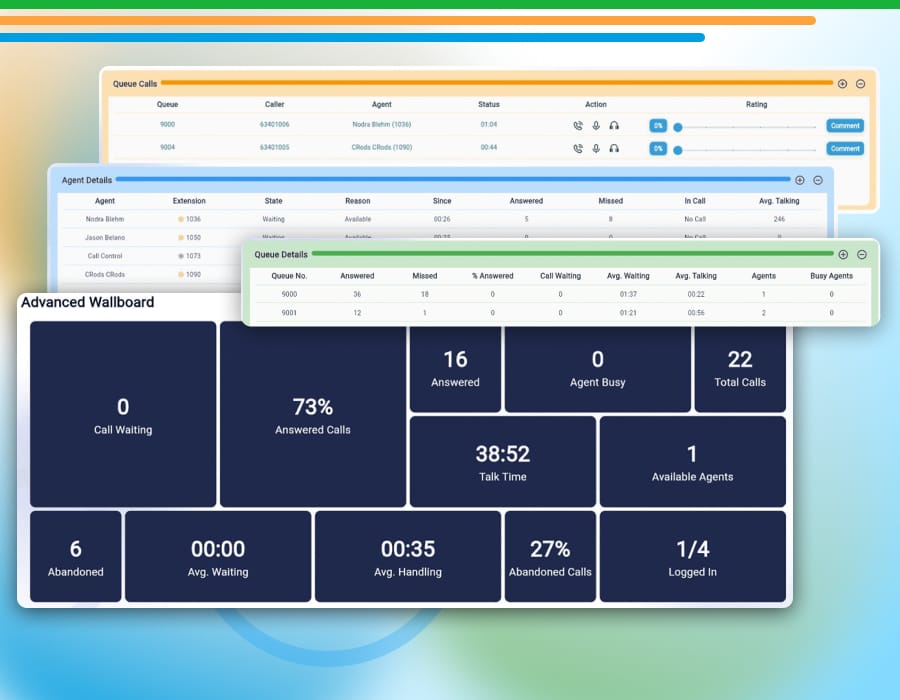
- AI-Powered Communications – Includes intelligent call routing, speech-to-text transcription, and real-time analytics
- Full Customization & White Labeling – Partners can fully rebrand the platform with custom domains, UI, and messaging
- Competitive, Scalable Licensing – Transparent pricing with strong margins for partners of all sizes
- Cloud-Ready Deployment – Pre-built ISO images available for instant launch on Microsoft Azure infrastructure
Immediate Availability
RingQ’s multi-tenant ISO image is now available for direct deployment:
Learn more about RingQ’s UCaaS platform and the Partner Program.
Start with a Free Trial to evaluate the platform today.

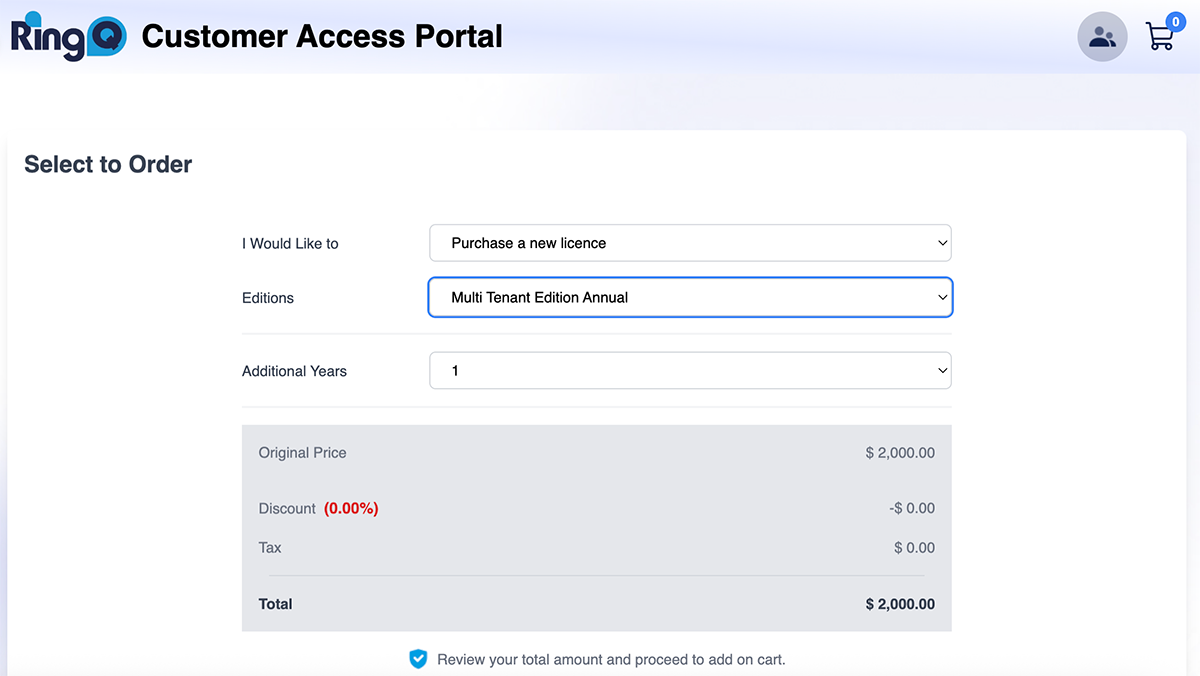 3. In the “I would like to” option select “Purchase a new license”
4. In the “Edition” option Select “Multi Tenant Edition Annual”
5. Choose your license duration (e.g., 1 year, 2 years)
6. Click “Add to Cart”
3. In the “I would like to” option select “Purchase a new license”
4. In the “Edition” option Select “Multi Tenant Edition Annual”
5. Choose your license duration (e.g., 1 year, 2 years)
6. Click “Add to Cart”
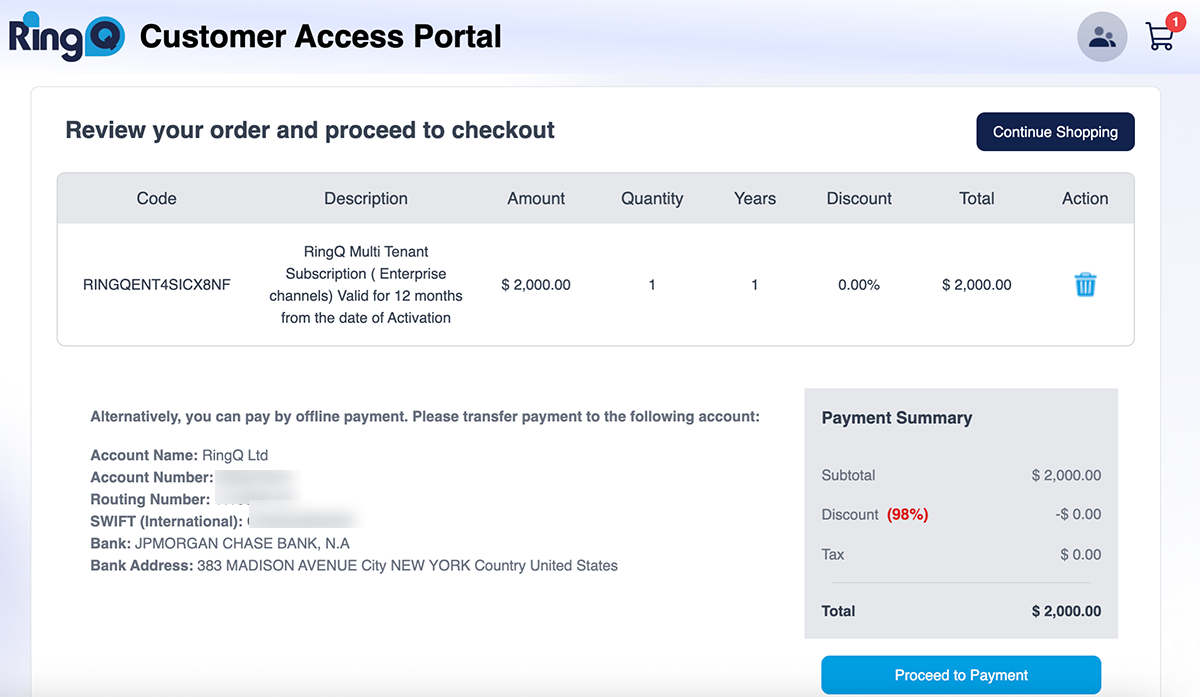 7. Click “Proceed to Payment” and complete the payment process.
Note: Multi-Tenant Edition licenses are not eligible for discounts.
7. Click “Proceed to Payment” and complete the payment process.
Note: Multi-Tenant Edition licenses are not eligible for discounts.
 2. Locate your new Multi-Tenant License and click “Set Up”
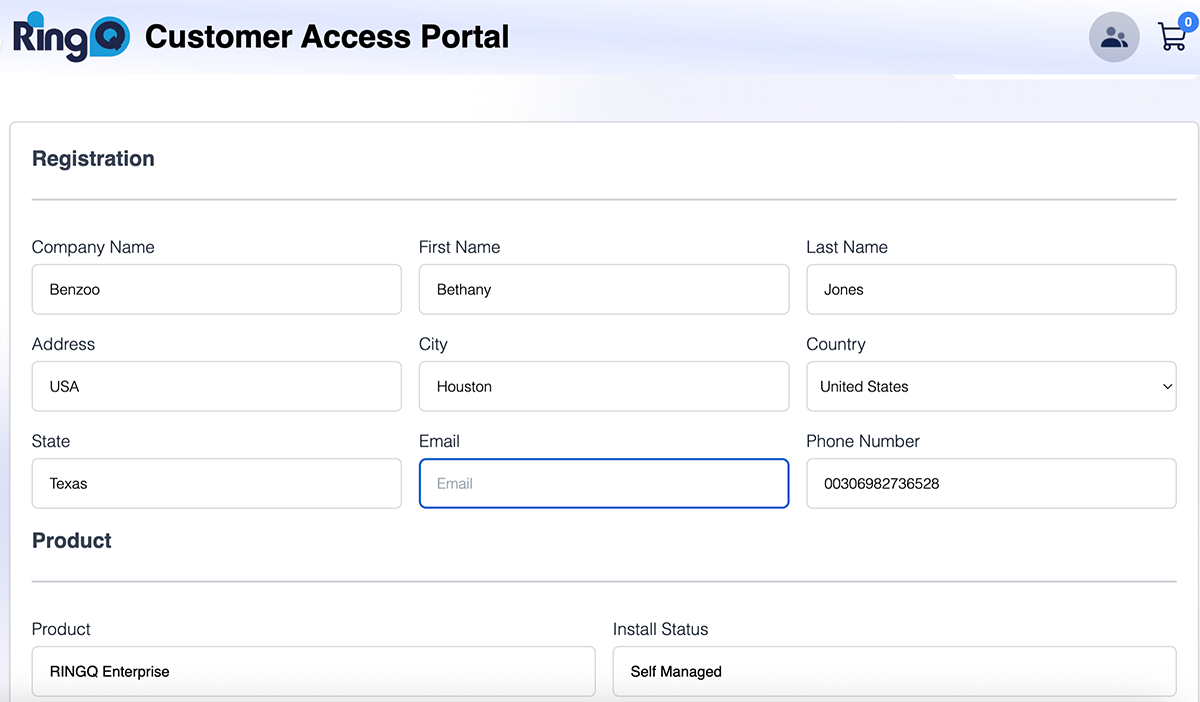 3. Fill in all the requested fields and click next.
4. The following screen informs you about the number of extensions your system will have.
5. Then choose your country, language and prompts.
3. Fill in all the requested fields and click next.
4. The following screen informs you about the number of extensions your system will have.
5. Then choose your country, language and prompts.
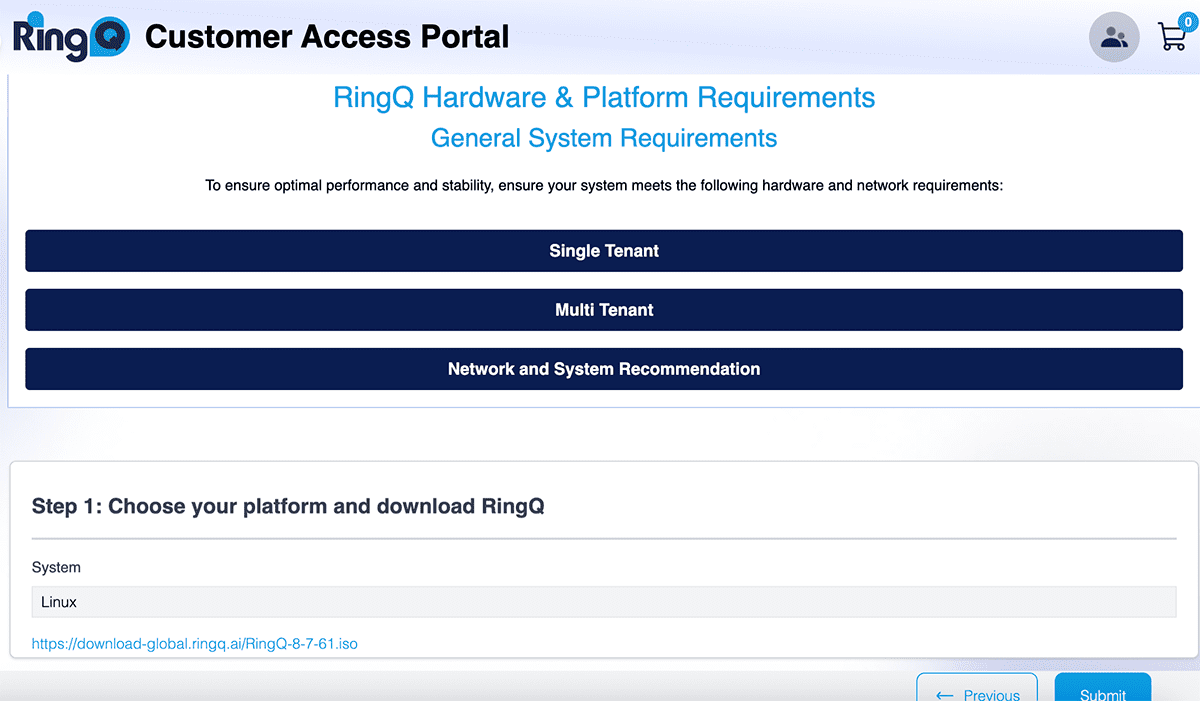 6. On the last page you will be informed of the system and hardware requirements for RingQ to work efficiently as well as a download link for your multi-tenant server. Click on this link to begin downloading RingQ.
7. Click “Submit”. Your account is now registered.
8. To install and configure the downloaded file follow the steps in the
6. On the last page you will be informed of the system and hardware requirements for RingQ to work efficiently as well as a download link for your multi-tenant server. Click on this link to begin downloading RingQ.
7. Click “Submit”. Your account is now registered.
8. To install and configure the downloaded file follow the steps in the 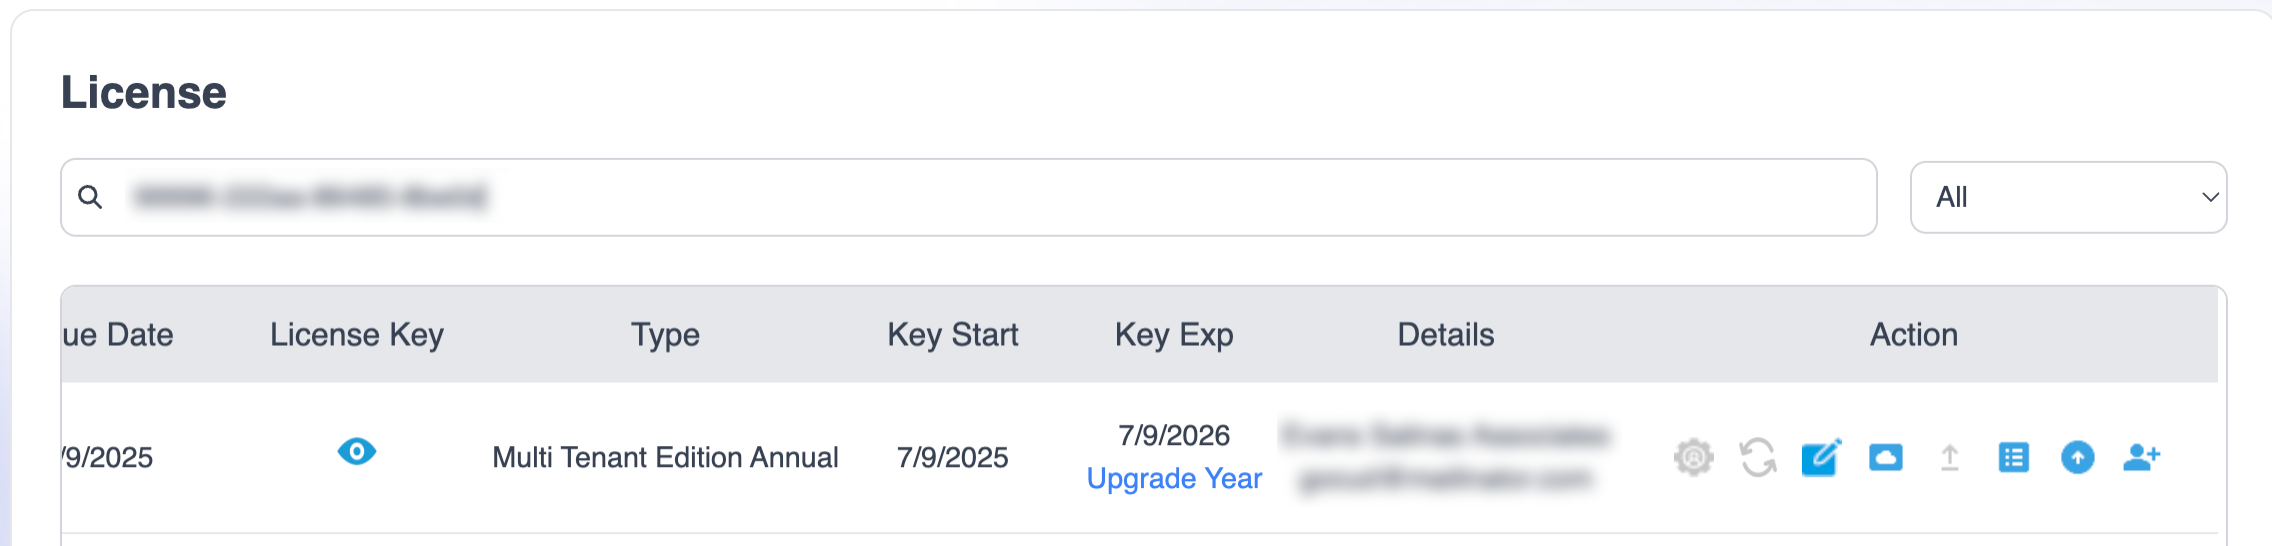 To the right you will see various actions you can perform:
 2. Click on “Add Tenant”.
3. In the next page fill in the details of your new tenant and click “Submit”.
4. The new tenant will receive an activation email in their inbox. They must click on the “Activate Account” button in the email to activate their account.
5. Upon clicking on the activation email they will be directed to their RingQ web app.
6. Their status in the Customer Portal will change from “Pending” to “Active”.
Adding Extensions
To add extensions to any tenant, you must ensure that you have purchased extensions beforehand.
1. Locate the multi-tenant license you want to manage and click on “Buy Extension”
2. Click on “Add Tenant”.
3. In the next page fill in the details of your new tenant and click “Submit”.
4. The new tenant will receive an activation email in their inbox. They must click on the “Activate Account” button in the email to activate their account.
5. Upon clicking on the activation email they will be directed to their RingQ web app.
6. Their status in the Customer Portal will change from “Pending” to “Active”.
Adding Extensions
To add extensions to any tenant, you must ensure that you have purchased extensions beforehand.
1. Locate the multi-tenant license you want to manage and click on “Buy Extension”
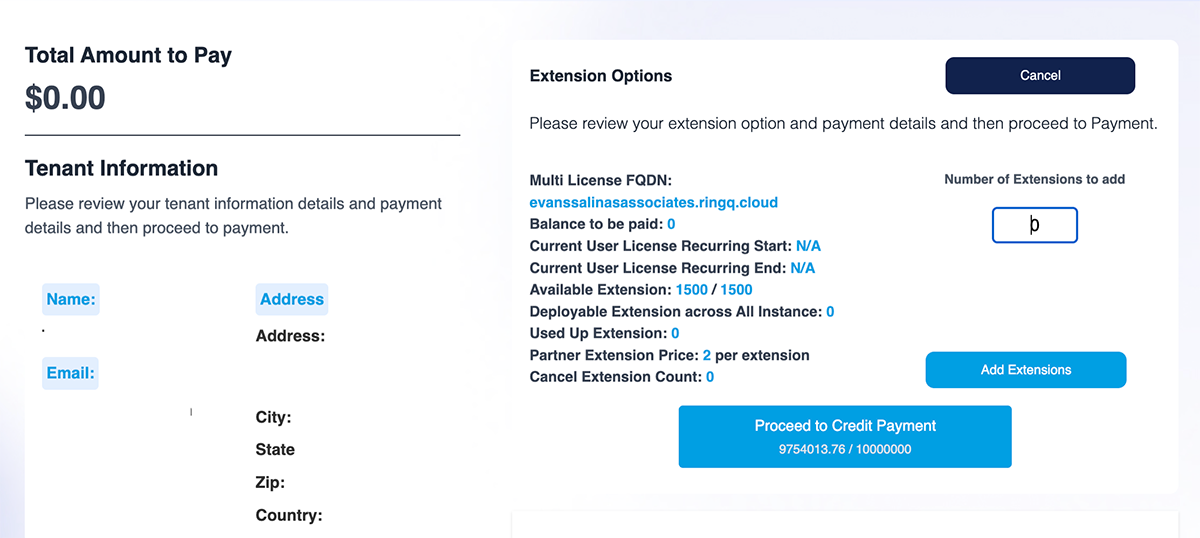 2. Enter the number of extensions you want to buy, agree to the terms and conditions and click “Proceed to Payment”.
 3. You will notice that the number of your deployable extensions have now changed from “0” to the number of extensions you just purchased, in the example above it’s “3”.
Note: The first time you add extensions to any tenant the minimum number of extensions you can add is 5.
5. You can now proceed to add extensions to any tenant.
3. You will notice that the number of your deployable extensions have now changed from “0” to the number of extensions you just purchased, in the example above it’s “3”.
Note: The first time you add extensions to any tenant the minimum number of extensions you can add is 5.
5. You can now proceed to add extensions to any tenant.
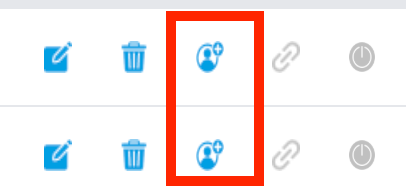 6. Locate the tenant you want to add an extension to and click on the “Add Extension” option as indicated above.
7. Enter the number of extensions you want to add, if this is the first time you’re adding extensions you must add at least 5. Click “Yes”.
8. The extensions have now been added to the selected tenant. Repeat the process for other tenants as the need arises.
9. You can also cancel extensions if the need arises.
From here you can also:
6. Locate the tenant you want to add an extension to and click on the “Add Extension” option as indicated above.
7. Enter the number of extensions you want to add, if this is the first time you’re adding extensions you must add at least 5. Click “Yes”.
8. The extensions have now been added to the selected tenant. Repeat the process for other tenants as the need arises.
9. You can also cancel extensions if the need arises.
From here you can also: