Introduction
This guide explains how to use the Whiteboard feature in RingQ Meet. The Whiteboard provides a shared workspace where meeting participants can draw, write, and collaborate visually in real time.
You’ll learn how to access the Whiteboard during a meeting and use its tools to support collaboration and idea sharing.
Using Whiteboard

1. During an active meeting, click on the Whiteboard option as shown above. The Whiteboard provides a set of tools that allow users to draw, annotate, and manage content during meetings and collaboration sessions.
Board Control

- Clear Whiteboard – Removes all drawings, text, and annotations from the whiteboard, giving users a clean workspace for new content.
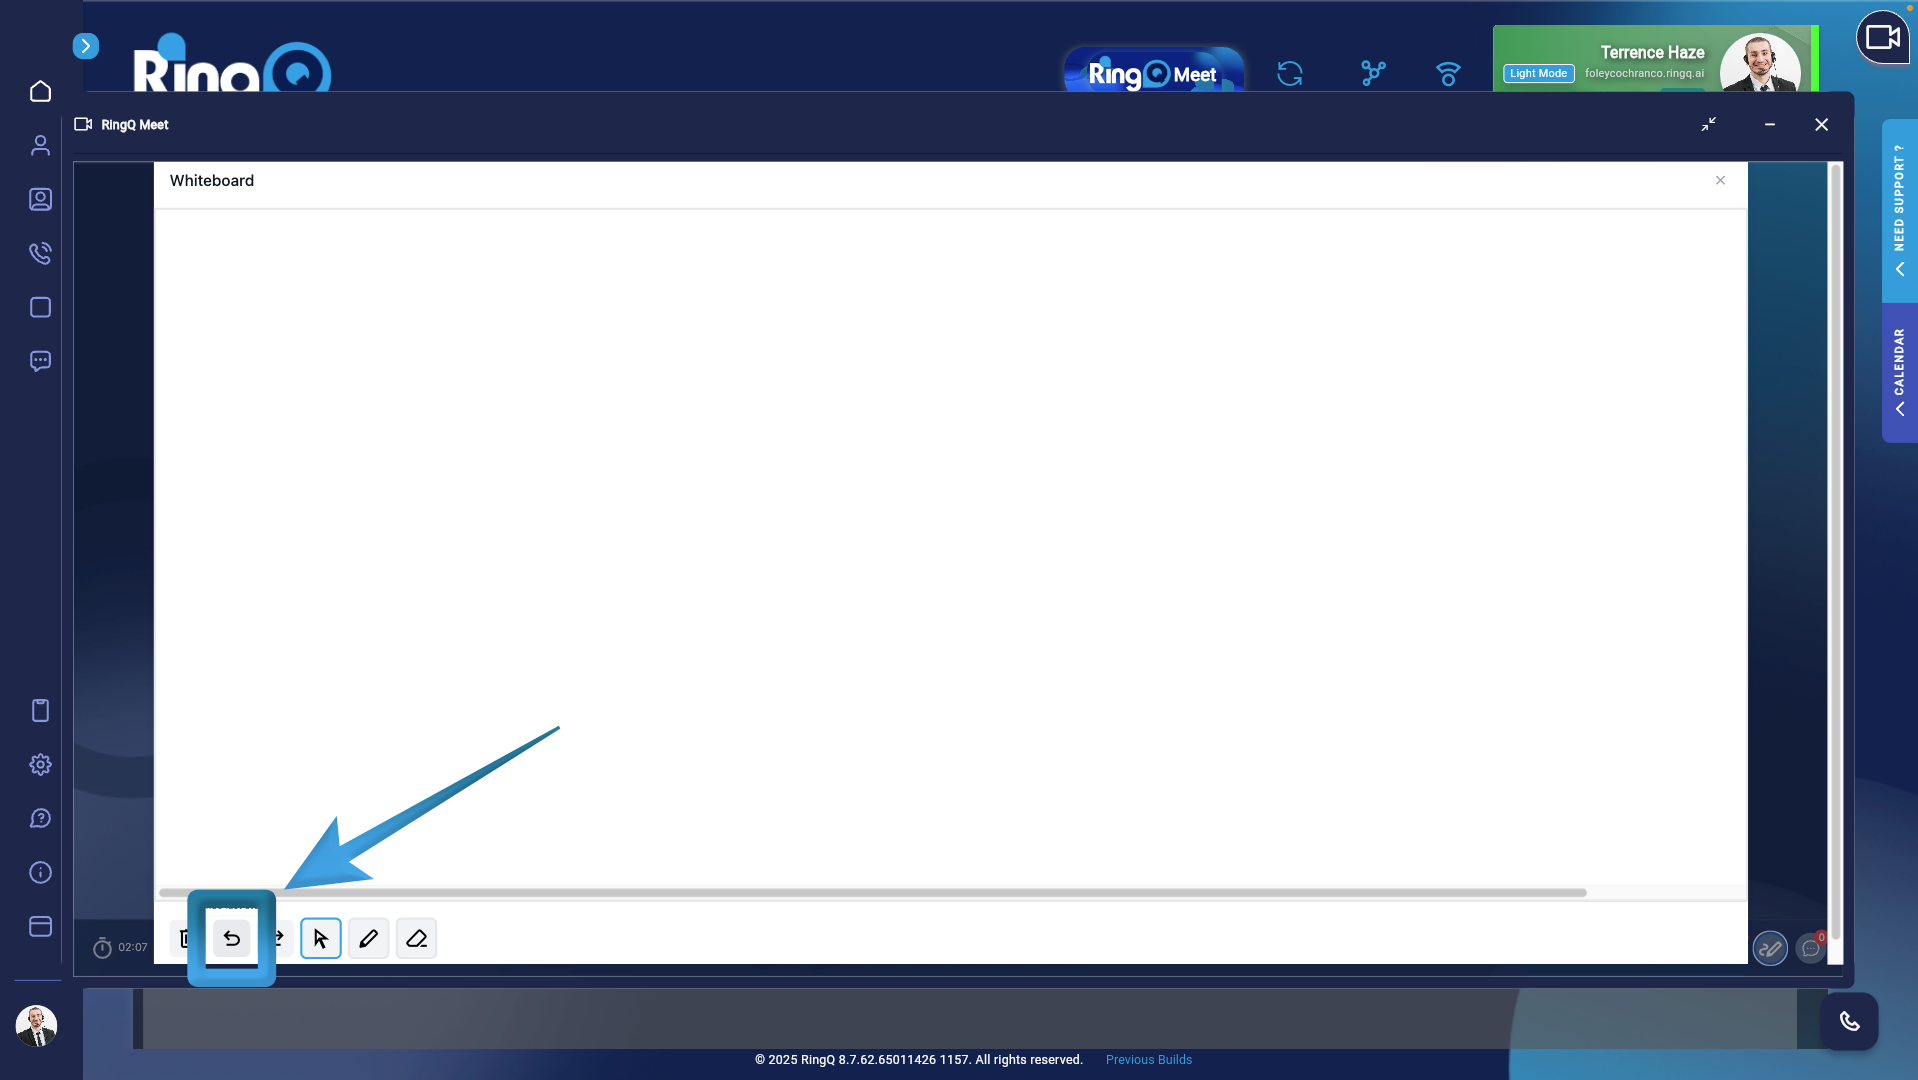
- Undo Last Action – reverts the most recent change made on the whiteboard.
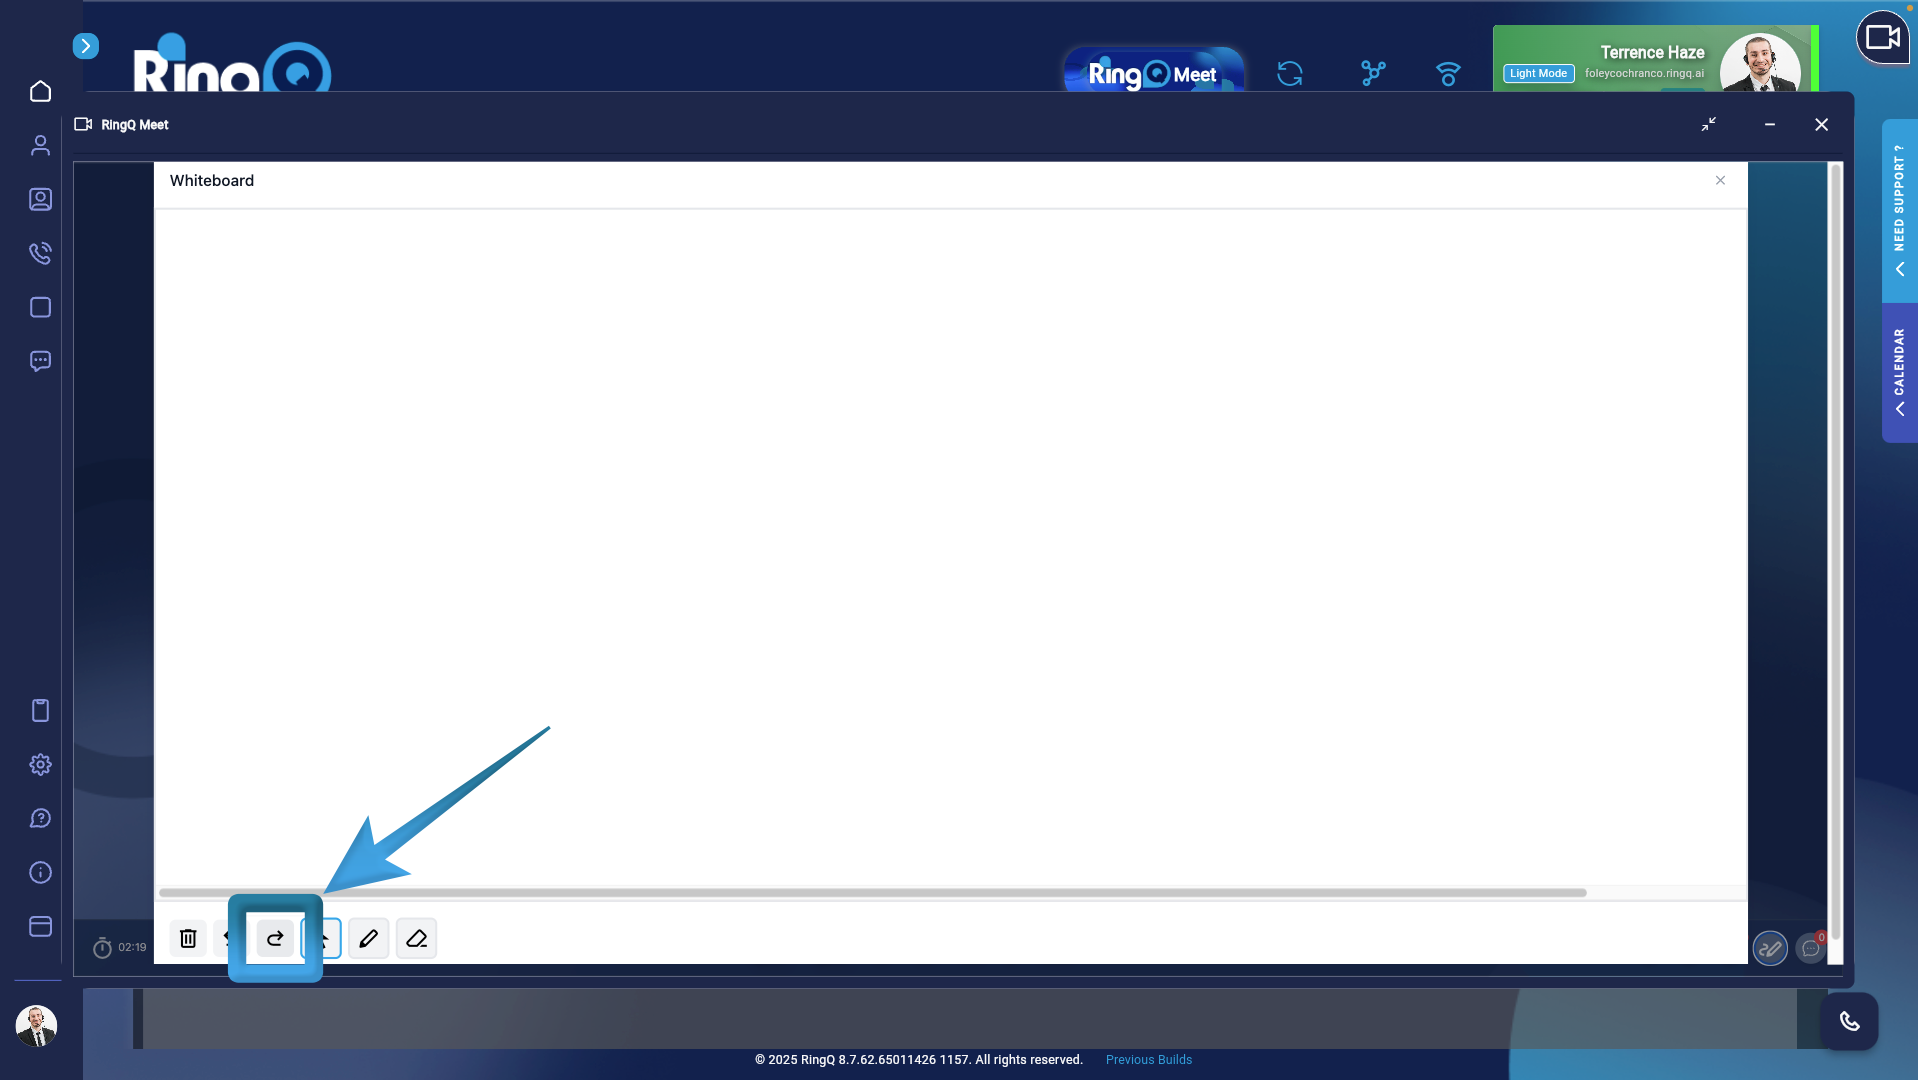
- Redo Last Action – Restores the most recently undone action.
Drawing Tools

- Mouse Tool – Activates the mouse cursor, allowing users to navigate, select, and interact with objects on the whiteboard without drawing.
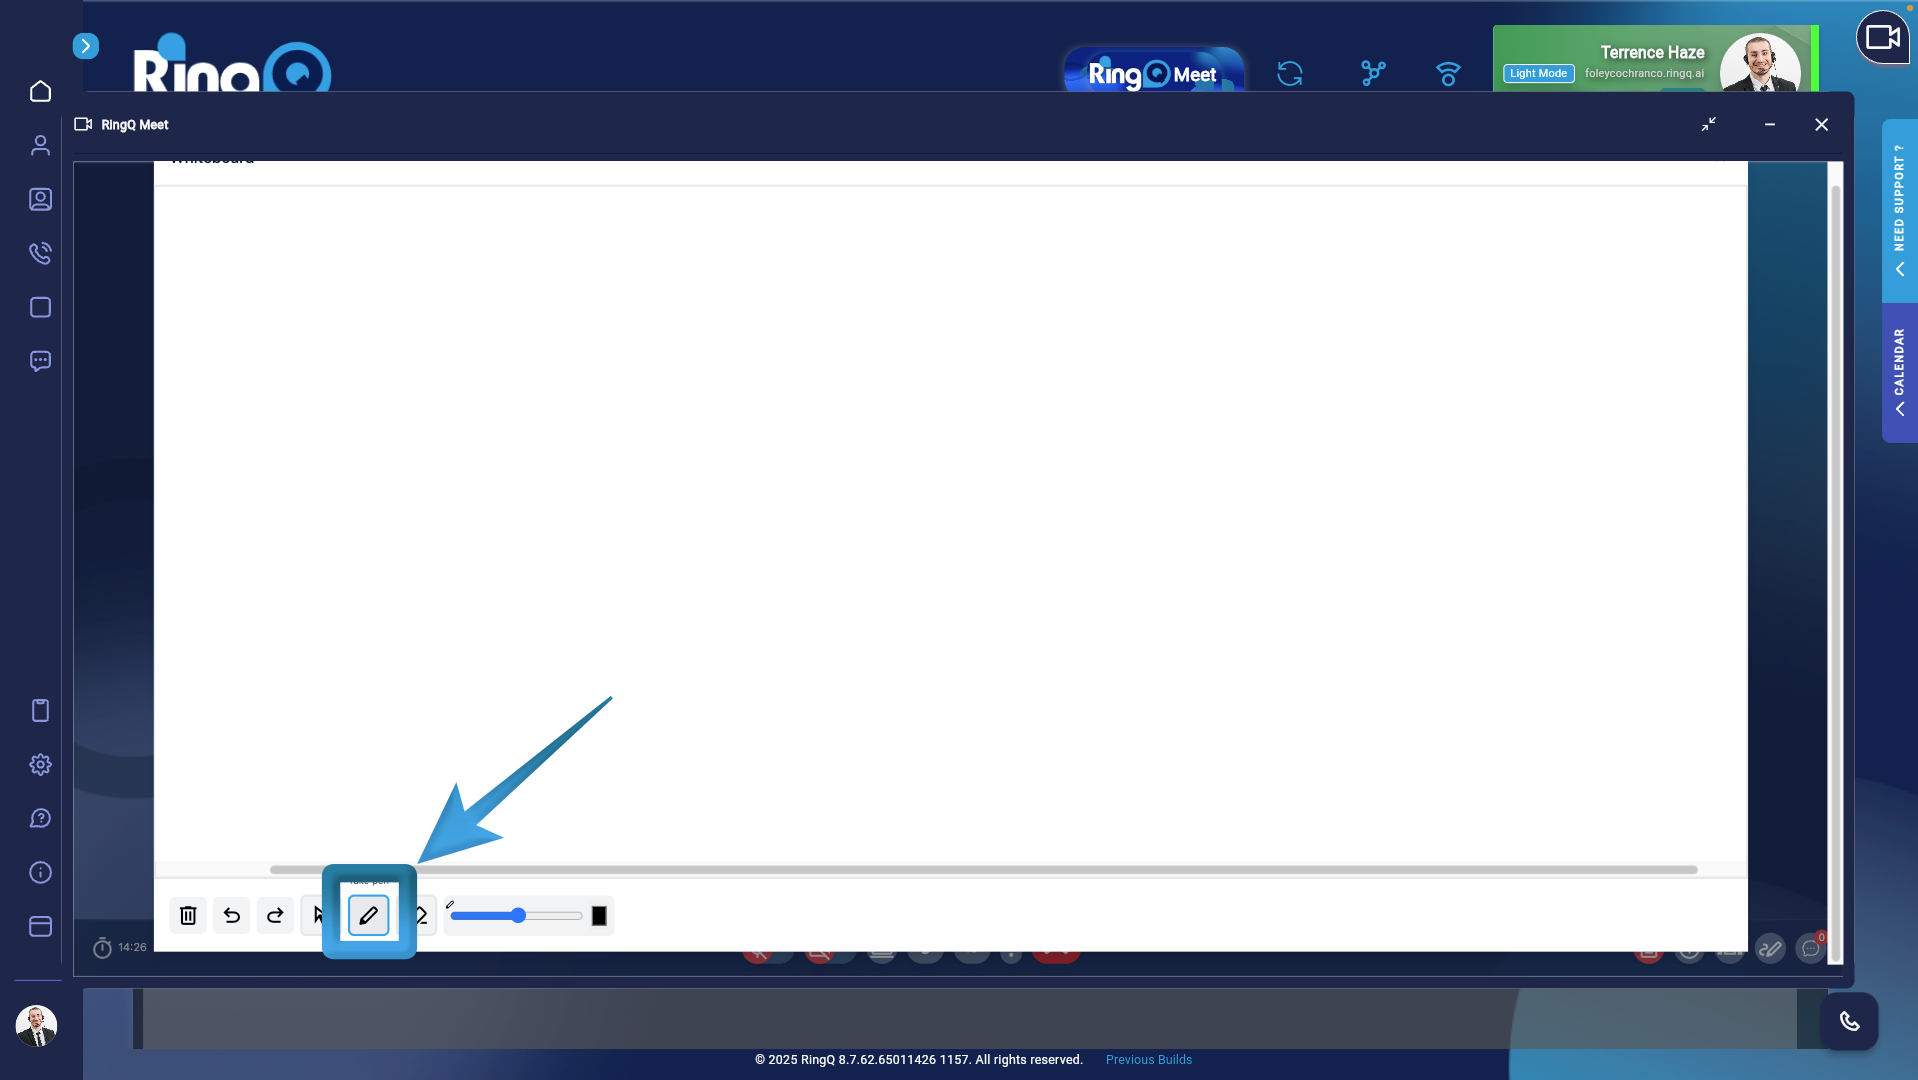
- Pen Tool – Enables freehand drawing on the whiteboard.
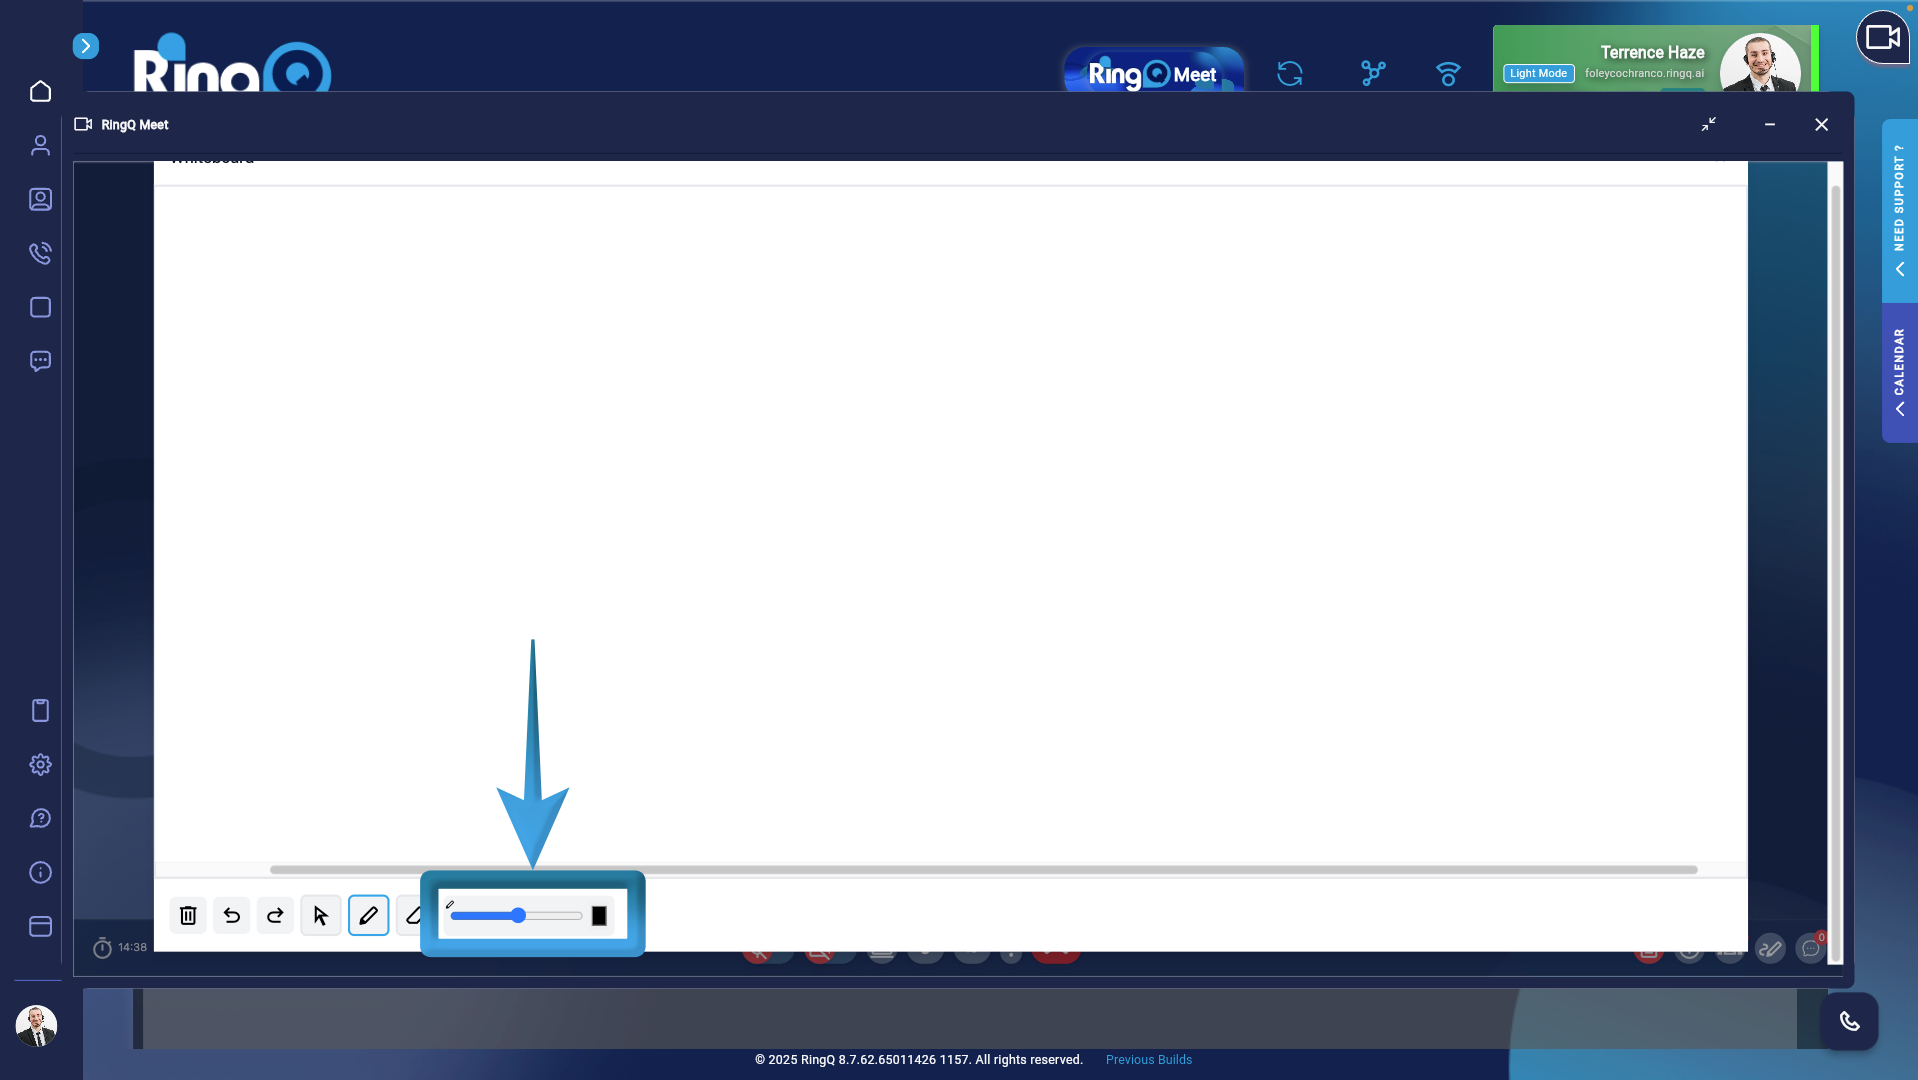
- Users can adjust the line thickness to create either fine or bold strokes as needed.
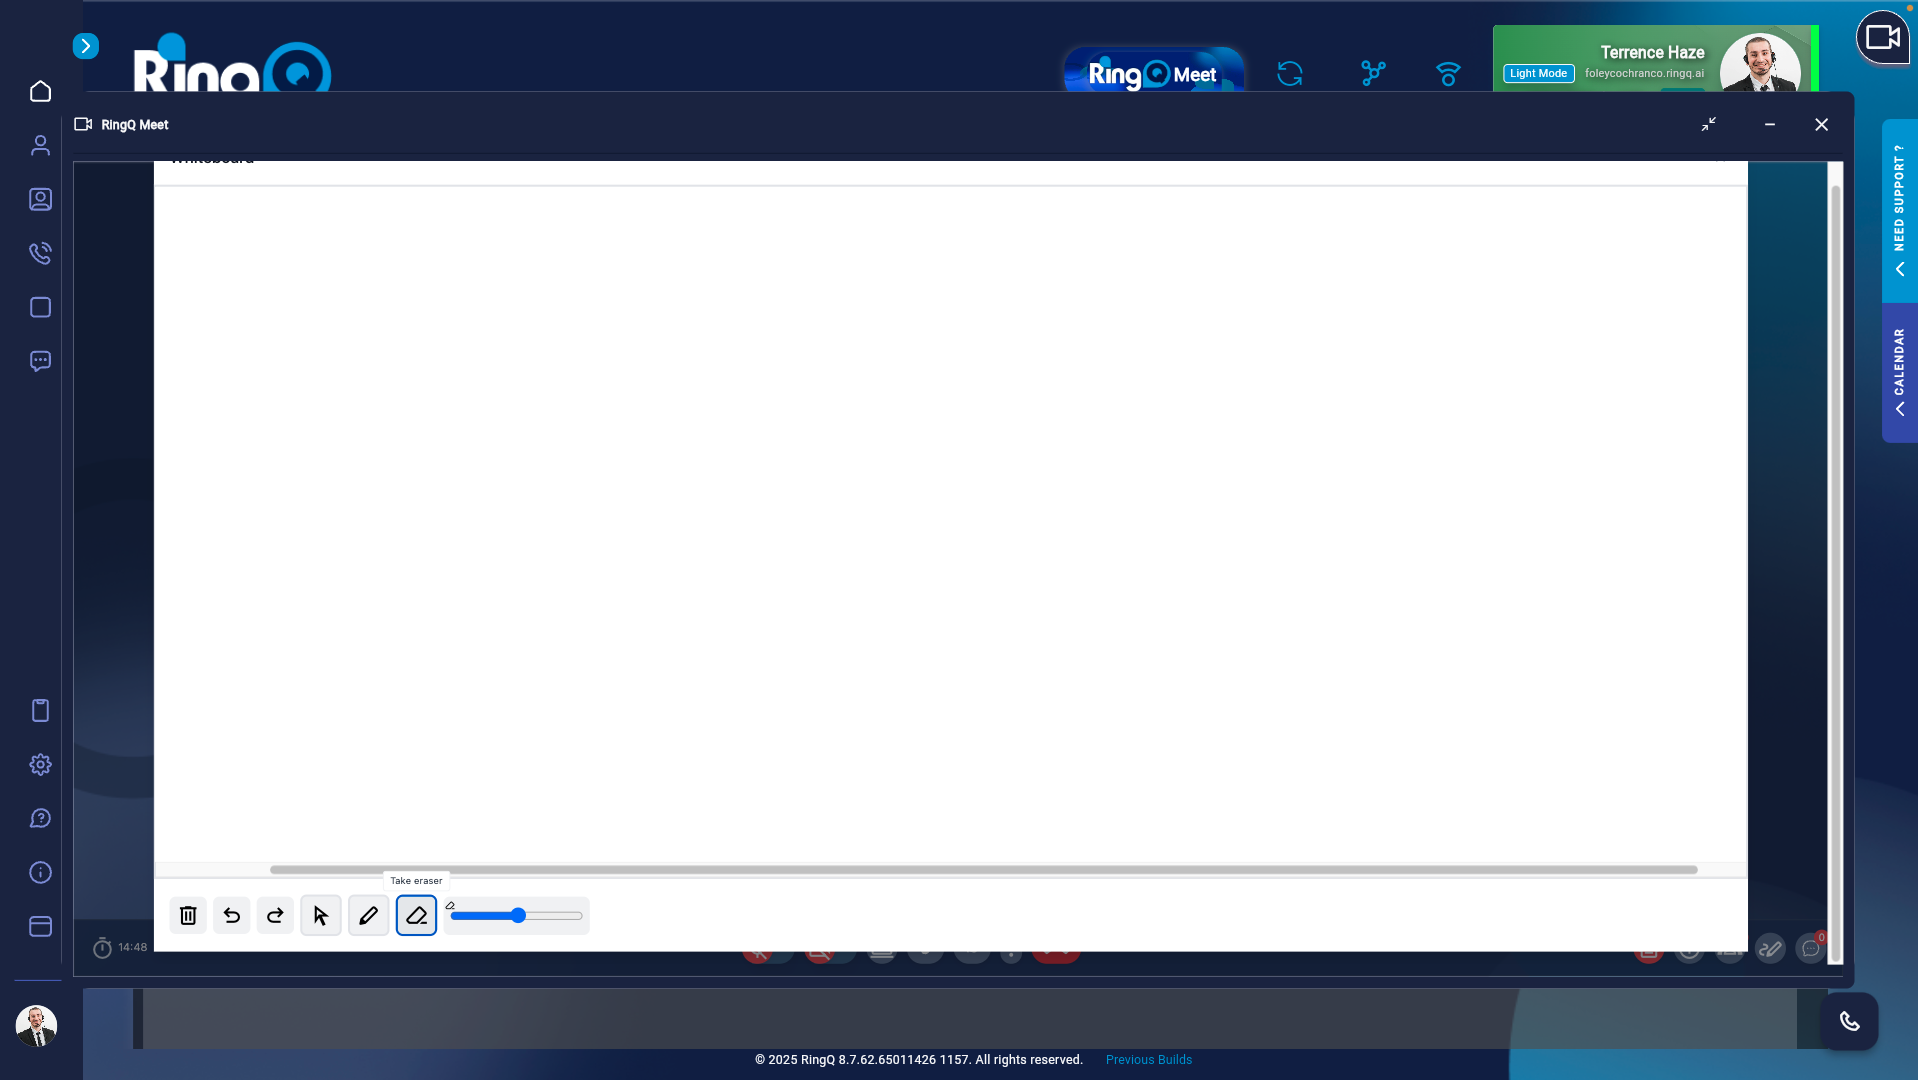
- Eraser Tool – Allows users to erase specific parts of drawings or annotations without clearing the entire whiteboard.