Introduction
This guide provides step-by-step instructions on how to integrate and configure Twilio with RingQ. By completing this guide, you will have your Twilio service setup and ready for configuration with RingQ.
Create a Messaging Service in Twilio
1. Go to your Twilio account and log in to the Dashboard.
2. Navigate to Messaging > Services.
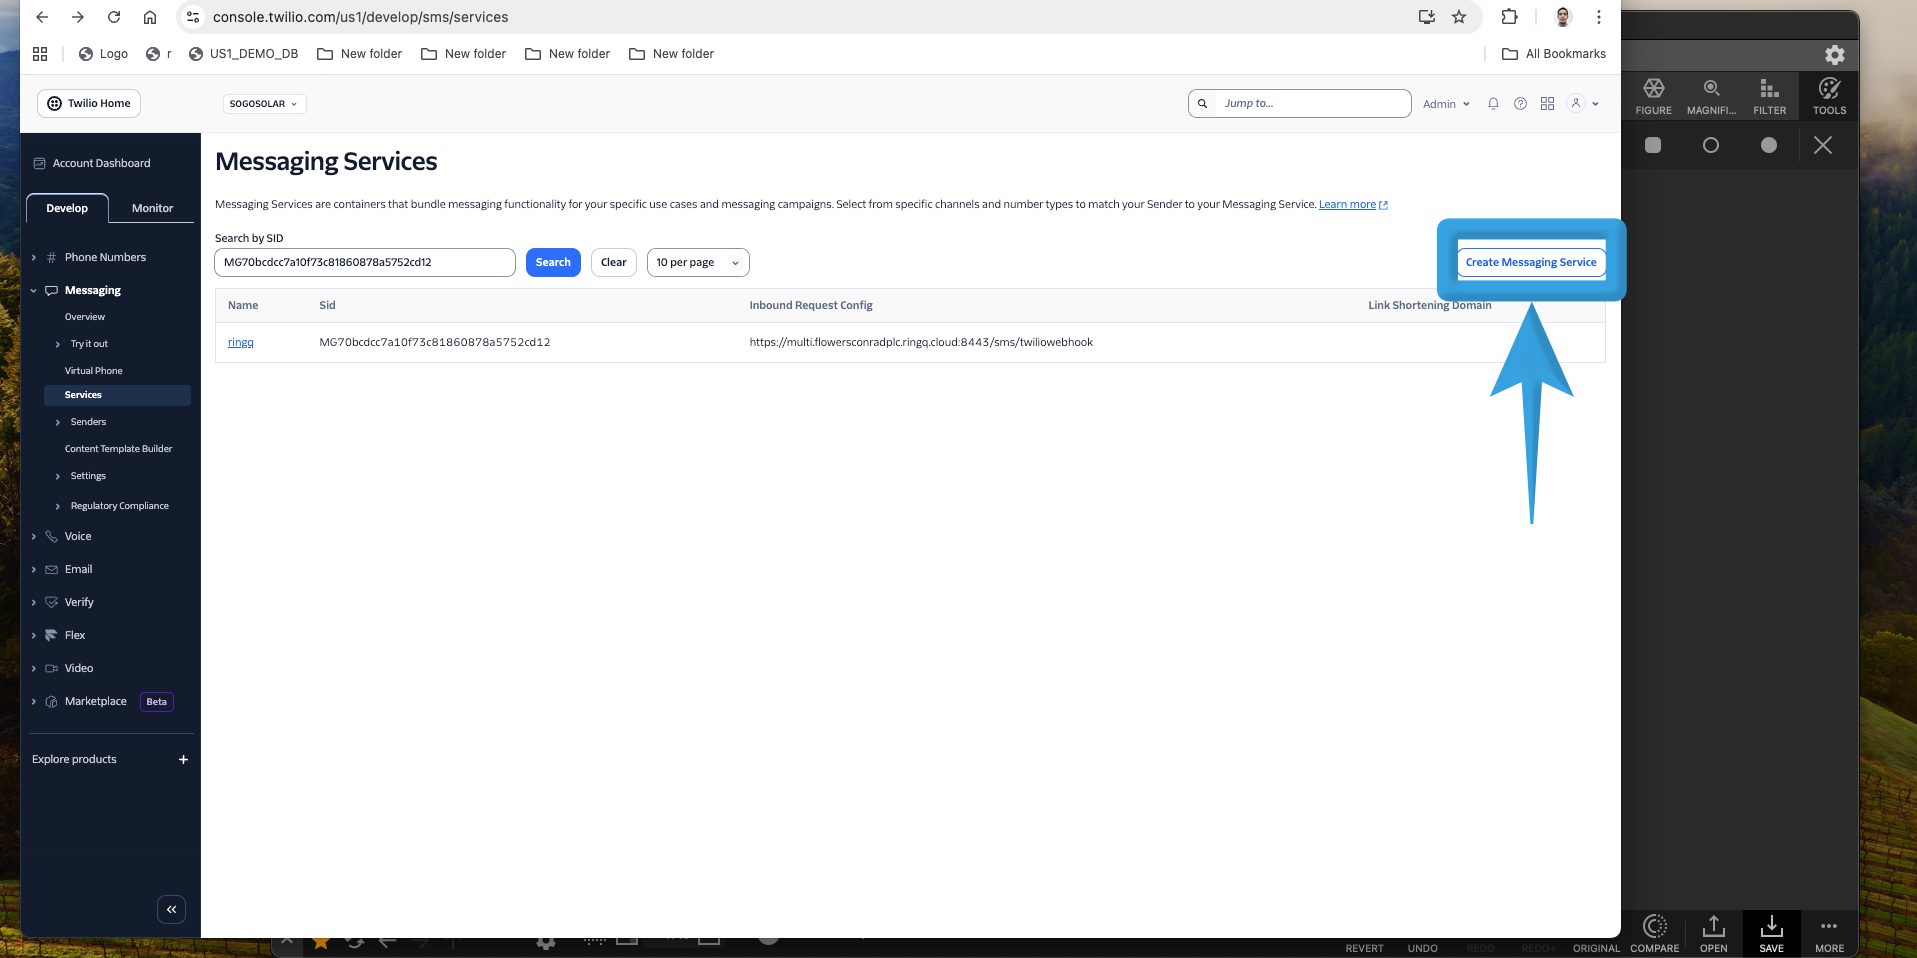
3. Click Create Messaging Service
4. Enter a Messaging Service Friendly Name
5. For Use Case, keep the default: “Notify my users”
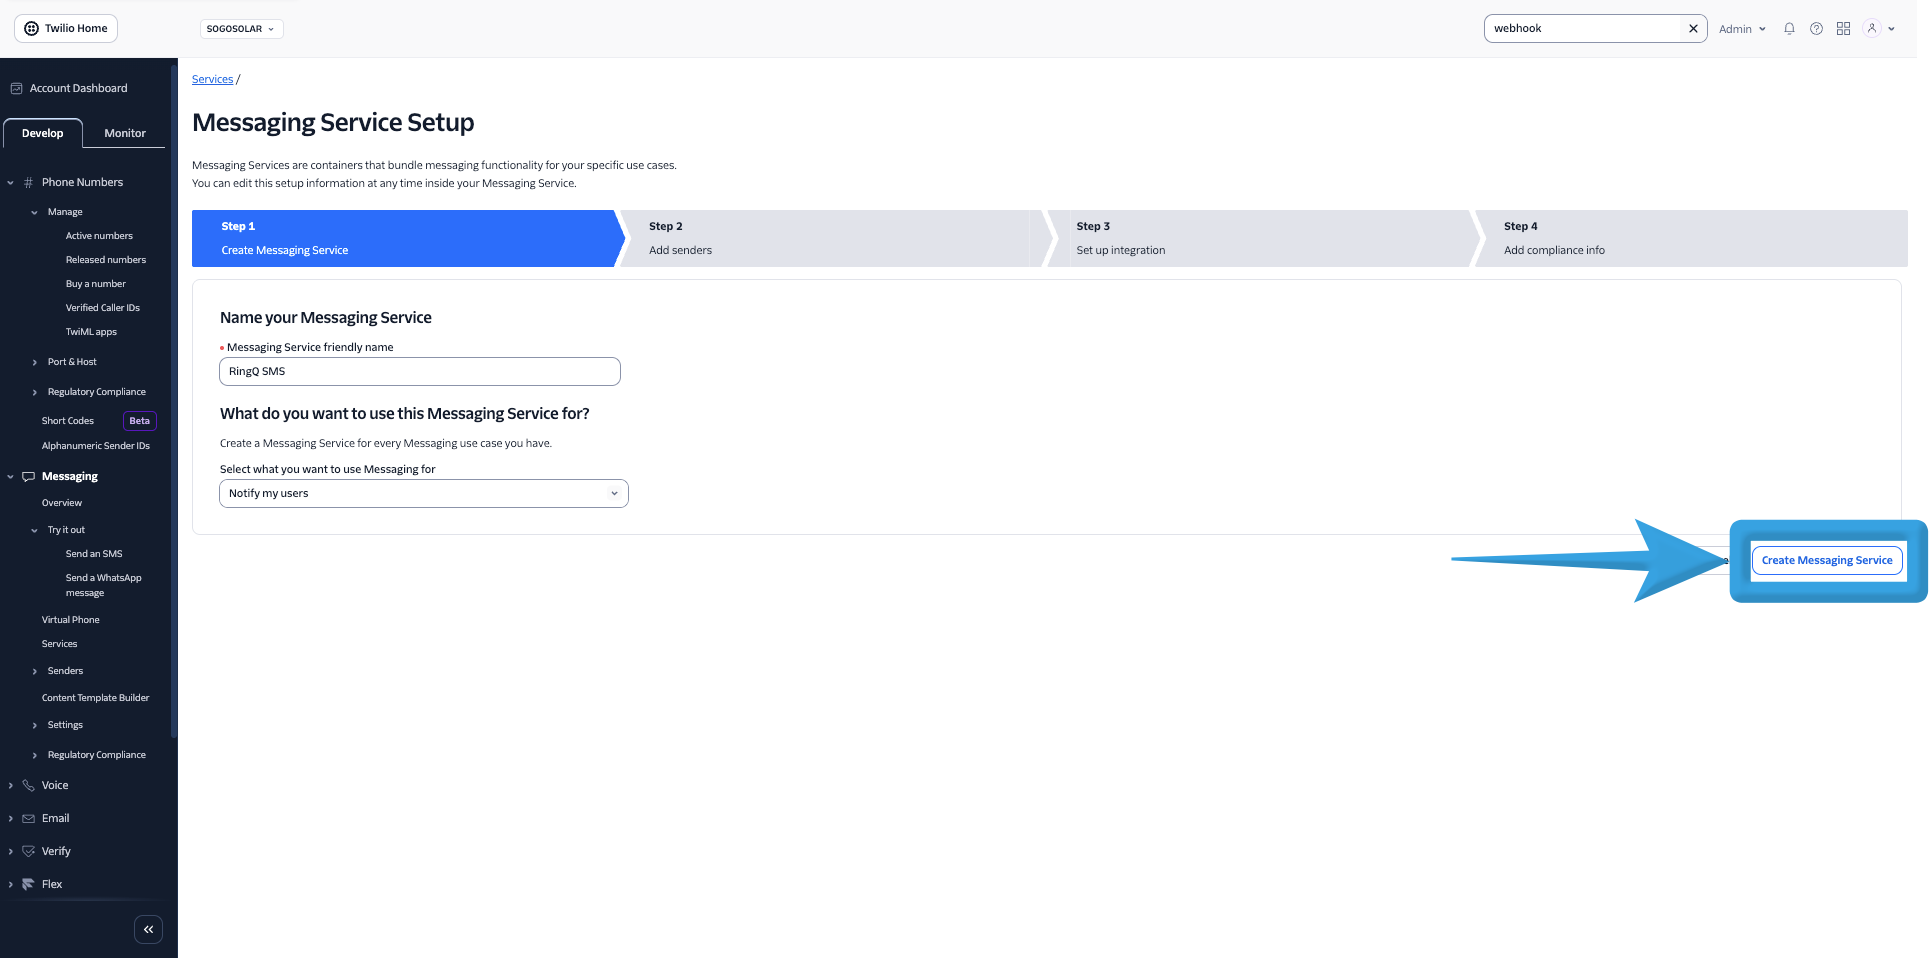
6. Click Create Messaging Service
Add Senders (Phone Number)
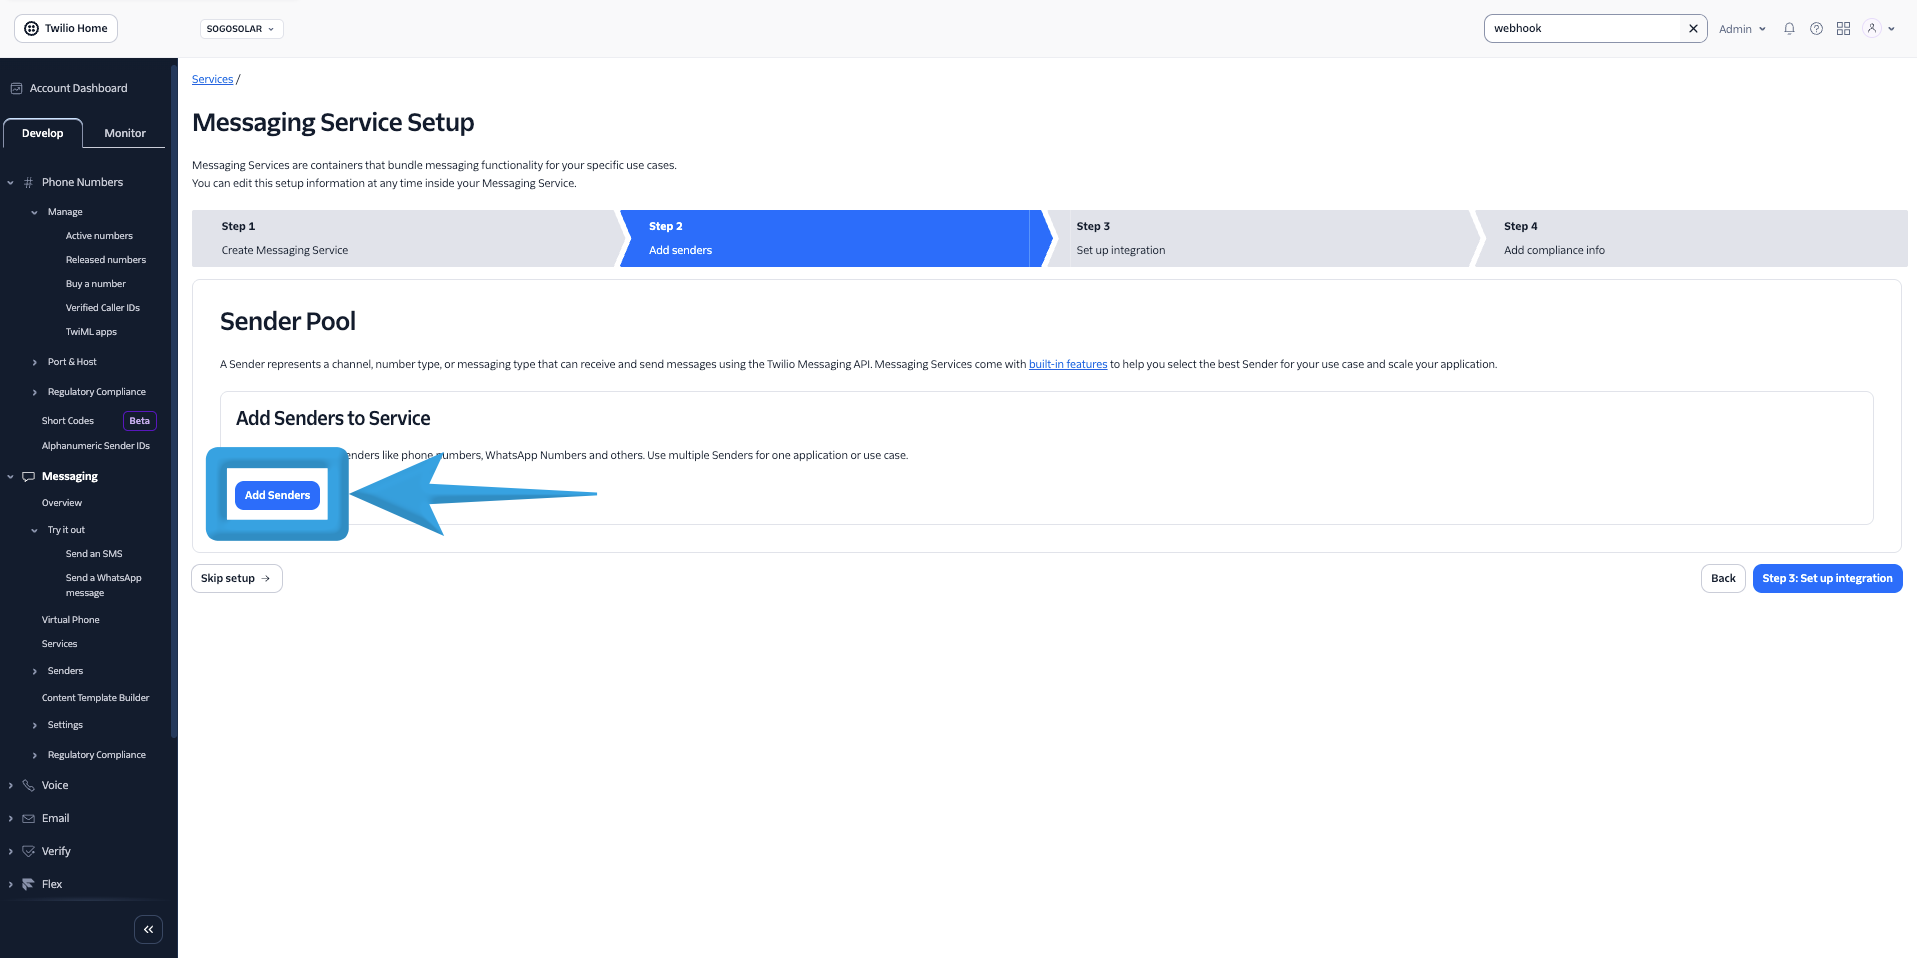
1. Click Add Senders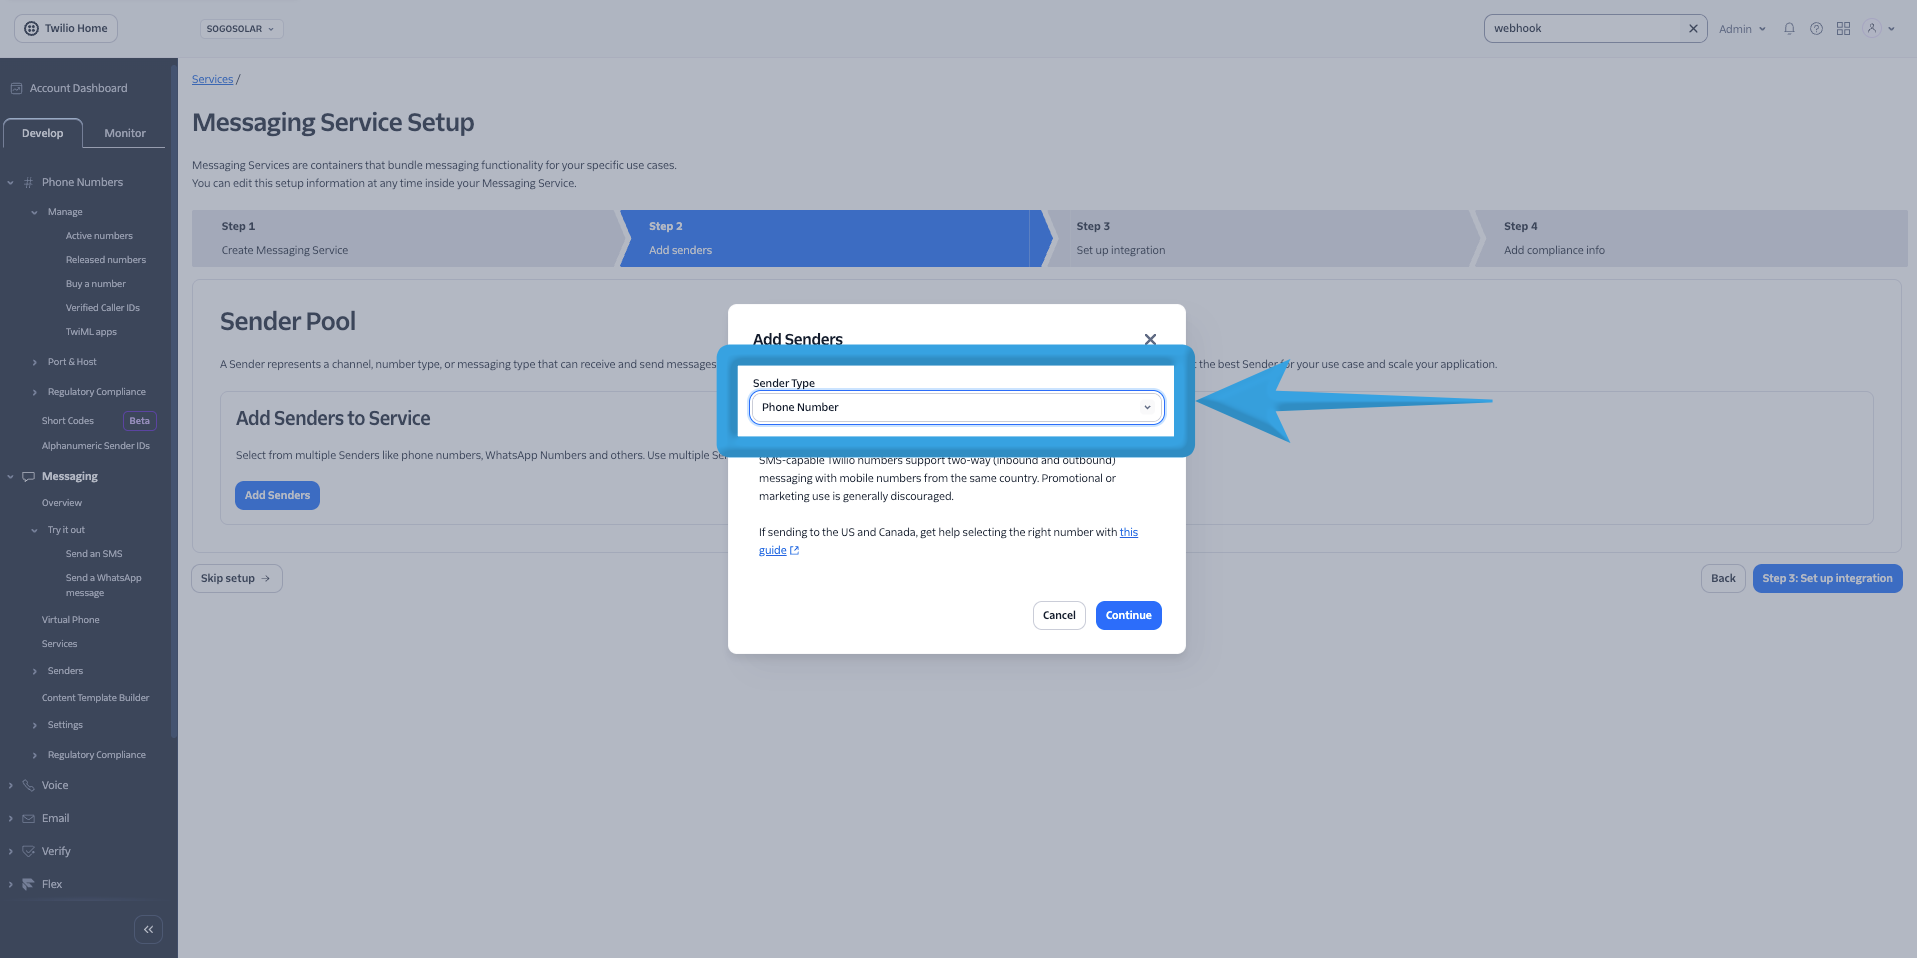
2. Select Phone Number
3. Click Continue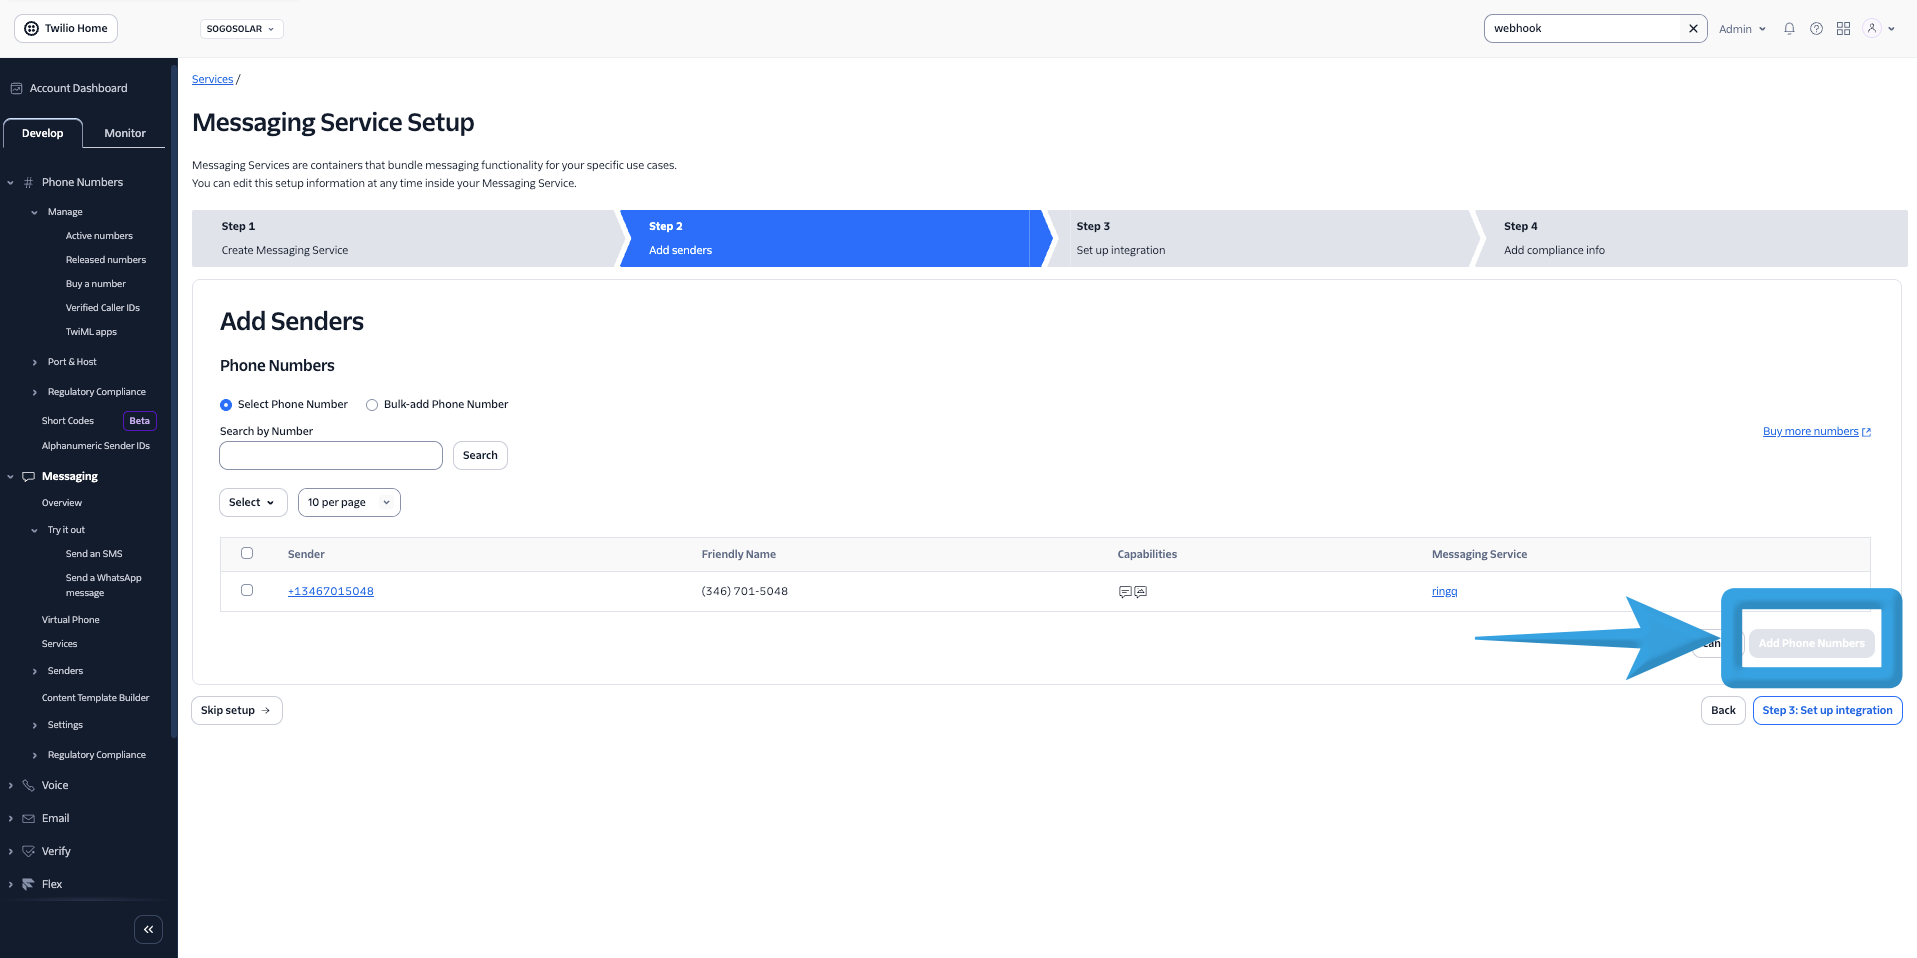
4. Proceed to Step 3: Set Up Integration
Configure Integration
1. Leave the default settings as-is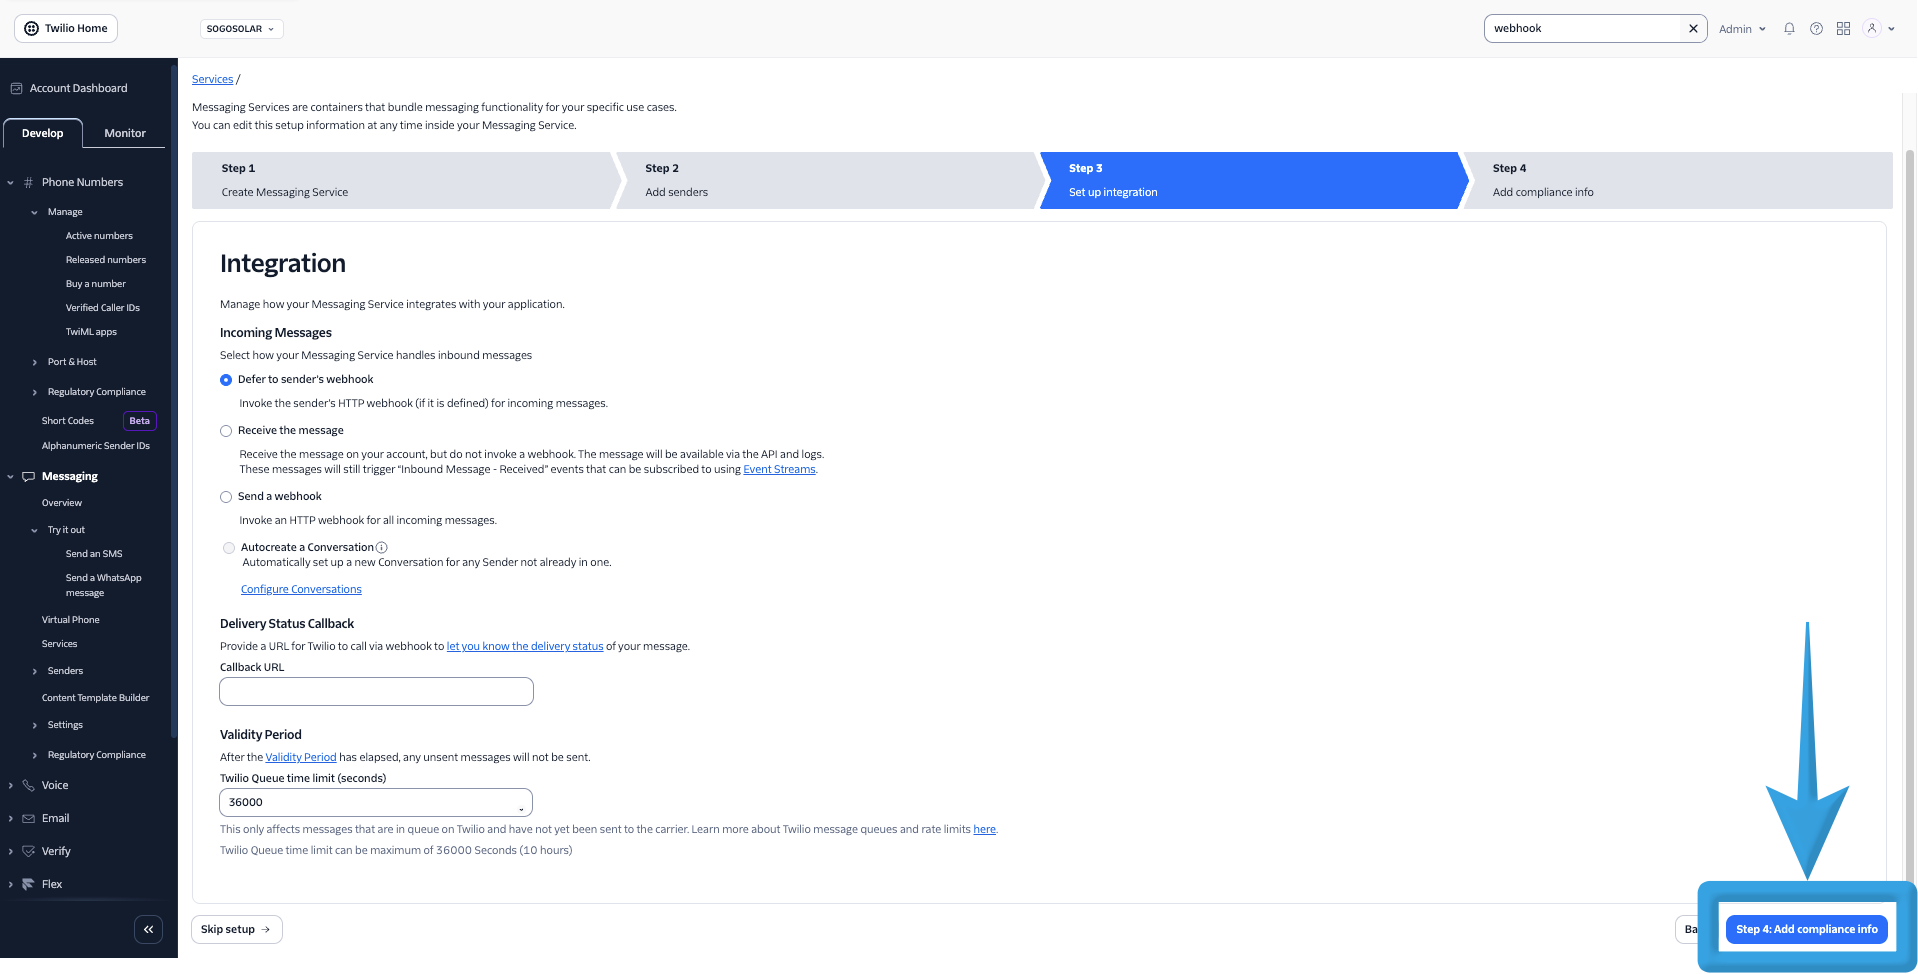
2. Click Step 4: Add Compliance Info
Add Compliance Information (A2P Registration)
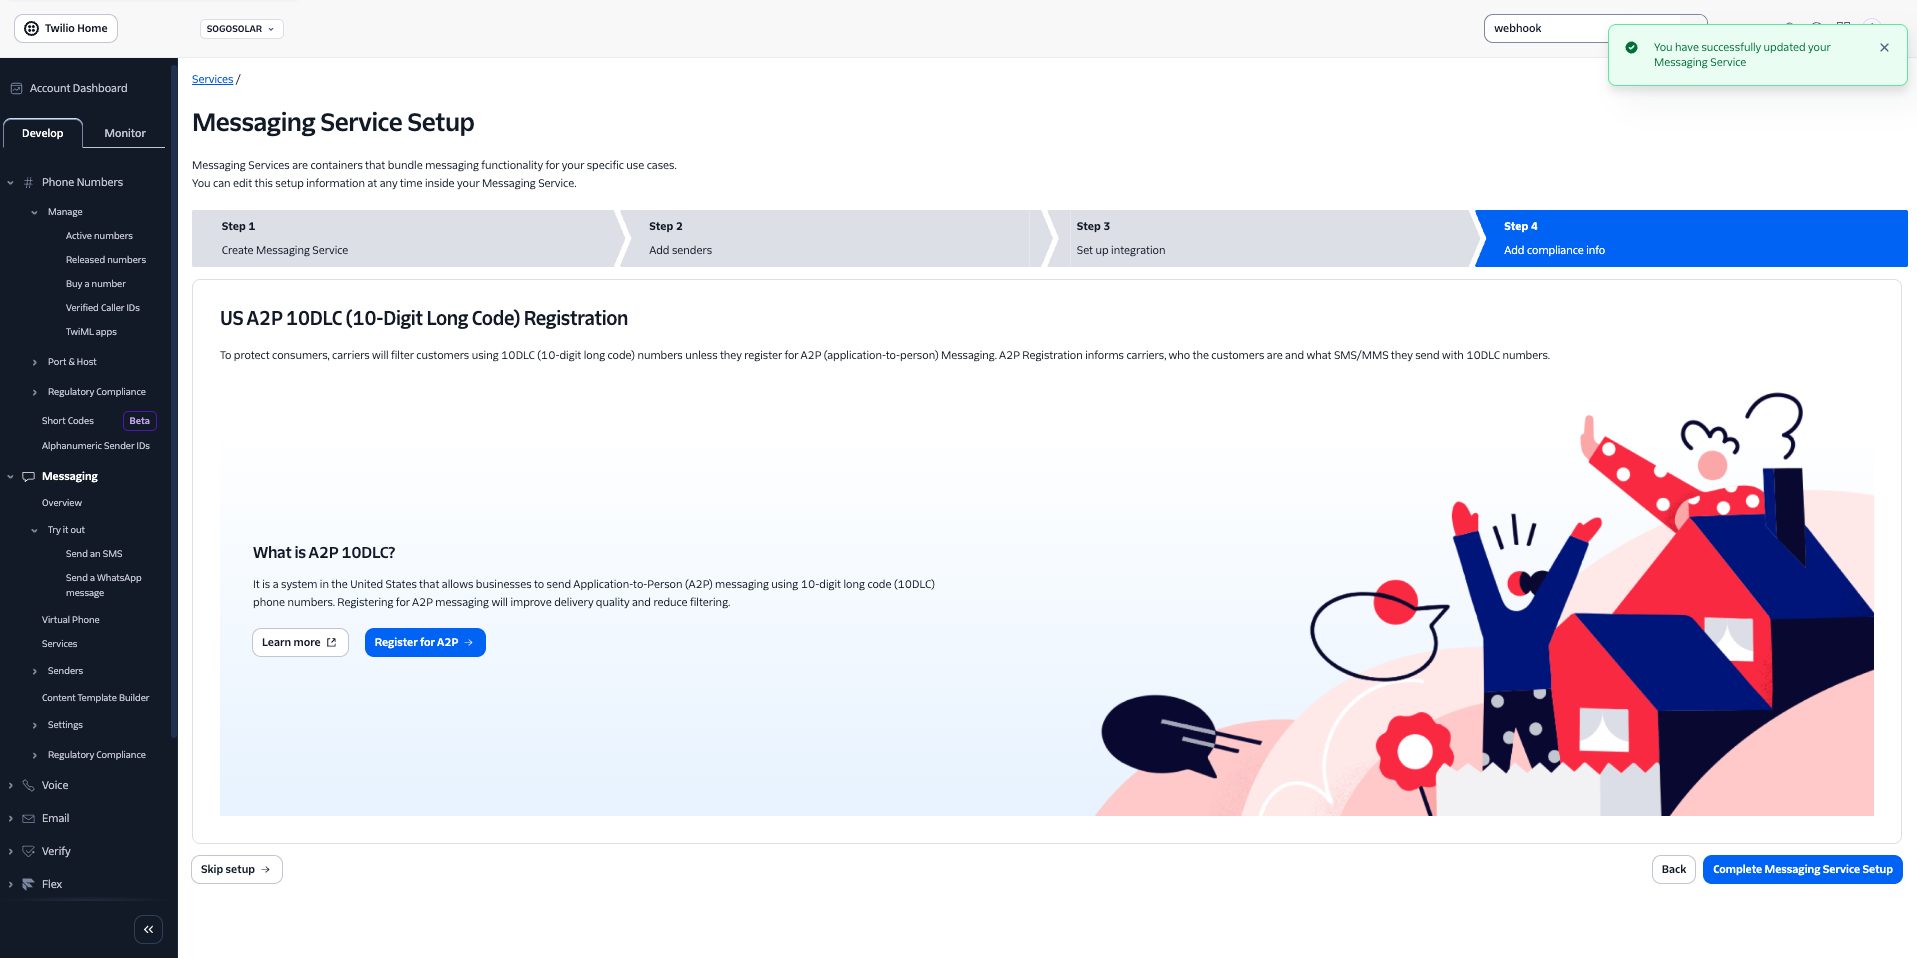
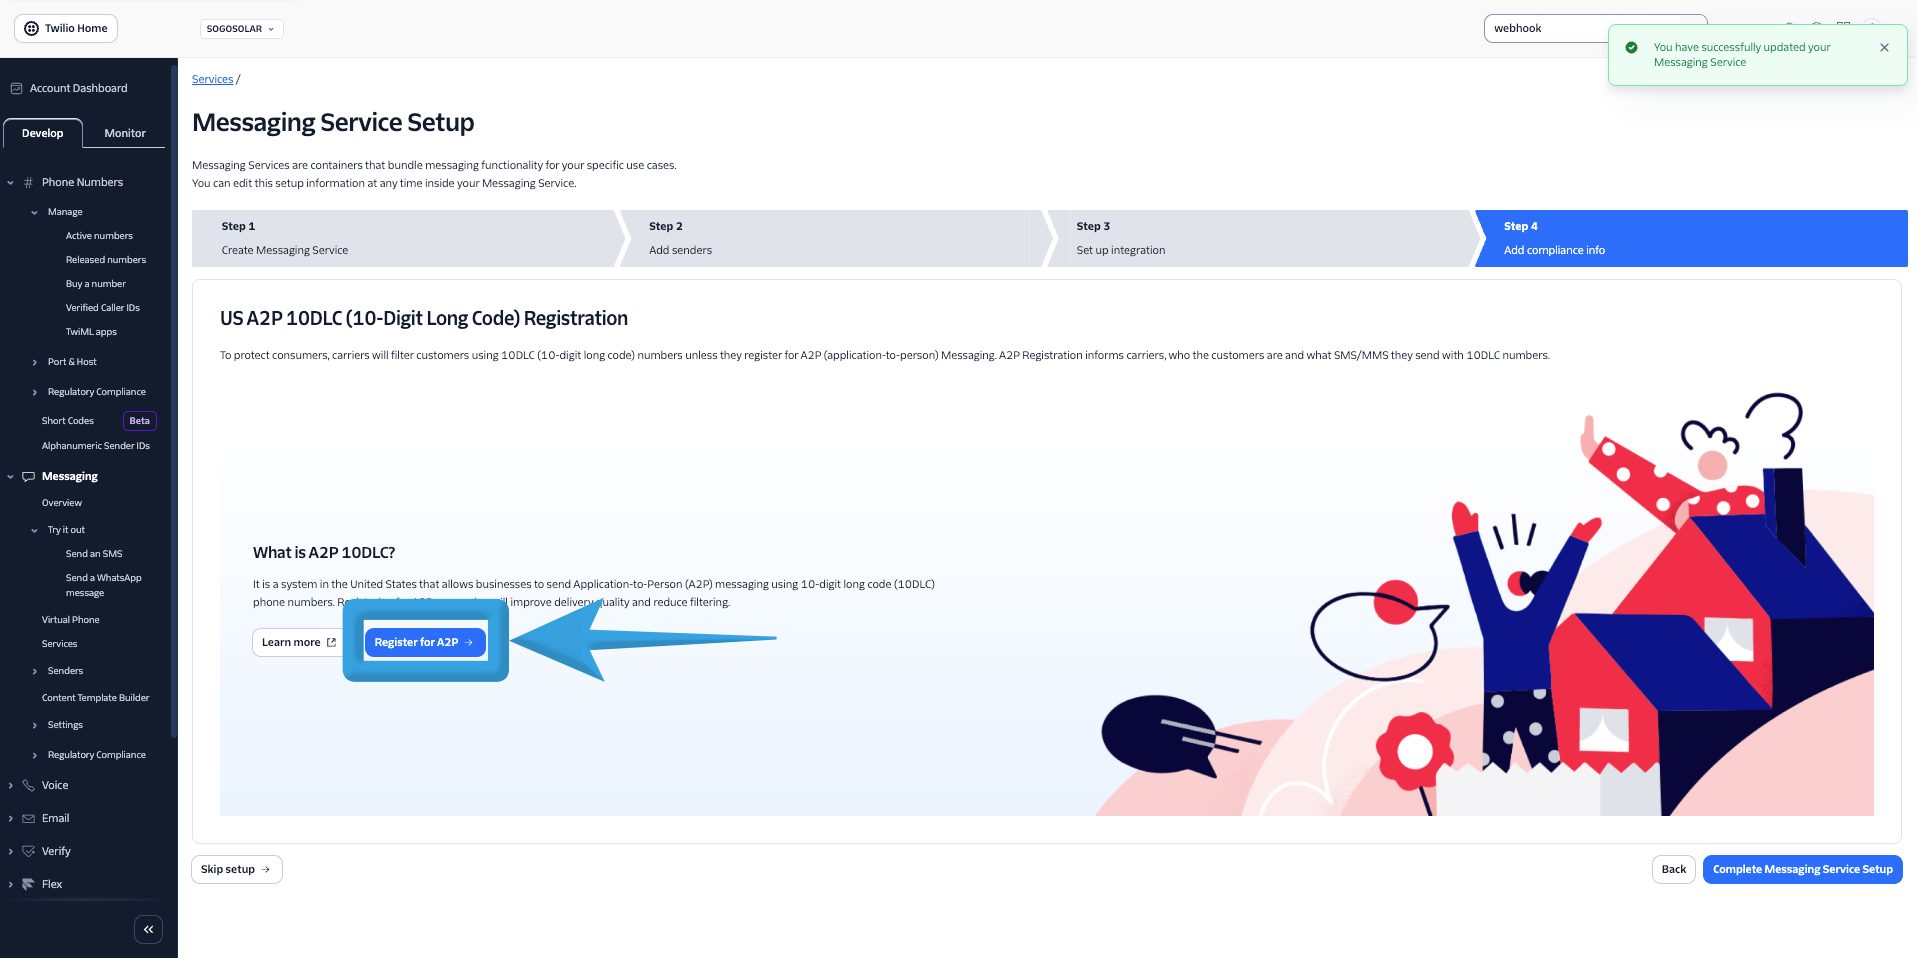
1. Click Register for A2P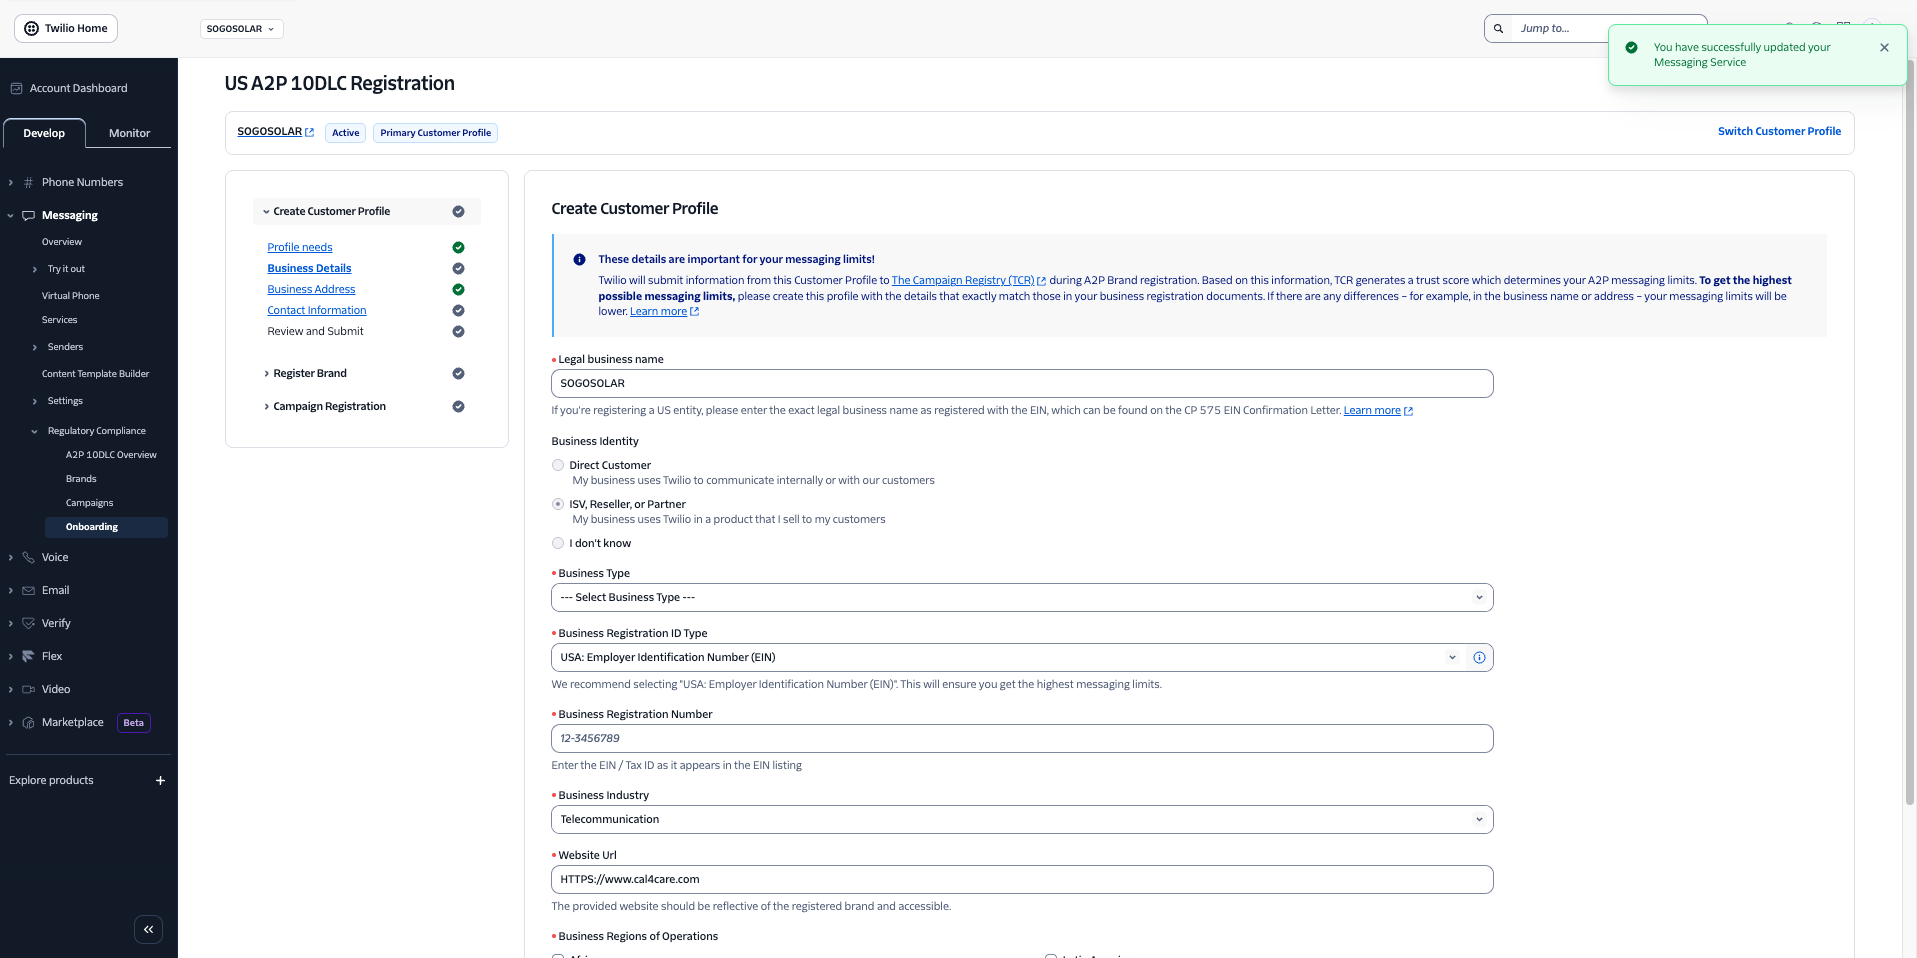
2. On the Create Customer Profile page fill in all required details and click Save and Continue. 
Your Messaging Service is now created.
Configure Webhook URL (RingQ Integration)
1. In Messaging Services, click on your created service (under the Name column)
2. Go to the Integration tab
3. In the Request URL field, paste the Webhook URL from RingQ Chat Settings (Twilio configuration)
4. Click Save