
Introduction
This guide covers how to use the Time Machine feature in RingQ to manage system backups. Time Machine allows you to schedule, create, view, restore, and delete backups of your system configuration and data. These locally stored backups give you the ability to recover your RingQ environment to a previous state—providing an added layer of security, control, and peace of mind in case of unexpected issues or changes.
Accessing the Time Machine
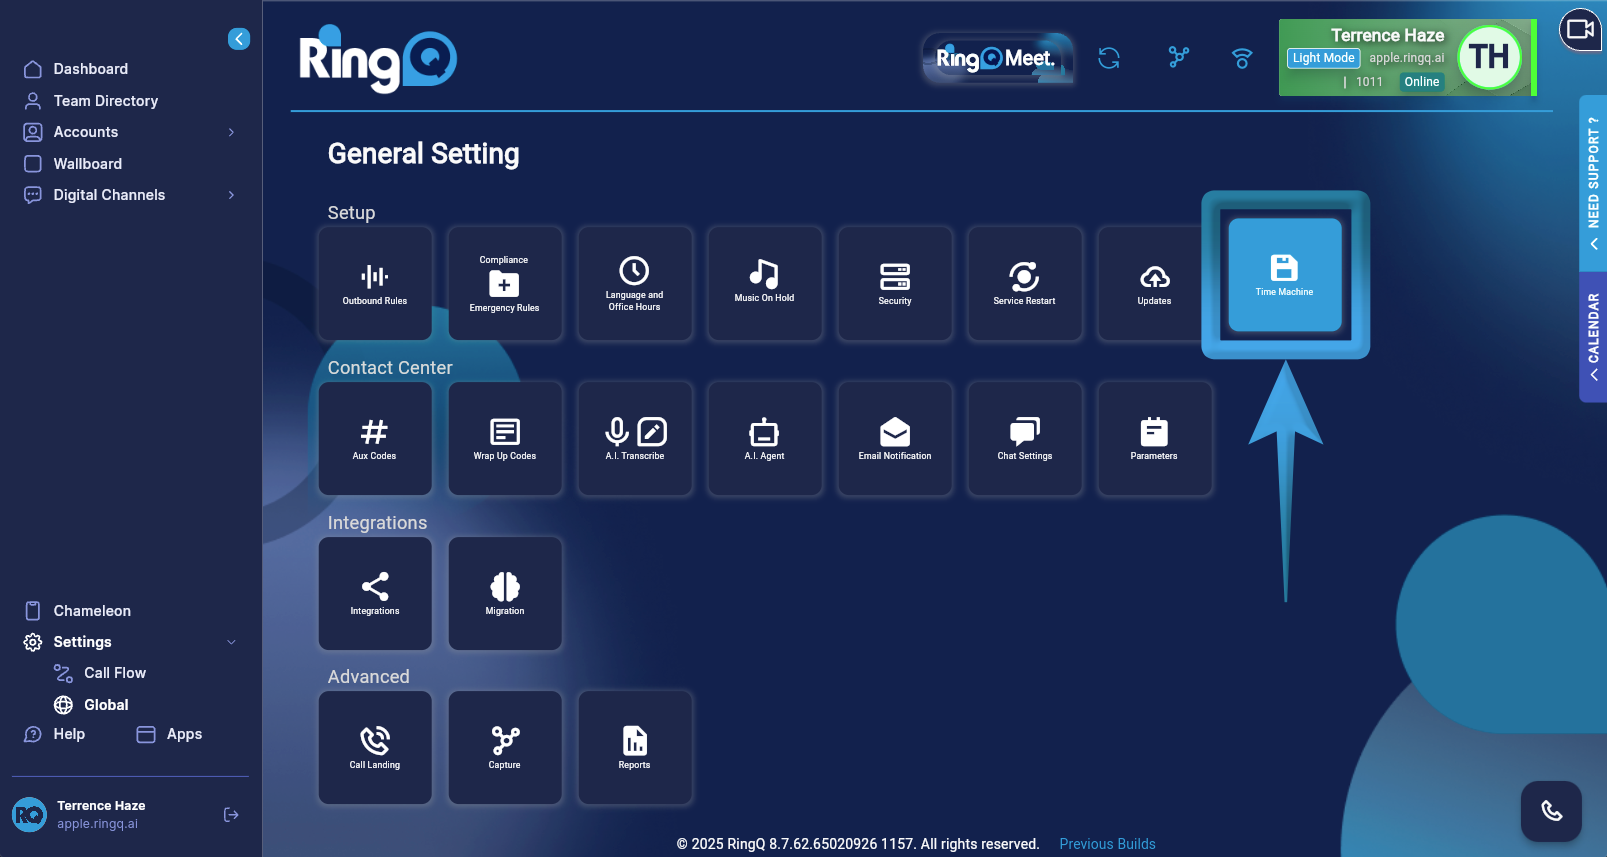
1. Login to your RingQ Admin Portal and navigate to Settings > Global > Time Machine.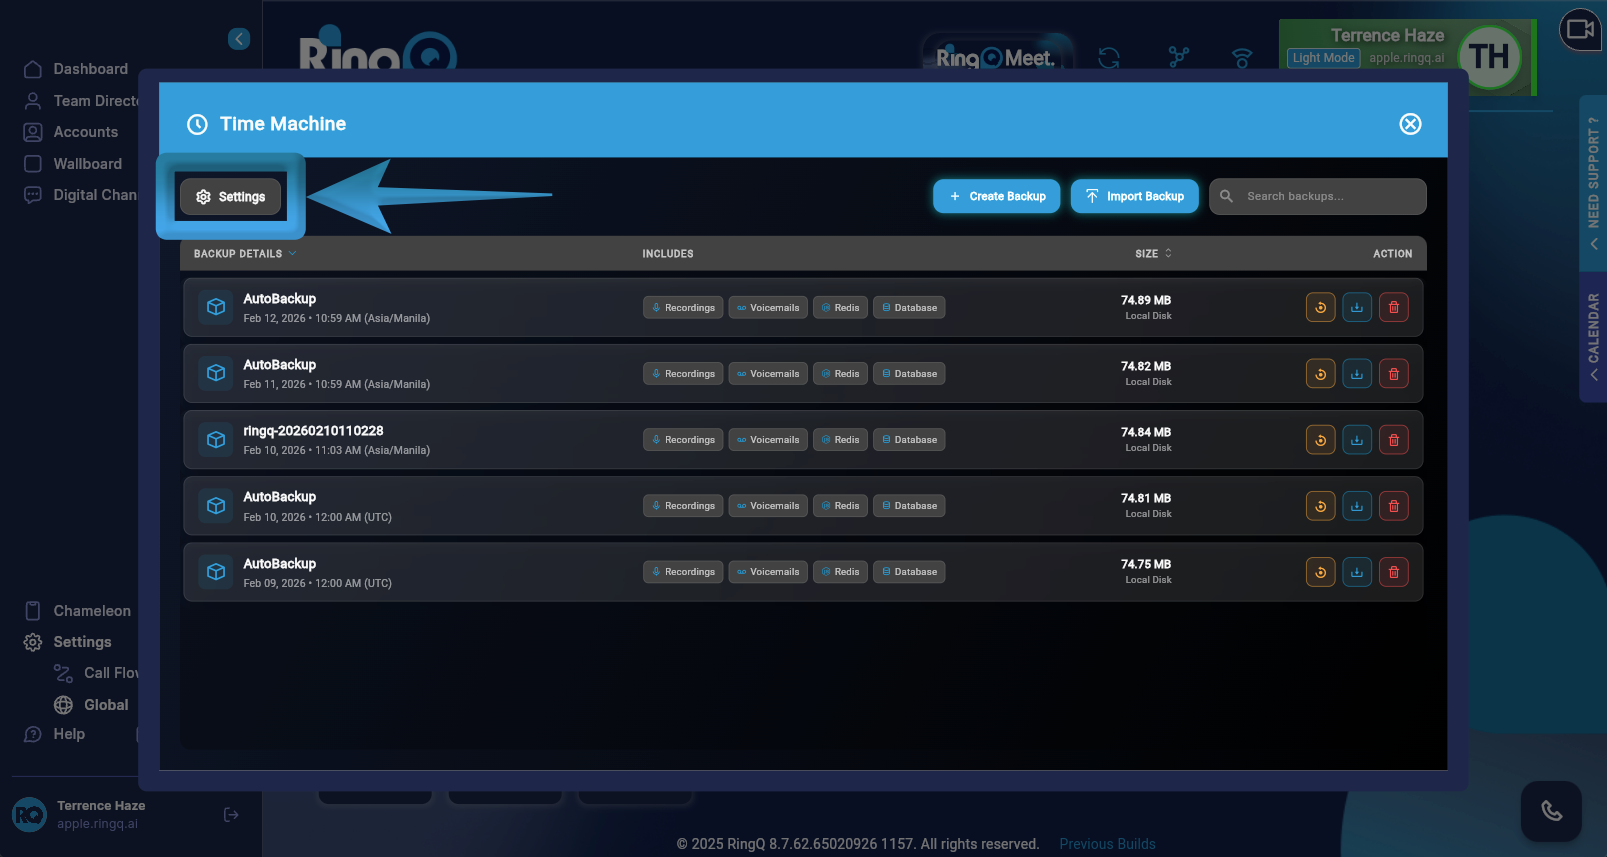
2. Click on the Settings button.
General Settings
Before setting the schedule, define how the system should handle old data and time synchronization.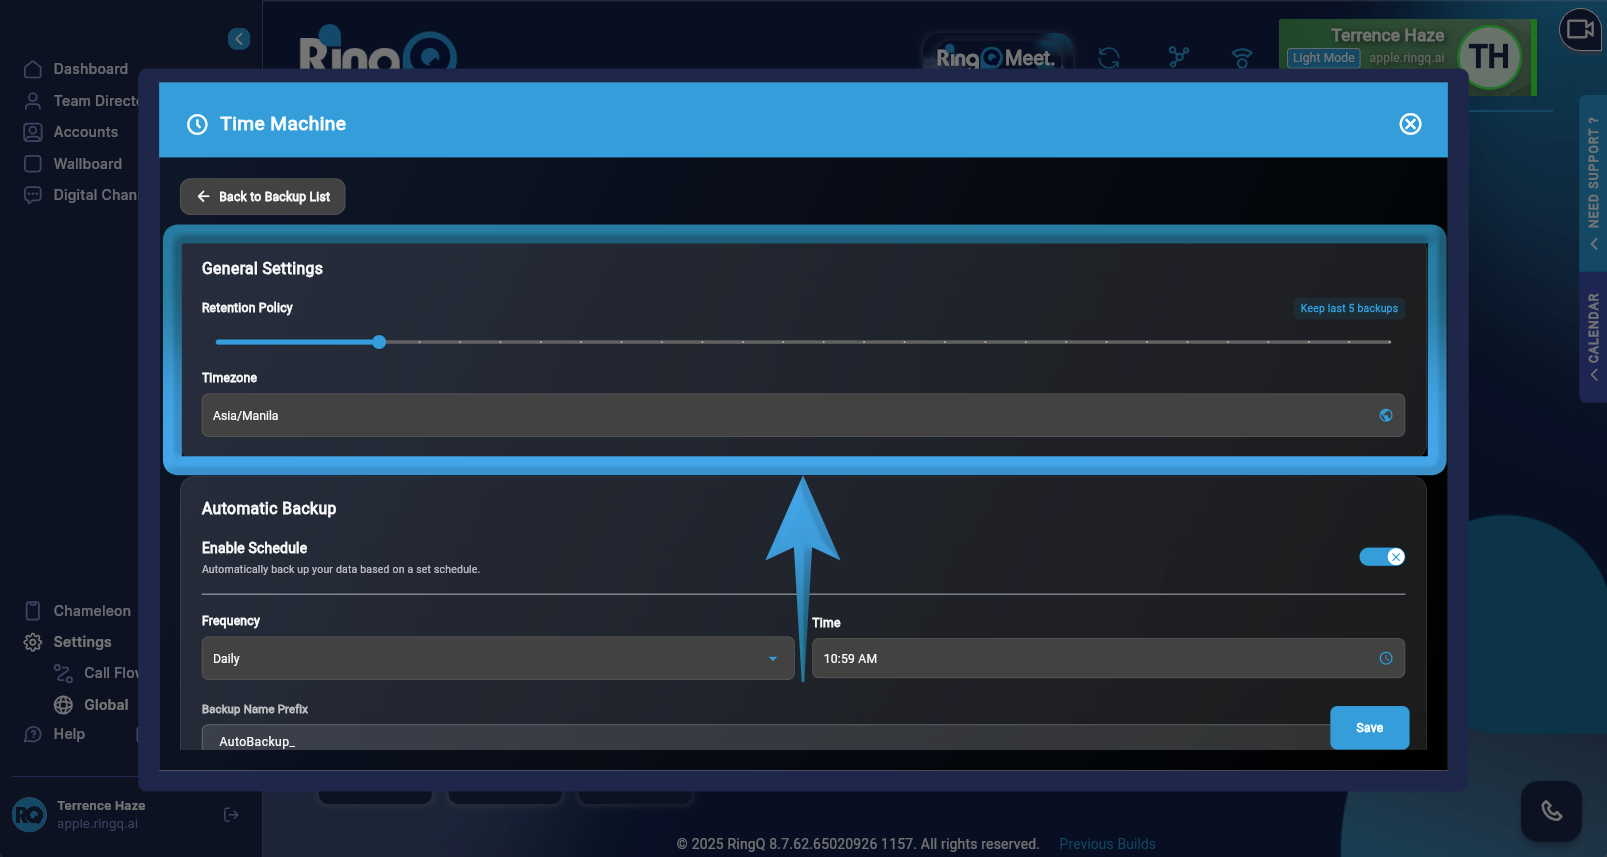
1. Retention Policy: Use the slider to determine the number of backup instances to store.
Note: Once the limit is reached (e.g., Keep last 5 backups), the oldest backup will be overwritten by the newest one.
2. Timezone: Select your local timezone from the dropdown (e.g., Asia/Manila).
Tip: Double-check this setting to ensure backups trigger during low-traffic hours.
Configure & Enable the Backup Schedule
1. Toggle Enable Schedule: Locate the Automatic Backup section and switch the toggle to ON.
2. Frequency: Select your backup interval (e.g., Daily, Weekly, or Monthly).
3. Time: Click the clock icon to set the specific execution time (e.g., 10:59 AM).
4. Backup Name Prefix: Enter a label (e.g., AutoBackup_) to help you distinguish scheduled files from manual snapshots in your storage list.
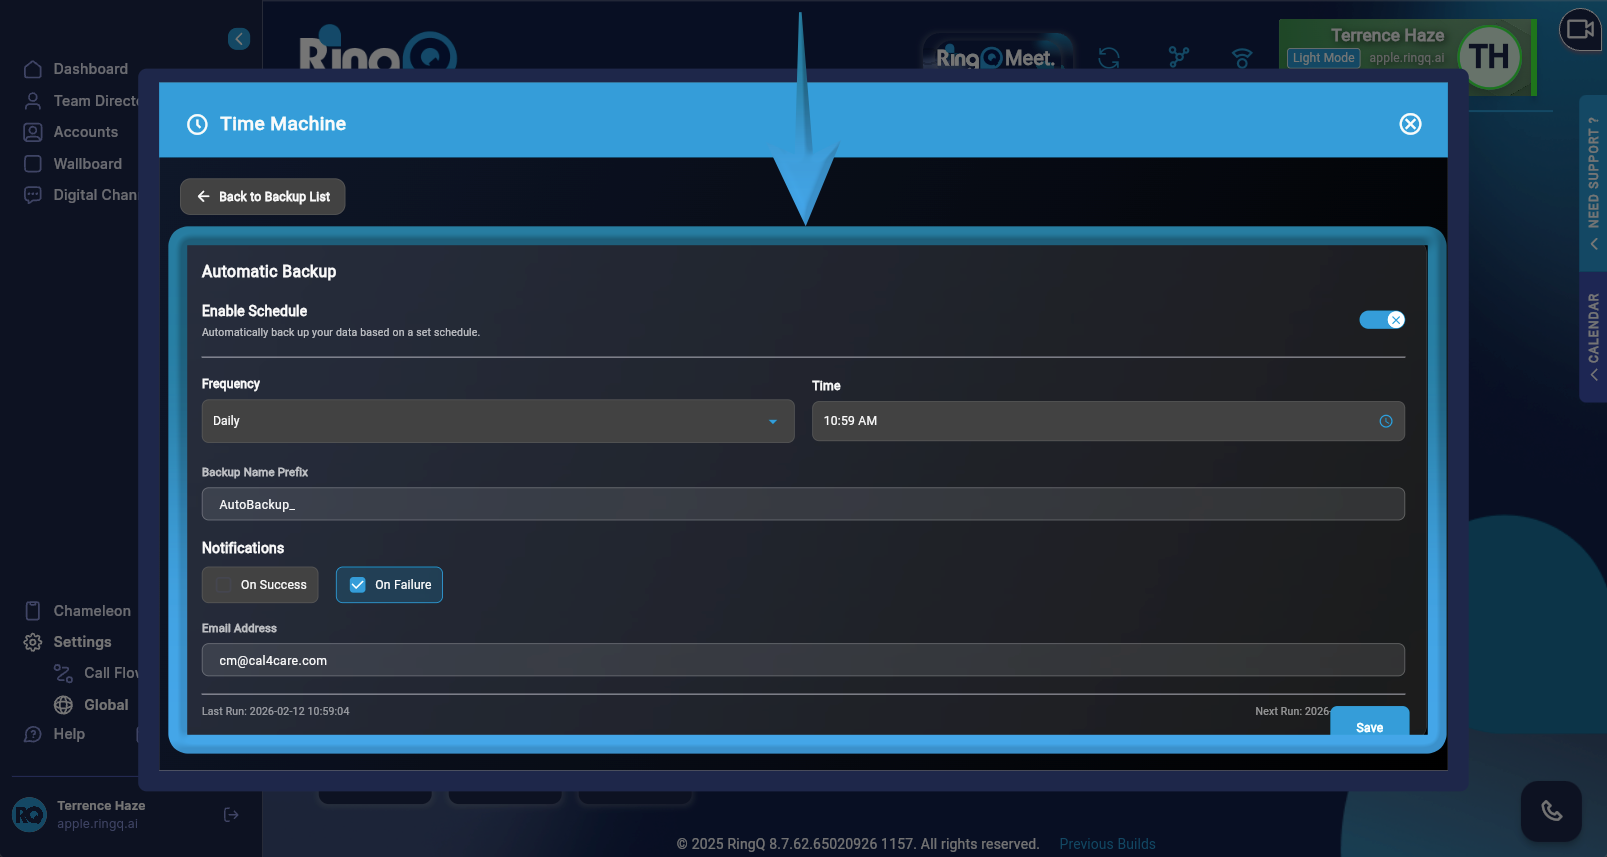
Notifications & Destination
Ensure you are alerted if a backup fails and that the data is stored in the right place.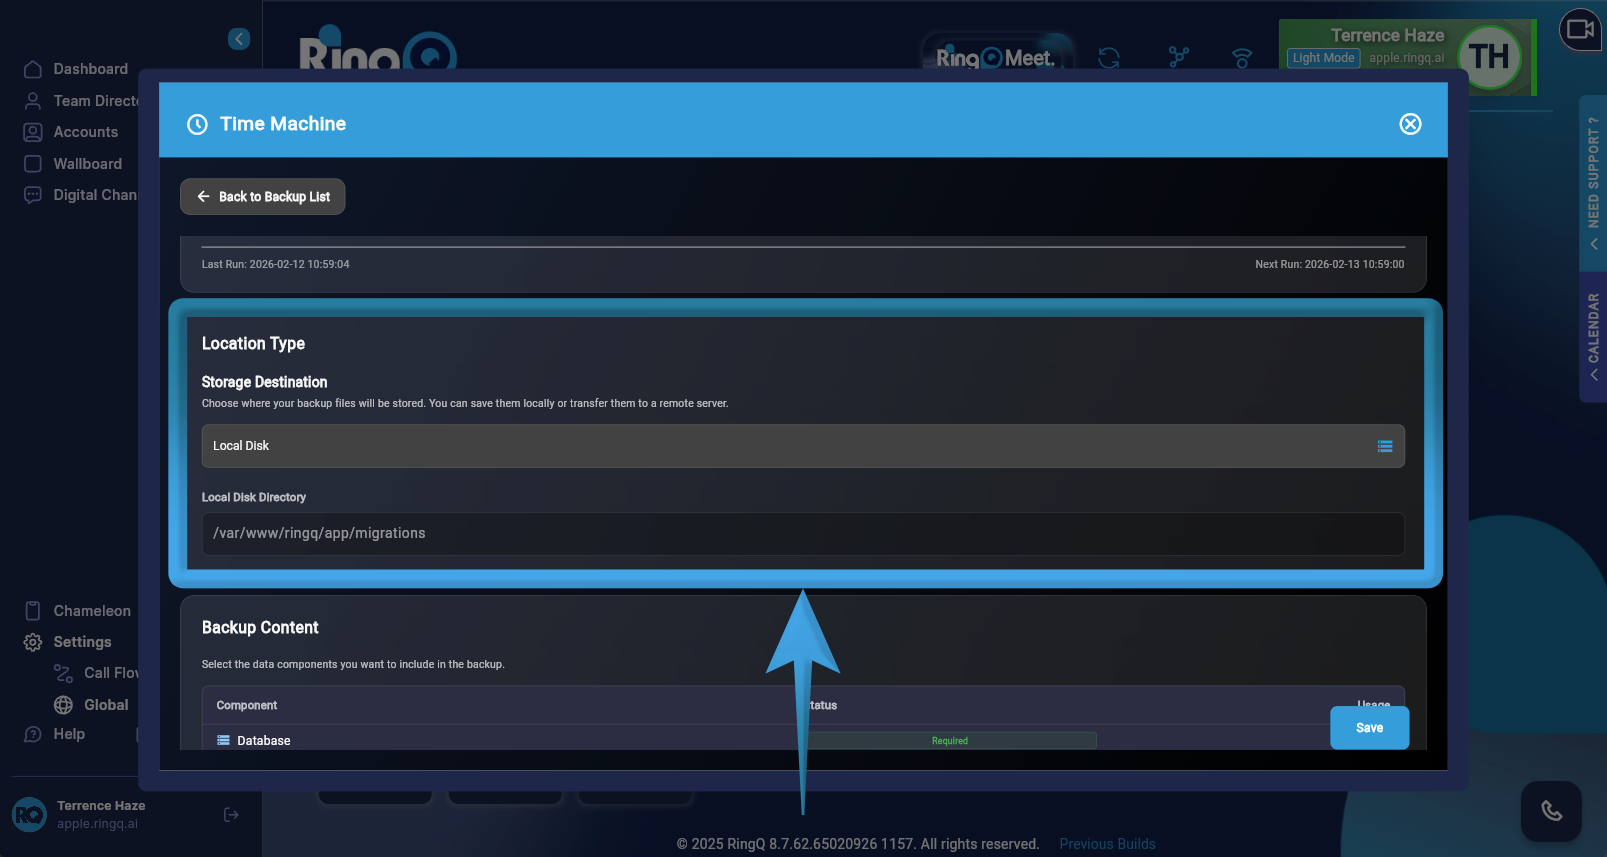
| Feature | Action |
|---|---|
| Notifications | Select On Success or On Failure (recommended). Enter your email (e.g., [email protected]). |
| Location Type | Select your destination (e.g., Local Disk or Cloud Storage). |
| Storage Path | Provide the directory path (e.g.,/var/www/ringq/app/migrations). |
Important: If using Local Disk, ensure the destination directory has sufficient permissions and disk space to prevent backup failures.
Select Backup Content
Choose which data you want the system to backup.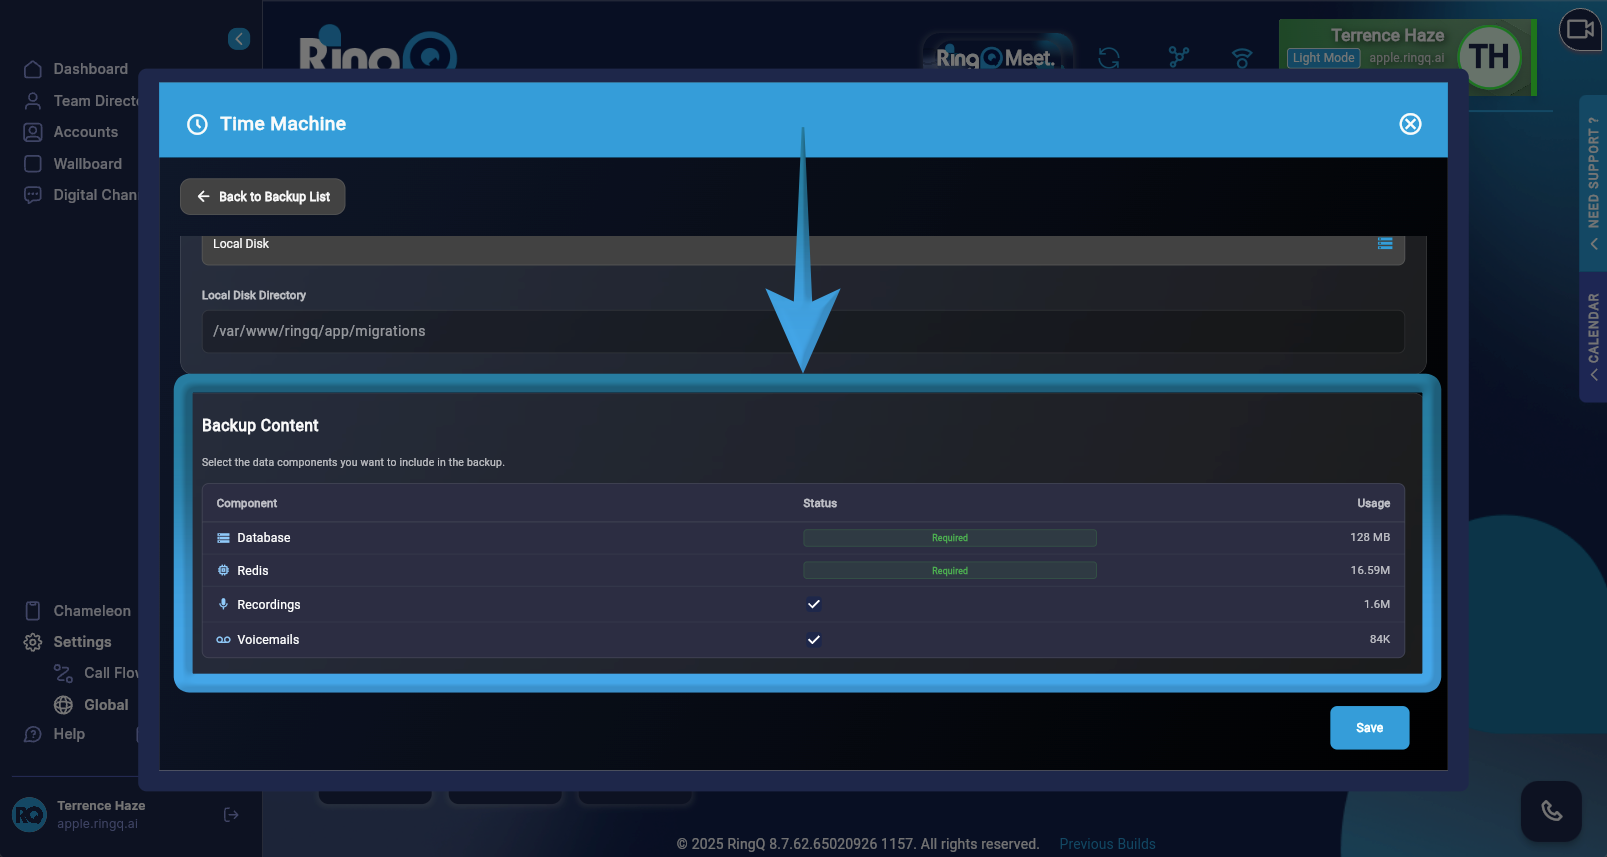
1. Mandatory Components: Database and Redis are selected by default to ensure system integrity.
2. Optional Components: Check the boxes for Recordings or Voicemails if needed.
3. Size Estimation: Click Check Usage to see the estimated file size before saving.
4. Click Save in the bottom-right corner.
5. Verify the Schedule: Look at the Next Run timestamp on the summary page. It should match your configured frequency and timezone.