Introduction
The RingQ ISO installation allows you to set up a fresh instance of RingQ on your own hardware or virtual environment. This method is ideal for users who prefer full control over their deployment, whether for on-premises installations or custom virtual machines. This guide will walk you through downloading the ISO, preparing your system, and completing the installation process step by step.
Prerequisites
- Have a dedicated server or virtualization platform available (Hyper-V, VirtualBox, VMware)
- Sufficient Hardware specifications
- Obtain a license key, and activate it in the RingQ Customer Portal
Purchase and Activate a License Key
Follow this guide to purchase and activate a license key.
Self-hosted Deployment
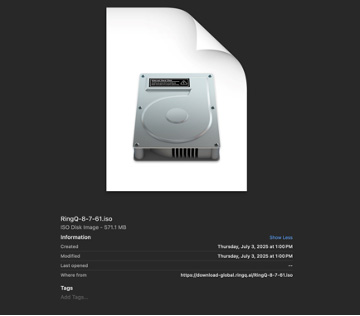 1. Download the ISO File: https://download-global.ringq.ai/RingQ-8-7-61.iso
2. Load the ISO File on a Virtual Machine:
1. Download the ISO File: https://download-global.ringq.ai/RingQ-8-7-61.iso
2. Load the ISO File on a Virtual Machine:
- Open your preferred virtualization software (e.g., Hyper-V Manager, VirtualBox, VMware).
- Create a new virtual machine and mount the downloaded ISO as the boot medium.
- Power on the VM to begin installation.
Begin Installation:
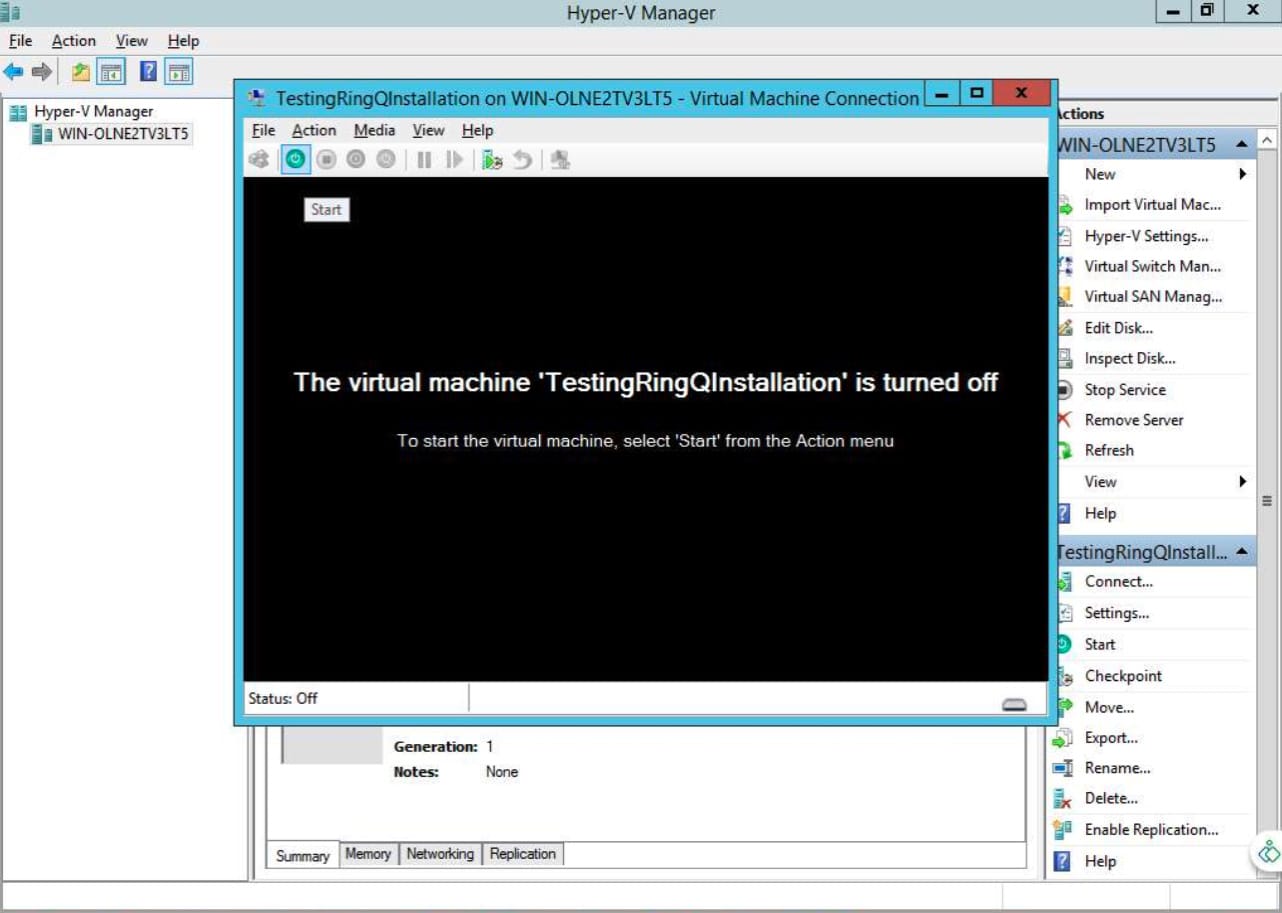 1. On the initial screen, press Enter to Start the RingQ installation process.
2. Configure Network Settings:
1. On the initial screen, press Enter to Start the RingQ installation process.
2. Configure Network Settings:
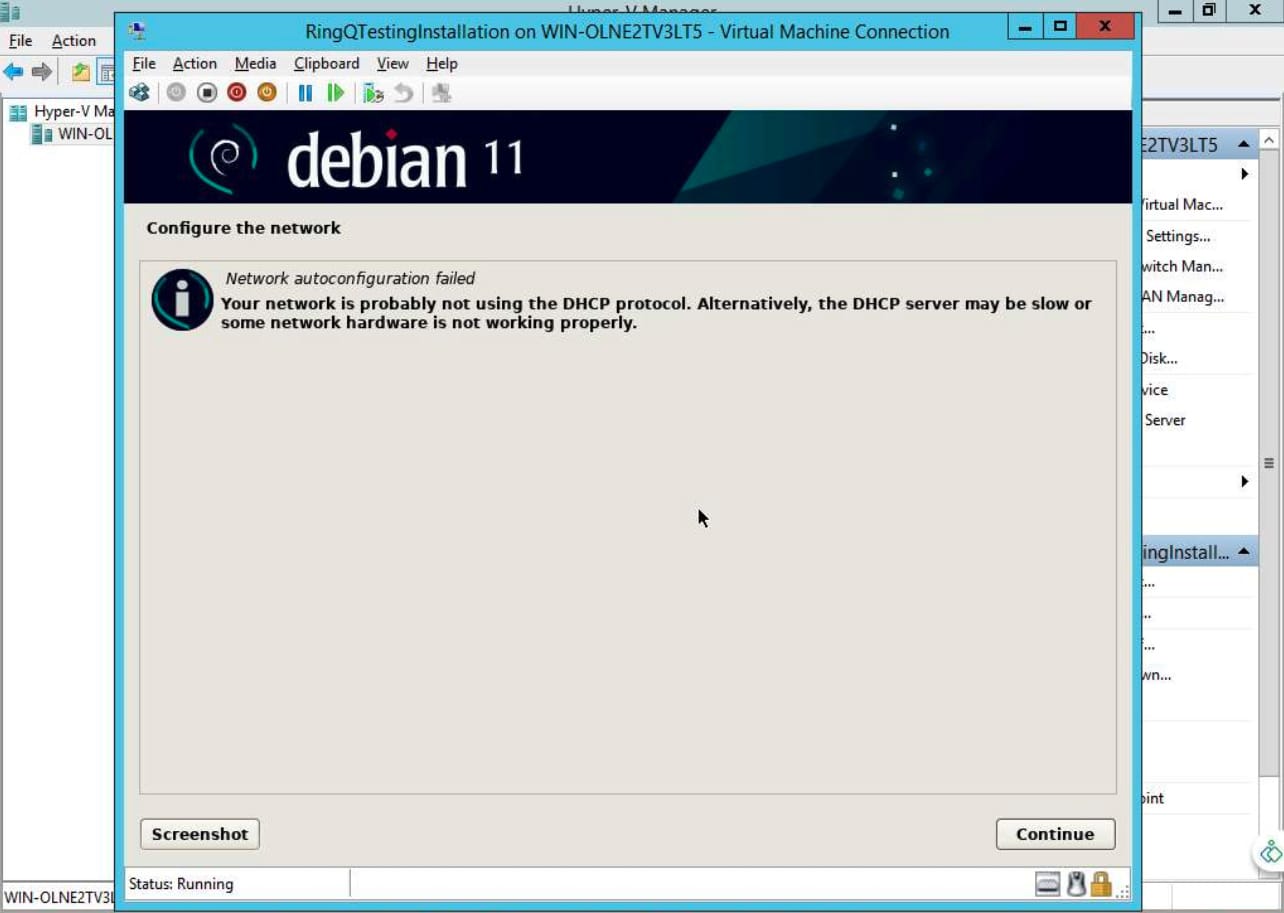 3. When prompted for network configuration, select “Configure network manually” and click Continue.
4. Enter the following network details when requested:
3. When prompted for network configuration, select “Configure network manually” and click Continue.
4. Enter the following network details when requested:
- IP Address → Input your server’s static IP address
- Netmask → Enter the correct subnet mask
- Gateway → Input your default gateway
- SSH Password → Set a secure password to enable SSH access
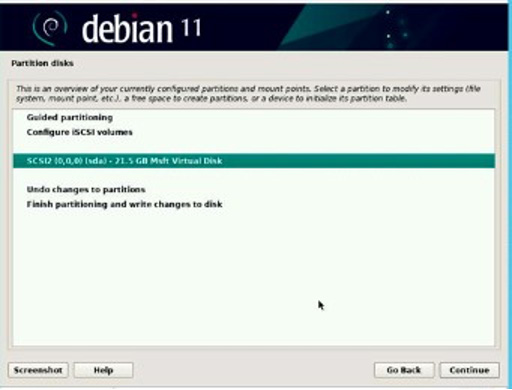
Partition Disk:
1. Select: “Guided – use entire disk” 2. Proceed with default selections and click Continue
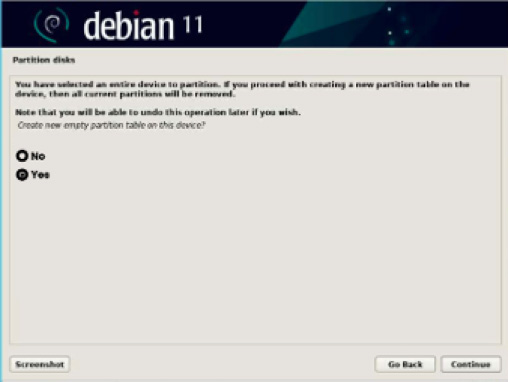 3. If prompted: “Create a new empty partition table on this device?” → Select Yes
4. Finalize by selecting: “Finish partitioning and write changes to disk”
3. If prompted: “Create a new empty partition table on this device?” → Select Yes
4. Finalize by selecting: “Finish partitioning and write changes to disk”
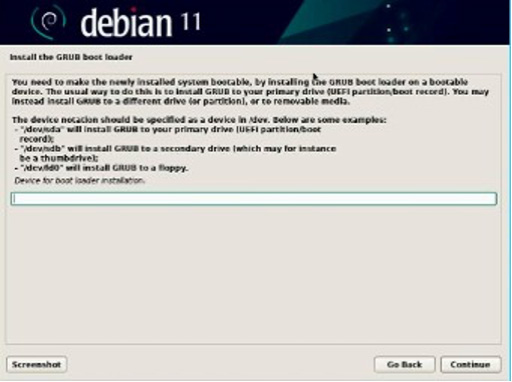 5. Install the GRUB boot loader to: /dev/sda
Choose Installation Mode:
1. After initial setup, the system will display the RingQ setup menu.
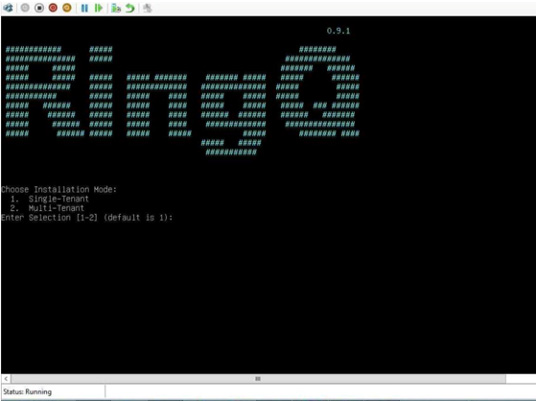 2. Choose the desired RingQ installation mode (e.g., Single Tenant or Multi Tenant).
3. Enter your license key to proceed. License keys can be obtained via: https://cap.ringq.com/login
2. Choose the desired RingQ installation mode (e.g., Single Tenant or Multi Tenant).
3. Enter your license key to proceed. License keys can be obtained via: https://cap.ringq.com/login
 4. Wait for Installation to Complete. The installation process will take approximately 10–15 minutes, depending on your system and internet speed.
Activate License via Web Interface
1. Once installation completes, a URL will be displayed on the CLI screen: https:///license 2. Open the link in your browser and re-enter your license key to initiate domain (FQDN) and SSL certificate activation.
Finalize Setup
1. Allow 3–5 minutes for license verification and secure provisioning. 2. Once complete, your RingQ instance will be fully activated and ready for use. You can now proceed to configure users, queues, and more from within the RingQ Web Portal. For support, contact: [email protected]