Introduction
This guide explains you can open and respond to website live chat messages through your RingQ web app via the the Digital Channels interface. It covers the key buttons, options, and functions available on the Chats page, outlines the steps to open assigned WebChats, and demonstrates how agents can view, manage, and reply to customer messages in real time.
Accessing WebChats
1. Login to your RingQ Admin Dashboard 2. From the left hand menu click on the “Digital Channels” option. 3. Click on “Chat”.
Functions
Left Panel: My Chats (Chat List Section)
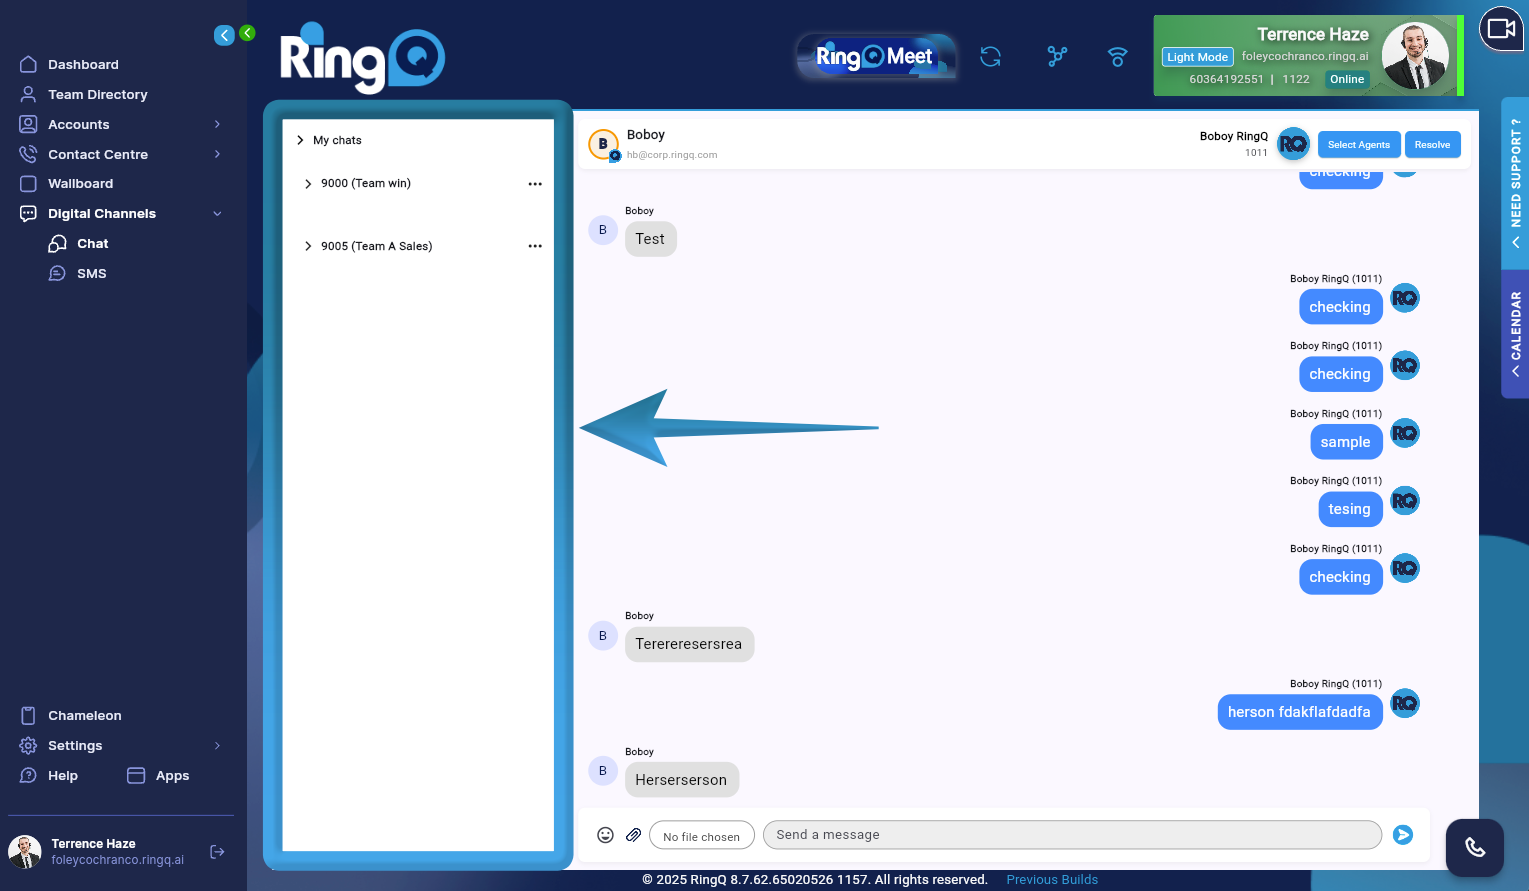
- My chats (collapsible) – Expands or collapses the entire chat list panel.
- Team / Queue Groups
- Each team represents a Queue or Team Assignment.
- Example:
- 9000 (Team win)
- 9005 (Team A Sales)
- Functions:
- Click to expand / collapse chats under the team
- Shows only chats assigned to that team
Chat Status
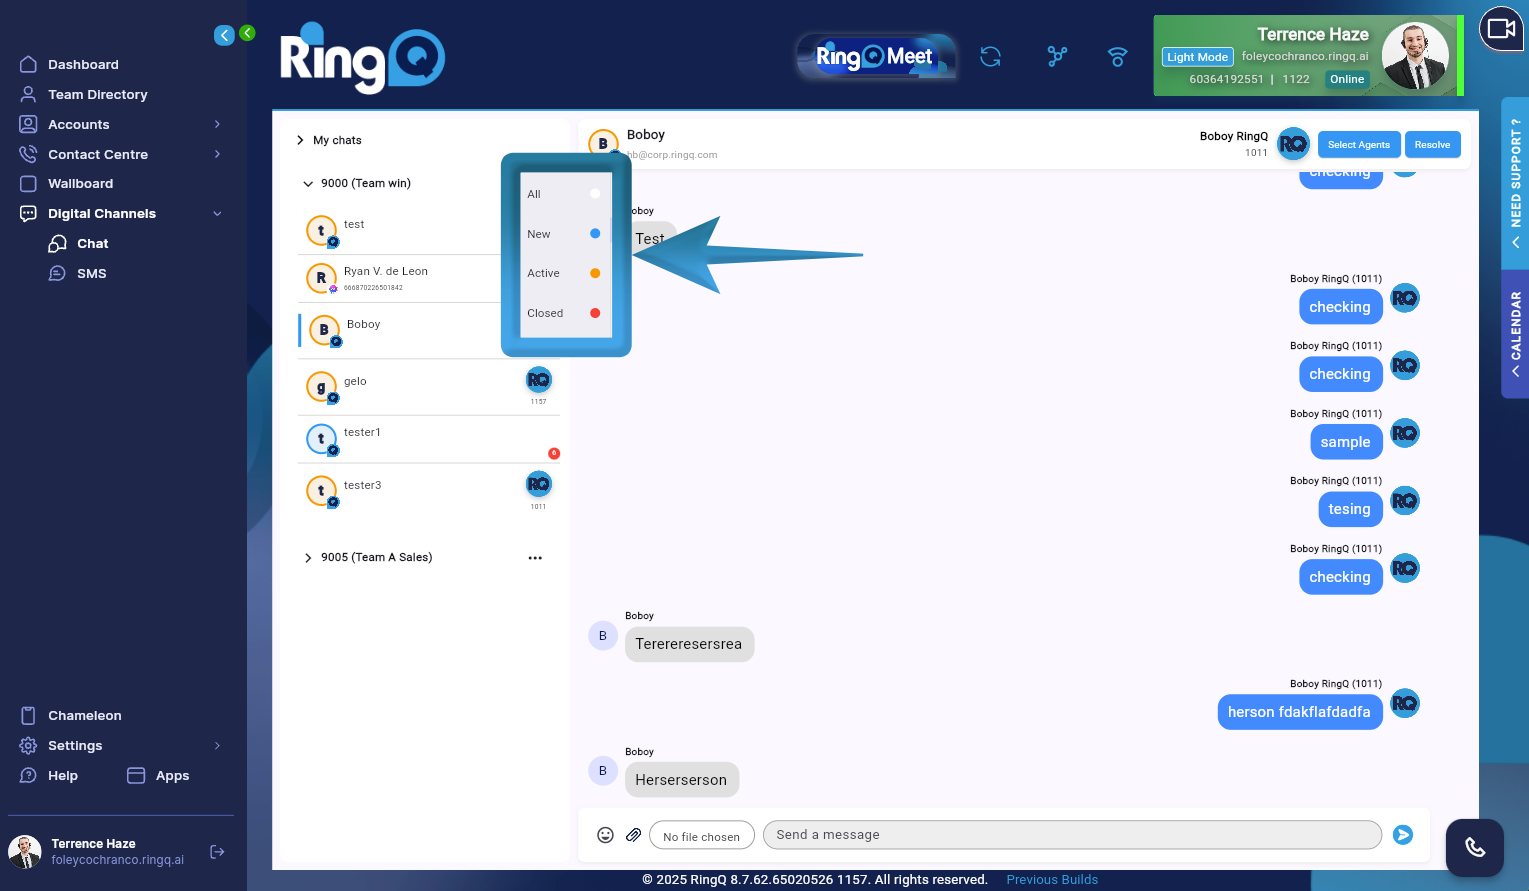
- Functions:
- Opens Chat Status Filter Menu All – Displays all chats
- New – Unread / newly received chats
- Active – Ongoing chats
- Closed – Resolved chats
- Each status is color-coded:
- Blue → New
- Orange → Active
- Red → Closed
Main Panel: Conversation Area
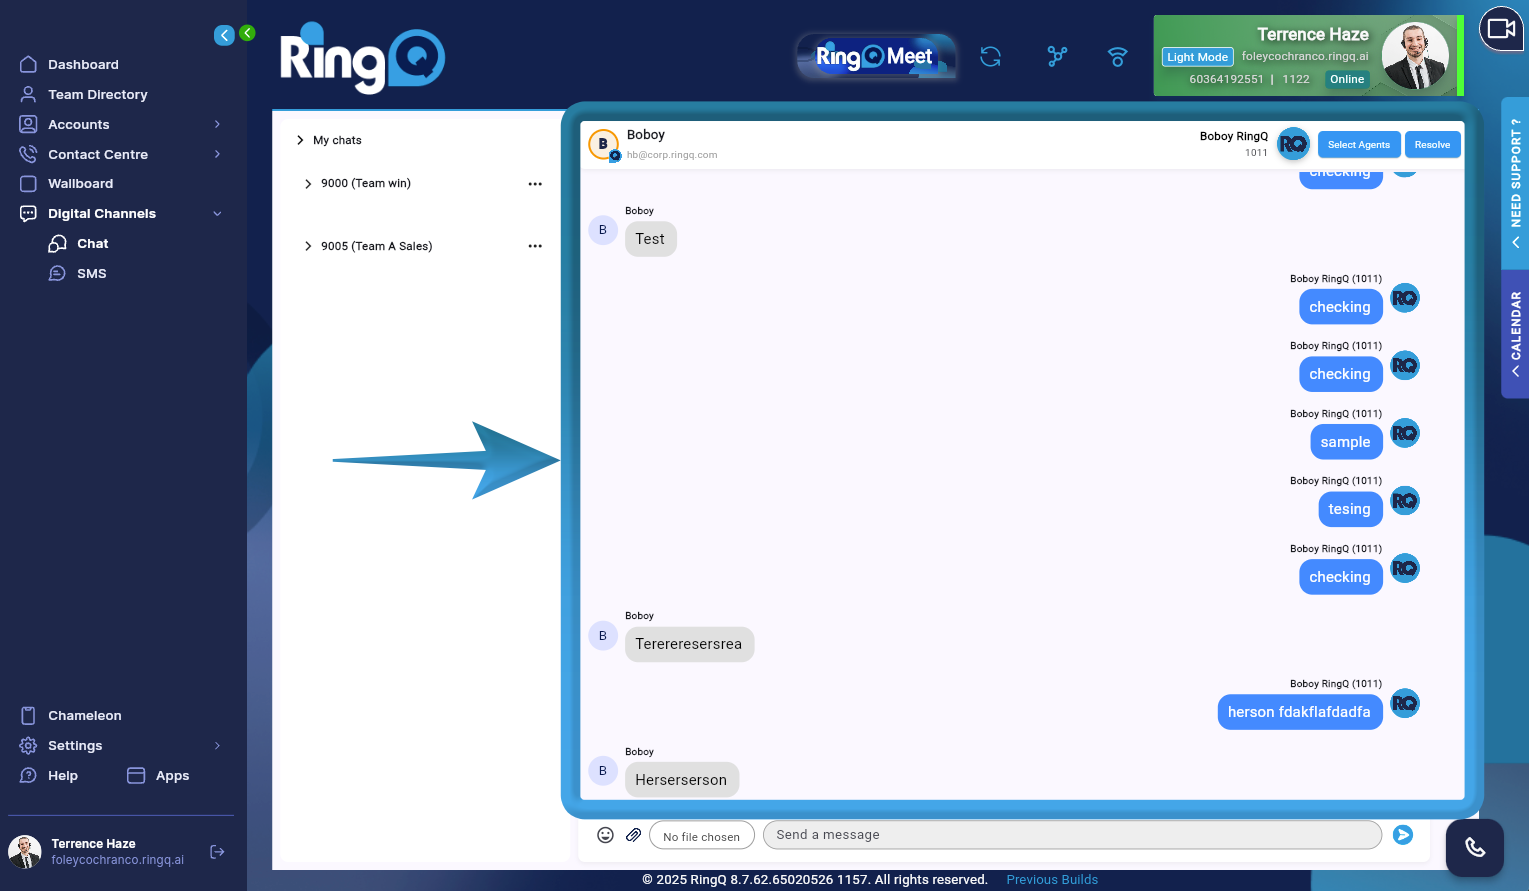
- Displays:
- Contact Name
- Contact Identifier (e.g., phone number / chat ID)
Assigning a Chat to an Agent
 1. Open the incoming chat message from the chat list.
2. Click the Assign Agent button.
1. Open the incoming chat message from the chat list.
2. Click the Assign Agent button.
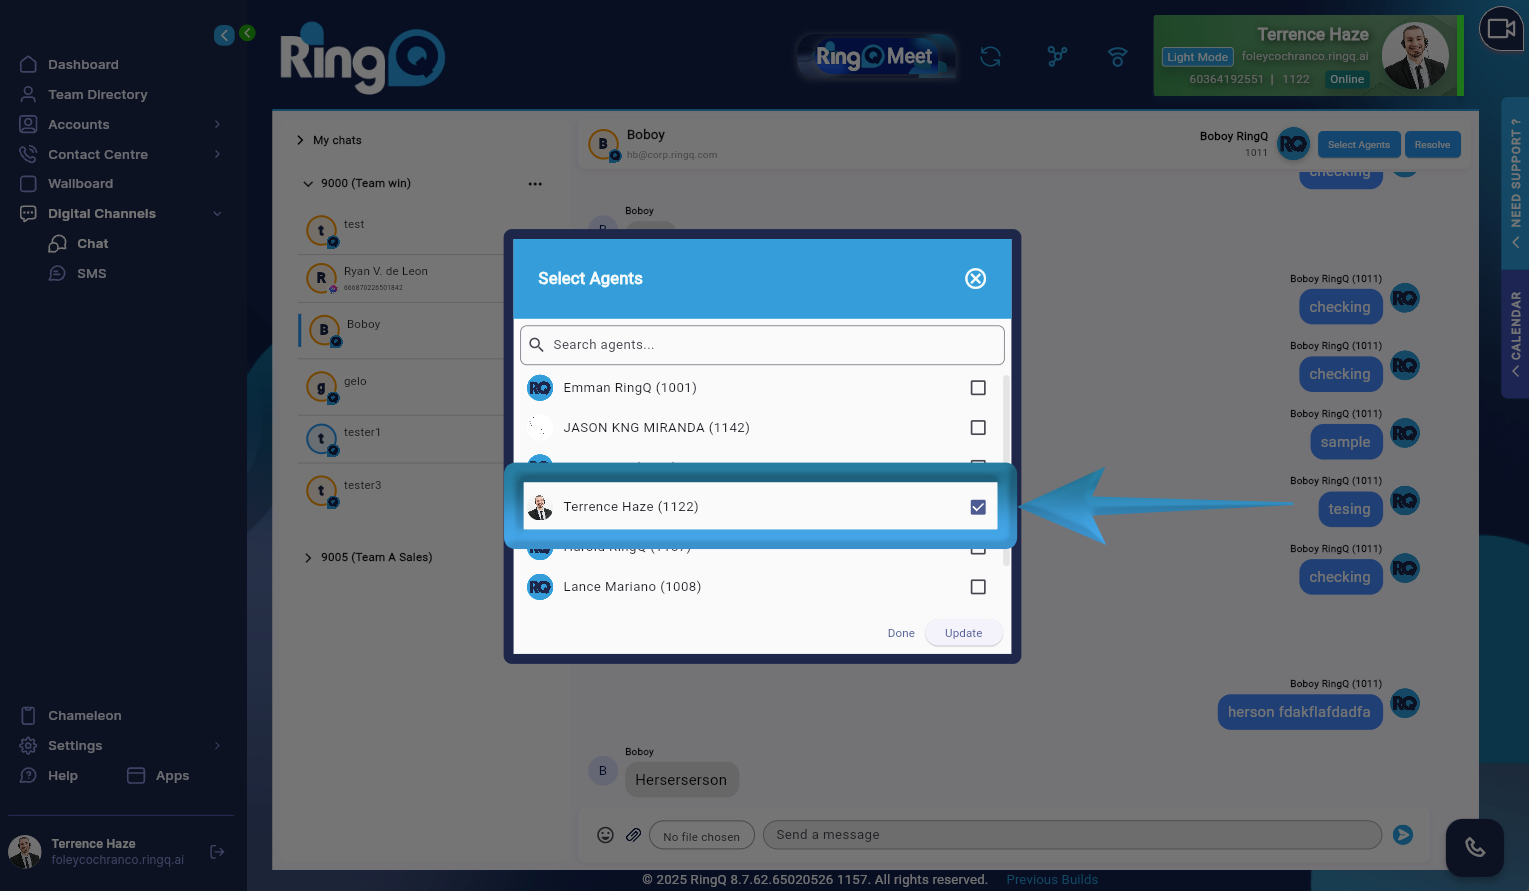 3. Select an agent from the list.
4. Click the update button to save changes.
5. Once assigned, the selected agent can immediately view, reply to, and manage the conversation.
Note: Only agents who are assigned to the same queue as the chat channel will be available for selection.
3. Select an agent from the list.
4. Click the update button to save changes.
5. Once assigned, the selected agent can immediately view, reply to, and manage the conversation.
Note: Only agents who are assigned to the same queue as the chat channel will be available for selection.
Replying to a Message
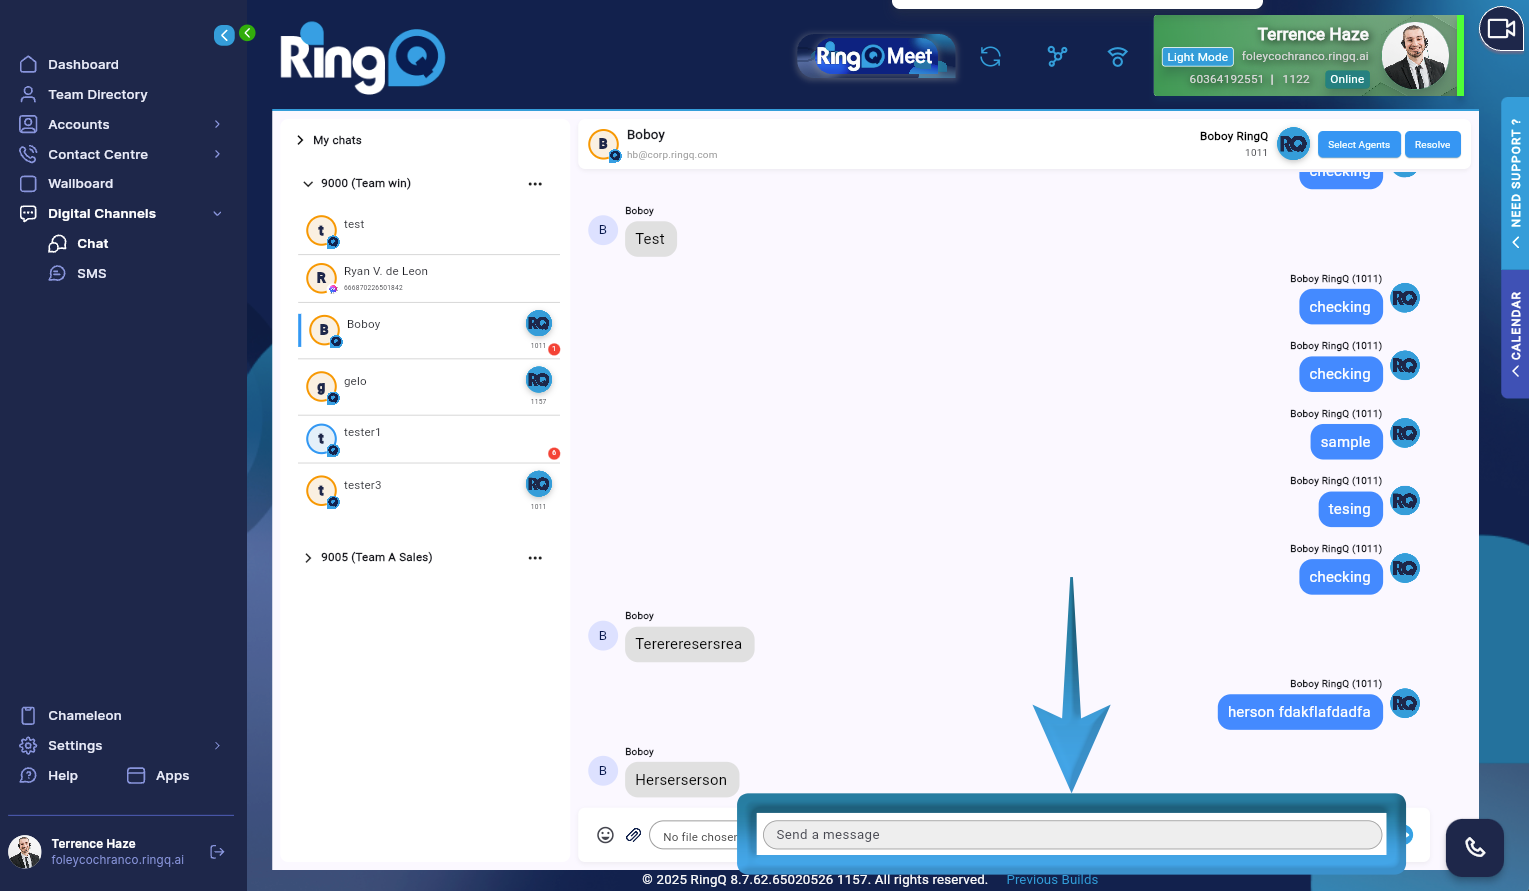 1. Type your response in the message input field.
2. Click Send or press Enter to deliver the message to the customer.
3. Continue the conversation as needed until the concern is fully addressed.
1. Type your response in the message input field.
2. Click Send or press Enter to deliver the message to the customer.
3. Continue the conversation as needed until the concern is fully addressed.
Resolving a Chat
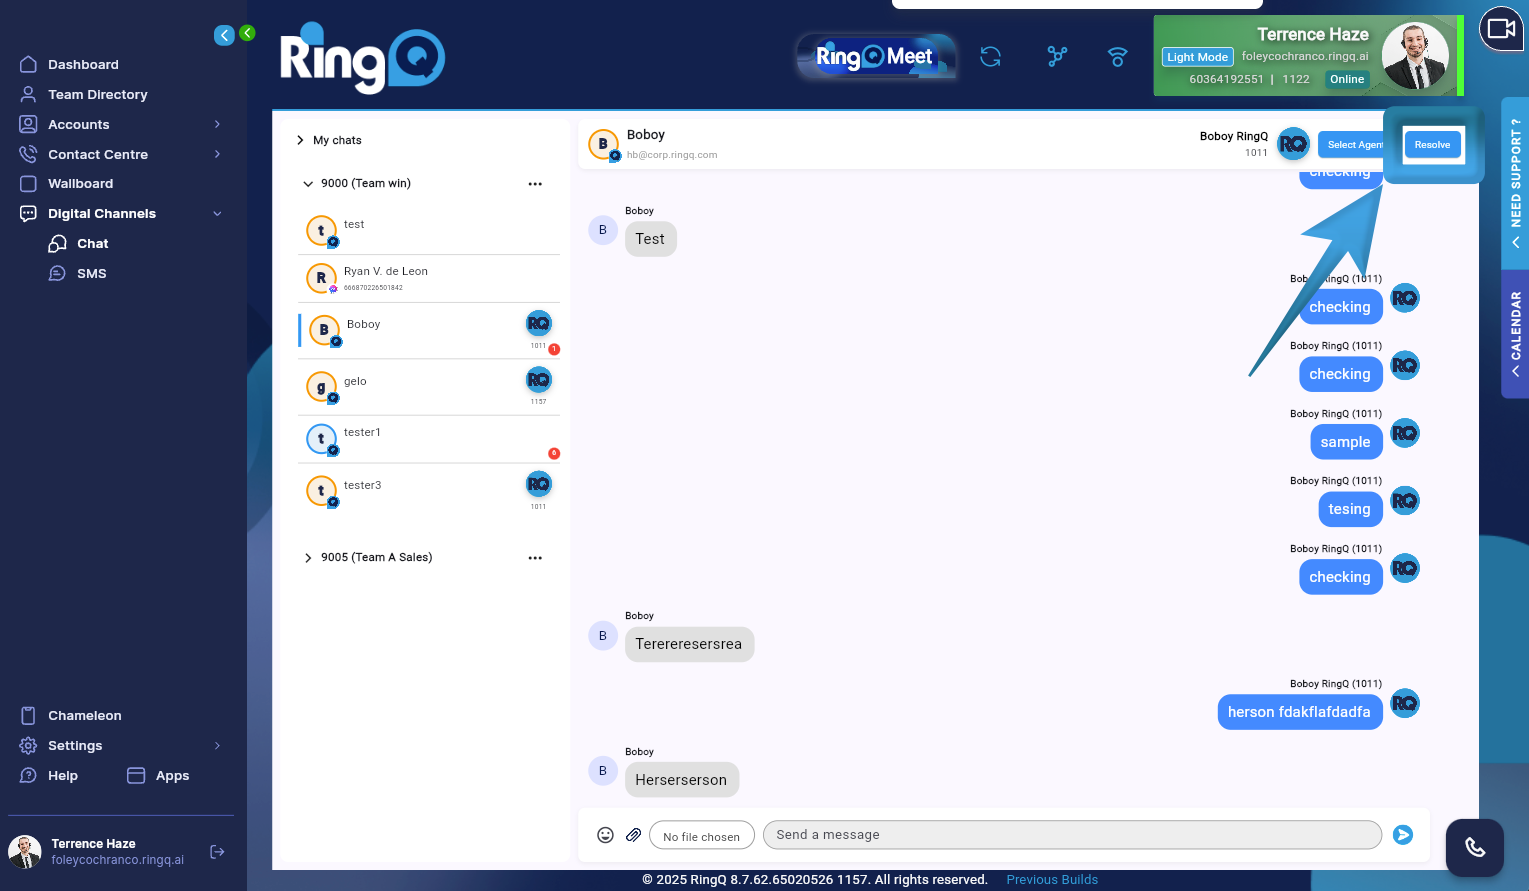 1. To close a chat, click the Resolve button.
2. Resolved chats will no longer appear in the active chat list but will remain available for reporting and history review.
1. To close a chat, click the Resolve button.
2. Resolved chats will no longer appear in the active chat list but will remain available for reporting and history review.