Introduction
When managing high call volumes or coordinating call handling across multiple endpoints, Call Parking is a critical telephony feature. RingQ’s Call Parking allows an active call to be placed into a virtual parking slot, where it remains on hold until it is retrieved from another extension or device. This is particularly useful for reception desks, shared extensions, and support teams operating across multiple phones.
This guide provides step-by-step instructions for using RingQ’s Call Parking feature, including how to park a live call and retrieve it from a different endpoint. It helps improve call distribution, reduce dropped calls, and enables more flexible call handling.
Parking a Call
1. While on an active call, navigate to the call screen and swipe up to access additional options. 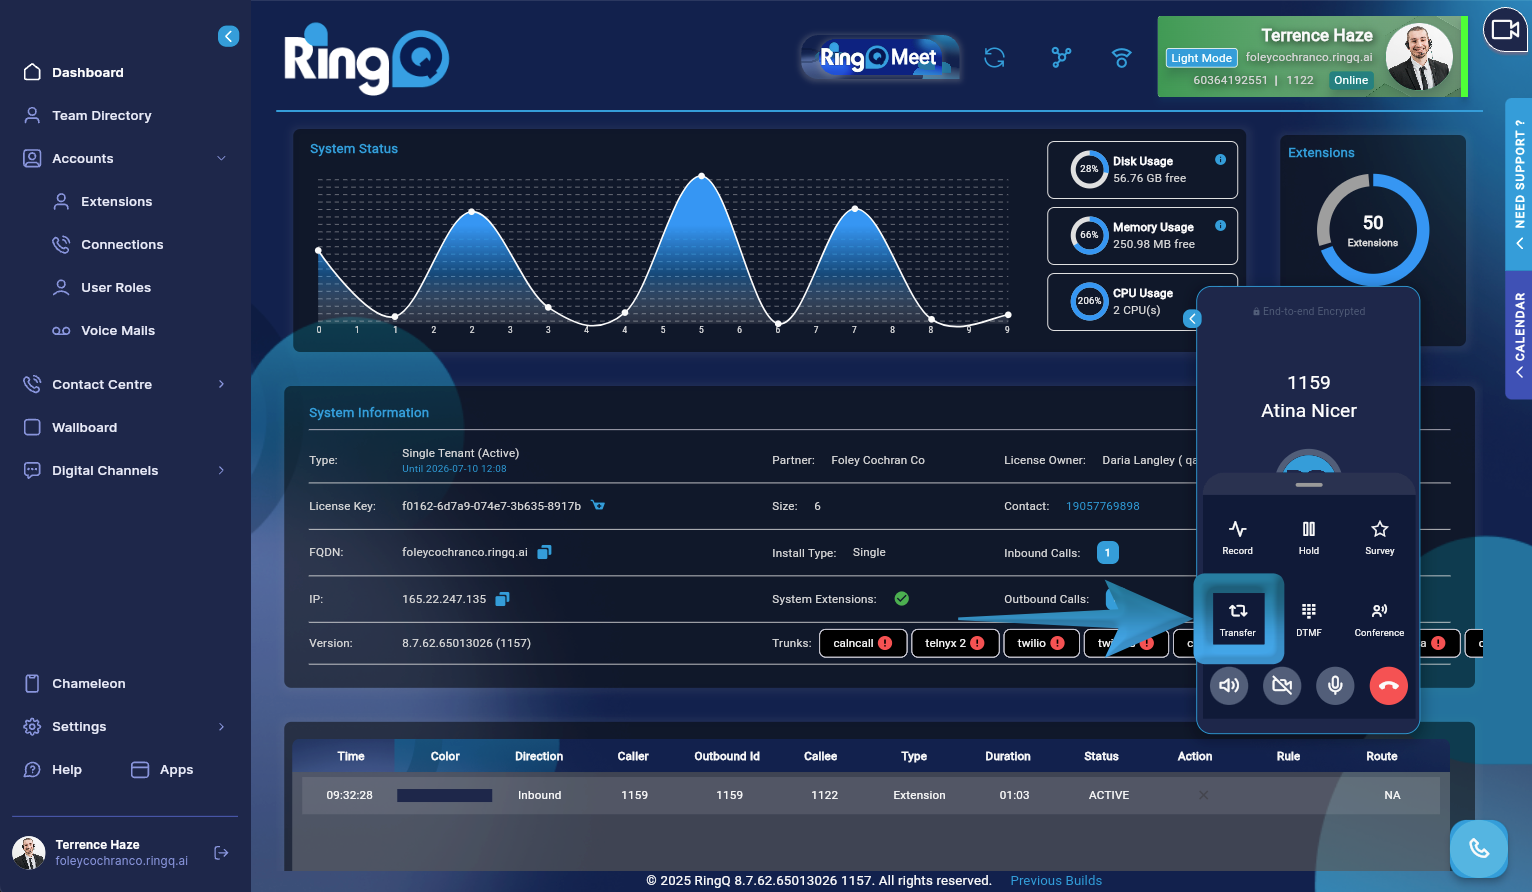
2. Tap the Transfer button to view transfer options, including numbered parking slots (e.g., 1 through 5). 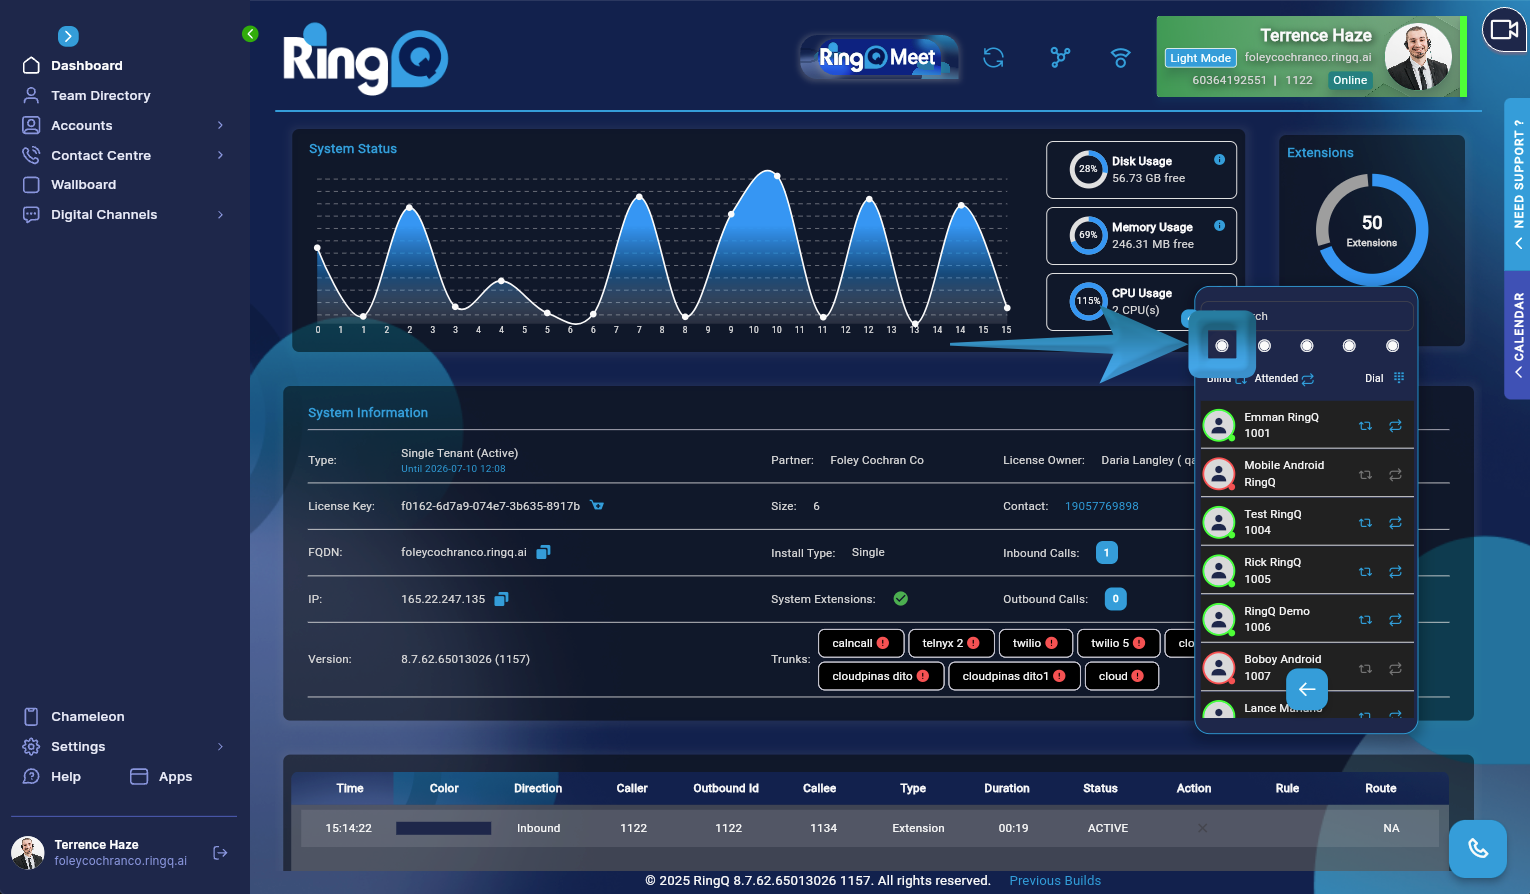
3. Choose an available parking slot to park the call. Each slot serves as a temporary holding area where the caller remains on hold.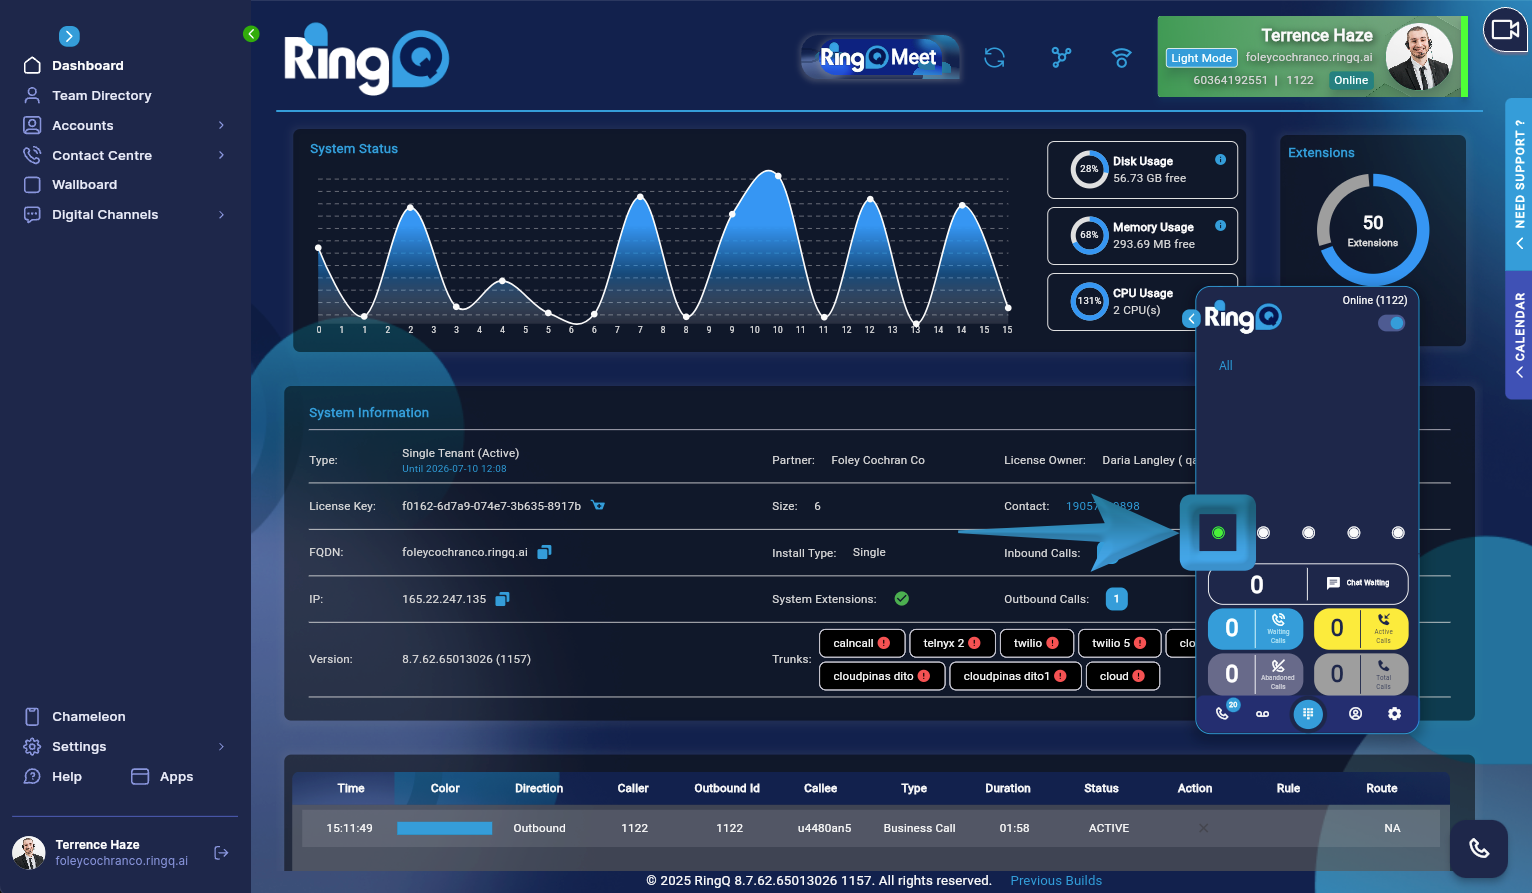
4. The caller is now placed in the selected parking slot, awaiting handling by the appropriate department or person.
Picking up a Parked Call
1. Navigate to the homepage of the Dialer or Mobile App where parked calls are displayed.
2. Look for blinking green lights. These lights indicate that calls are parked and awaiting retrieval.
3. Select the blinking green light on the desired parking slot to pick up the call.