Introduction
This guide shows you how to enable or disable notifications from your RingQ app on your Mac. You can choose to receive alerts for specific actions—or turn them off entirely—and also learn how to adjust your Mac’s Do Not Disturb settings for better focus and control.
Accessing Notification Settings
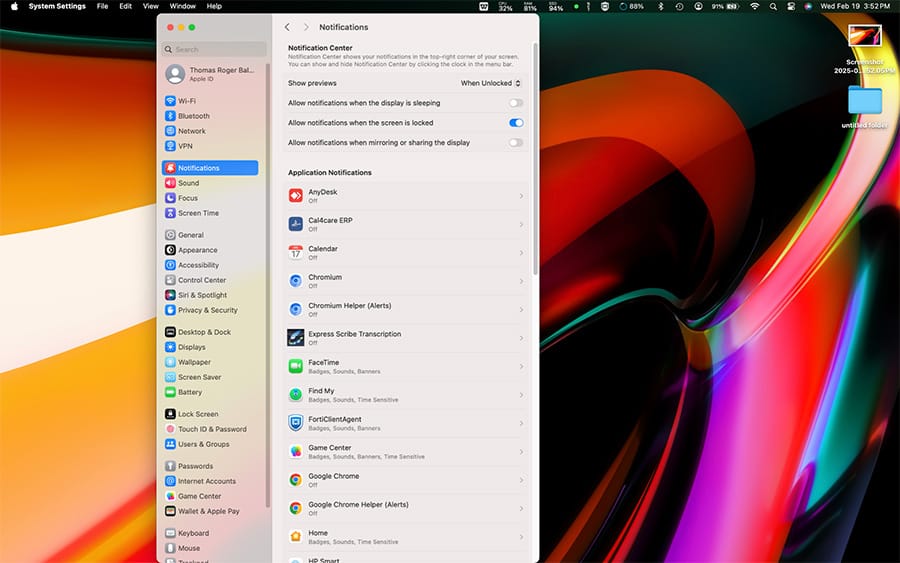
To access notification settings on your Mac: 1. Click the Apple menu in the top-left corner of your screen 2. Select “System Settings” (or “System Preferences” on older macOS versions) 3. Click on “Notifications”
Customizing Notification Style
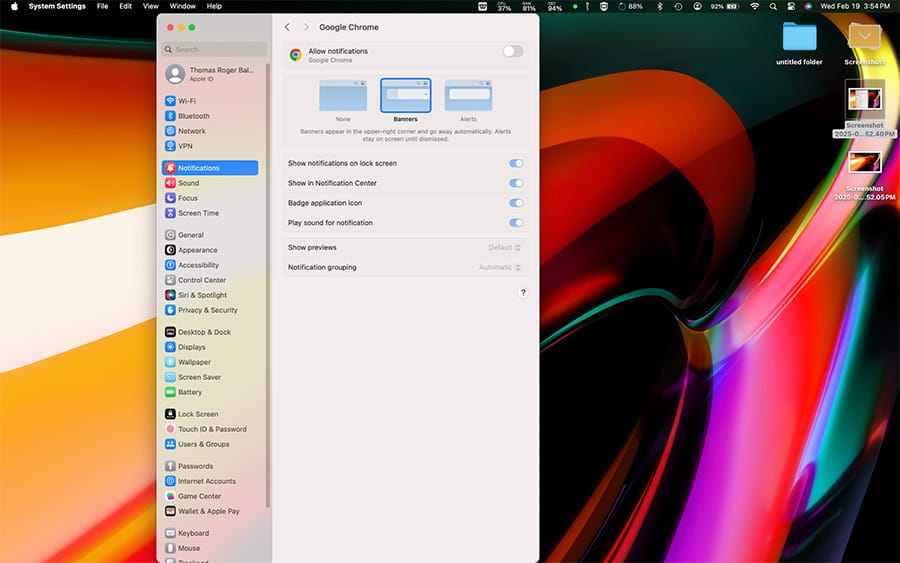
For each app, you can customize how notifications appear:
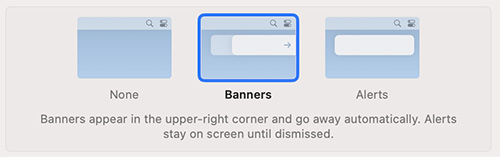
- None: No notifications will be displayed
- Banners: Notifications appear in the corner and disappear automatically
- Alerts: Notifications appear and stay on screen until dismissed
Additional Settings:
- Show notifications on lock screen
- Show in Notification Center
- Play sound when receiving notifications
- Show notification preview
- Badge app icon (show the red number indicator)
- Play sound for notification
Setting Up Focus Modes
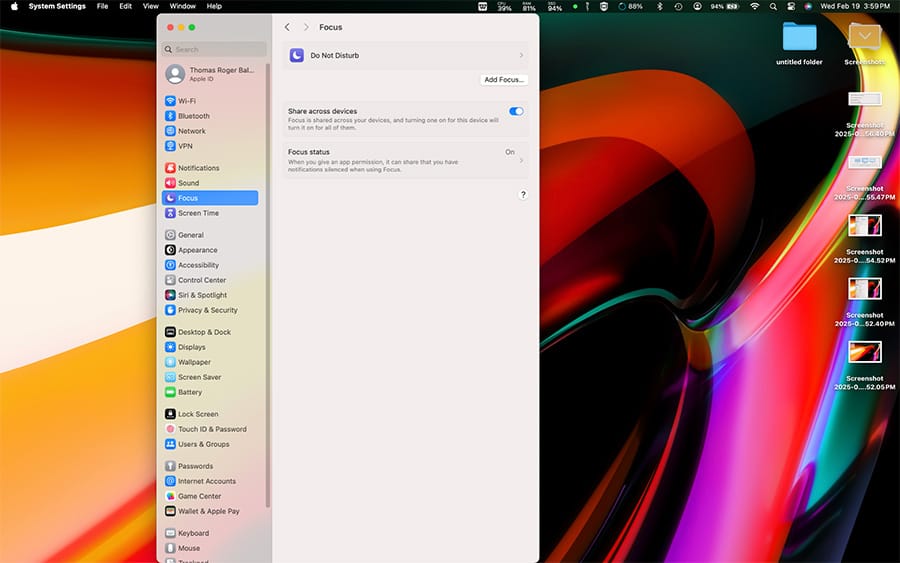
Focus modes help you control when and which notifications you receive: 1. Go to System Settings > Focus 2. Choose from preset modes (Do Not Disturb, Personal, Work, Sleep) or create a custom mode 3. For each Focus mode, set:
- Which people can notify you
- Which apps can notify you
- Automation schedule (when the mode activates)
Troubleshooting
Check Notification Center 1. Click the date/time in the menu bar to open Notification Center 2. Make sure you don’t have Focus mode enabled (look for moon icon in menu bar) Verify App Settings 1. Confirm the app is allowed to send notifications 2. Check if the app has its own notification settings in its Preferences System-Wide Issues 1. Restart your Mac 2. Ensure you’re running the latest macOS version 3. Check if “Do Not Disturb” is scheduled or manually enabled
Additional Tips
- Notification Center: Swipe left from the right edge of your trackpad or click the date/time in the menu bar to access Notification Center
- Quick Actions: You can often interact with notifications directly (reply to messages, mark tasks complete)
- Temporary Muting: Option-click the menu bar clock to quickly enable Do Not Disturb