Introduction
This guide provides a step-by-step overview of integrating the LINE Messaging API with RingQ. It covers the core setup process, including channel configuration, webhook implementation, authentication, and message handling. You’ll learn how to establish a secure connection between LINE’s platform and RingQ, enabling bidirectional messaging, event-driven workflows, and automated response logic. By the end of this guide, you’ll have a functional integration capable of sending, receiving, and processing messages in real time.
Prerequisites
To use the Messaging API, you must first create a channel. This is done by creating a LINE Official Account and enabling the Messaging API for that account.
This guide outlines the process in two main steps:
- Create a LINE Official Account
- Enable the Messaging API for the account
If you already have a LINE Official Account, you may proceed directly to Step 2.
What is a Channel?
A channel serves as a communication pathway that allows providers to use LINE platform features such as the Messaging API and LINE Login within their services.
To access these features, a channel is required. Once created, you can use Messaging API functionalities using channel-specific credentials, such as the access token.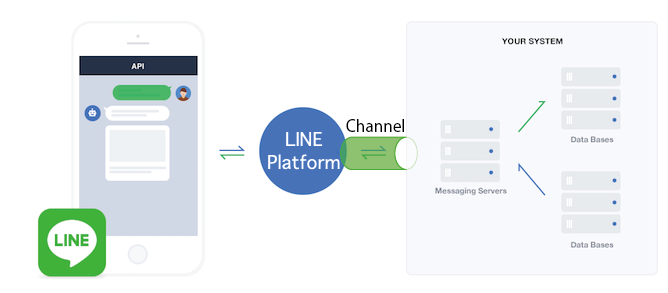
Step 1: Create a LINE Official Account
Before using the Messaging API, you must create a LINE Official Account by following these steps:
1. Register for Business ID
2. Fill in the entry form
3. Check your LINE Official Account
Register for a Business ID
To create a LINE Official Account, you need a Business ID. You can register using either your LINE account or your email address.
Complete the Entry Form
After registering for a Business ID, you will be prompted to fill out the LINE Official Account application form. Provide all required details and submit the form to create your account.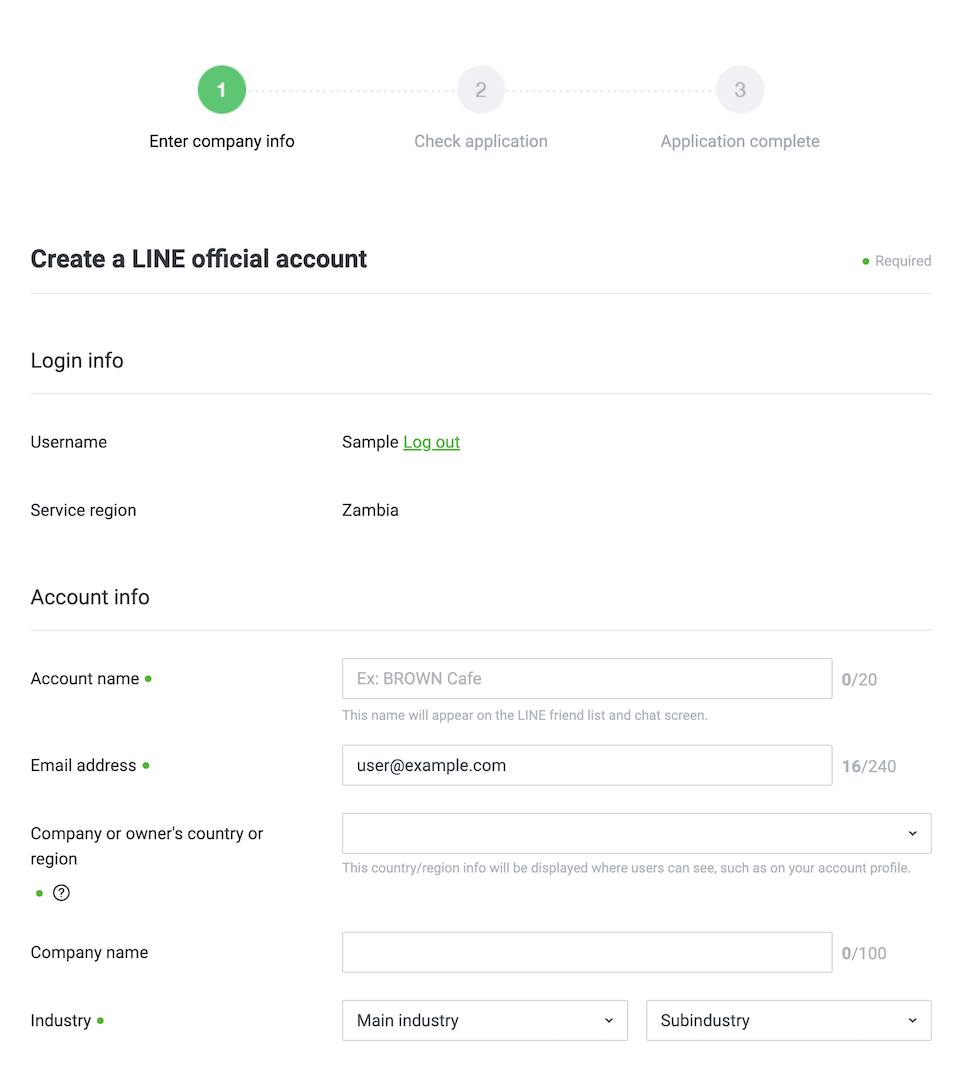
Verify Your Account
Once completed, your LINE Official Account will be created.
You can verify this by accessing the LINE Official Account Manager.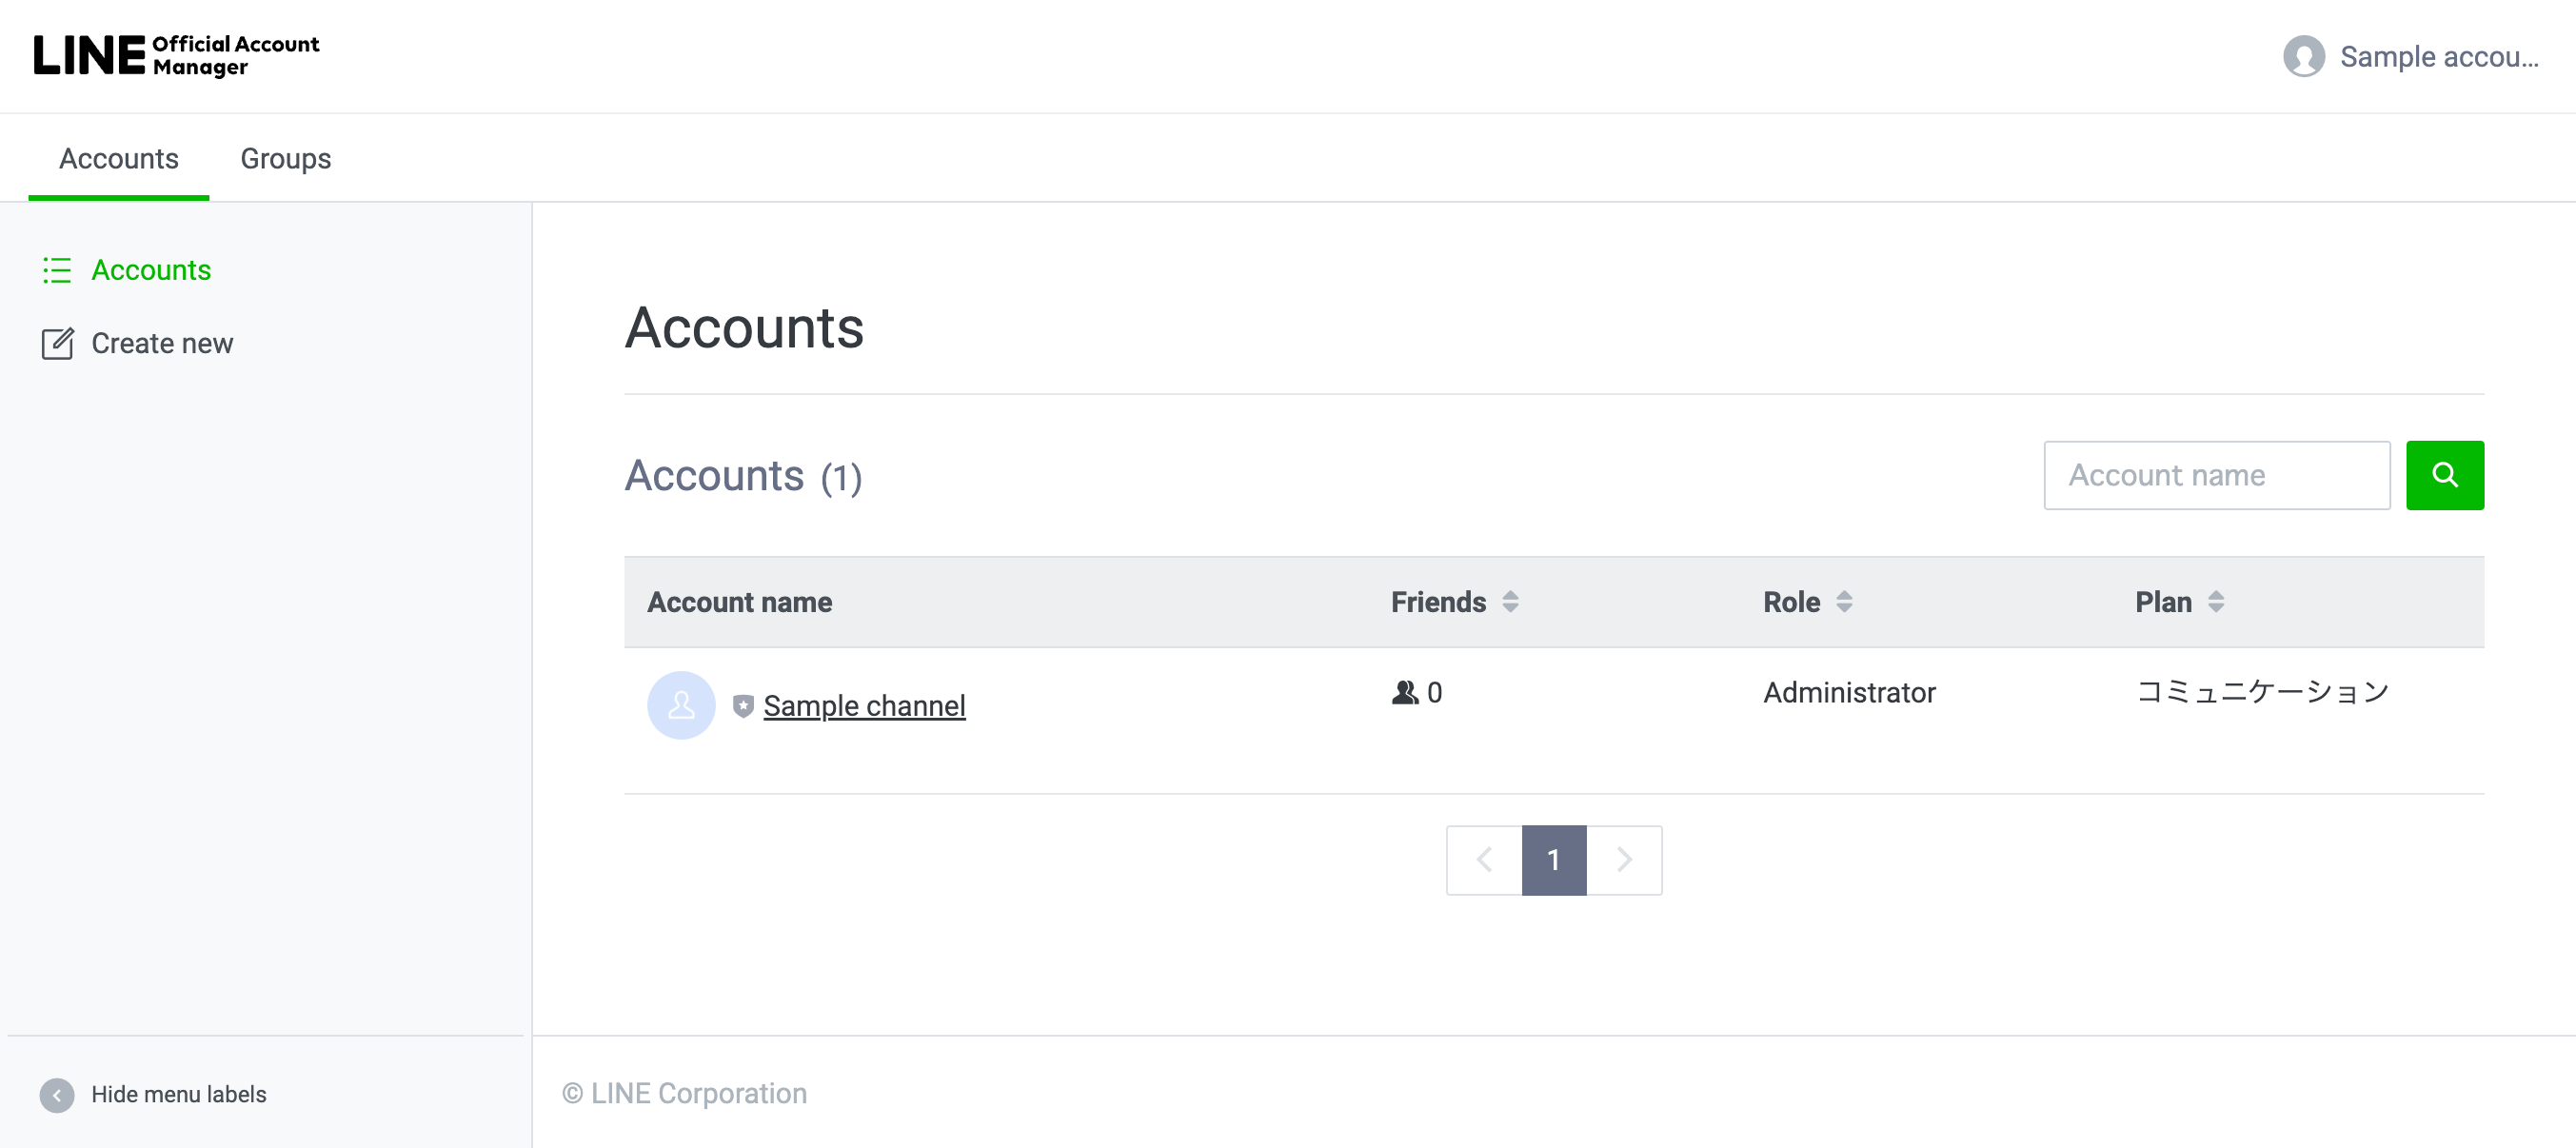
Step 2: Enable the Messaging API for your LINE Official Account
By enabling the use of the Messaging API for the LINE Official Account you created, a Messaging API channel will be created. Follow the steps below to enable the use of the Messaging API from the LINE Official Account Manager:
1. Enable the use of the Messaging API
2. Log in to the LINE Developers Console
3. Check that you have a channel
Enabling the Messaging API for your LINE Official Account will automatically create a Messaging API channel.
1. In the LINE Official Account Manager, enable the Messaging API feature. If your account has not been used in the LINE Developers Console before, you will be prompted to register developer information (name and email).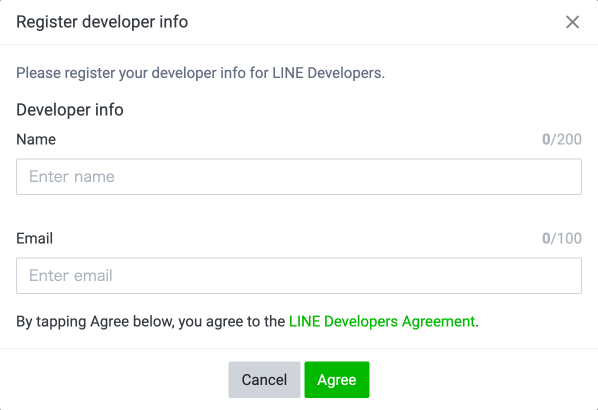
2. Select a provider to manage your account.
Important:
Once a provider is assigned, it cannot be changed or removed.
Carefully consider your selection, especially in the following cases:
- Channels managed by different individuals or companies
- Multiple unrelated services under one provider
- Providers managed by third-party service platforms
- Incorrect selection may lead to limitations, such as:
- Inability to transfer channels between providers
- Different user IDs across providers
3. Access the LINE Developers Console using the same account used for the LINE Official Account Manager.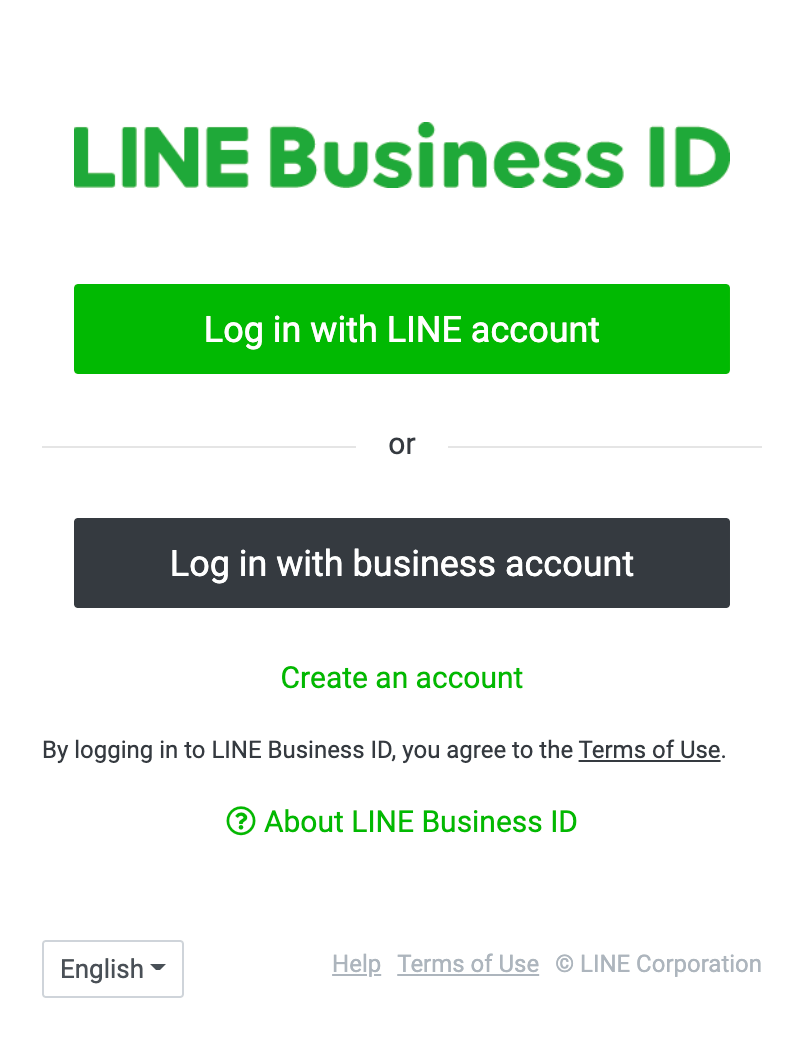
4. Select the provider chosen earlier and verify that the Messaging API channel has been successfully created.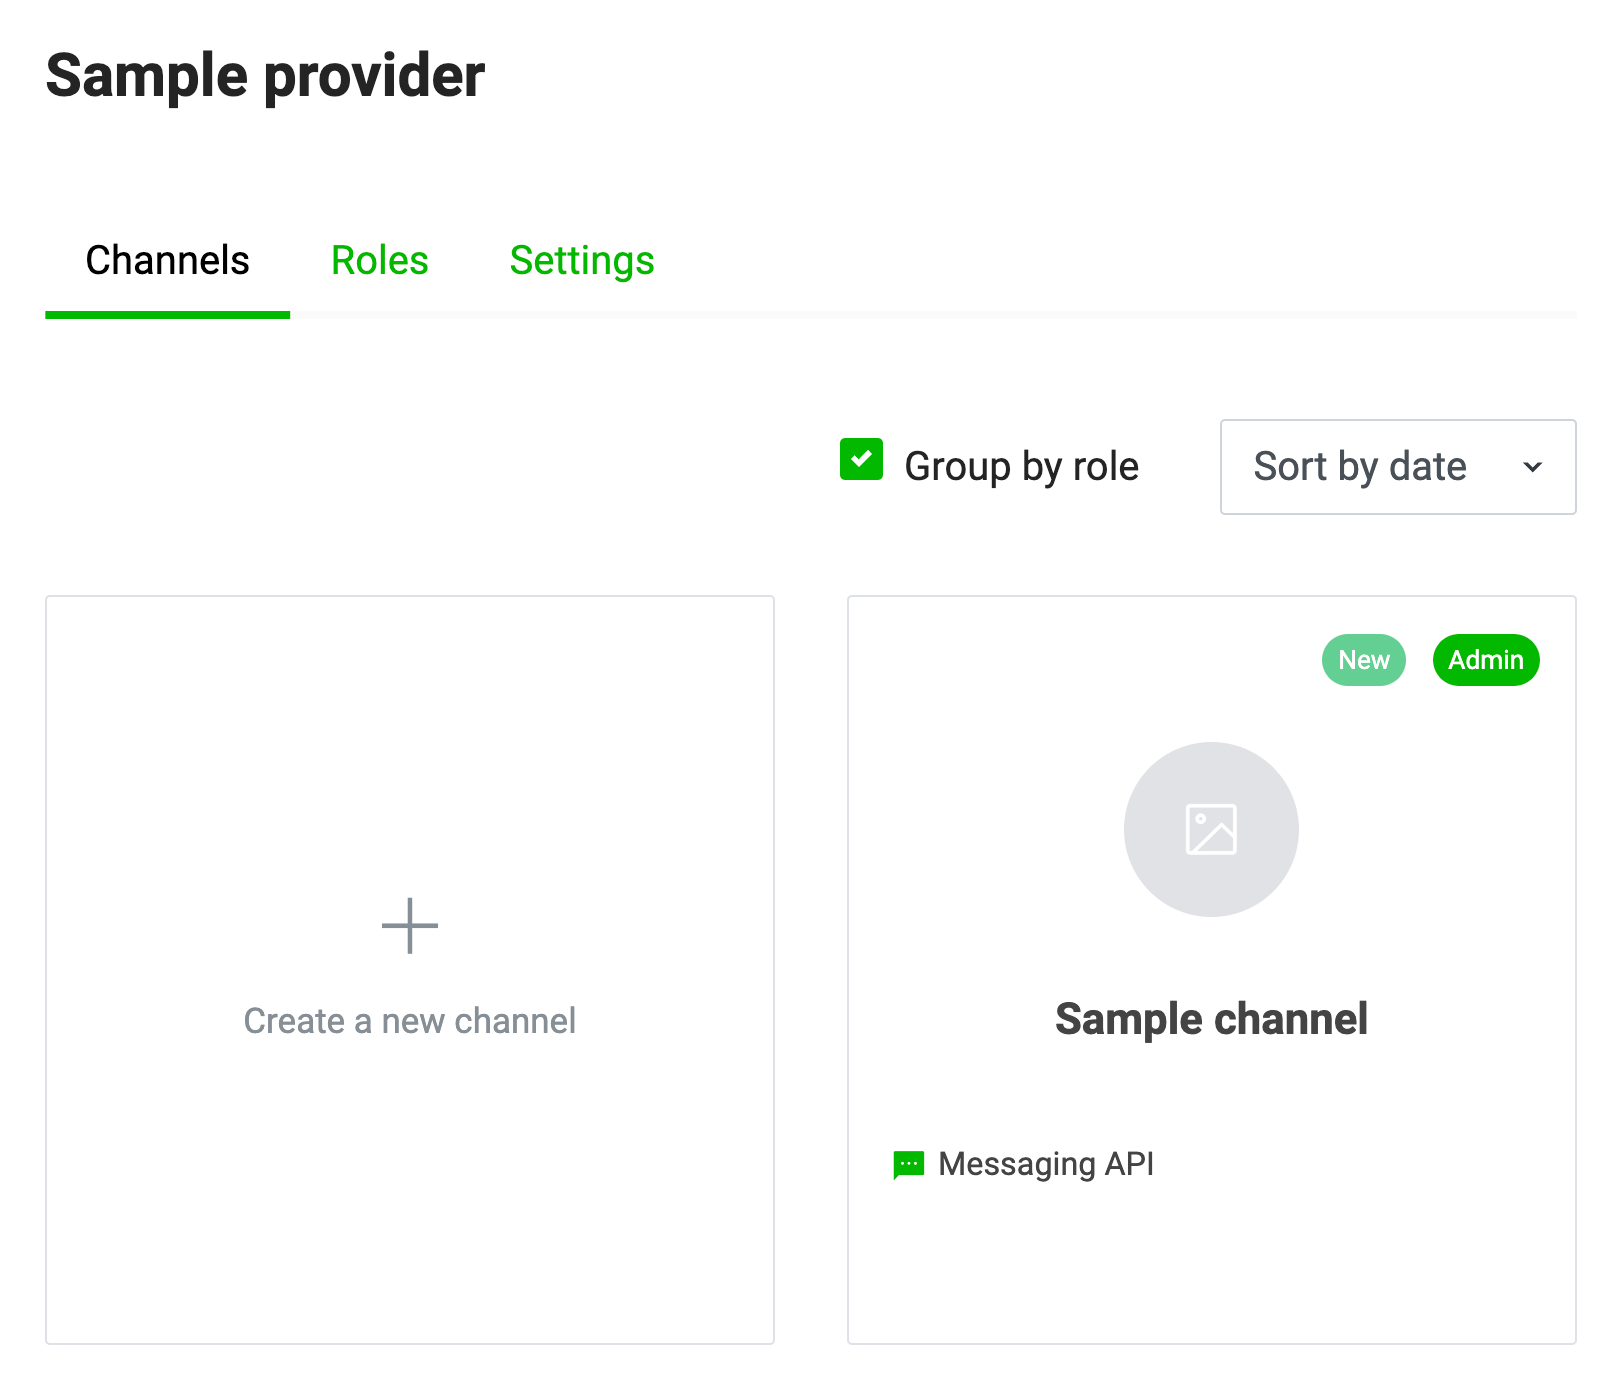
You can now proceed to configure and integrate the Messaging API into RingQ by following the Configuring LINE Chat in the Web App guide.