Introduction
This guide explains how to configure Facebook Chat on the RingQ Web App. It covers the required settings and steps to connect your Facebook page, enabling you to manage customer messages directly within RingQ.
Prerequisites
- Administrator access to the RingQ Web App.
- Access to a Meta for Developers account.
- Administrator of the Facebook Page that will be connected to RingQ.
- Your Facebook account can complete security or identity verification, if prompted (approval notification or verification code via email/SMS). Learn more.
Set Facebook as your Chat Channel
1. Sign in to your RingQ web app using your admin credentials.
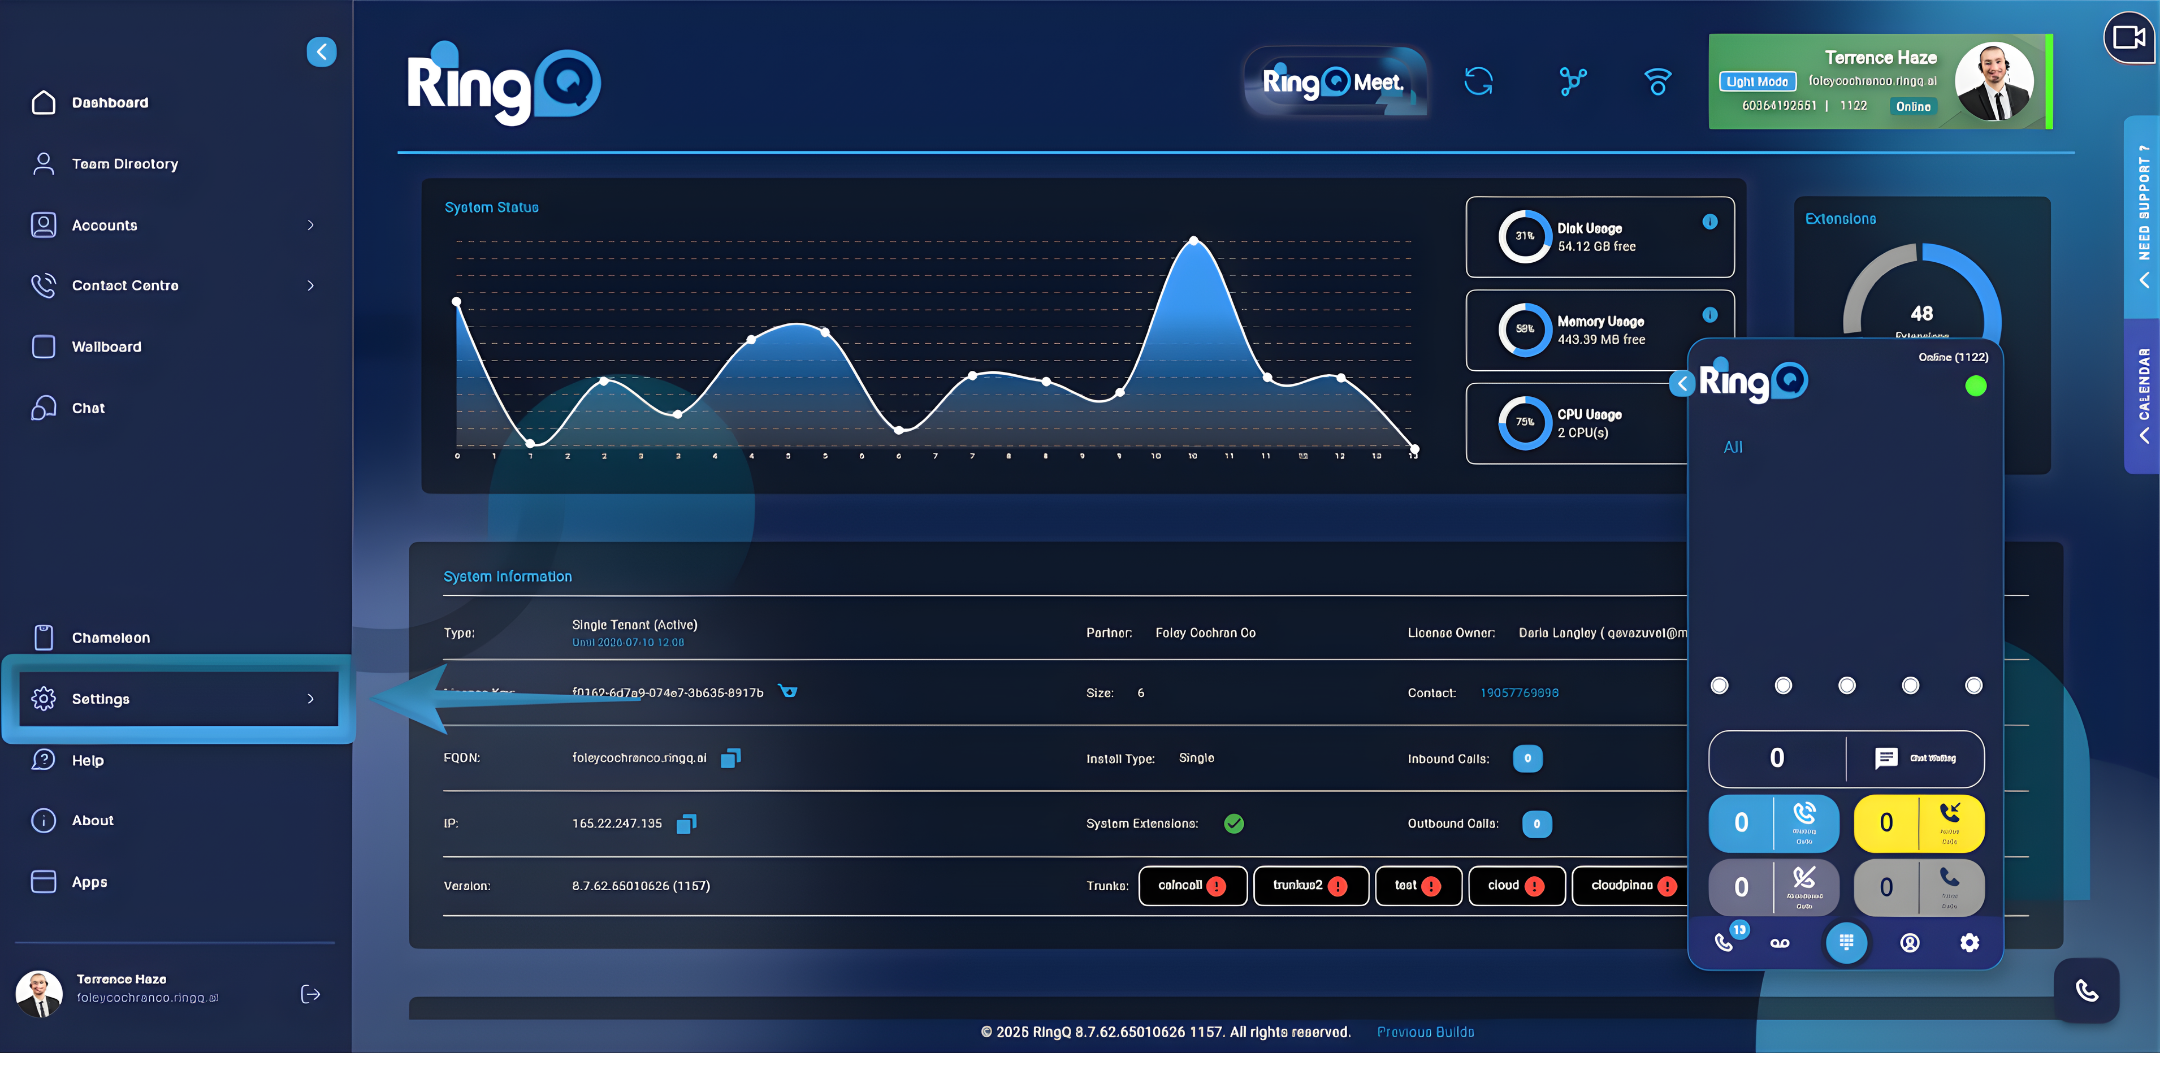
2. Navigate to the chat channel settings.
3. From the main menu, go to Settings.
4. Select Global Settings.
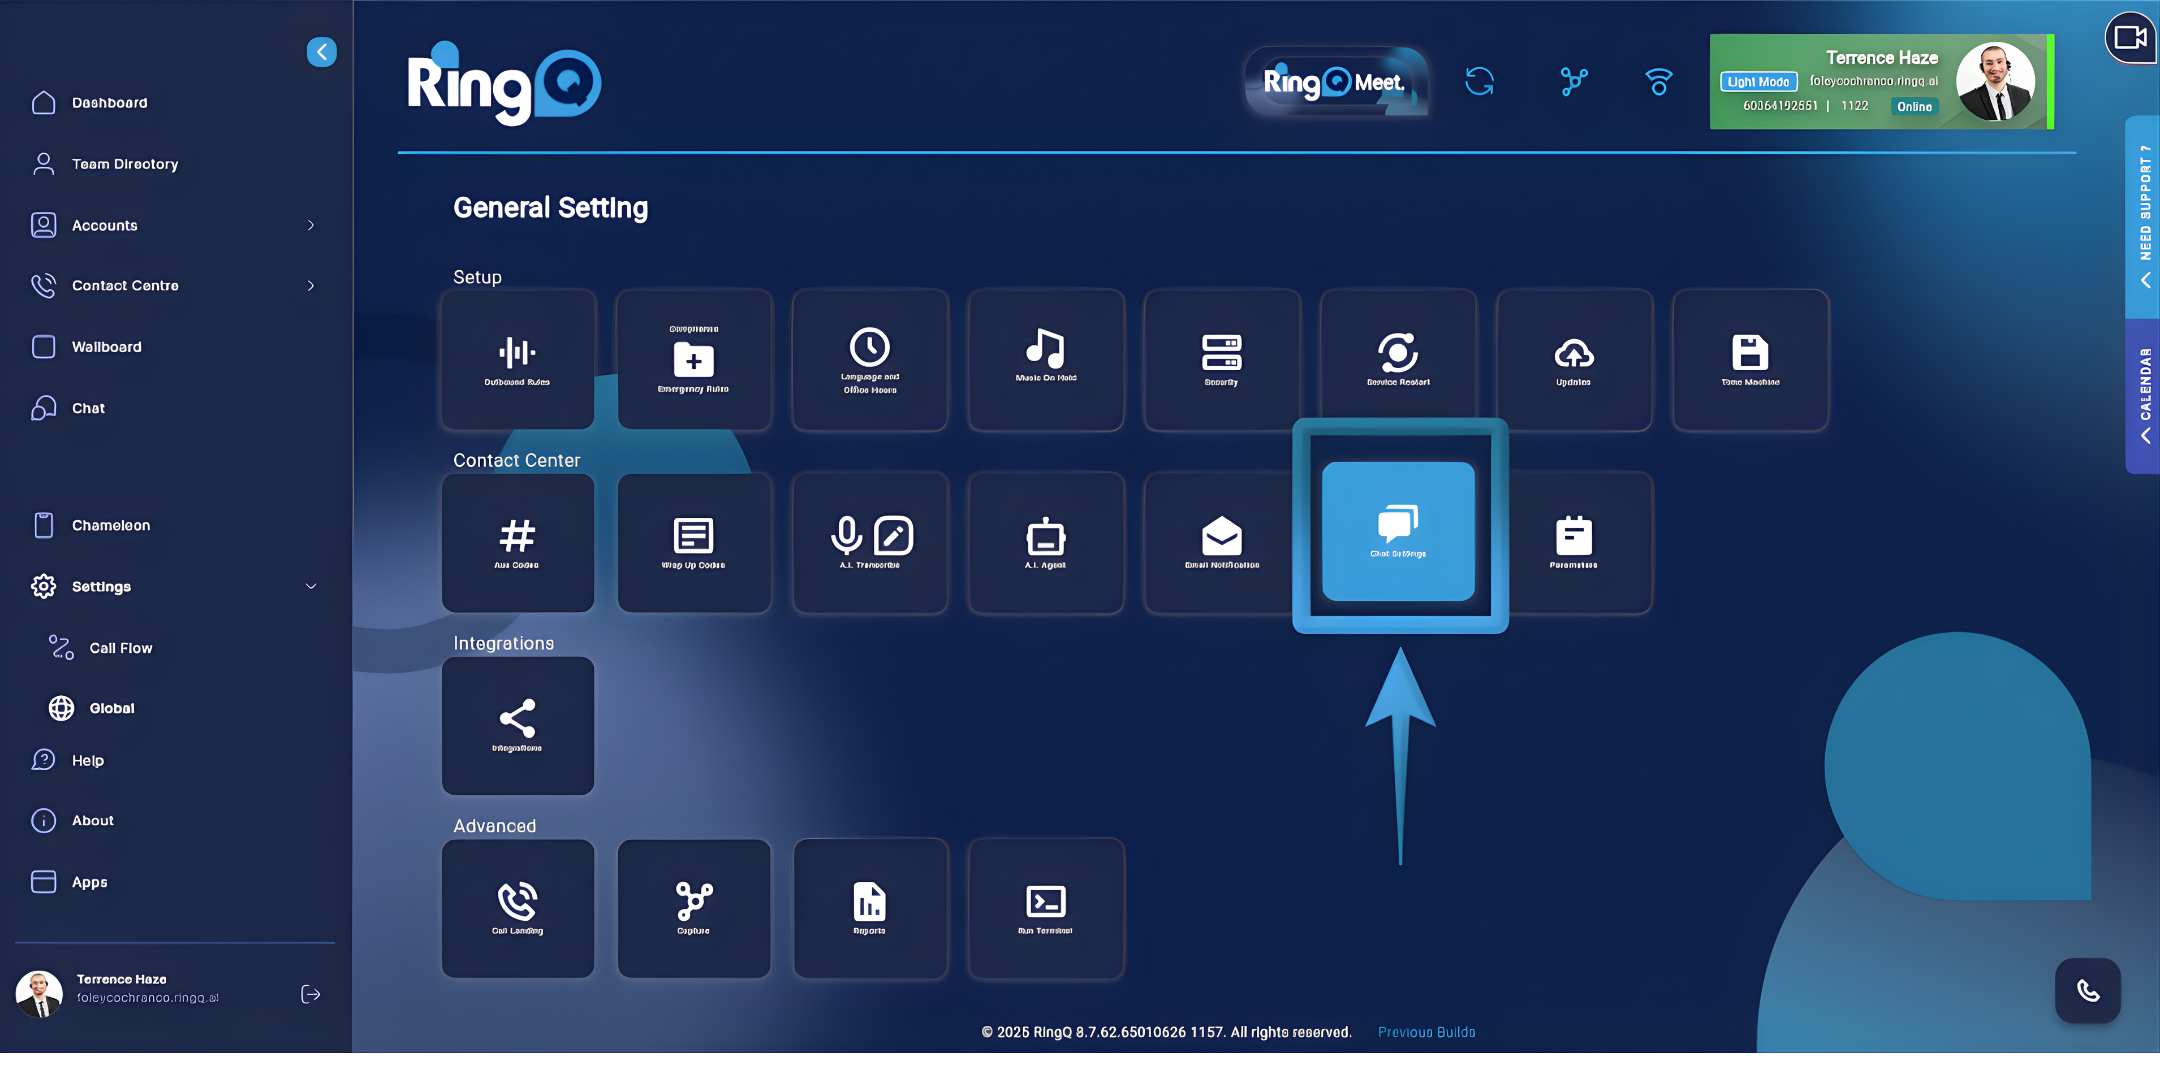
5. Click on Chat Settings.
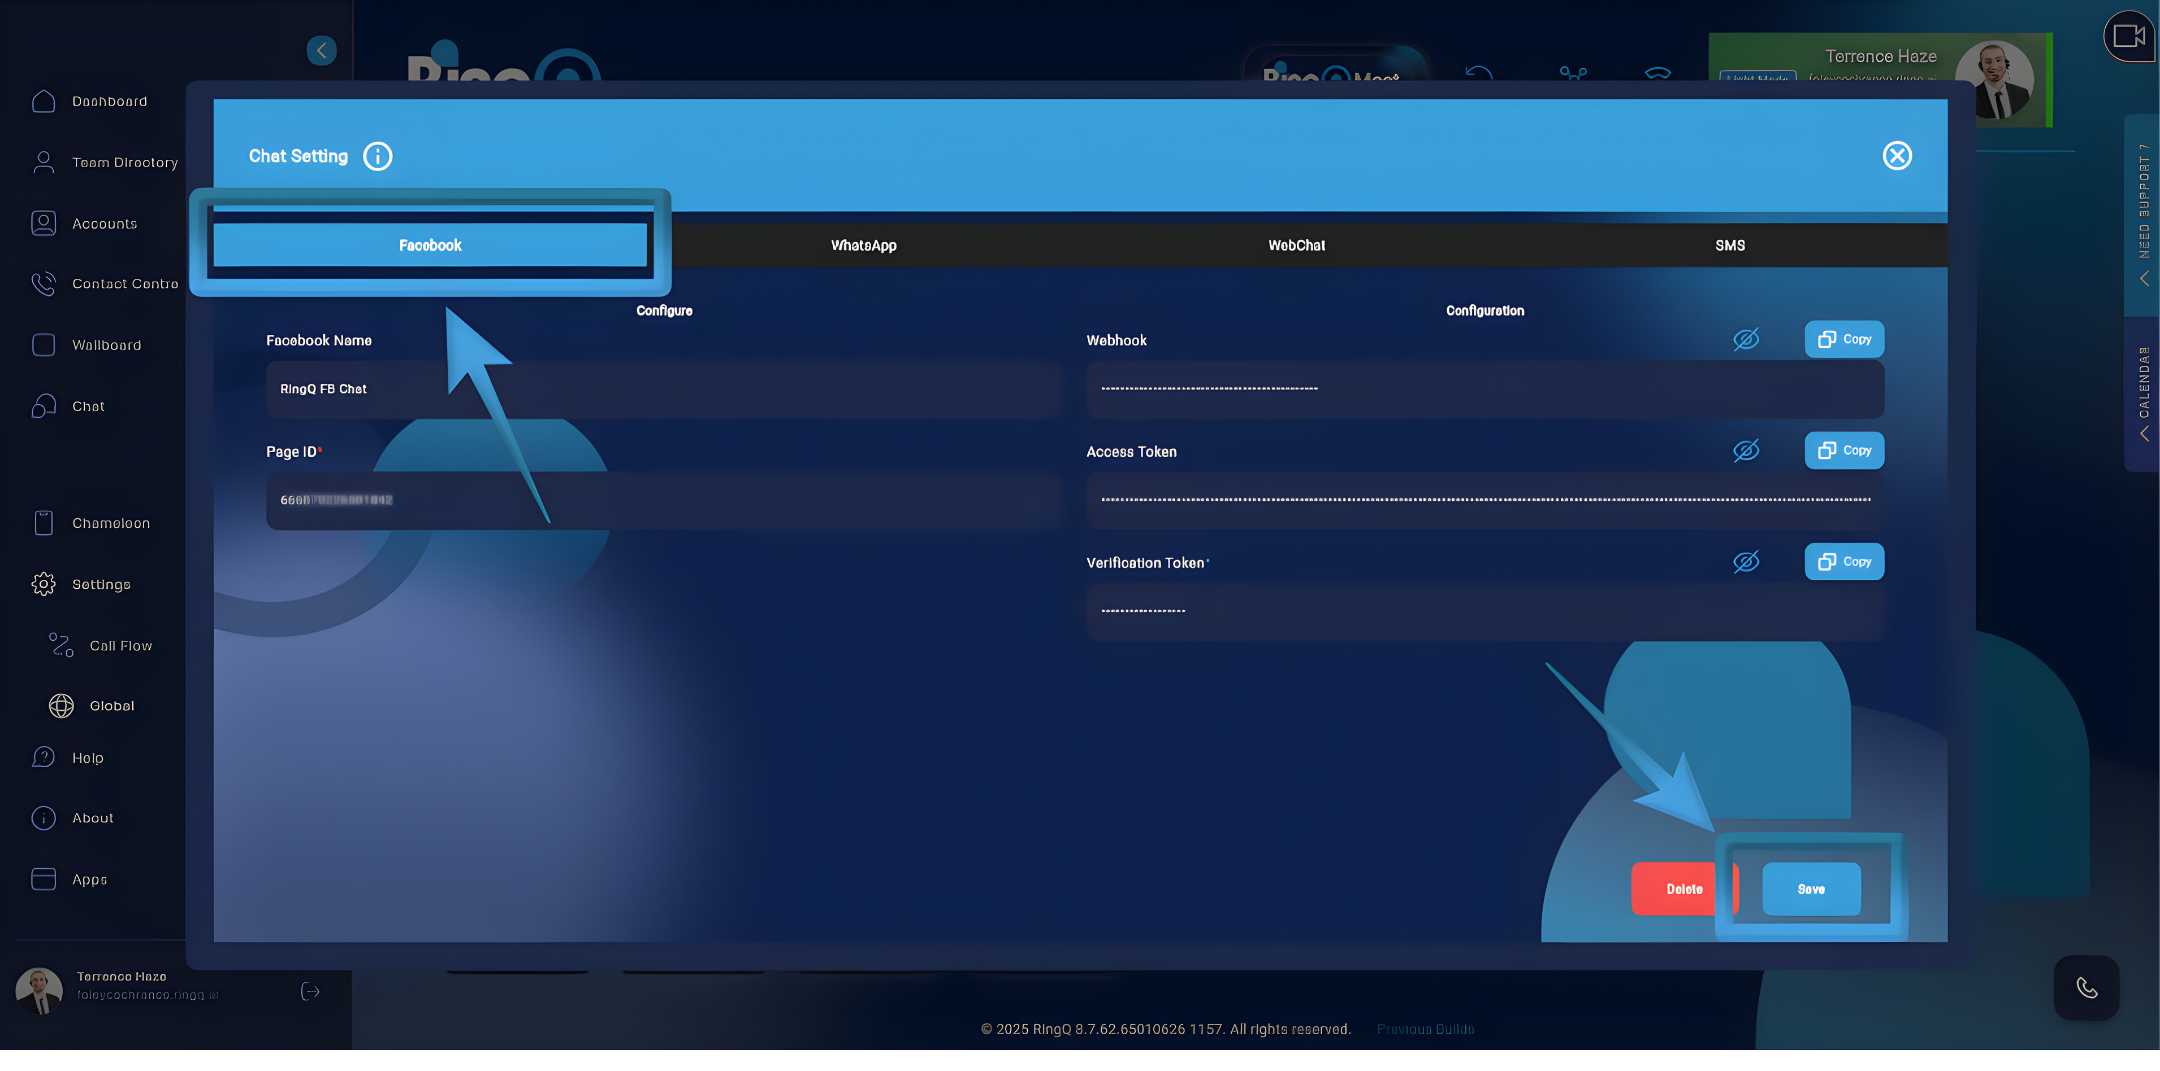
6. In the Chat Settings page, locate the list of available chat channels. Select Facebook to begin the configuration process.
At this point, RingQ is ready to accept Facebook-specific configuration details such as Page ID, Webhook, Access Token, and Verification Token.
Configuring Facebook
 To make the configuration easier, we suggest you gather all required details beforehand and note them down.
To do so follow this guide: Meta for Developers – Login Instructions for Facebook-Registered Accounts
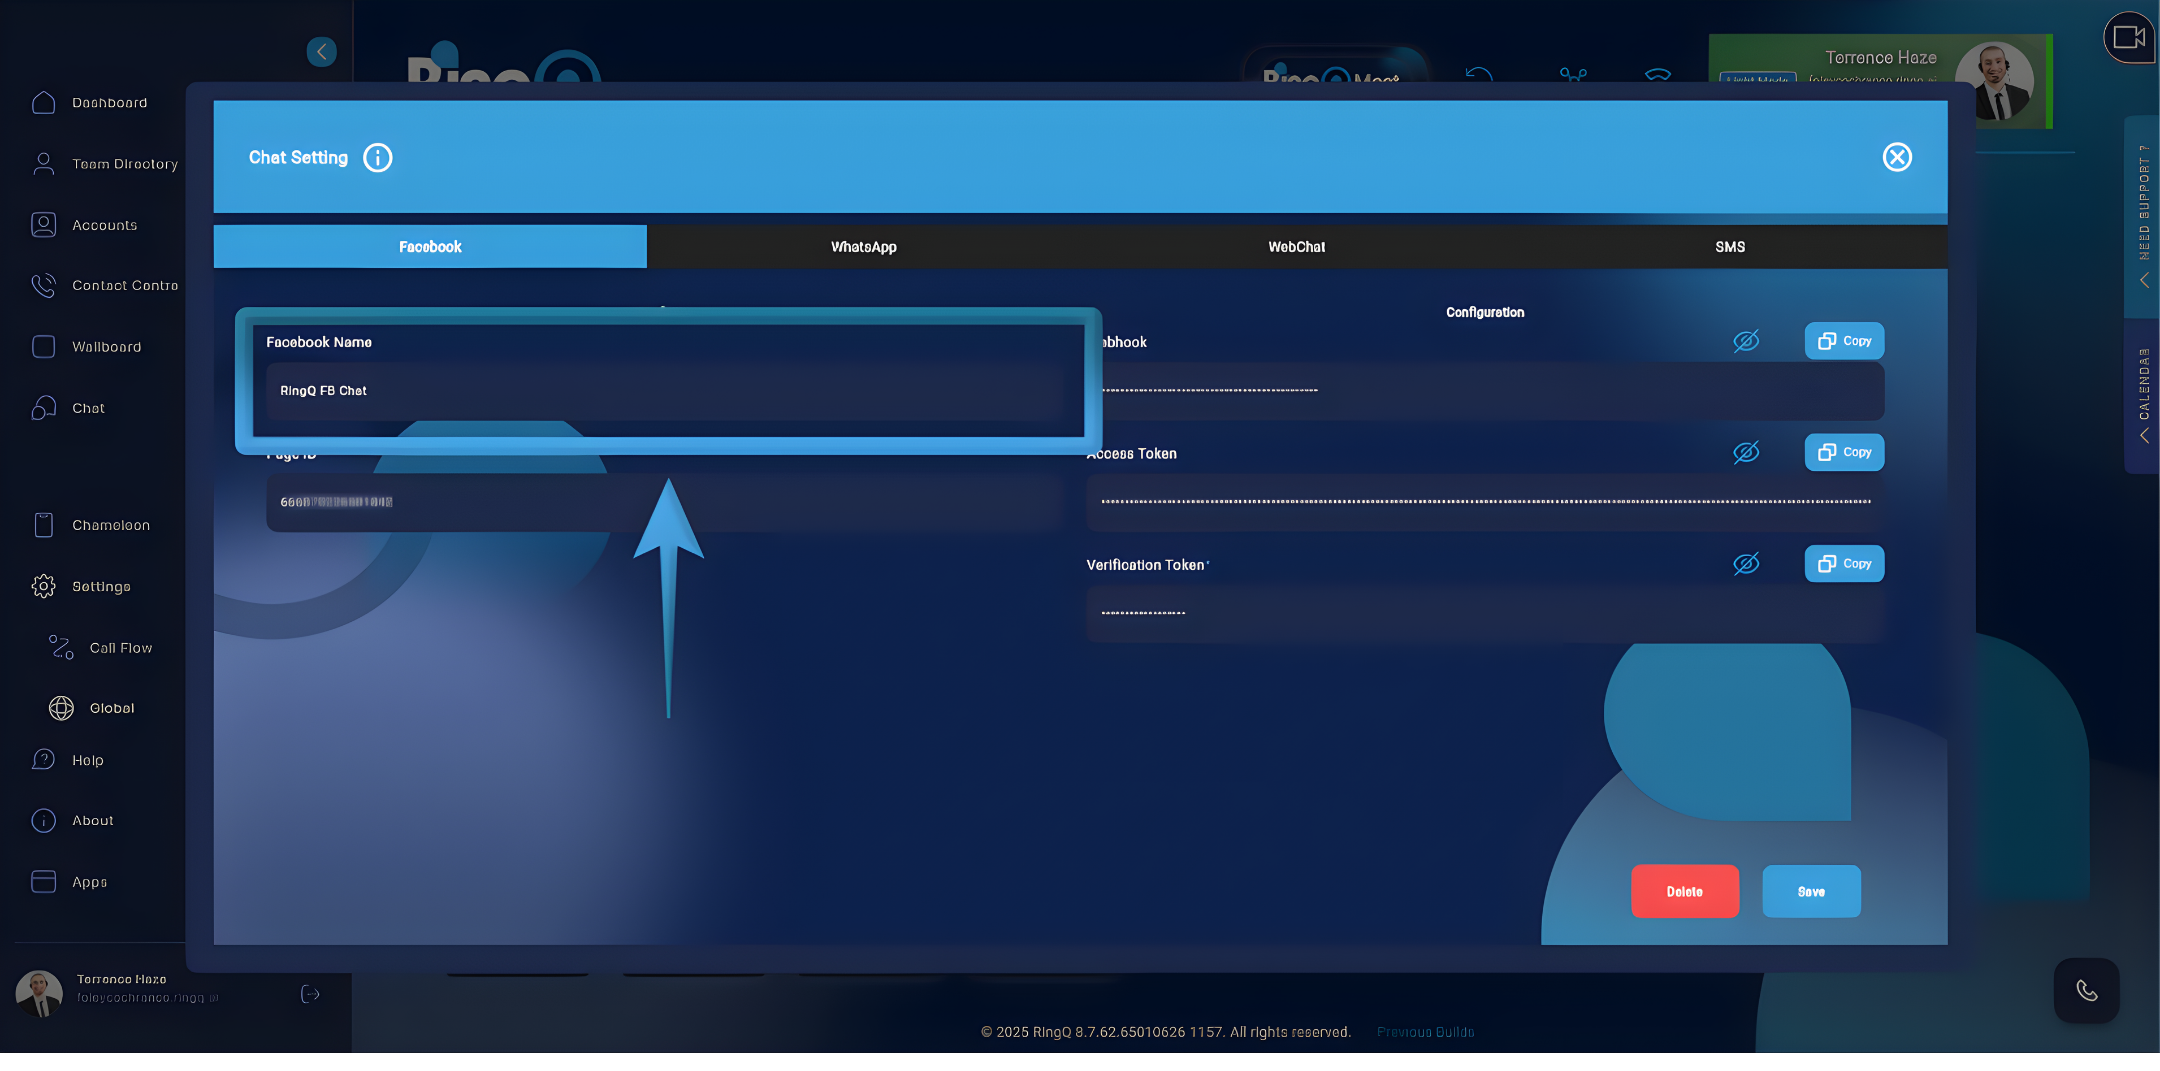
1. Copy and paste each item into its corresponding field in the RingQ web app, ensuring that the values are accurate.
a. Facebook Name – Enter the Facebook Name you want to use for this configuration. This name will be used as the display label within RingQ to help identify the associated Facebook Page or account.
b. Page ID – Add the Page ID you collected in step 1.
c. Webhook – Enables Facebook to send real-time chat events and messages—such as new messages, replies, and status updates—directly to RingQ. The webhook configuration is permanent and cannot be modified once set in the RingQ Web App Chat settings.
d. Access Token – Allows RingQ to securely authenticate with Facebook and send or receive messages on behalf of the selected Facebook Page.
e. Verification Token – Used to validate that webhook requests are genuinely sent by Meta. This ensures secure verification and successful establishment of the webhook connection for Facebook Chat integration.
2. Click Save.