Introduction
This guide walks you through the process of setting up a Facebook App in the Meta Developers portal and generating the App ID and App Secret required for secure authentication and API access. By following these steps, you’ll ensure RingQ can connect reliably with Facebook while meeting Meta’s platform and security requirements.
Getting Started
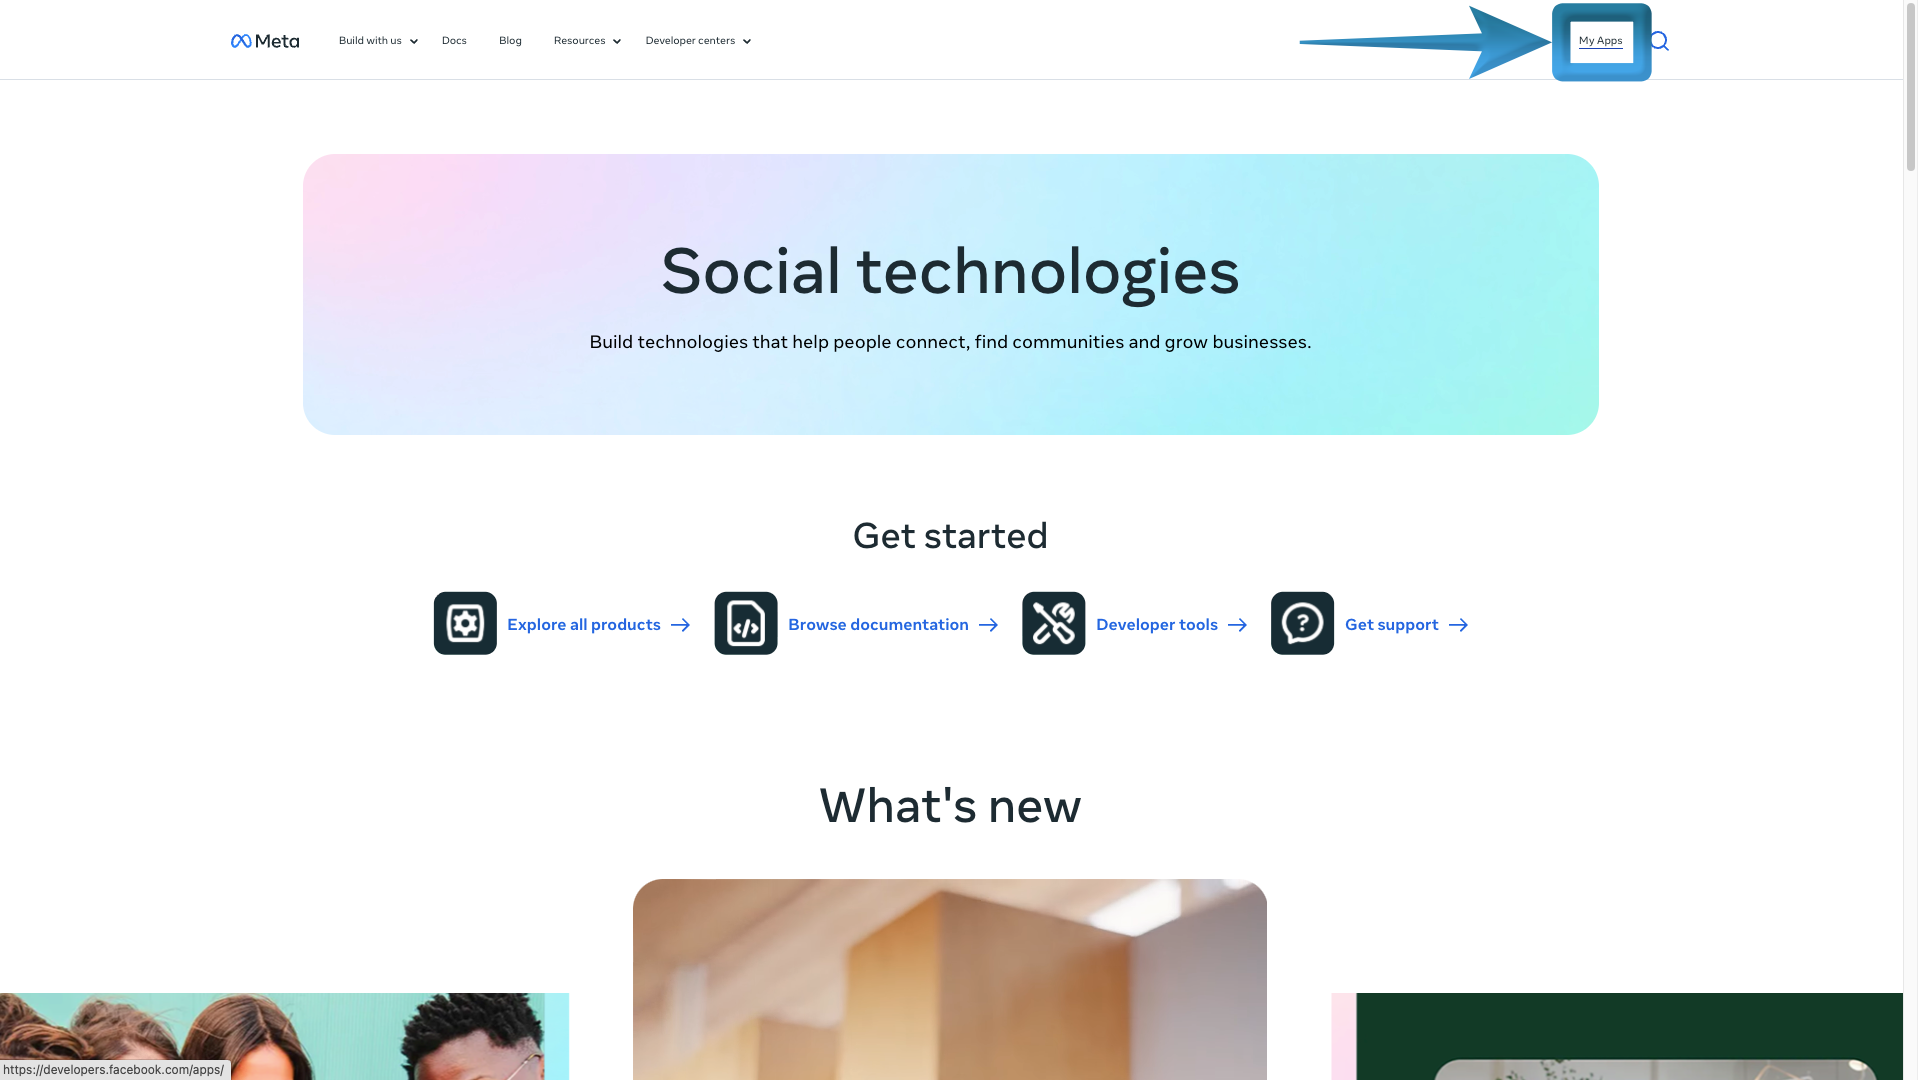
1. Go to https://developers.facebook.com and click Log In in the top-right corner.
2. Open My Apps, then click Create App.
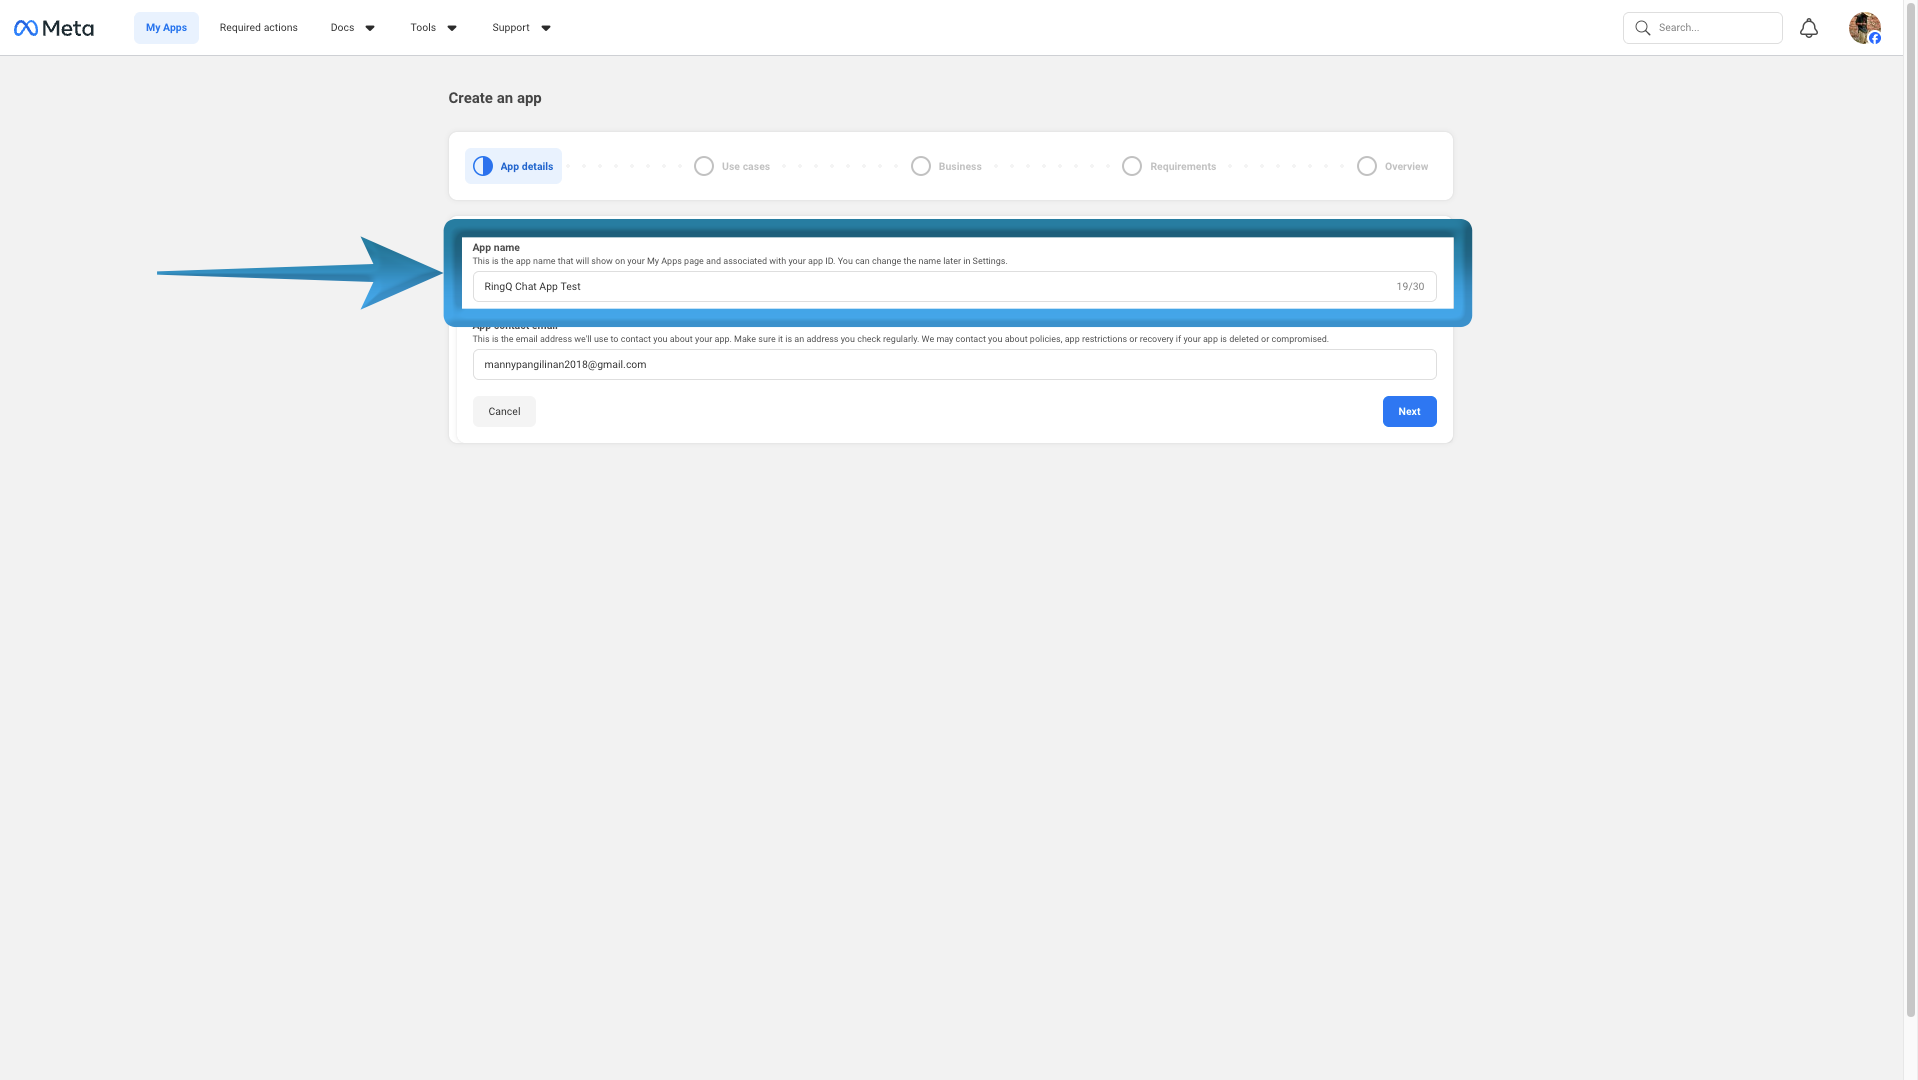
3. Enter your app’s Display Name and Contact Email, then click Next. 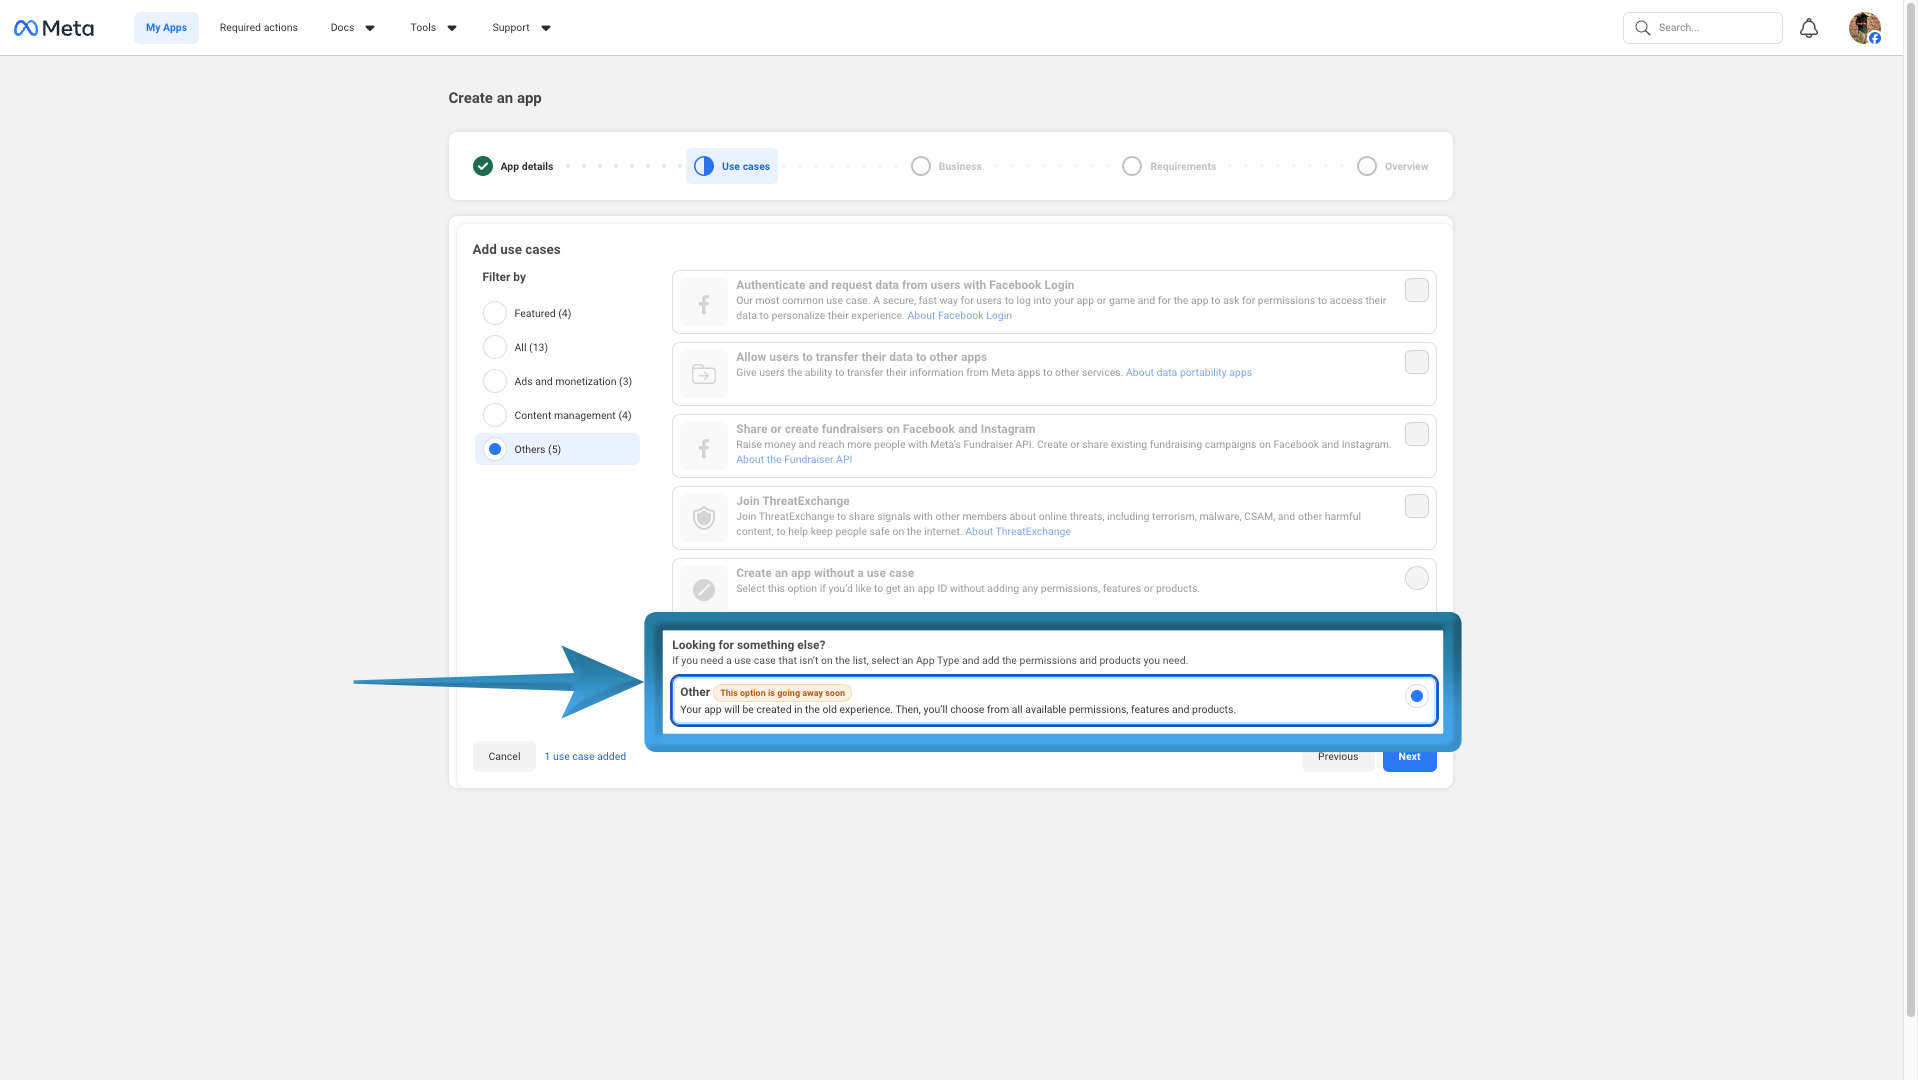
4. Select Other, then click Next.
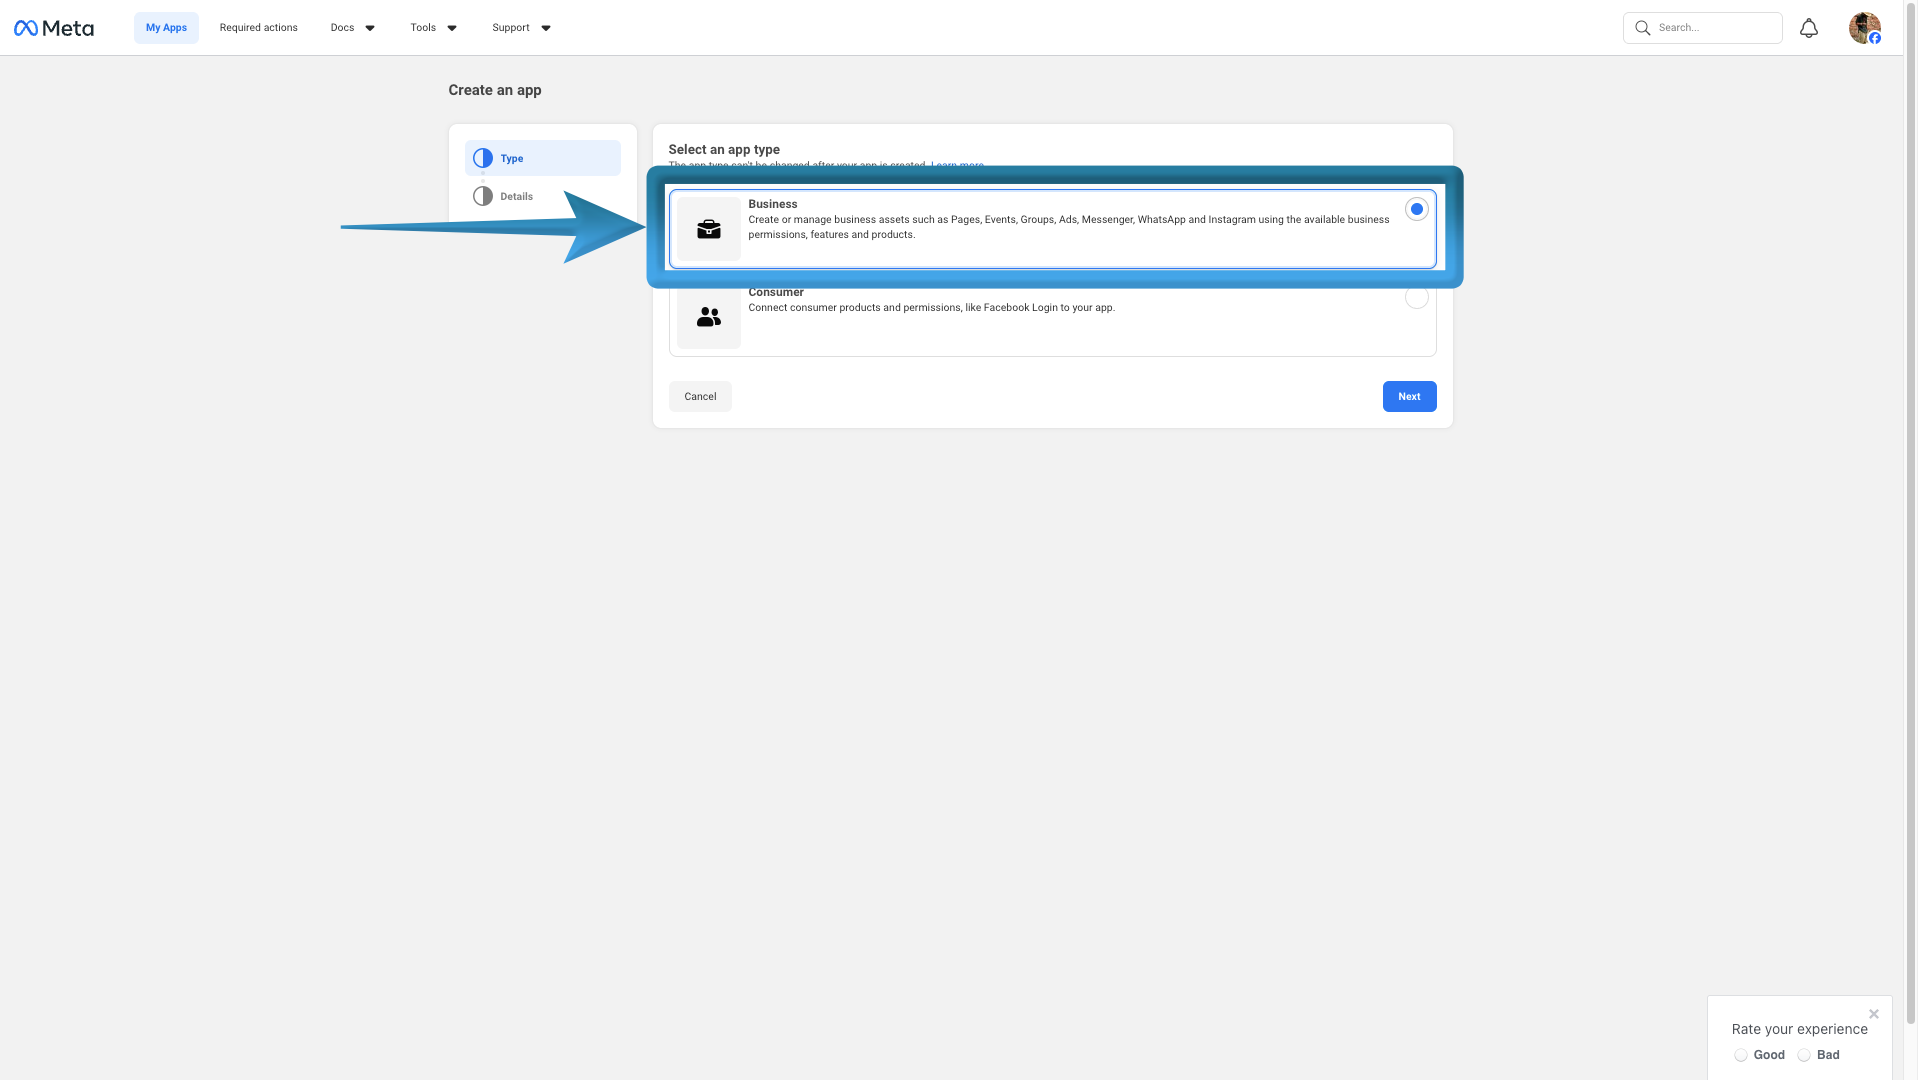
5. Choose Business as the app type, then click next.
6. Review the App Name and App Contact Email for accuracy, select your Business Portfolio from the drop-down list, choose then click Create App.
7. Enter your Facebook Password to confirm.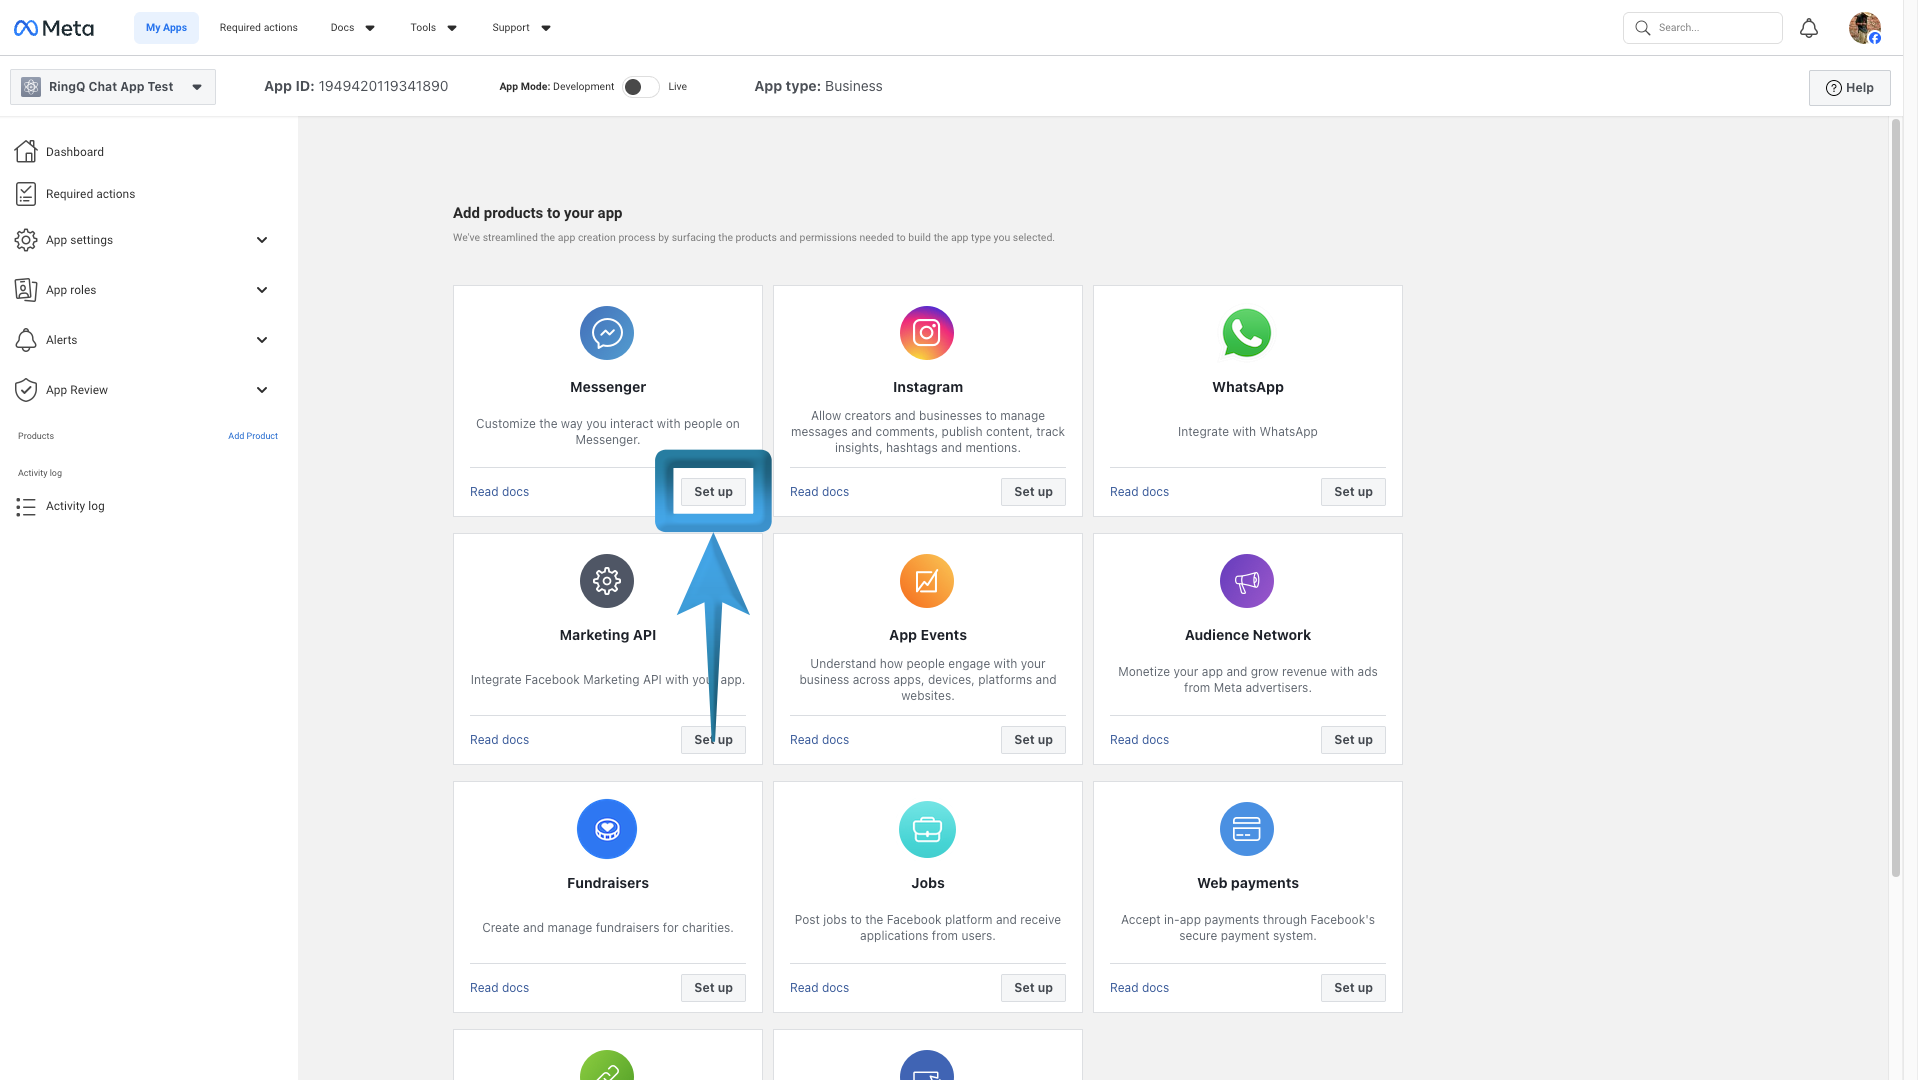
8. Select Messenger, then click Set Up. 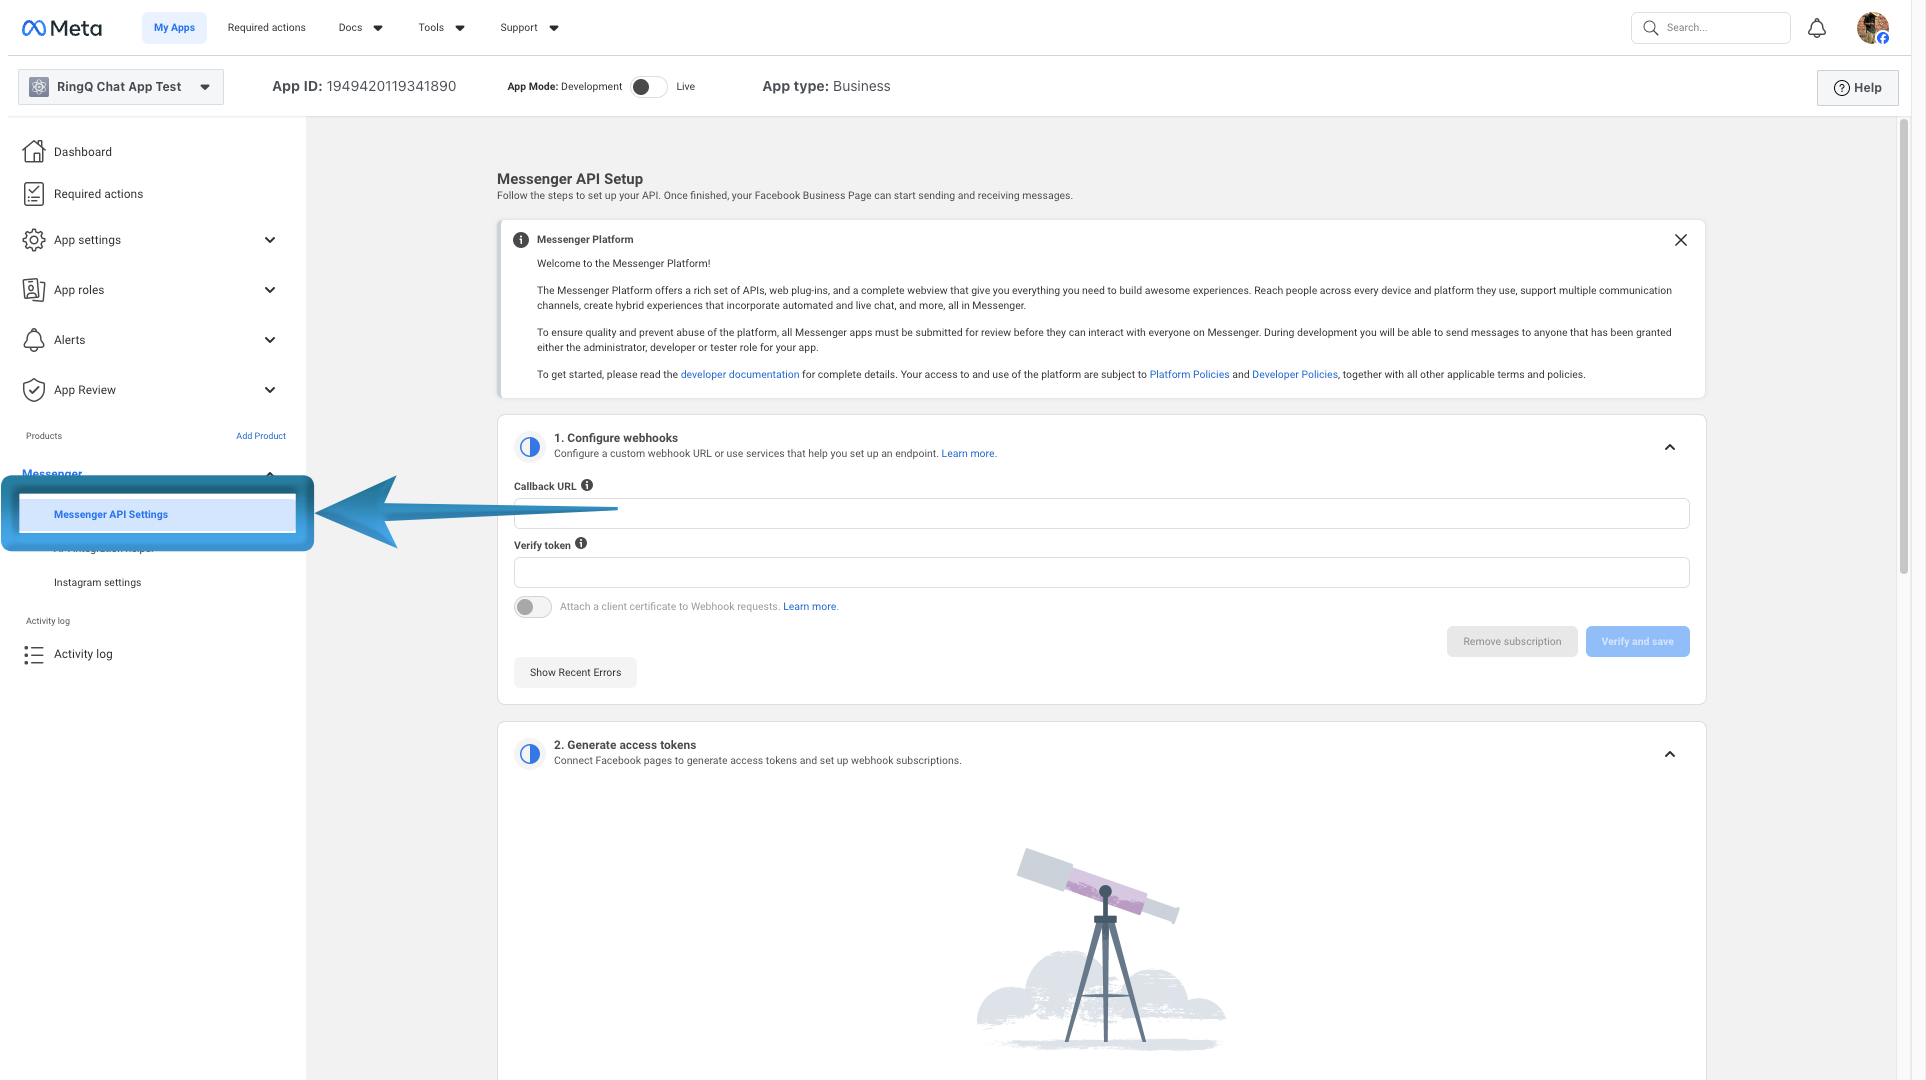
9. On the Add Products screen, scroll down to Messenger and click Messenger API Settings.
Add Products to your App

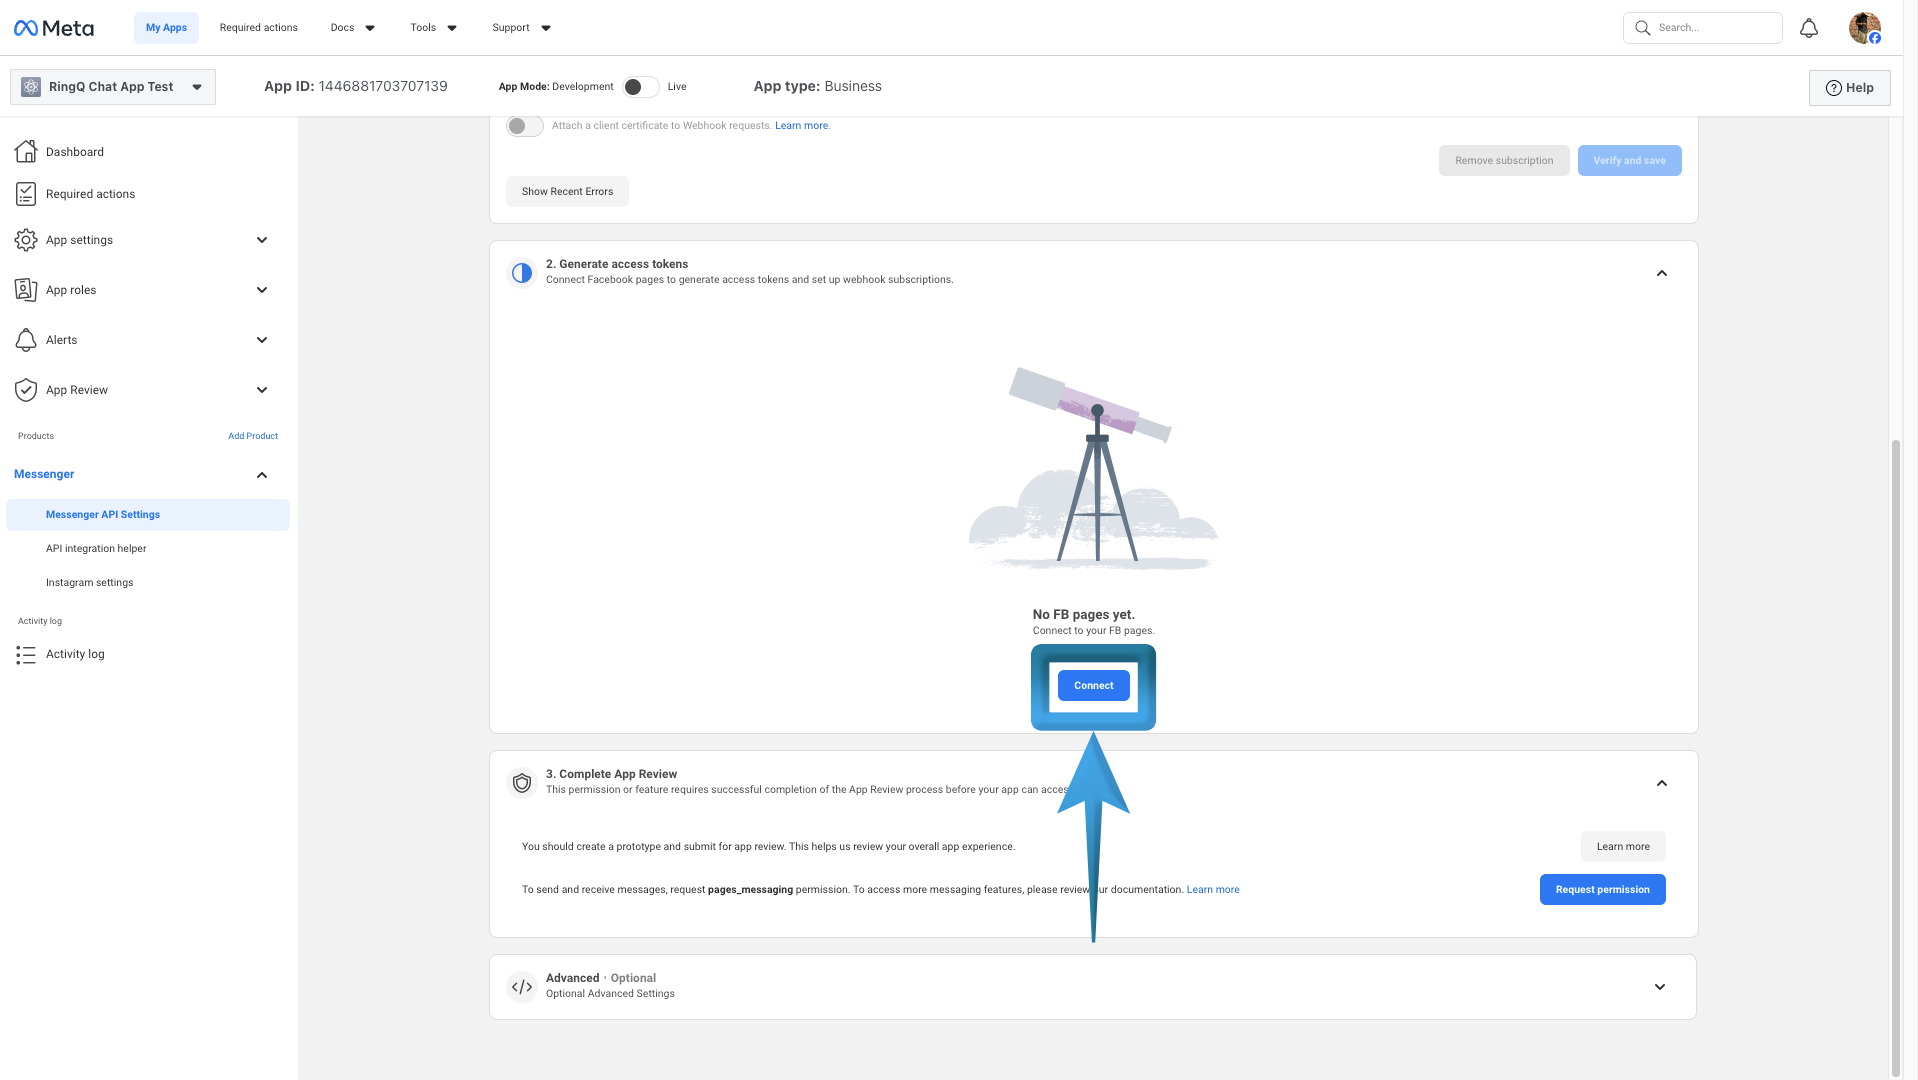
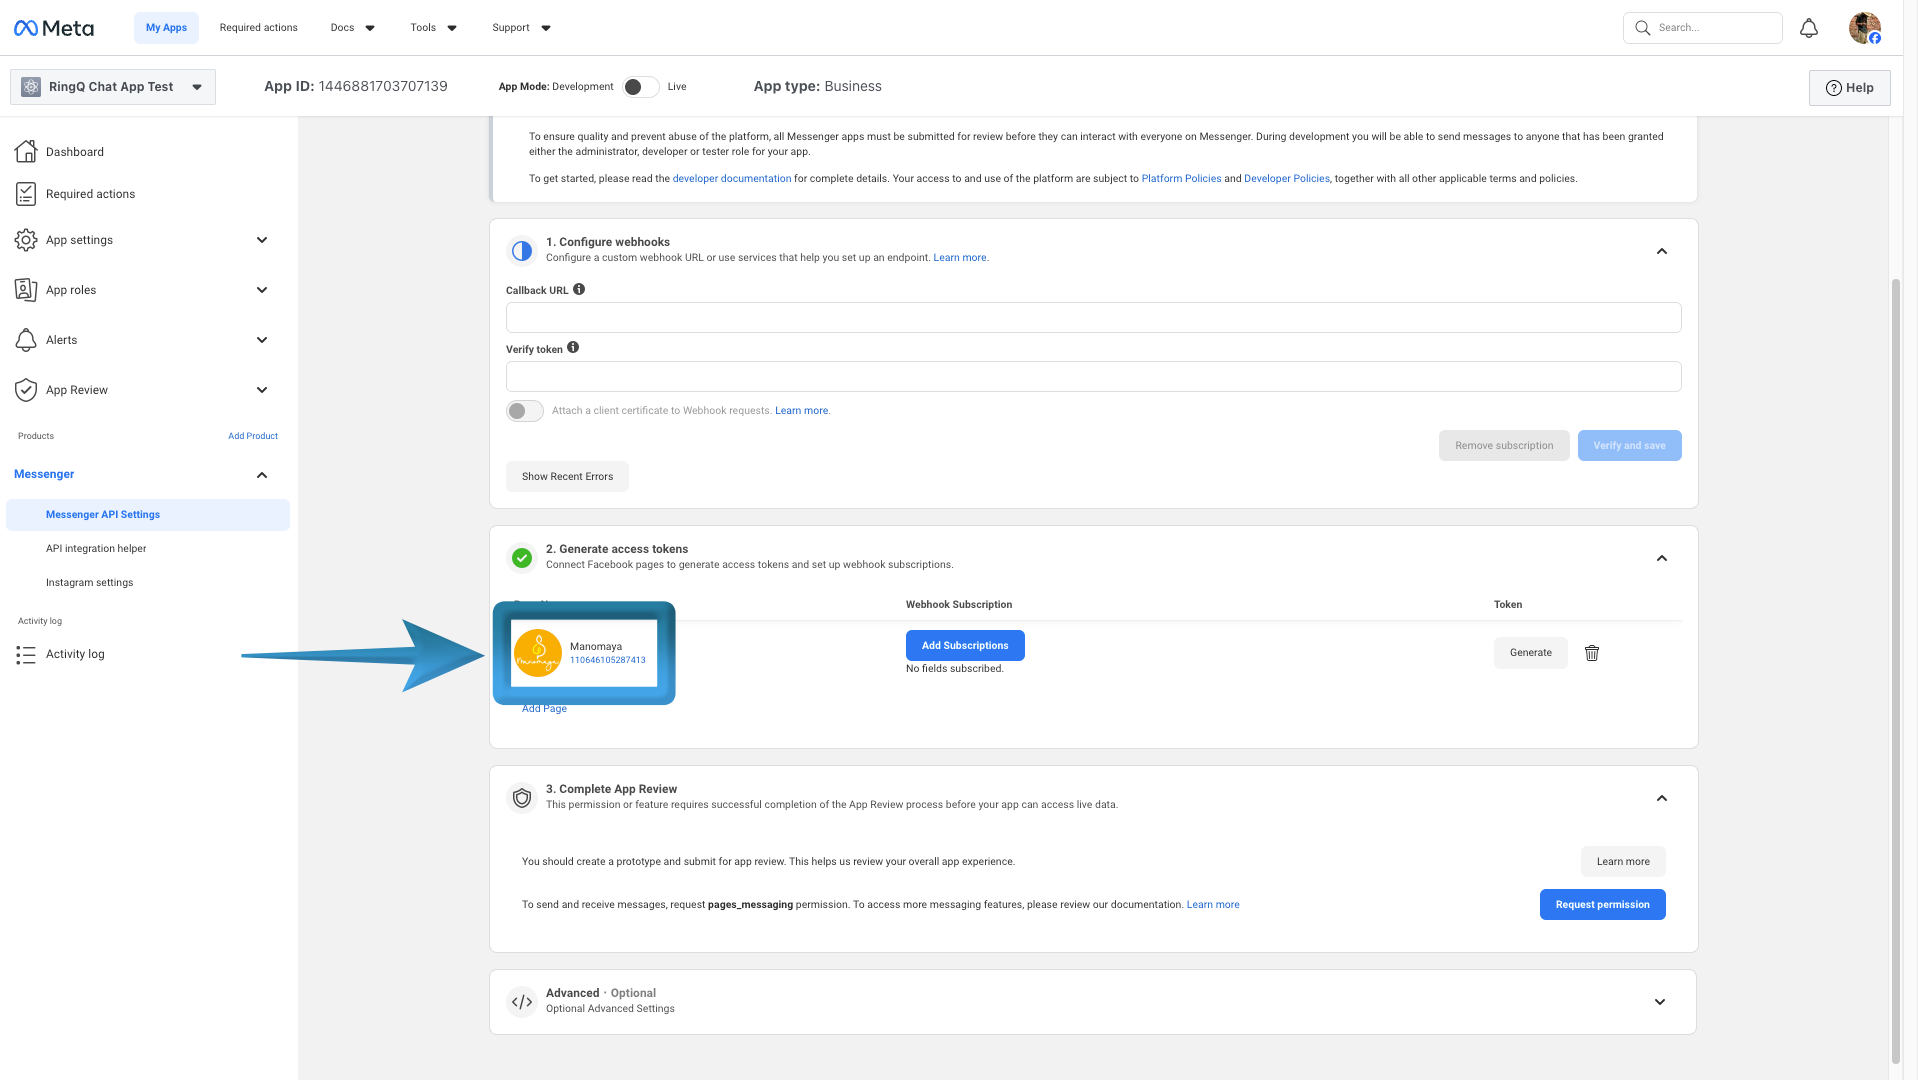
1. Under Messenger API Setup, scroll to Generate Access Tokens and click Connect. 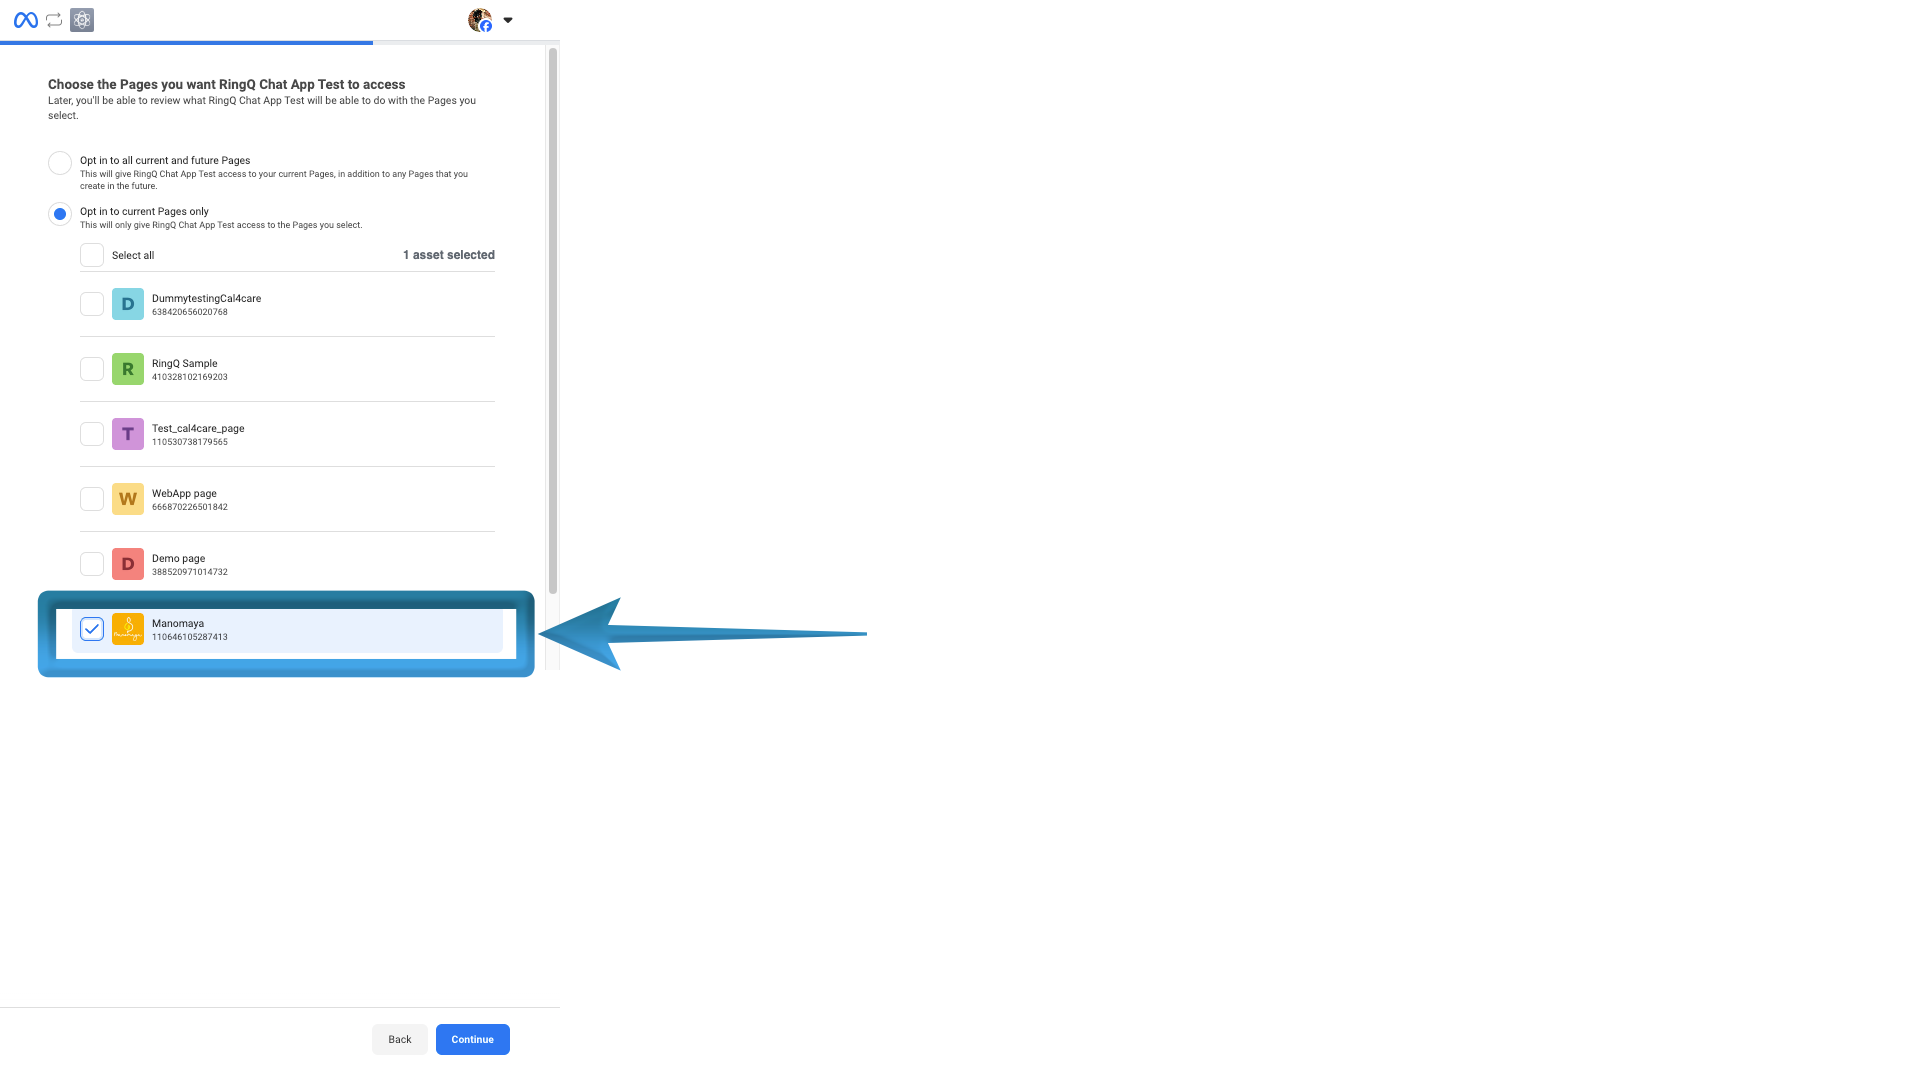
2. Click Continue as (username) and select the Facebook Page(s) you want to integrate using the checkbox.
3. If you already have a page, it will automatically appear in the Generate access token section.
4. Click Continue, and complete the confirmation steps.
5. Your selected Facebook Page will appear in the Access Tokens section. 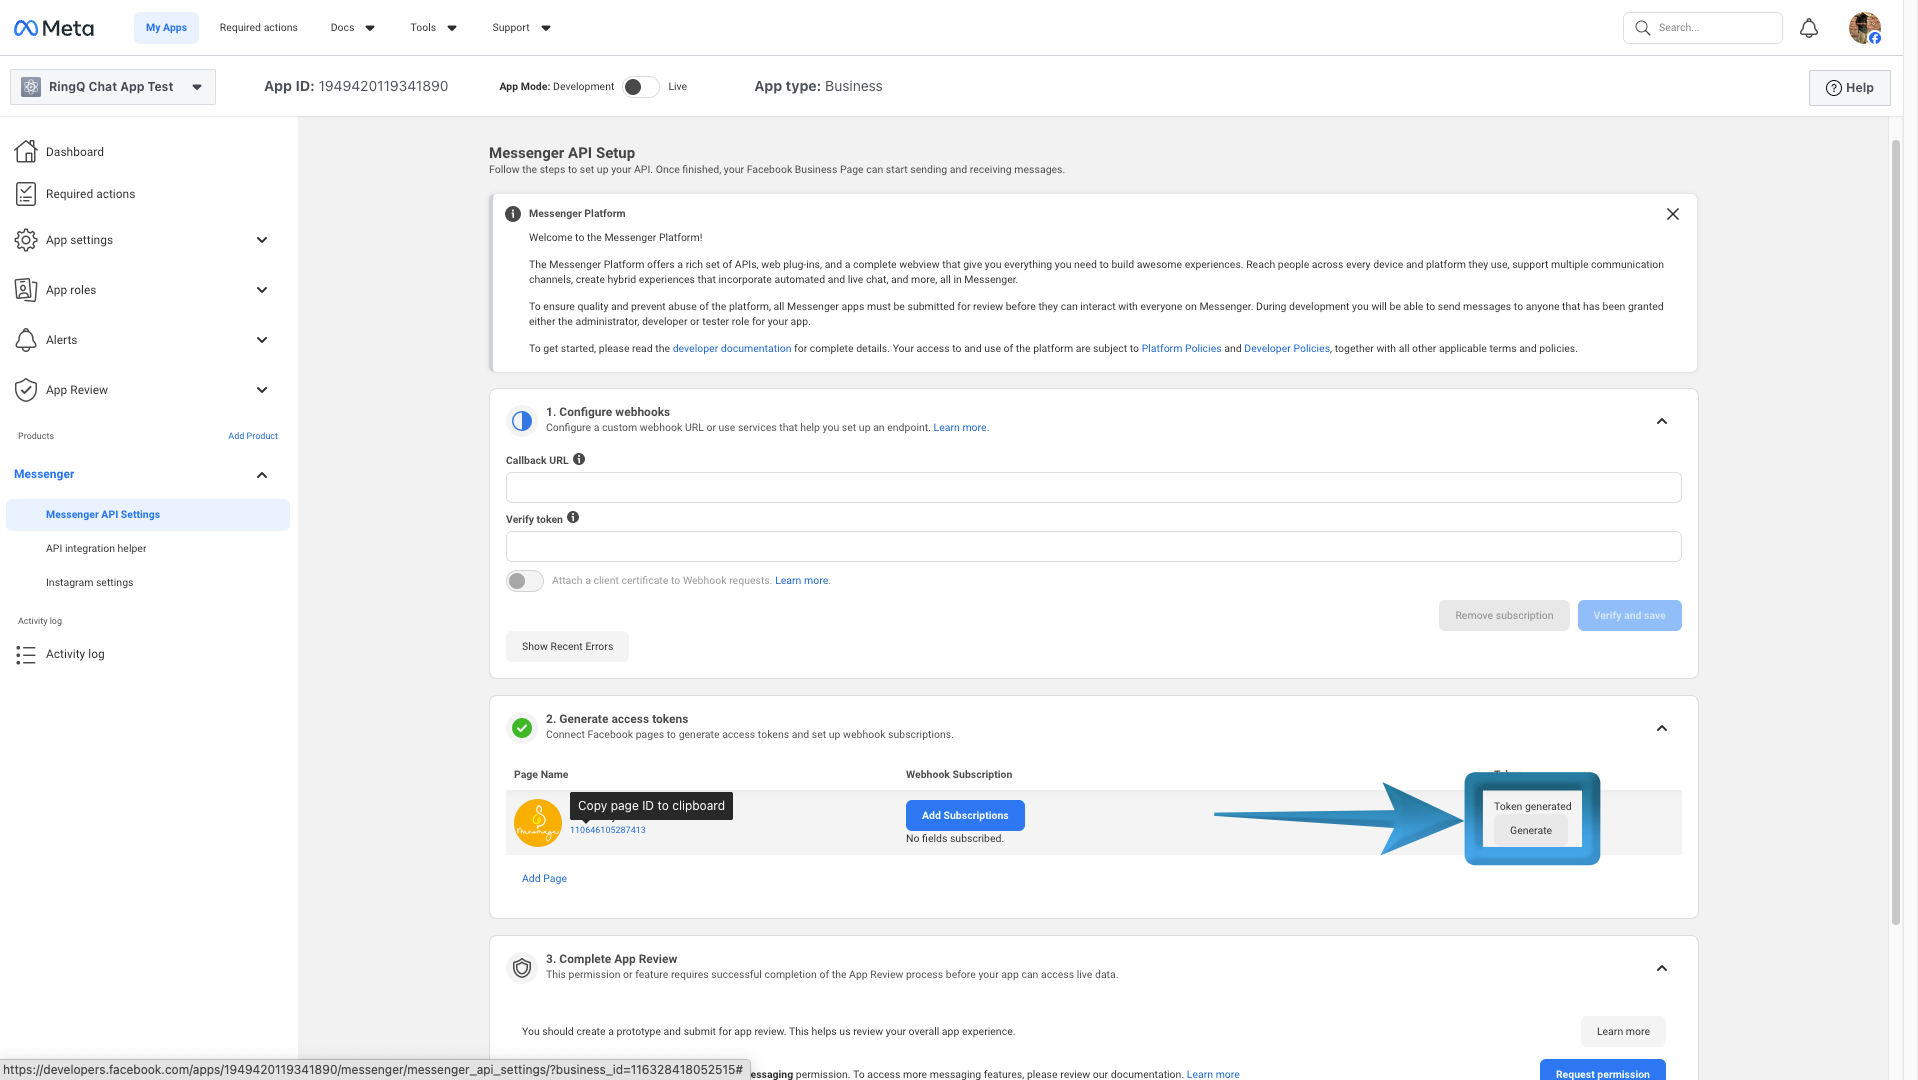
6. Click Generate Token. In the pop-up, check “I Understand”, copy the token to a notepad, then click Done.
7. Copy the Page ID (displayed below the page name) and save it in your notepad.
Next Steps
Follow this guide to finalize the setup: Configuring Facebook in the Web App