Introduction
This guide outlines the process for setting up Chat Queues (Chat Q) in RingQ and assigning agents to handle customer conversations from supported digital channels such as Facebook, WhatsApp, and WebChat.
Access the Chat Queue (Chat Q) Configuration
1. Log in to the RingQ Admin Dashboard.
2. Navigate to Settings → Call Flow. 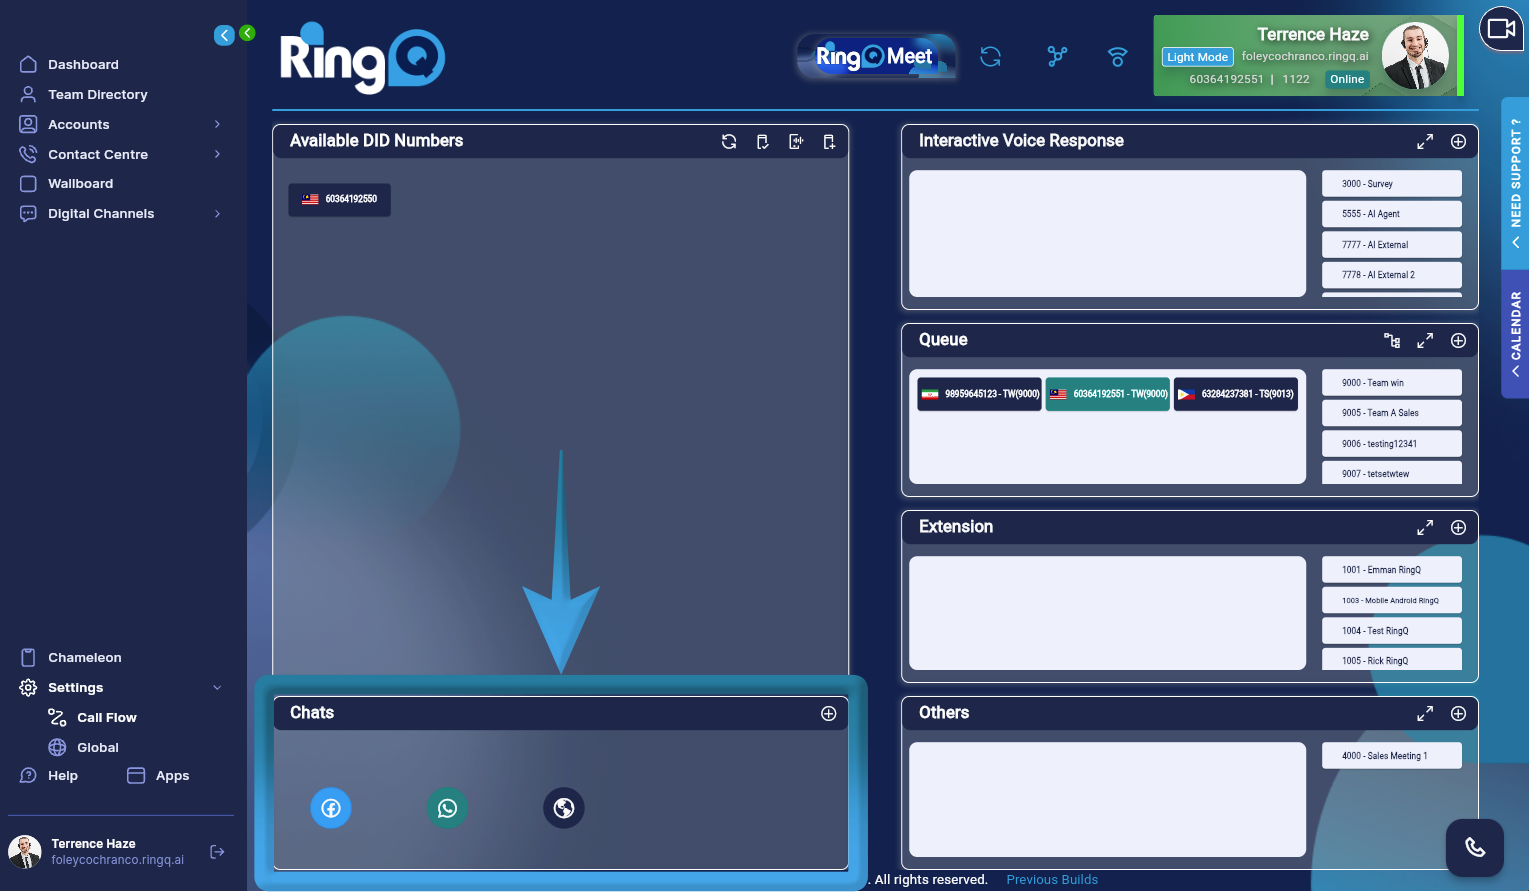
3. On the Call Flow page, locate the Chats section.The Chats section displays all available digital chat channels.
Assign Facebook Chats to a Queue
![]()
1. From the chats section in the Call Flow page, locate the Facebook chat icon. 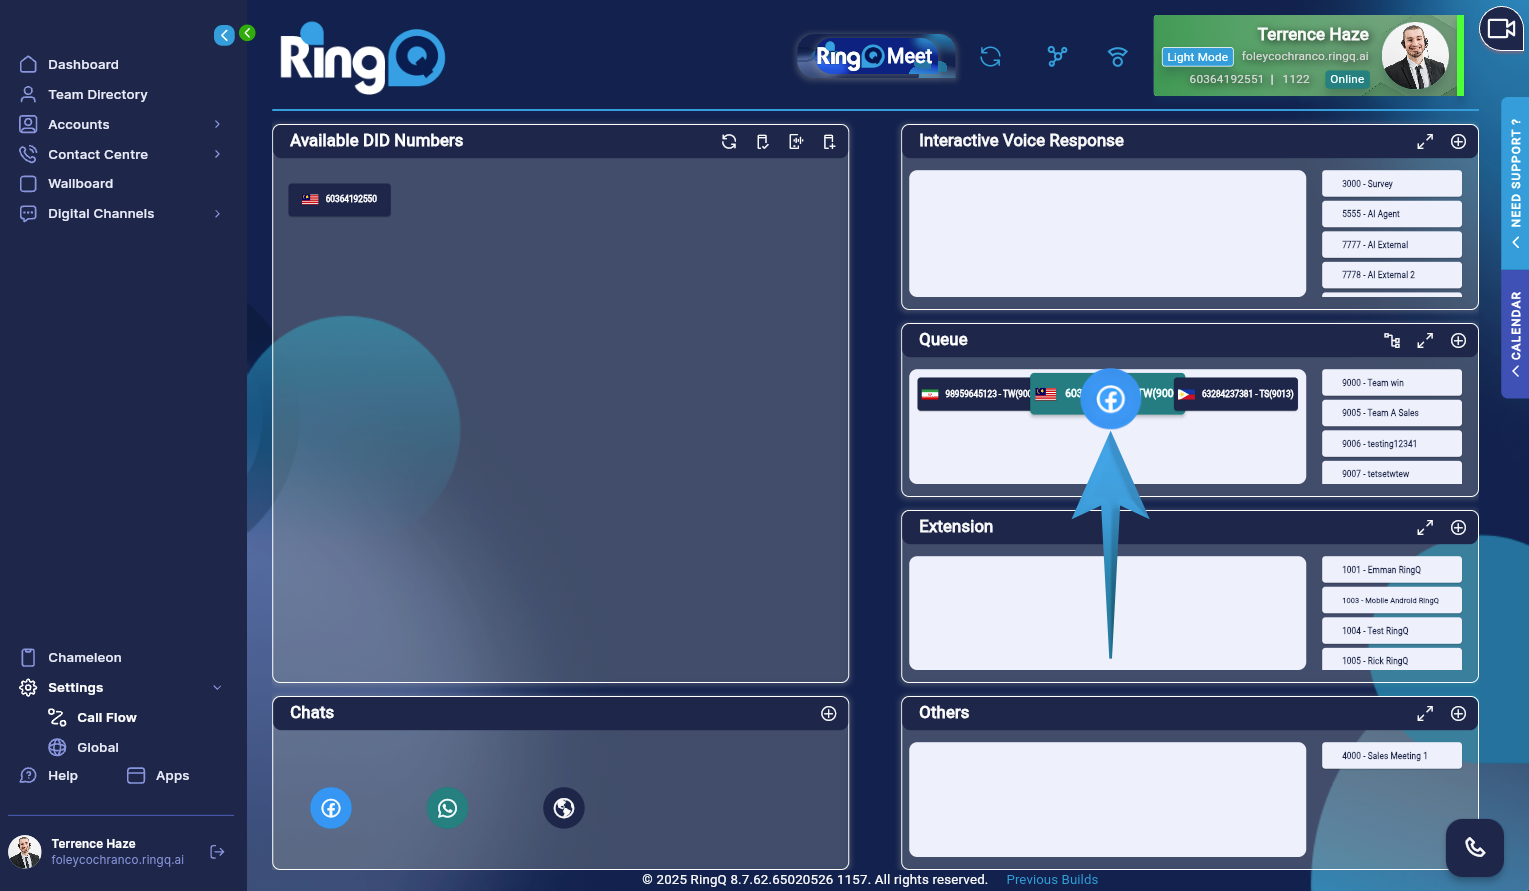
2. Drag and drop the icon onto the selected DID that is already assigned to a queue. 
3. A list of all configured Facebook chats from the Facebook Chat Configuration section will appear.
4. Select one, multiple, or all Facebook chats to enable them under Digital Channel Chats.
5. Click Open to go to the Queue configuration page.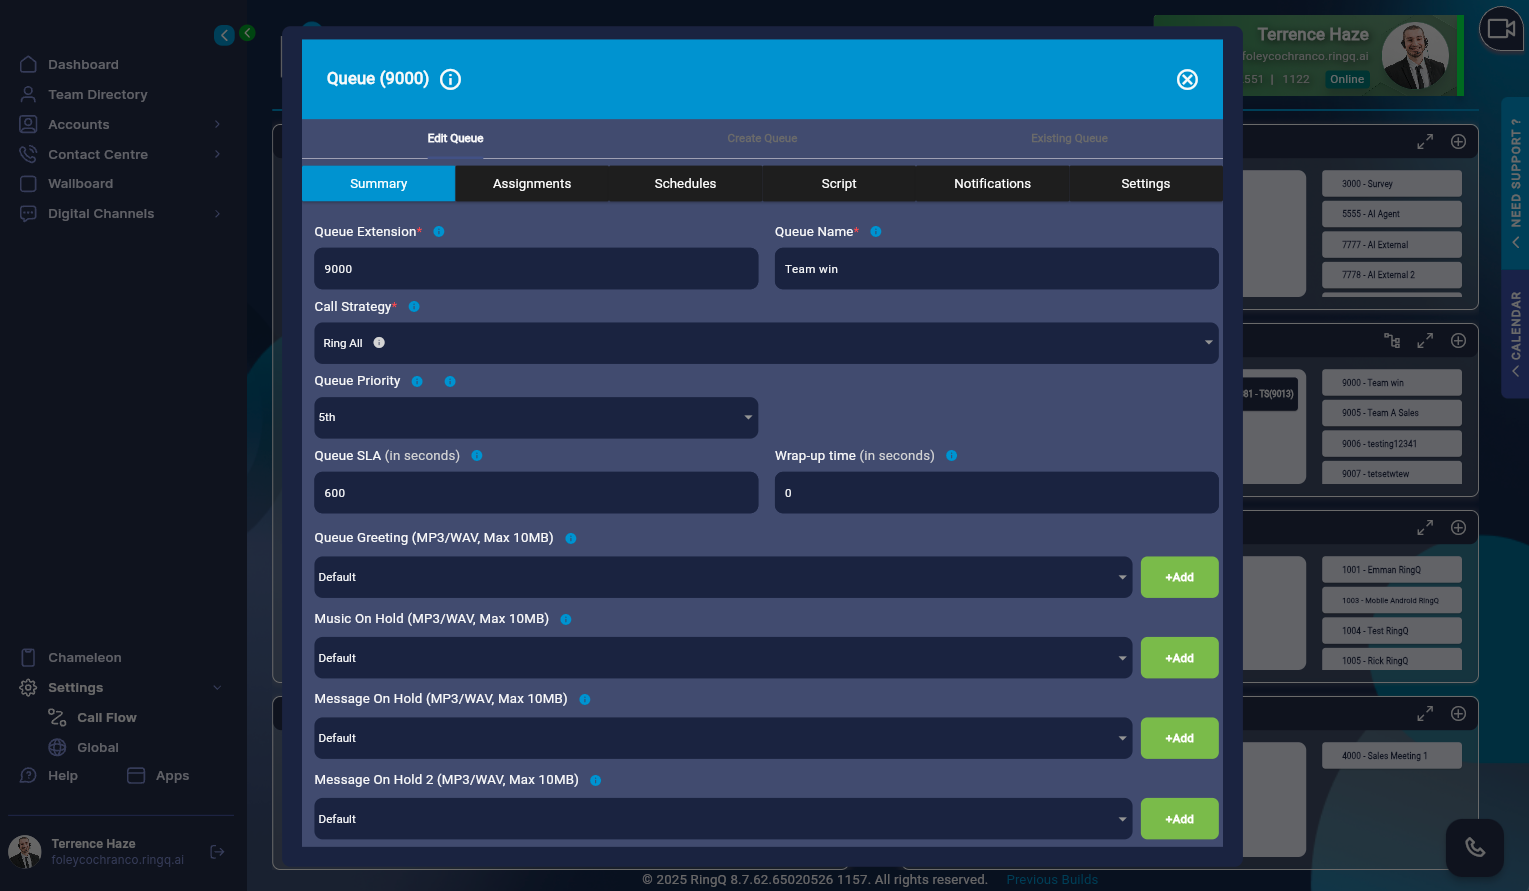
6. The Queue Configuration page will open.
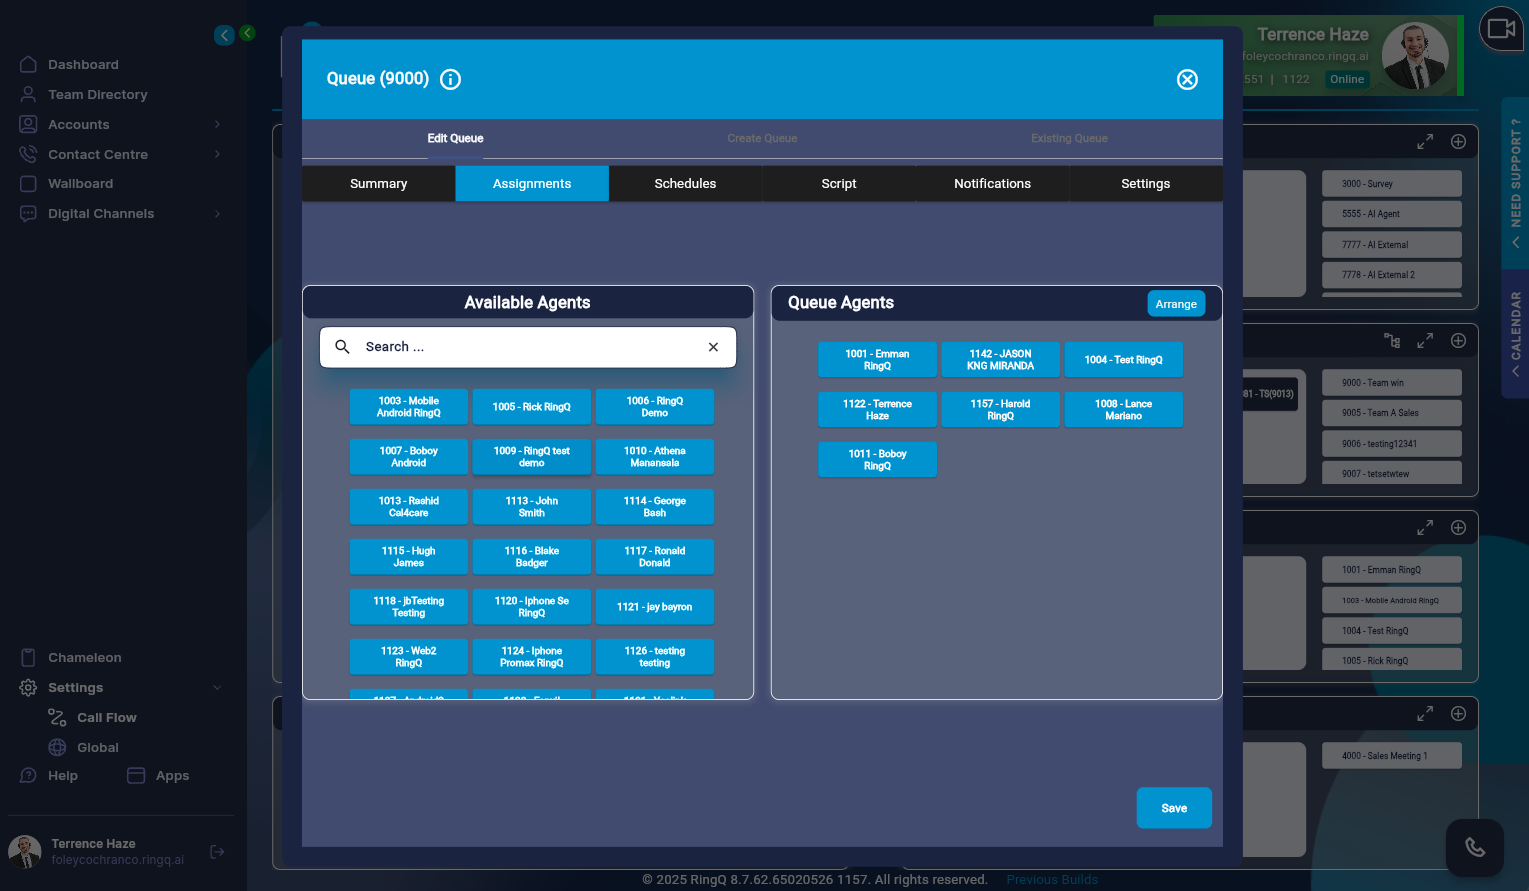
7. Click on the “Assignments” tab and verify that the agent(s) assigned to handle Facebook chats are included in the same queue.
8. Click Save to apply the changes.
Assign WhatsApp Chats to a Queue
![]()
1. From the chats section in the Call Flow page, locate the WhatsApp icon.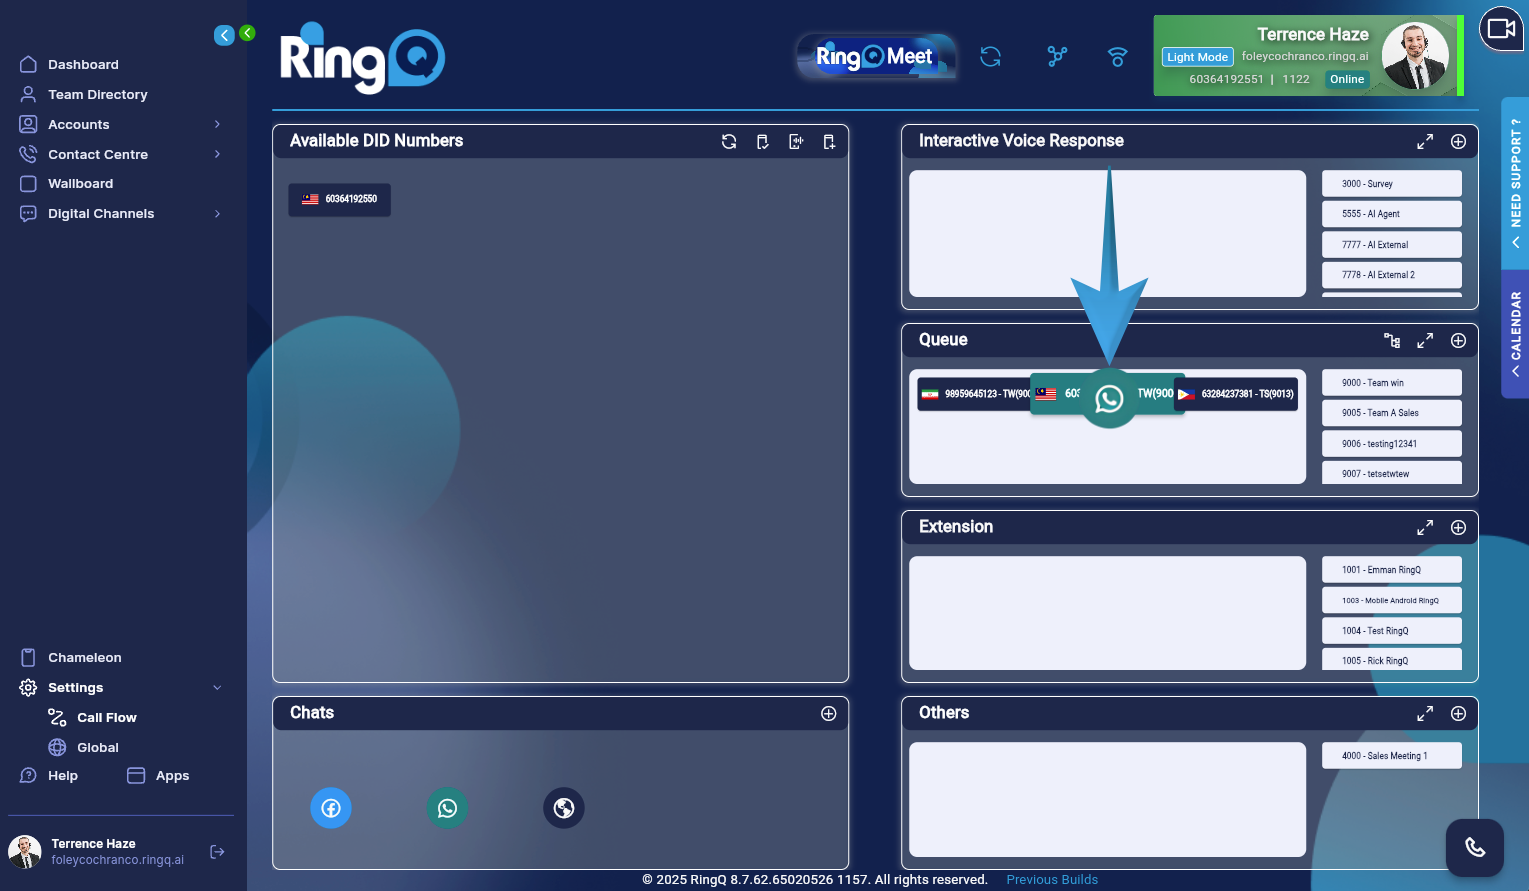
2. Drag and drop the icon onto the selected DID that is already assigned to a queue.
3. A list of all configured WhatsApp chats from the WhatsApp Chat Configuration section will appear.
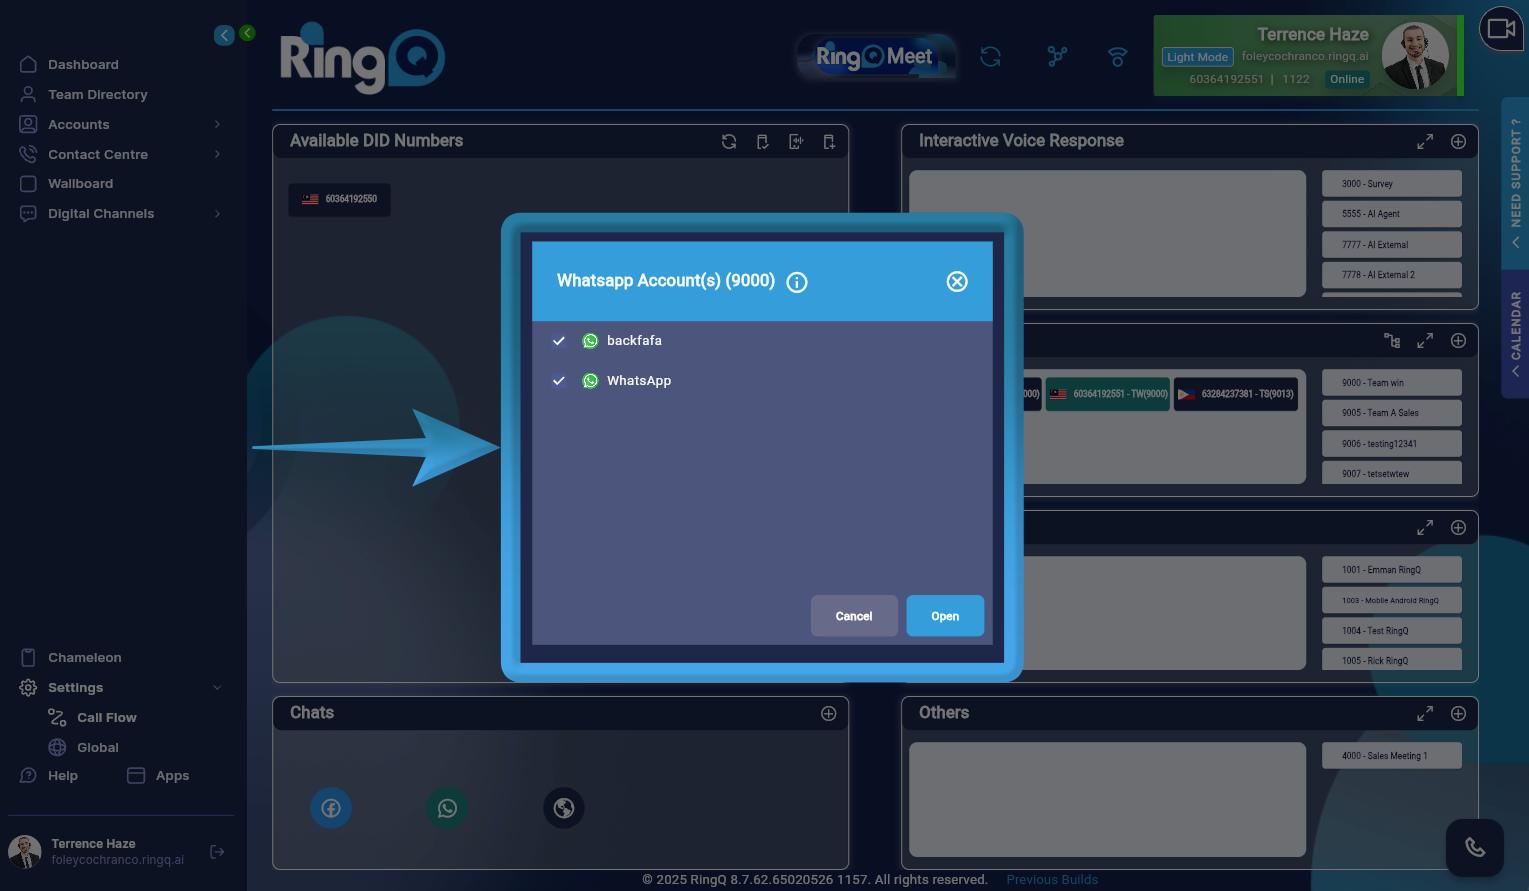
4. Select one, multiple, or all WhatsApp chats to enable them under Digital Channel Chats.
5. Click Open to go to the Queue configuration page.
6. You will be automatically redirected to the Queue Configuration page.
7. Click on the “Assignments” tab and verify that the agent(s) assigned to handle WhatsApp chats are included in the same queue.
8. Click Save to apply the changes.
Assign WebChats to a Queue
![]()
1. From the chats section in the Call Flow page, locate the WebChat icon.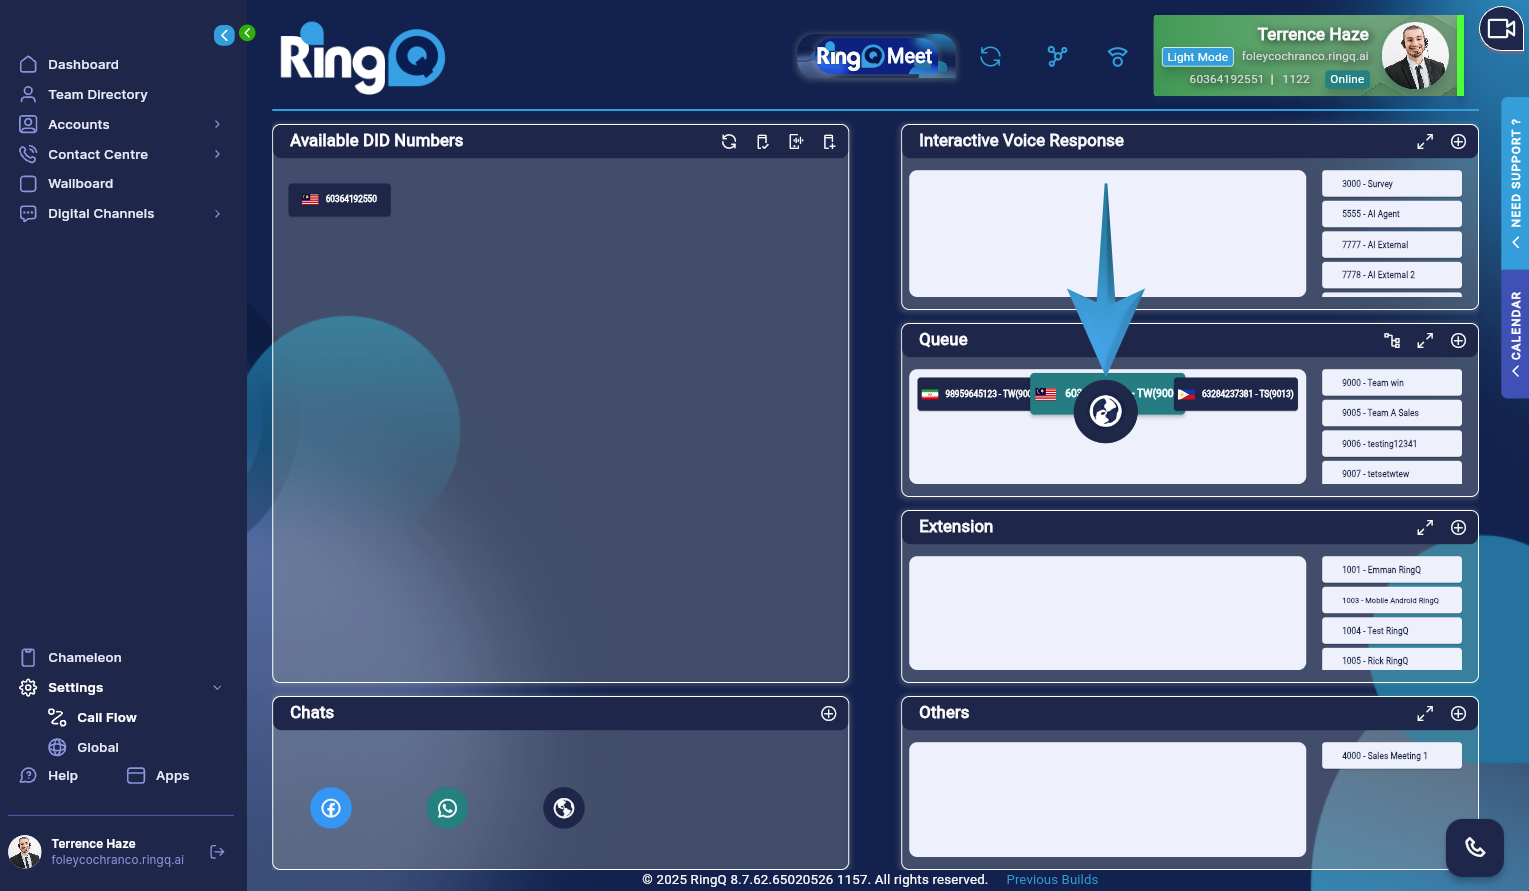
2. Drag and drop the icon onto the selected DID that is already assigned to a queue.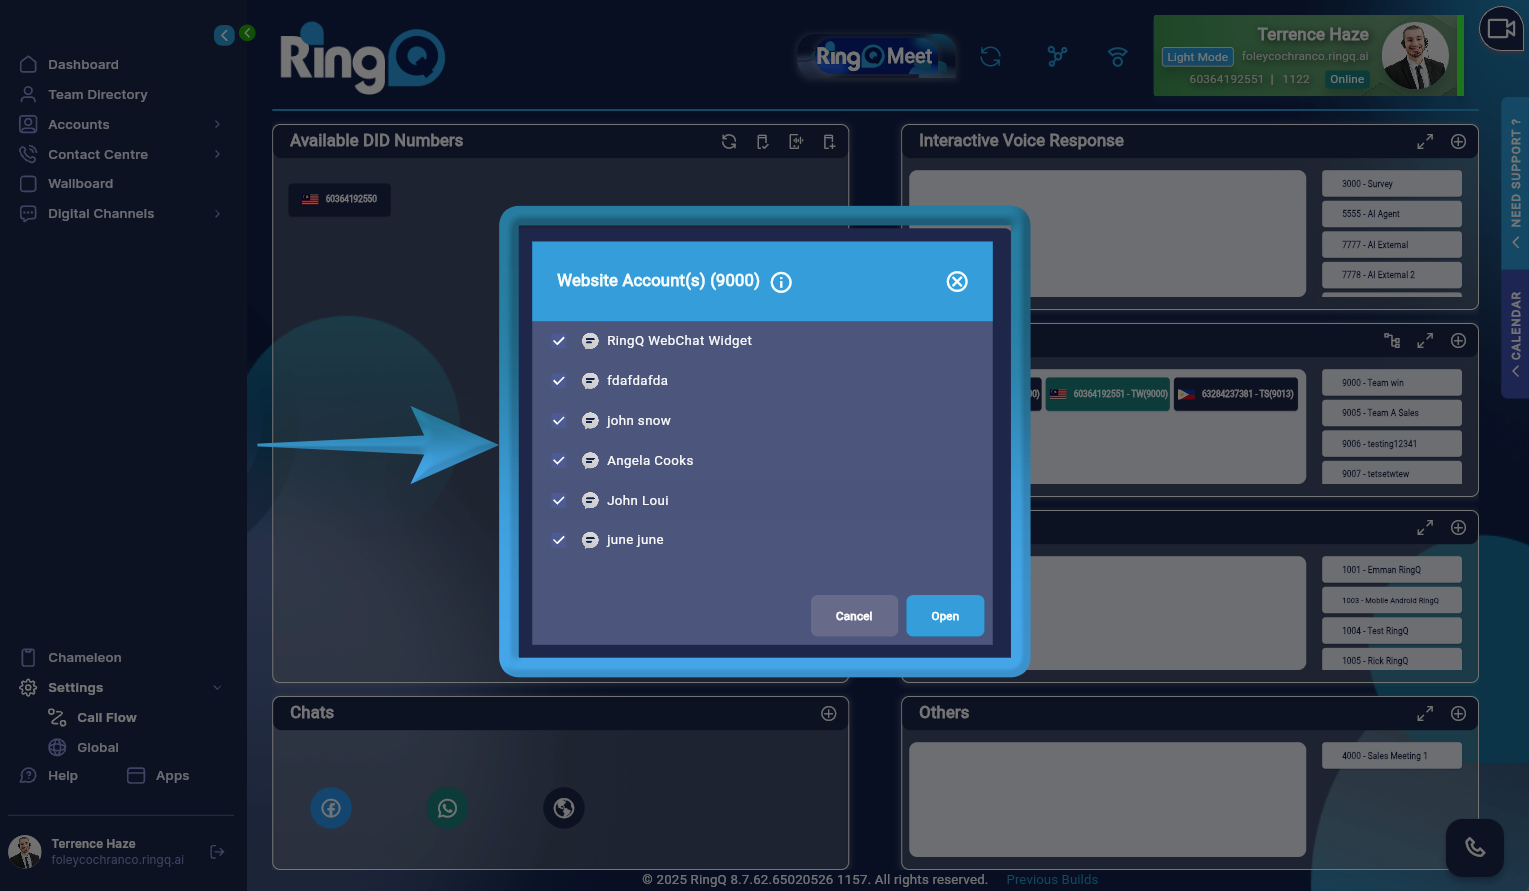
3. A list of all configured WebChats from the WebChat Configuration section will be displayed.
4. Select one, multiple, or all WebChats to enable them under Digital Channel Chats.
5. Click Open to go to the Queue configuration page.
6. You will be redirected to the Queue Configuration page.
7. Click on the “Assignments” tab and verify that the agent(s) assigned to handle WebChat chats are included in the same queue.
8. Click Save to apply the changes.