Introduction
This guide explains how to obtain the required configuration details for integrating WhatsApp Chat with RingQ. These details are needed to connect your WhatsApp Business account with RingQ, enabling your team to send, receive, and manage WhatsApp messages directly from the RingQ Web App.
Getting Started
1. Prepare a note editor or text editor (Notepad, Notes, Google Docs, etc.). 2. You will copy and paste all required values here first to avoid errors.
 3. WhatsApp Name – type in the WhatsApp Name you want to use for this configuration. This will appear in RingQ as the display label to help identify the connected WhatsApp Business Account and phone number used for the chat integration.
Gathering your WABA Details
Verification Token
 1. Login to your Meta for Developers account by following this guide.
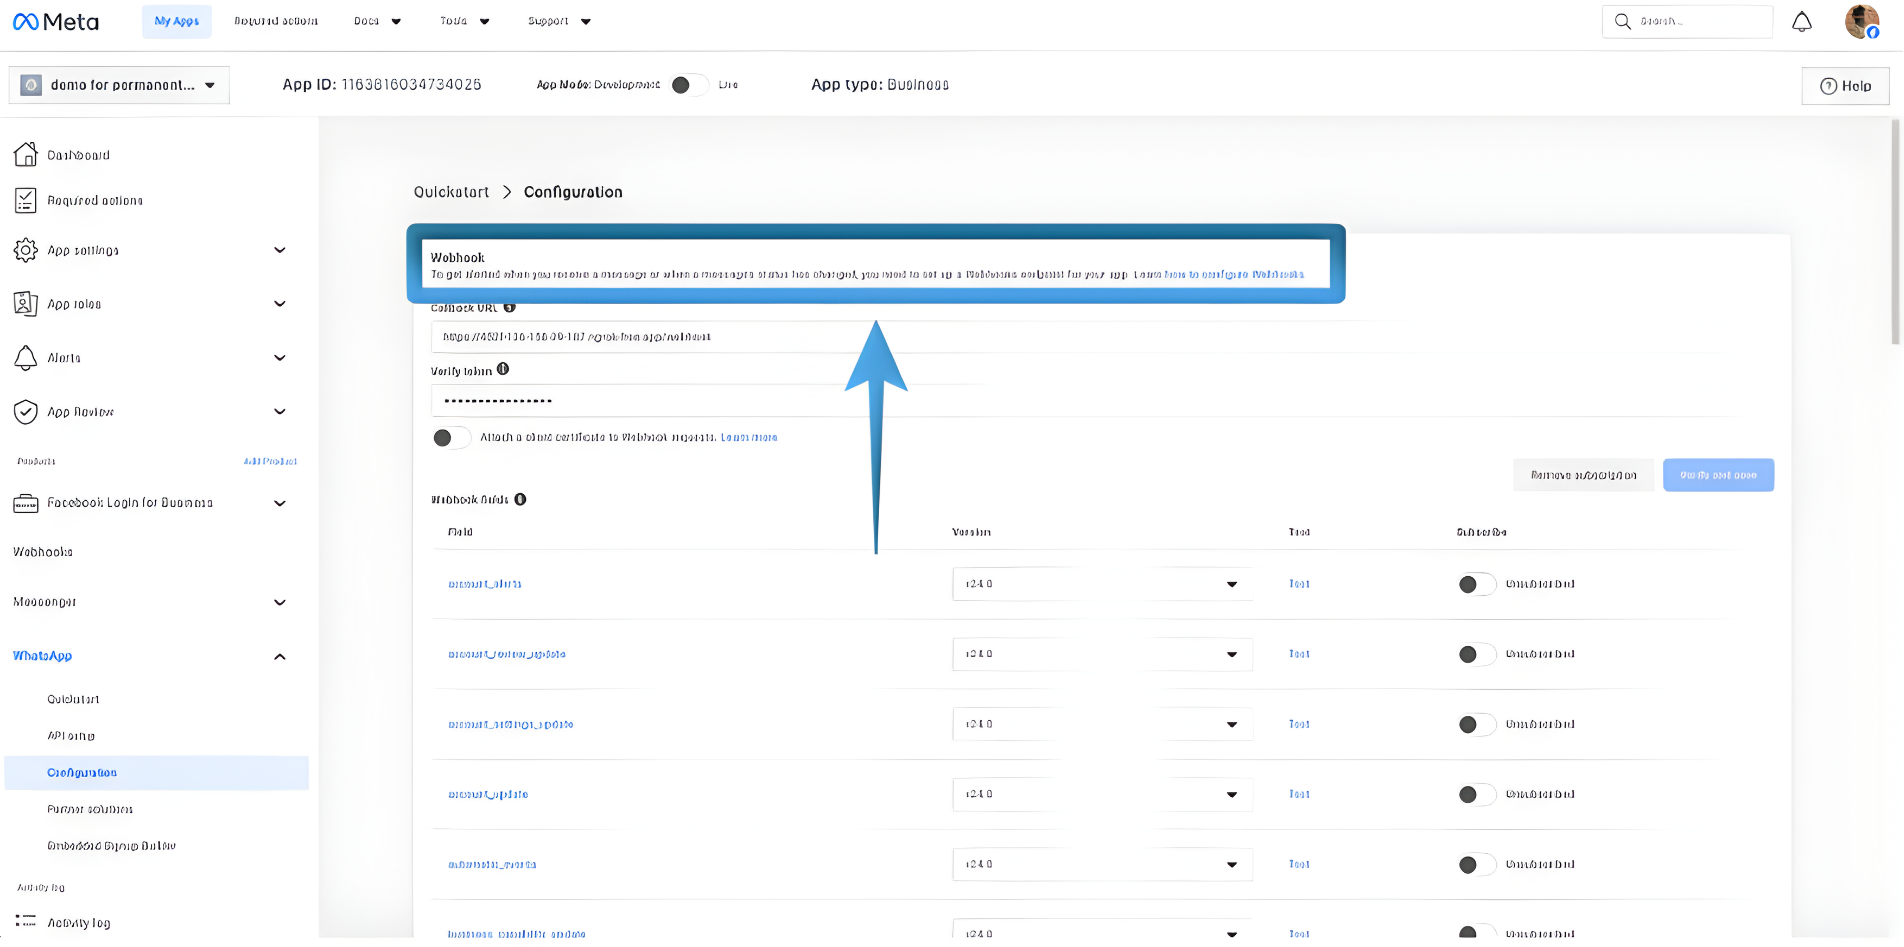
2. Meta for Developers → My Apps → WhatsApp → Webhooks
1. Login to your Meta for Developers account by following this guide.
2. Meta for Developers → My Apps → WhatsApp → Webhooks
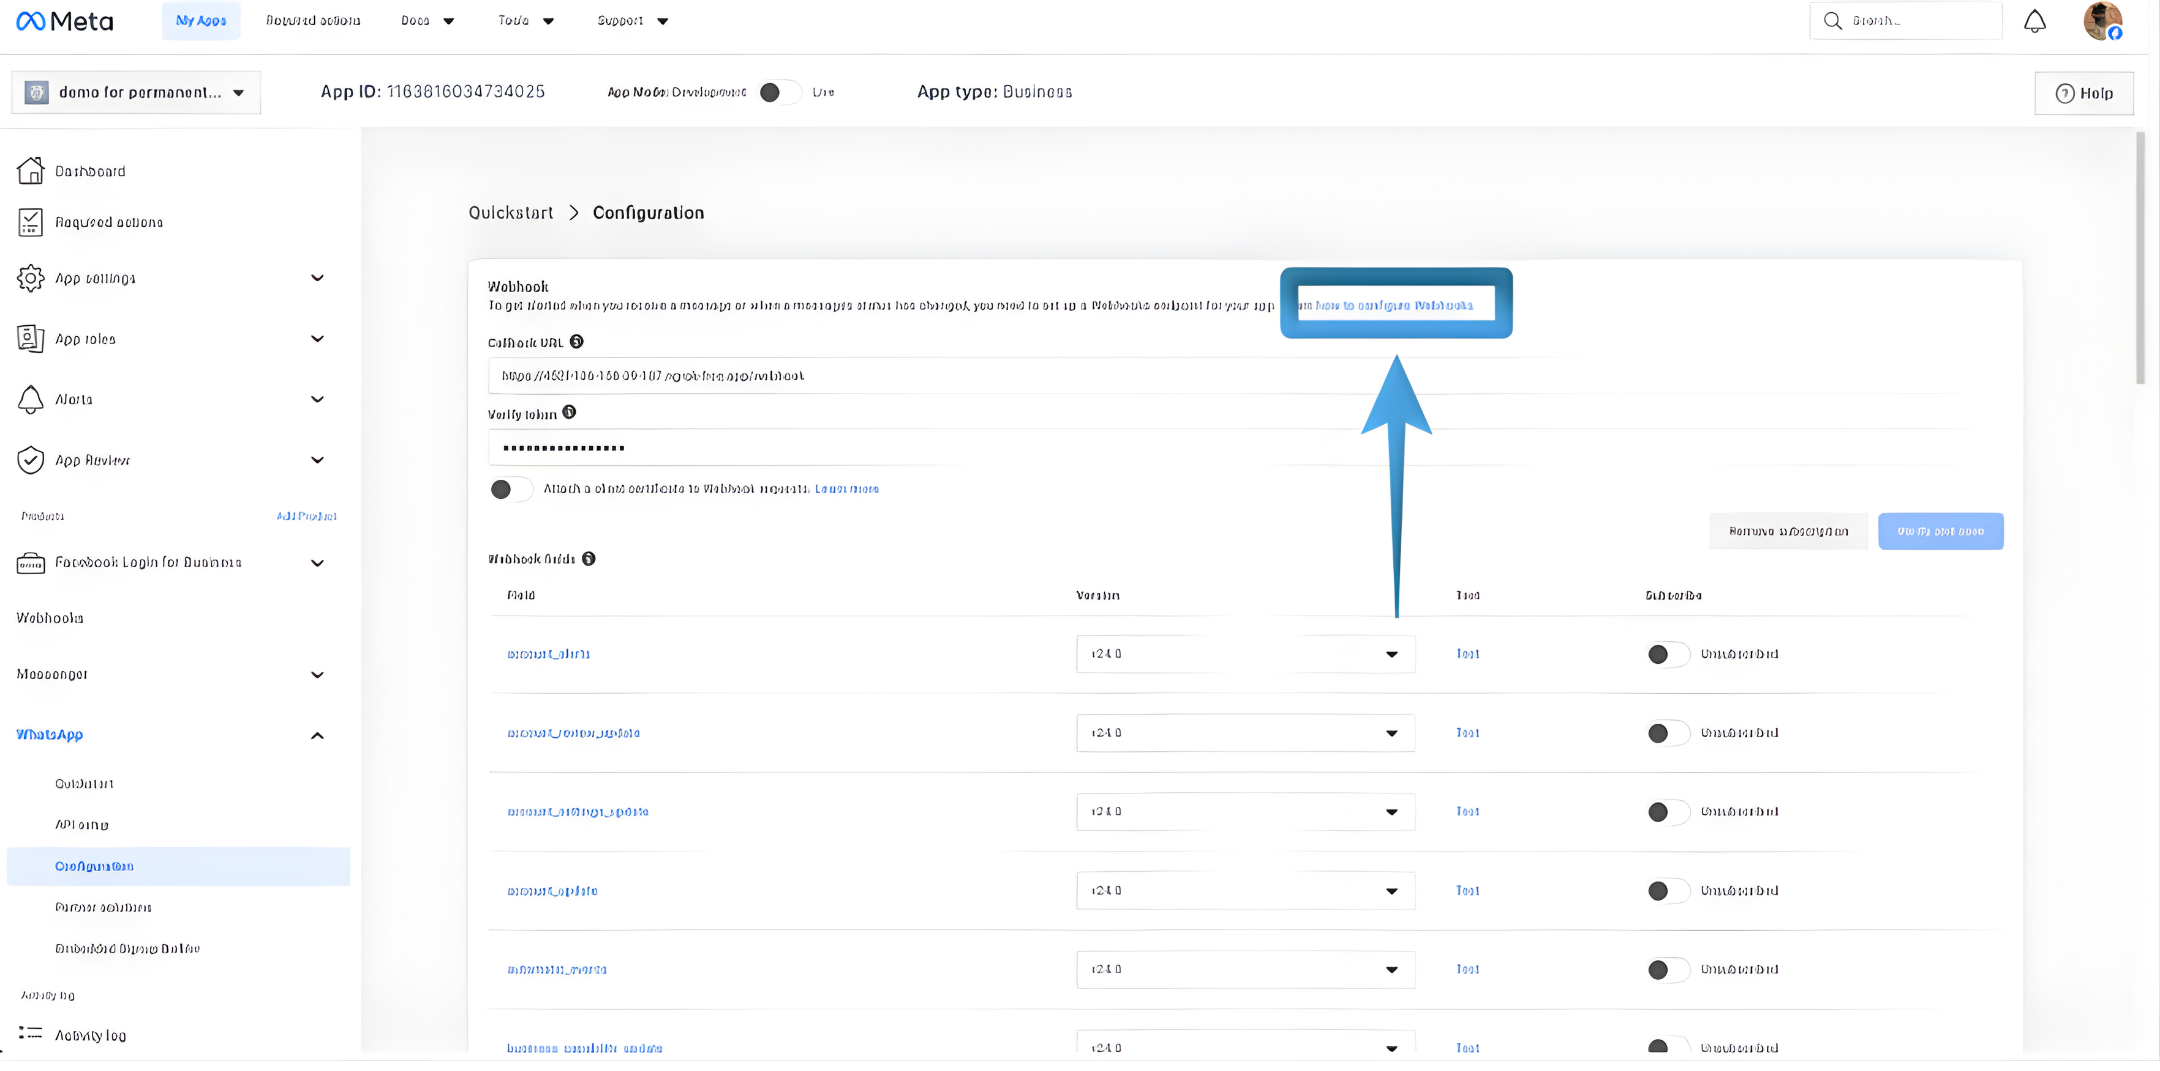 3. Click on the “how to configure Webhooks” link.
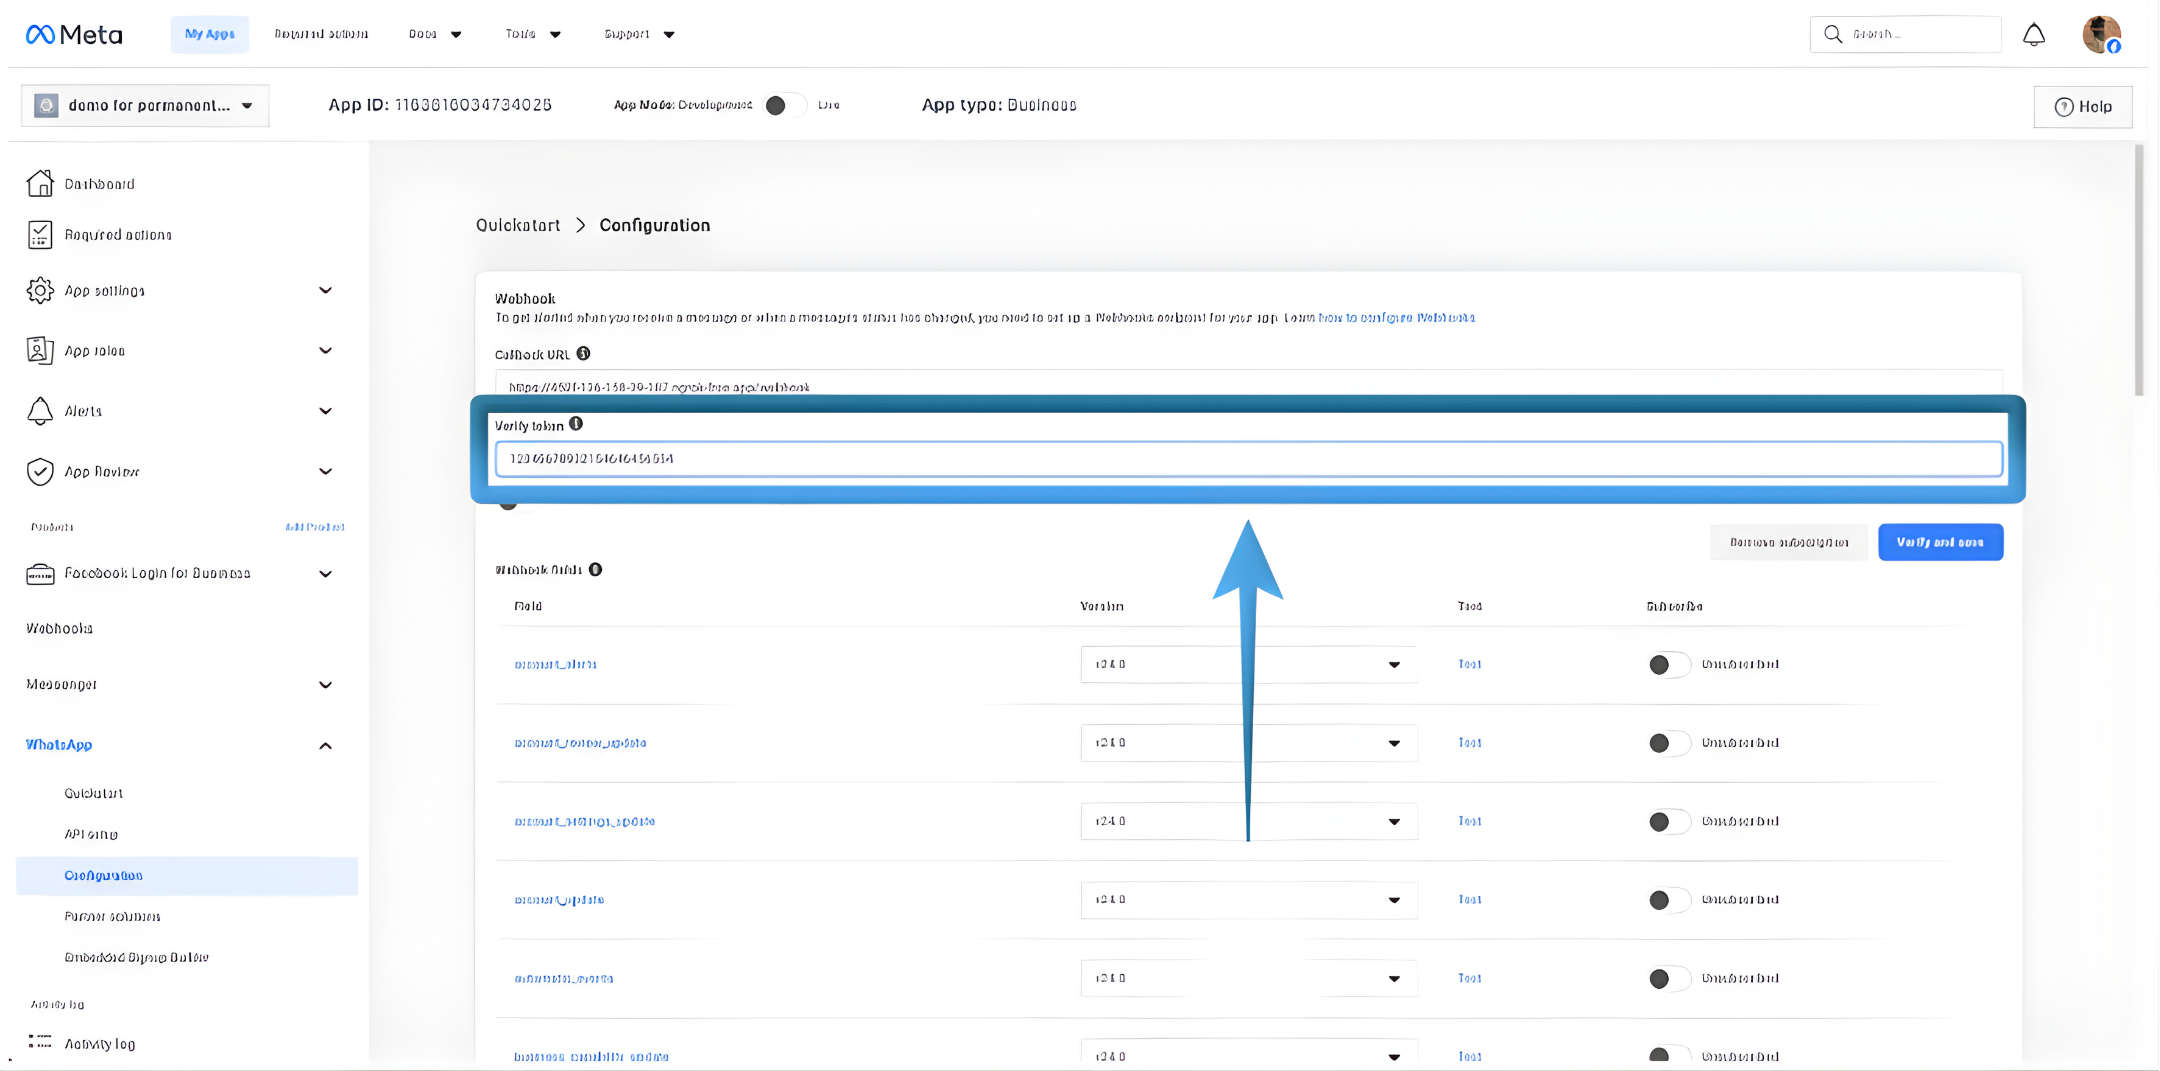 4. In the Verification Token field, enter a custom value. Copy the Verification Token and paste into the notepad you prepared in the “Getting Started” section.
The Verification Token is used by RingQ to verify that webhook requests are genuinely coming from Meta.The value must be identical in both Meta and RingQ.
4. In the Verification Token field, enter a custom value. Copy the Verification Token and paste into the notepad you prepared in the “Getting Started” section.
The Verification Token is used by RingQ to verify that webhook requests are genuinely coming from Meta.The value must be identical in both Meta and RingQ.
Webhook (Auto-Configured)
Important Note
- Meta automatically configures the WhatsApp webhook after setup.
- RingQ uses this webhook internally.
- No webhook URL needs to be pasted into RingQ unless explicitly instructed.
WhatsApp Access Token
1. Login to Meta for Developers → My Apps → WhatsApp → API Setup
 2. Click Generate Token (Temporary or System User Token).
 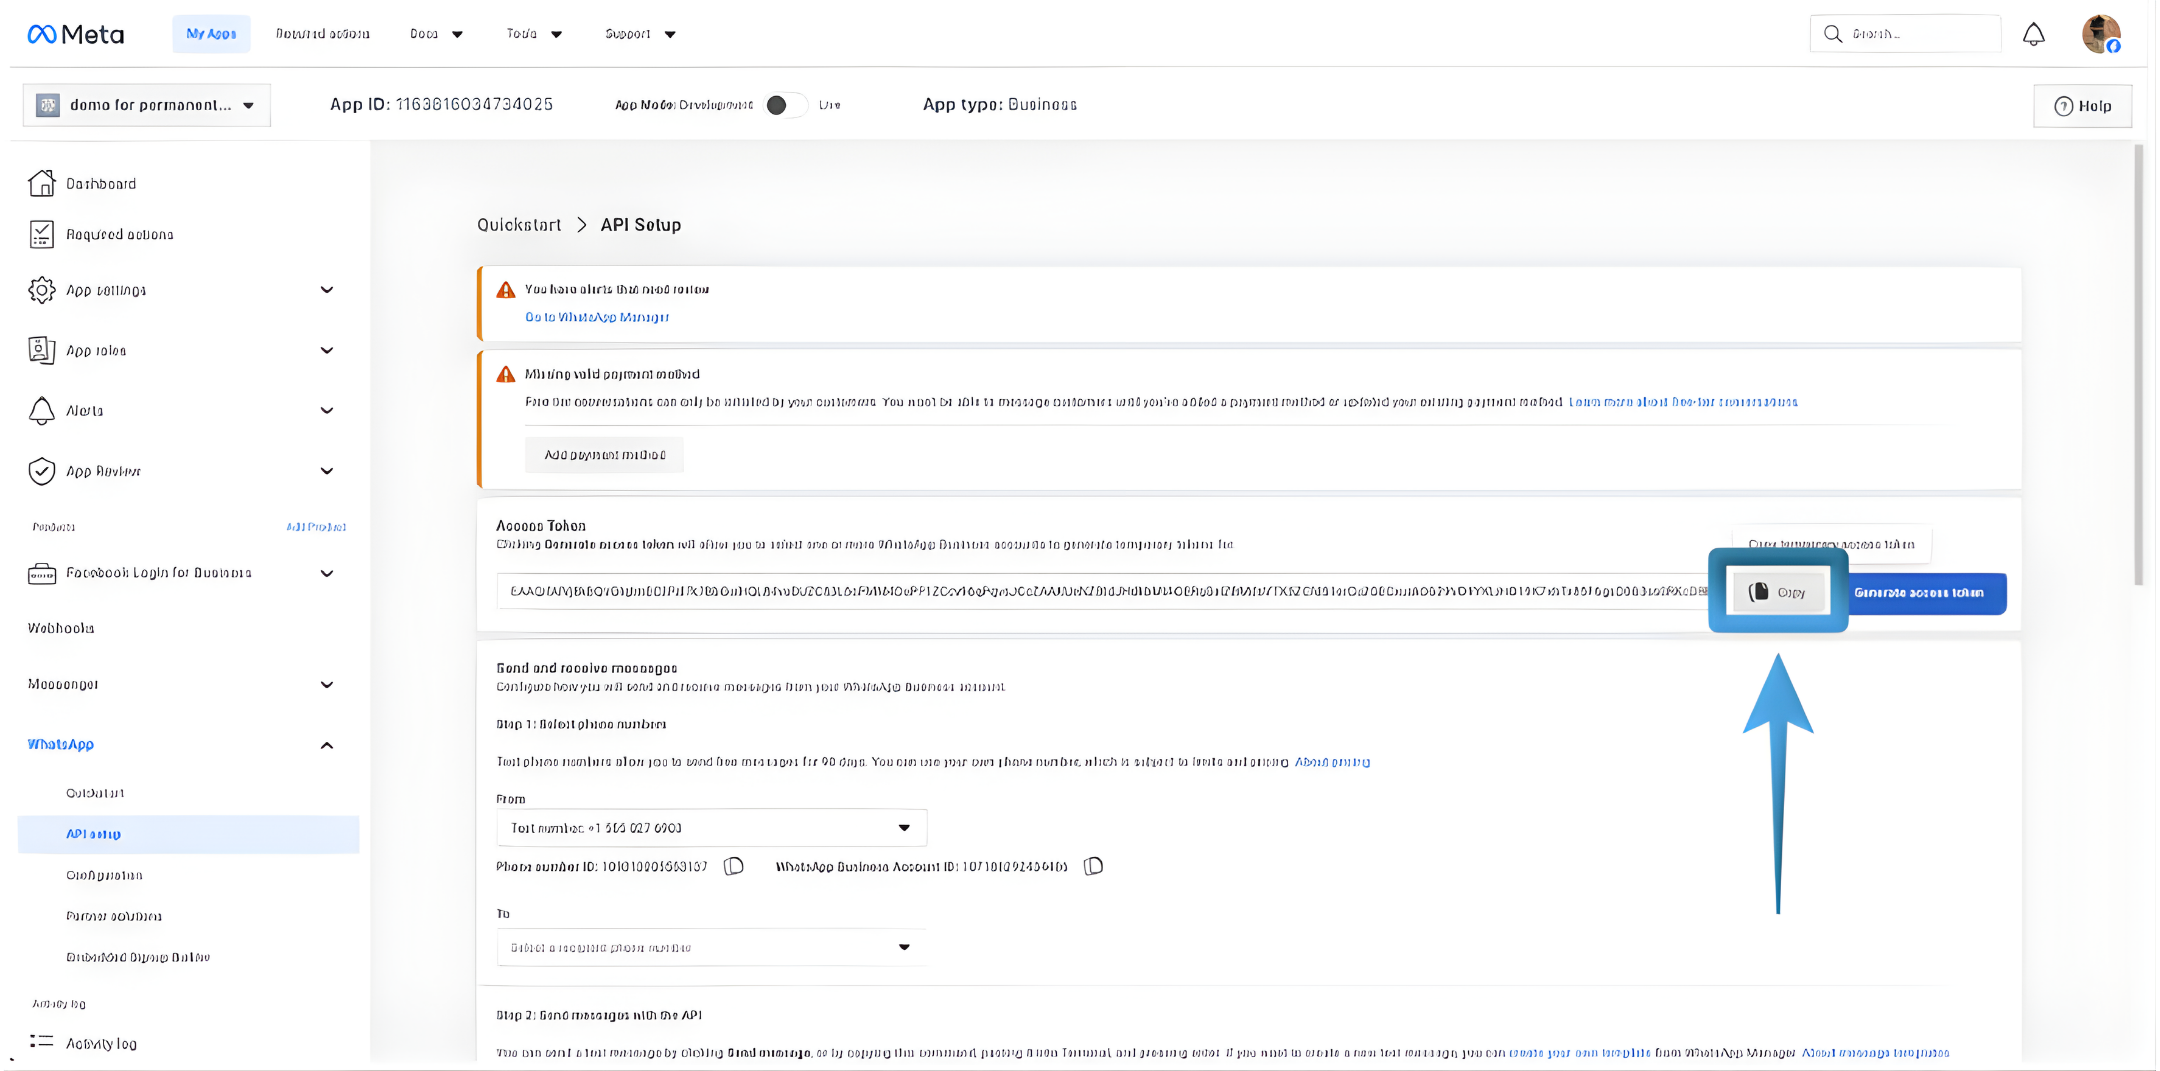 3. Click Copy and paste it into your Notepad.
The Access Token allows RingQ to securely send and receive WhatsApp messages on your behalf.
3. Click Copy and paste it into your Notepad.
The Access Token allows RingQ to securely send and receive WhatsApp messages on your behalf.
WhatsApp Business Account ID (WABA ID)
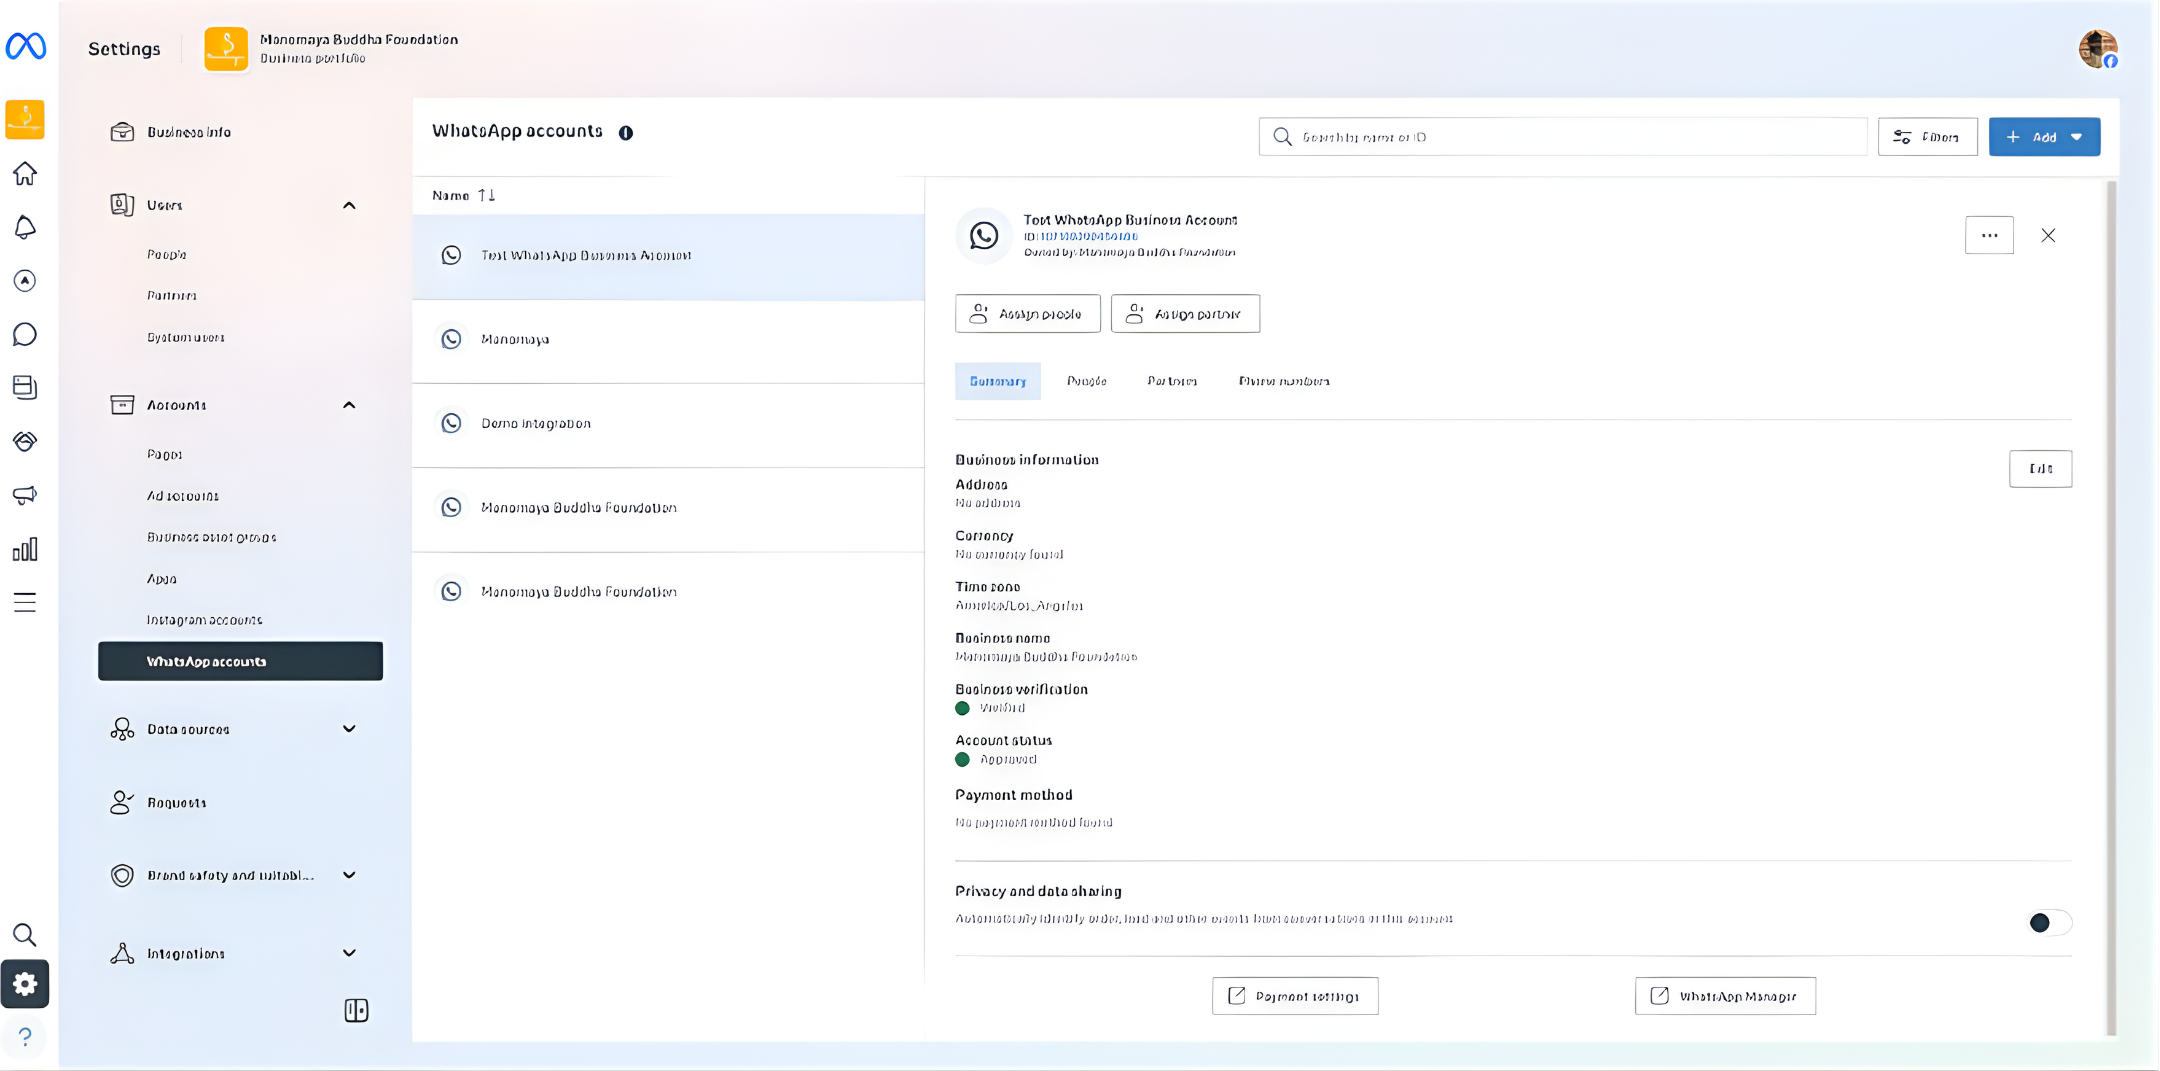 1. Login to your Meta Business Manager → WhatsApp Manager.
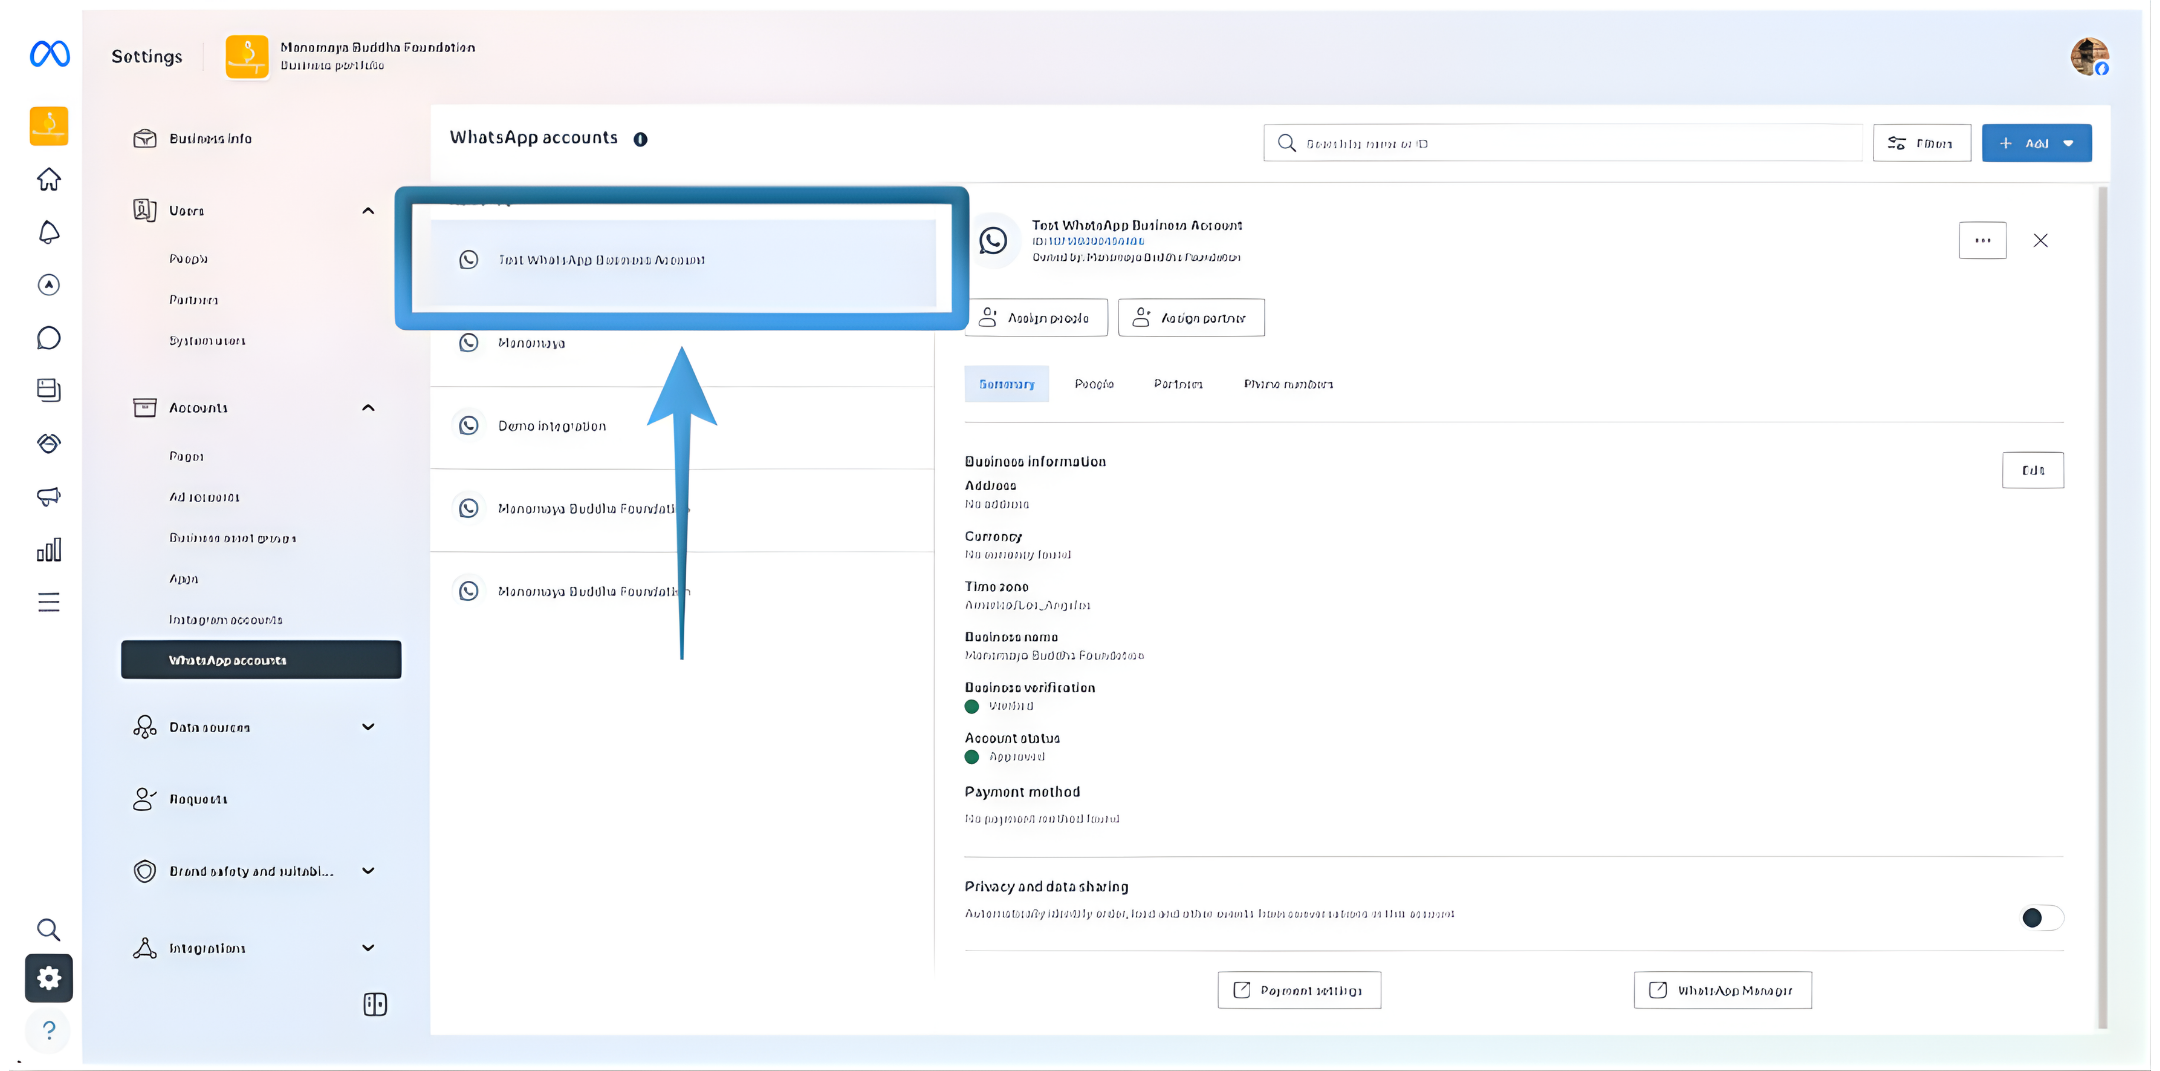 2. Select your WhatsApp Business Account
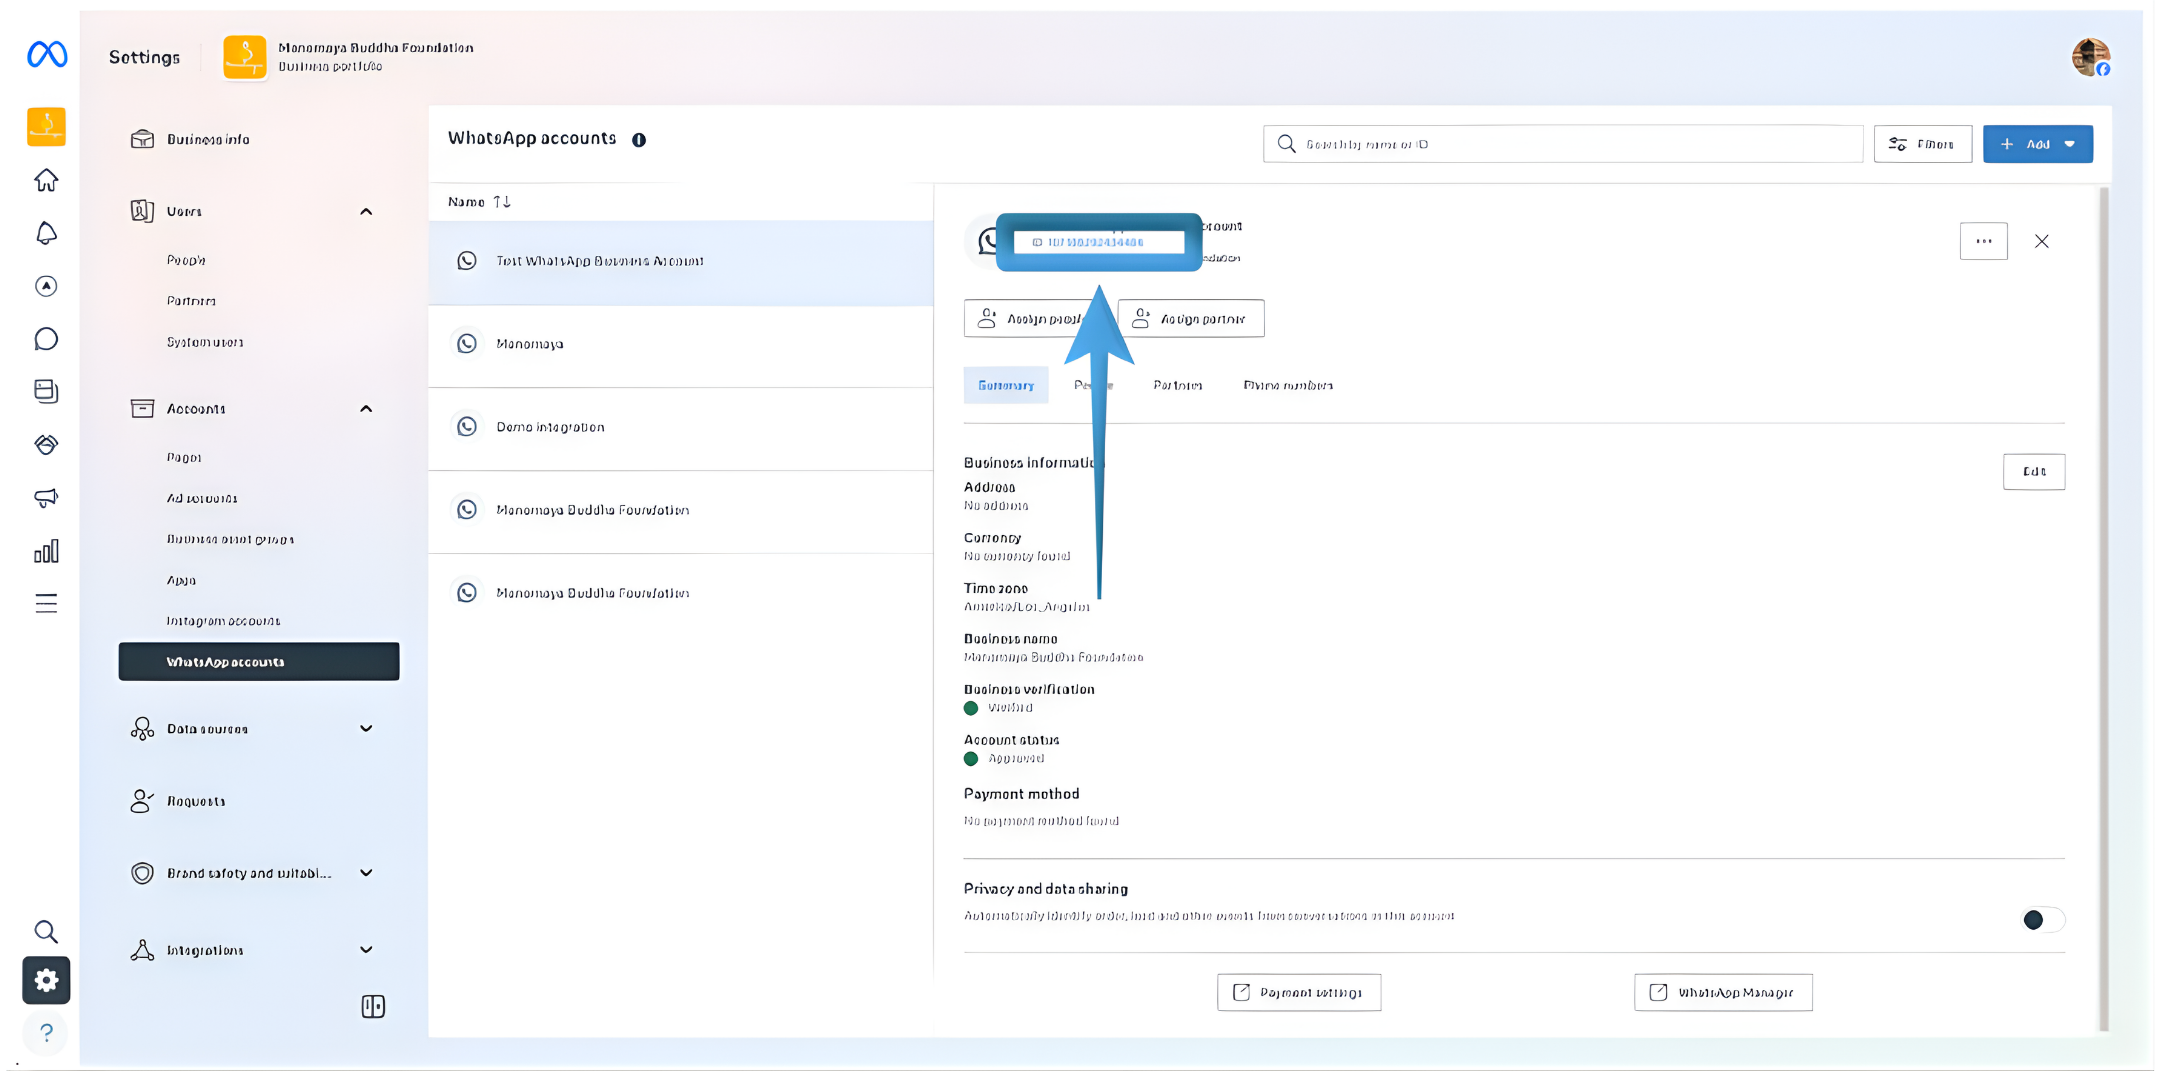 3. Copy the numeric WhatsApp Business Account ID and paste it into your notepad.
Phone Number ID
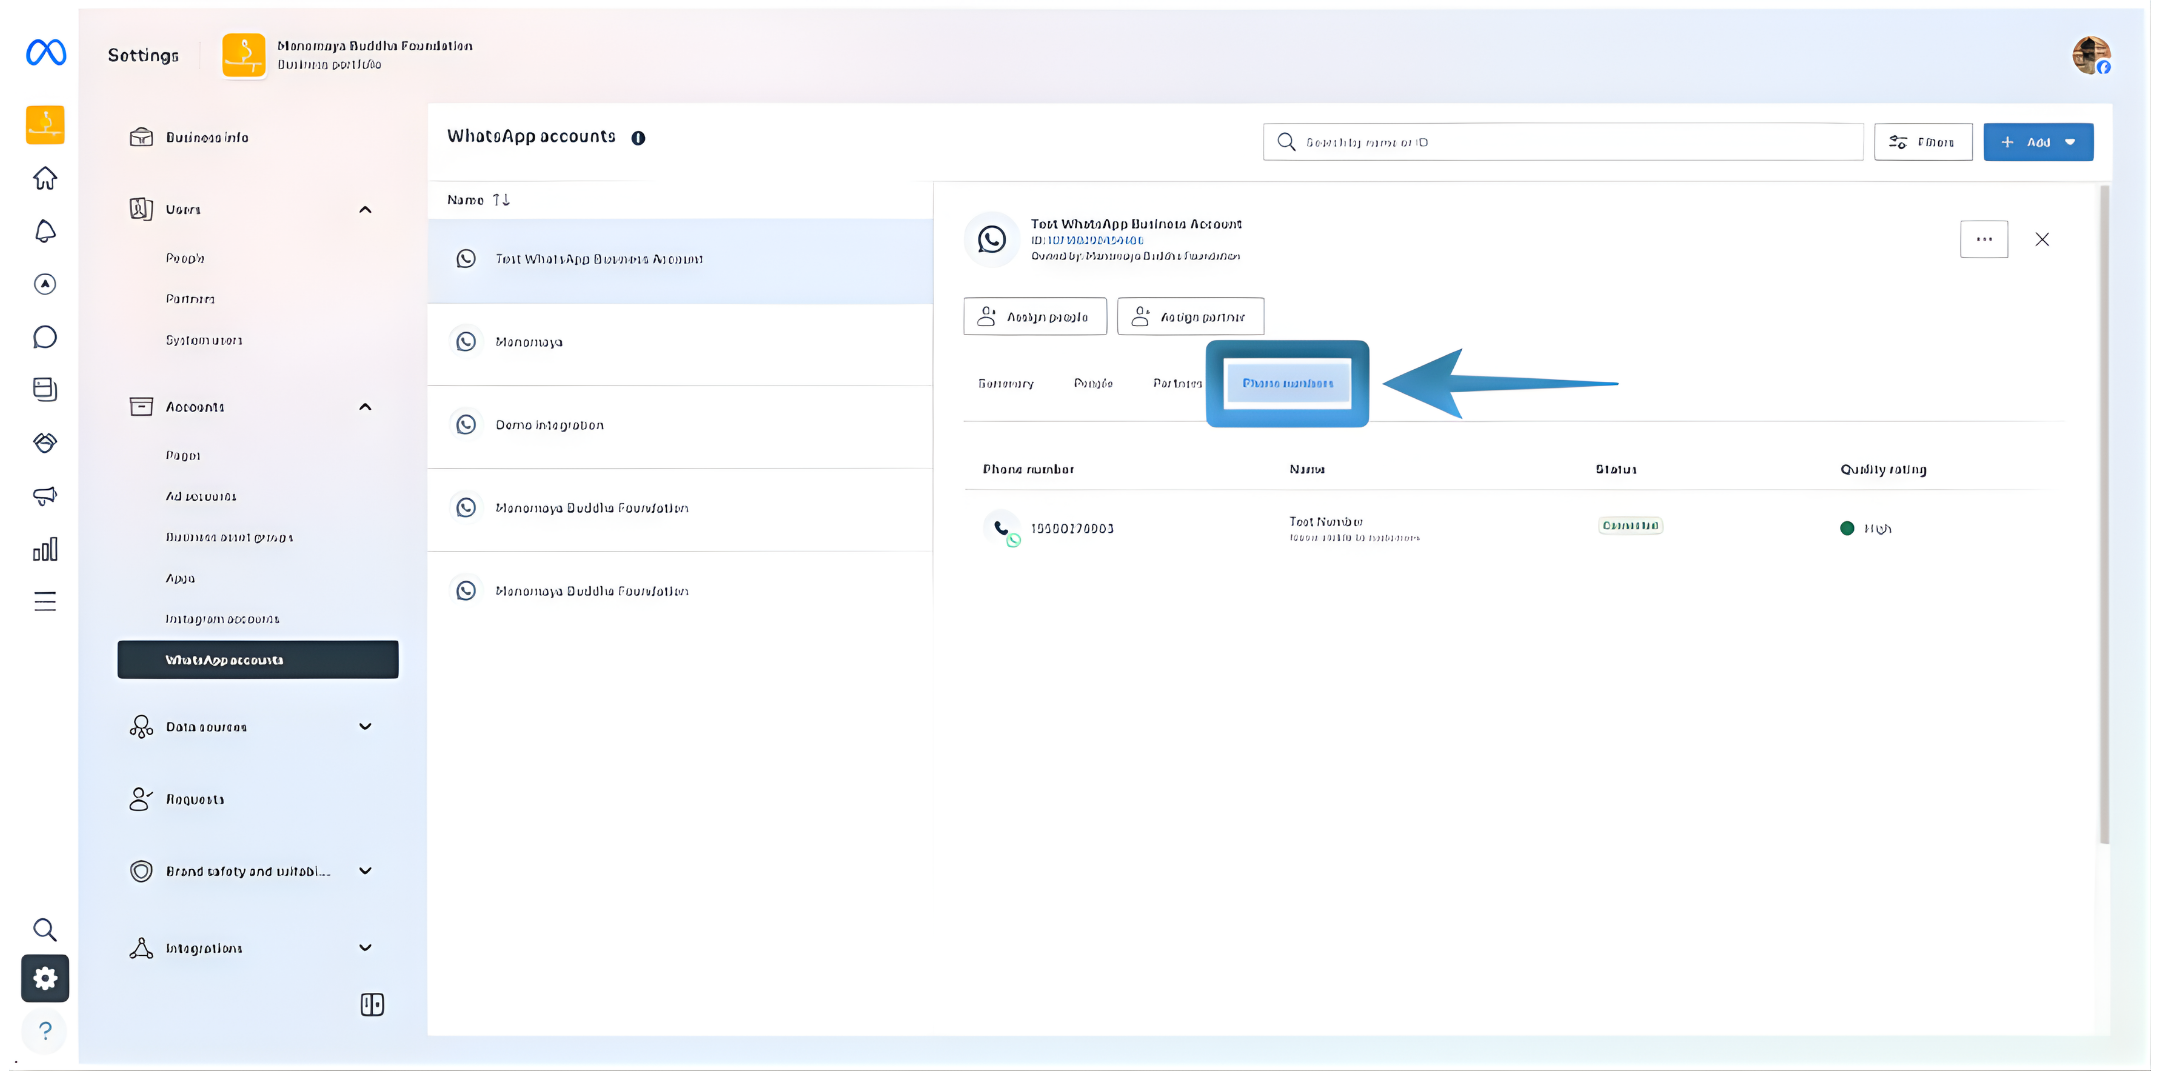 1. Login to your Meta Business Manager → WhatsApp Manager
2. Go to Phone Numbers
1. Login to your Meta Business Manager → WhatsApp Manager
2. Go to Phone Numbers 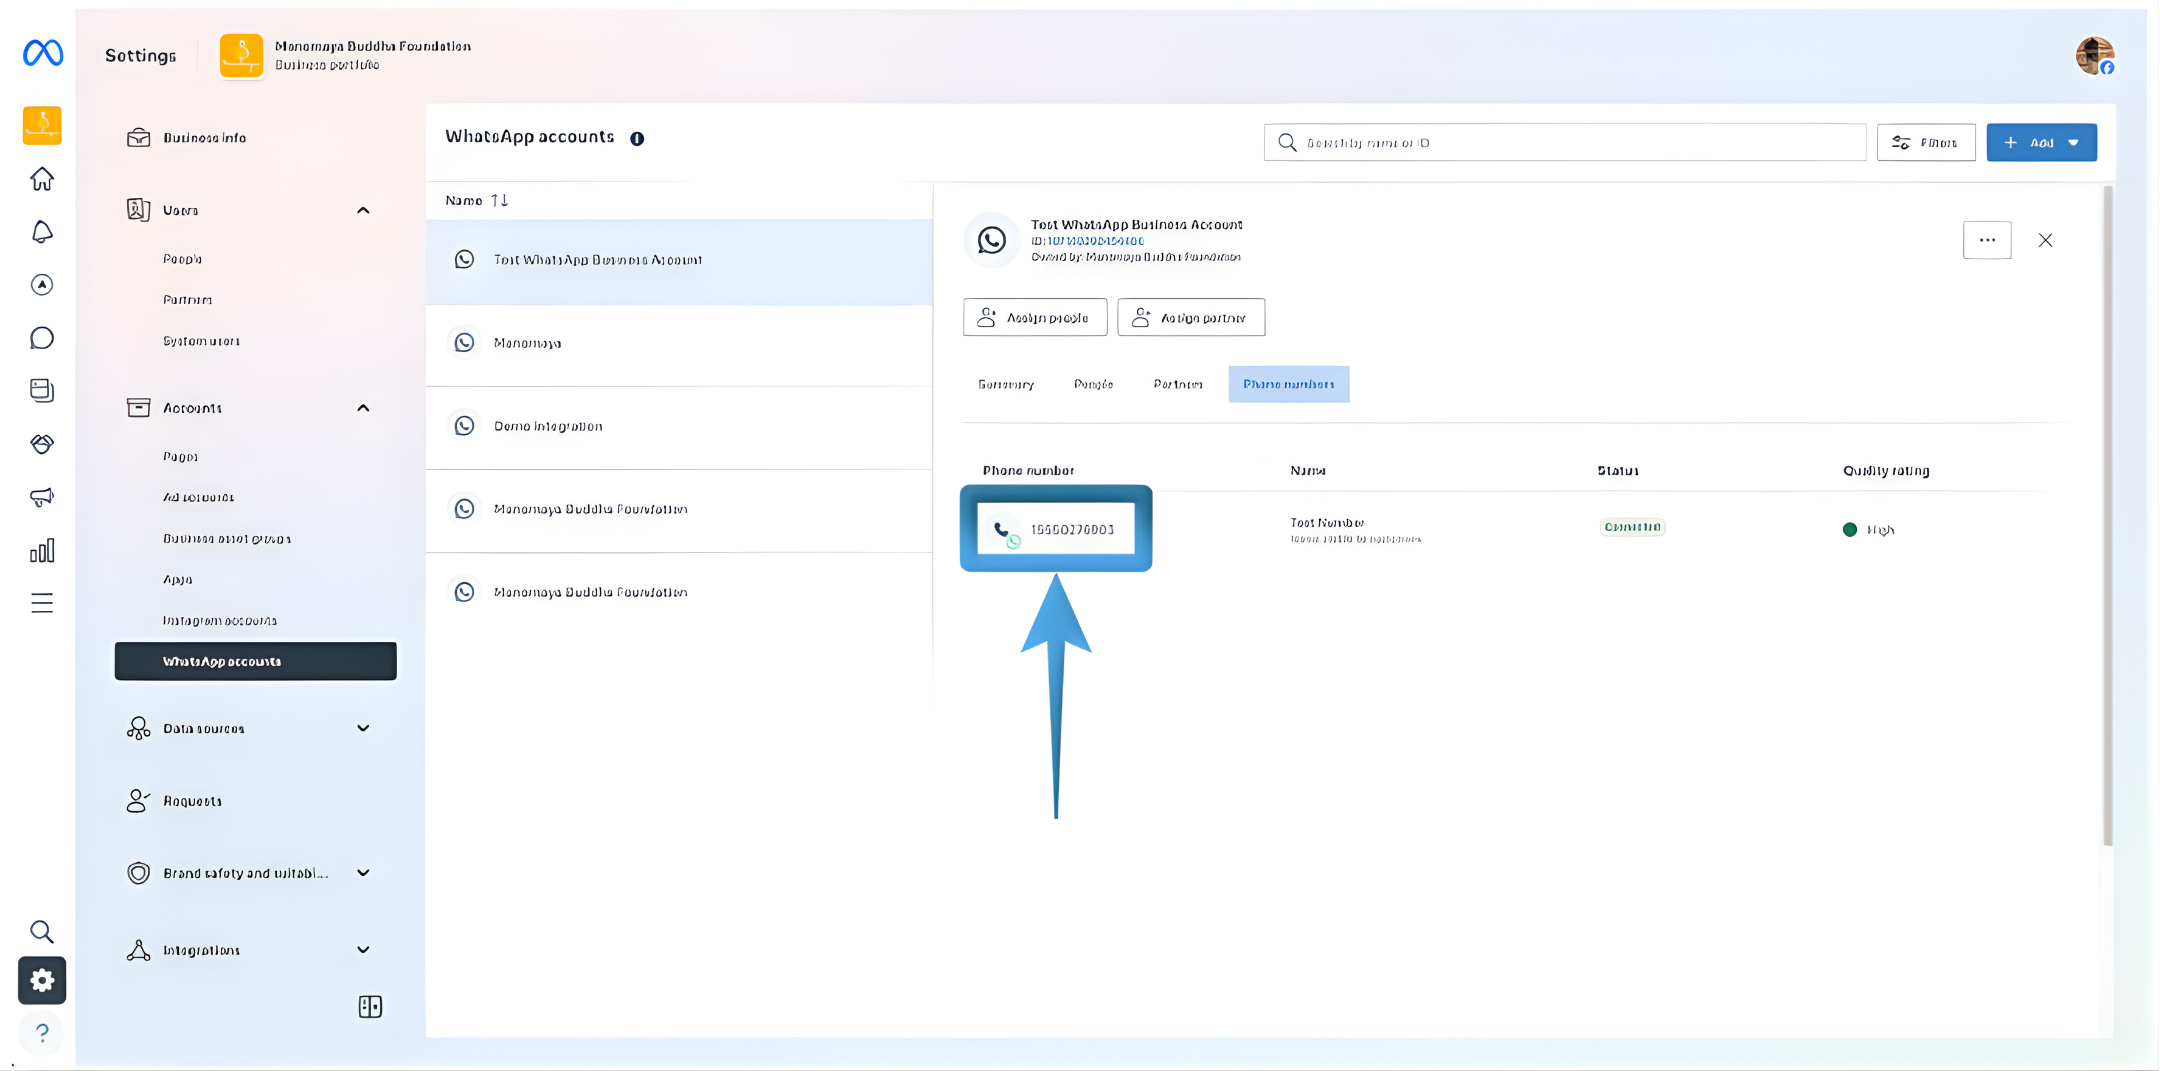 3. Select the registered WhatsApp number and copy and paste it into your note editor.
Final Checklist
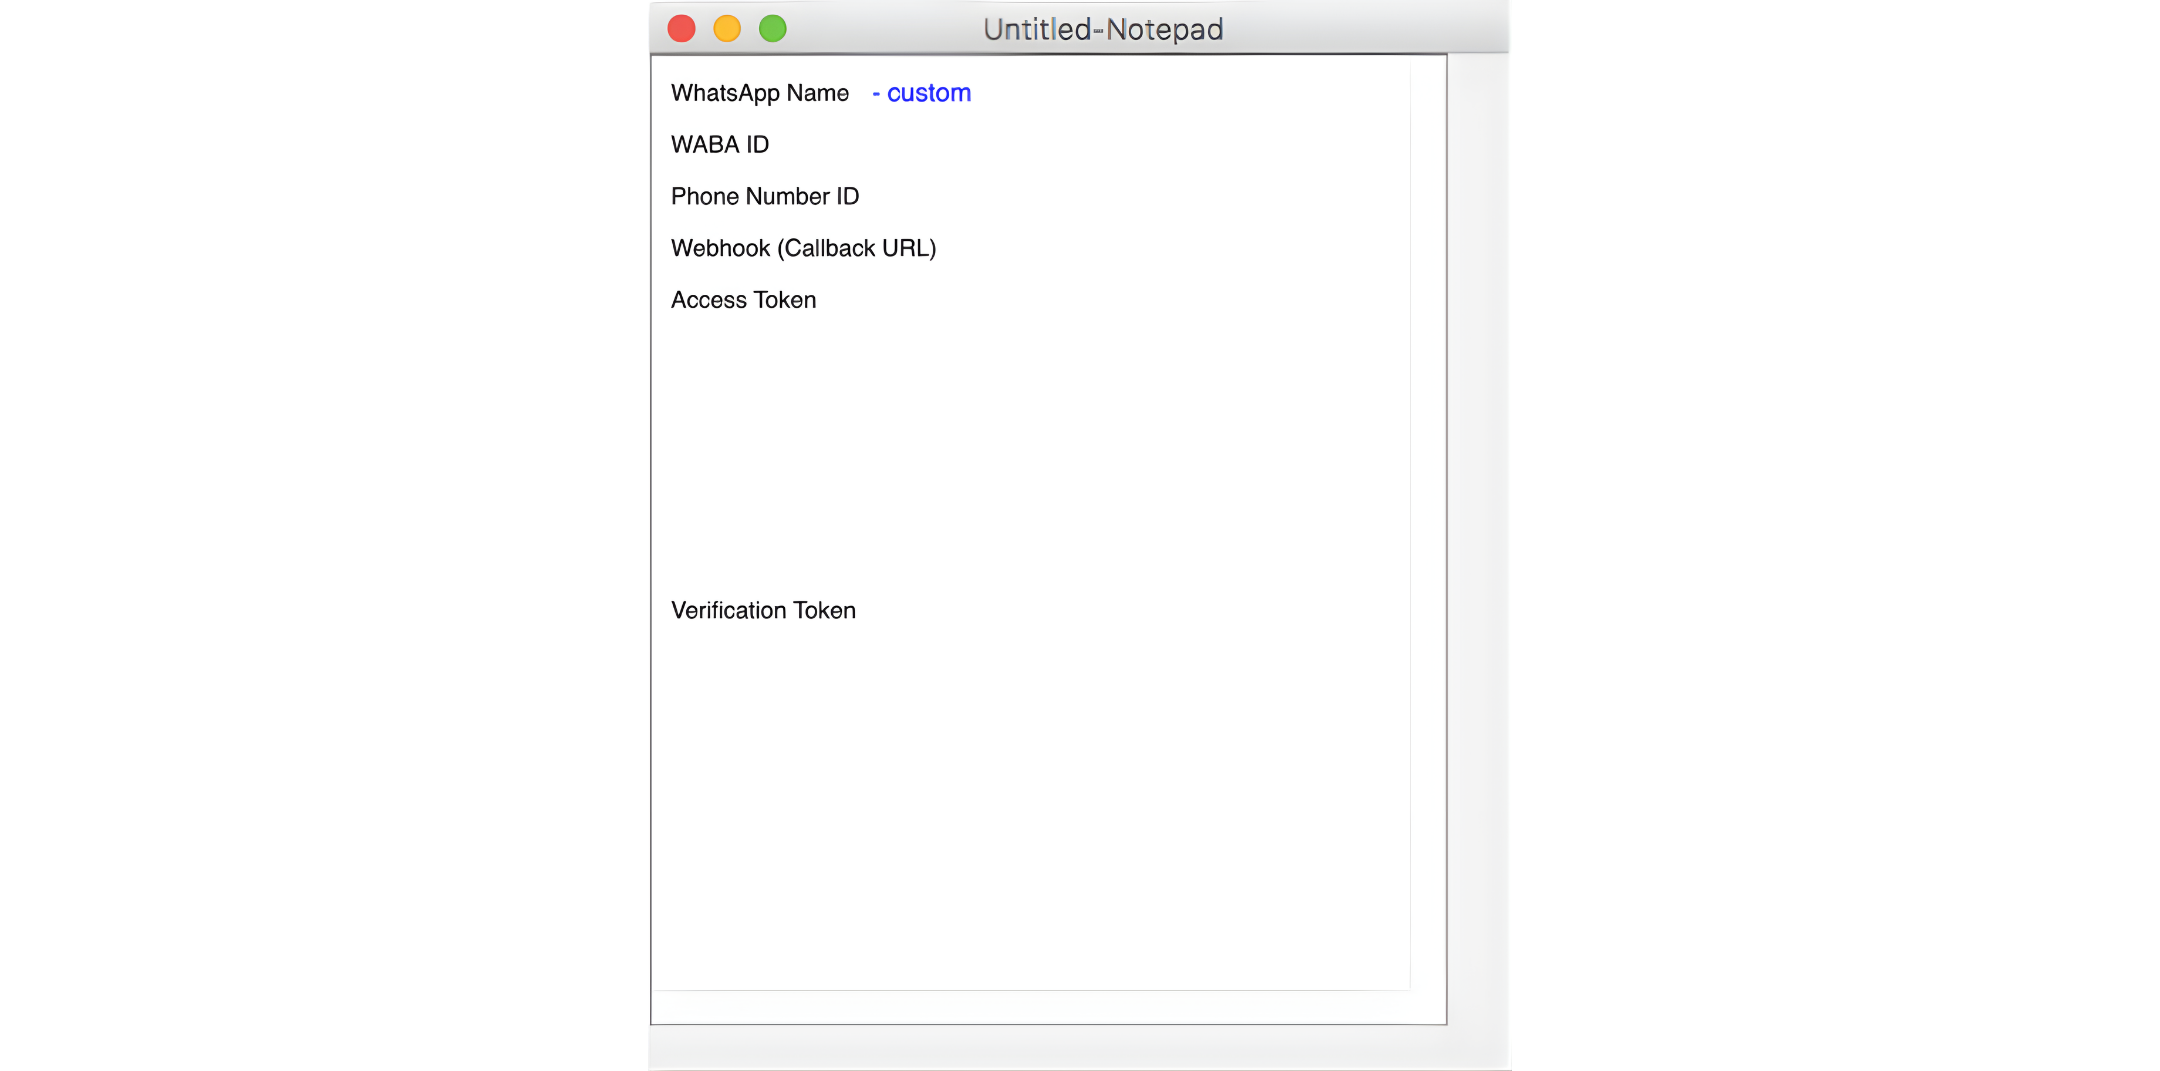
Your note editor should now contain all required WhatsApp configuration details, similar to the example below:
3. Select the registered WhatsApp number and copy and paste it into your note editor.
Final Checklist
Your note editor should now contain all required WhatsApp configuration details, similar to the example below:
- Verification Token: ringq_whatsapp_verify_2026
- Access Token: EAAGxxxxxxxxxxxxxxxxxxxxxxxxxxxxxxxxxxxxxxxx
- WhatsApp Business Account ID: 123456789012345
- Phone Number ID: 987654321098765
Add to the RingQ Web App
1. Sign in to the RingQ Web App 2. Go to Settings → Global Settings → Chat Settings 3. Select WhatsApp 4. One by one, copy each value from your note editor and paste it into the corresponding RingQ field 5. Save the configuration Important Notes
- Always copy–paste, never retype values.
- Ensure there are no extra spaces before or after values.
- The Verification Token must be an exact match in both Meta and RingQ.
Follow the “Configuring WhatsApp in the Web App” guide.
