Admin
Users & Call Controls
- Creating Extensions for Users
- Editing and Managing Extensions
- Creating Teams & Assigning Extensions
- Configuring Agent Status & BLF
- Managing Extension Schedules
- Managing User Roles
- Managing Call Controls
- Setting up Shared Parking
- Voicemails
- The BLF Function
- Configuring the Speed Dial
- Configuring the Busy Lamp Field (BLF)
Deployment Methods & System Requirements
Installation Guides
Creating Teams & Assigning Extensions
Introduction
In RingQ, organizing your users into teams with dedicated extensions helps streamline communication and improve call management. Whether you’re setting up departments, support groups, or sales units, this feature allows you to assign specific extensions to each team, enabling efficient internal routing and better collaboration. This guide walks you through the steps to create and manage teams with extensions in your RingQ system.
Accessing Extensions
1. Click the Show Side Menu button to open the menu.
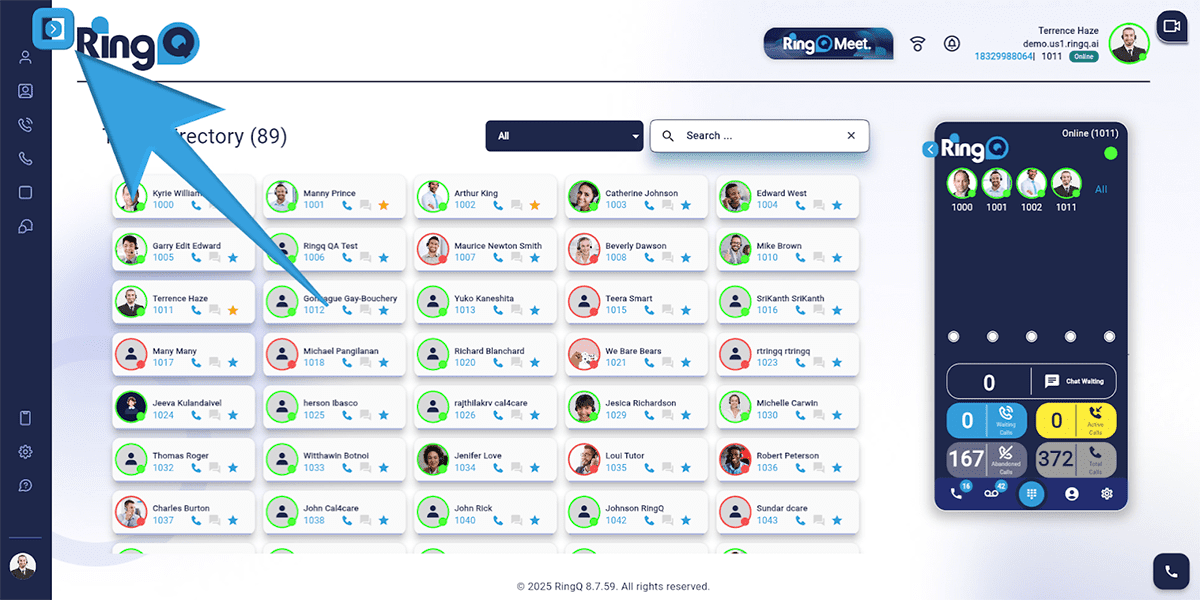
2. Navigate to the Accounts menu.

3. Click the Dropdown button to expand the Accounts options and select “Extensions”.
Creating a Team
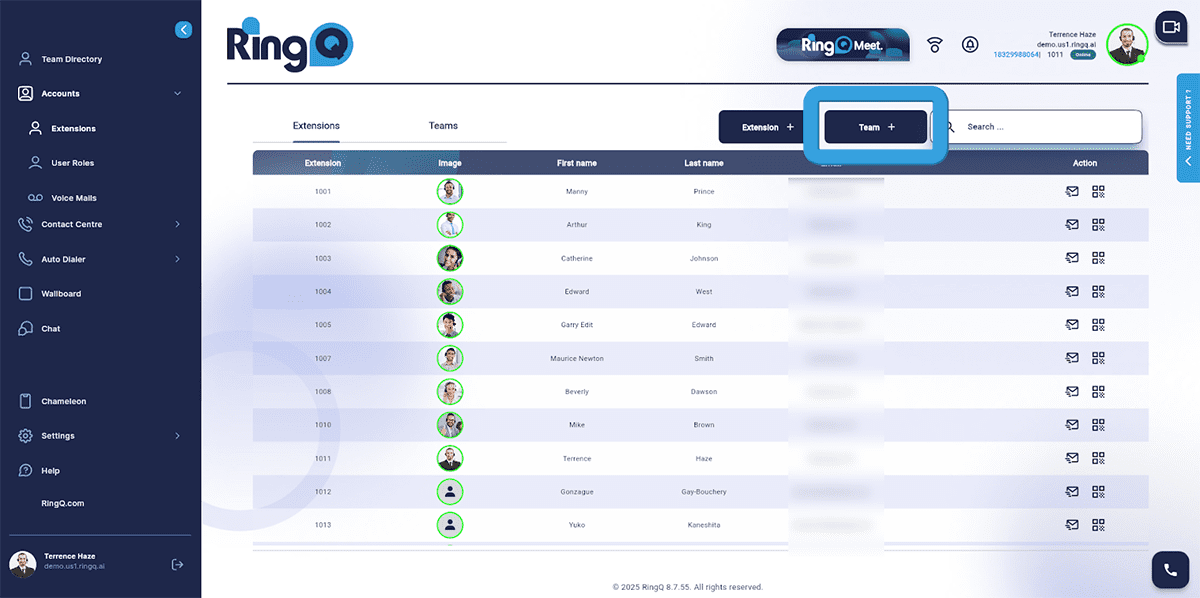
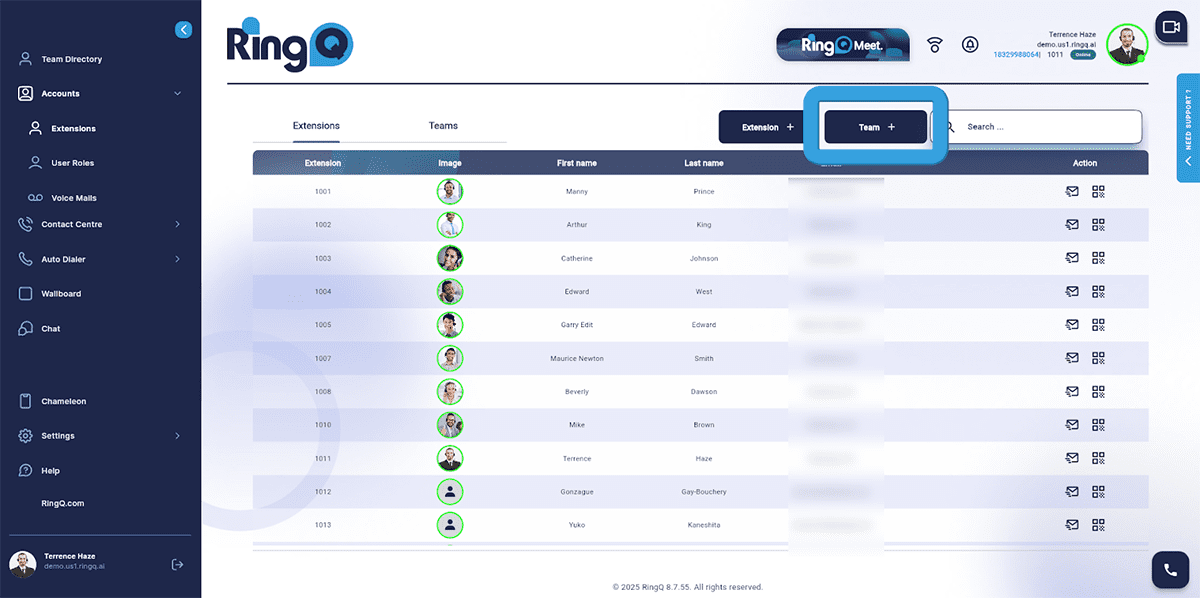
1. Click “Team +”.
2. Go to the “Summary” section.
- An extension number (2000 series) is automatically assigned
- Enter the team or group name.
- Set the duration (in seconds) before a call is considered unanswered.
- Choose an action for unanswered calls.
Assigning an Extension to a Team
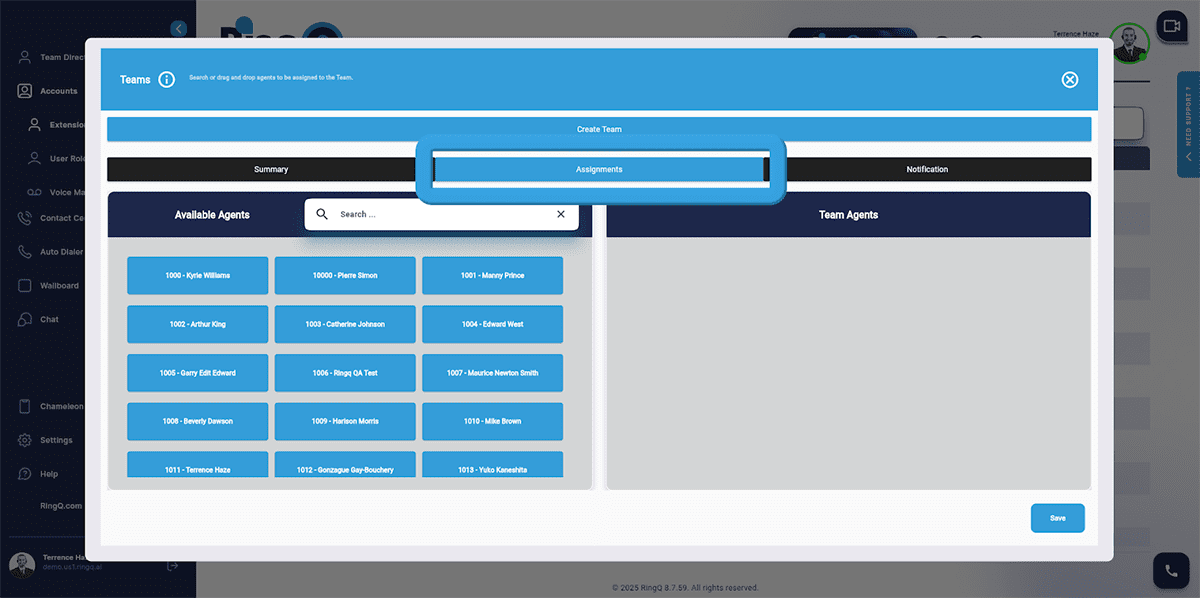
1. Go to the “Assignments” section and select an extension from the Available Agents.
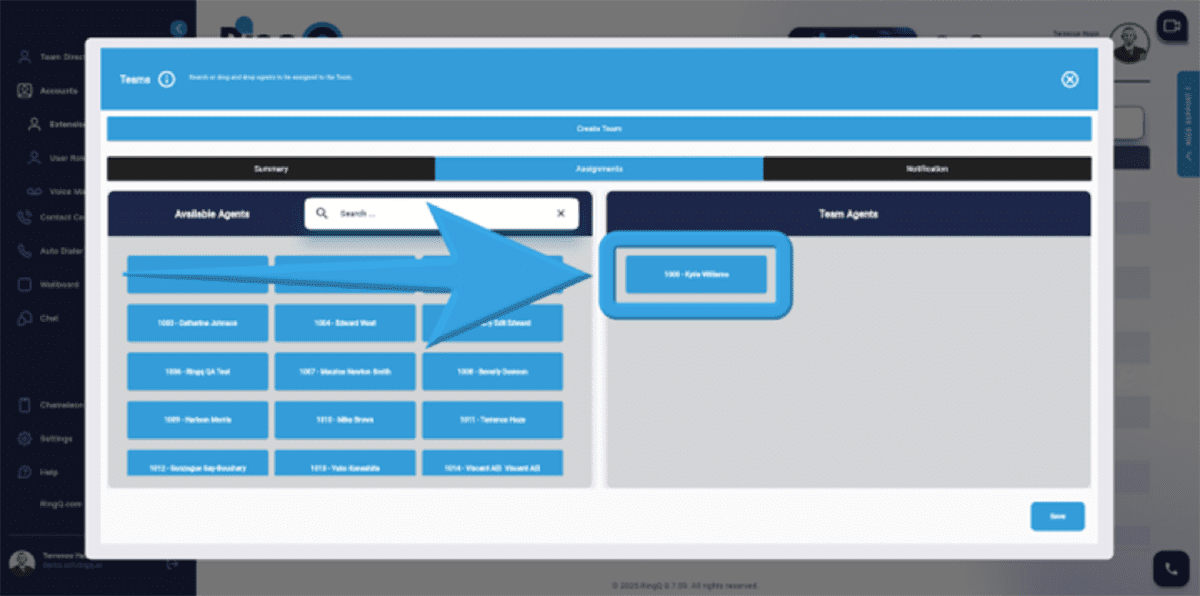
2. Click and hold the selected extension.
3. Drag and drop it into the Team Agents container. A confirmation message will appear at the top of the screen upon successful addition.
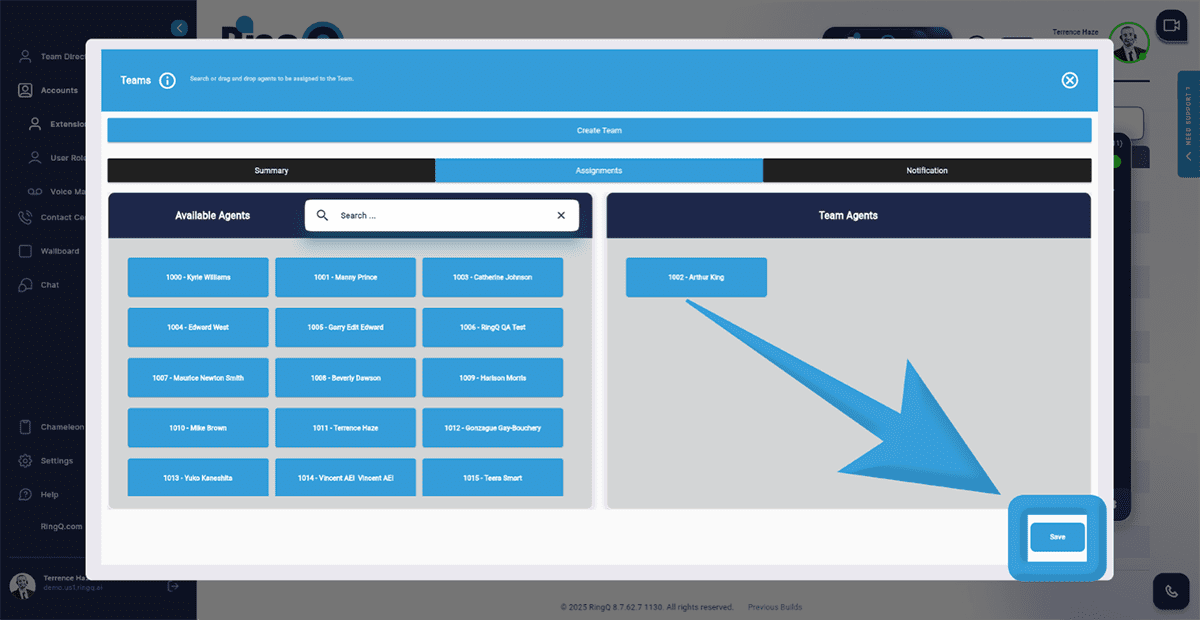
4. Click the “Save” button.
5. A confirmation message will appear at the top of the screen upon successful addition.
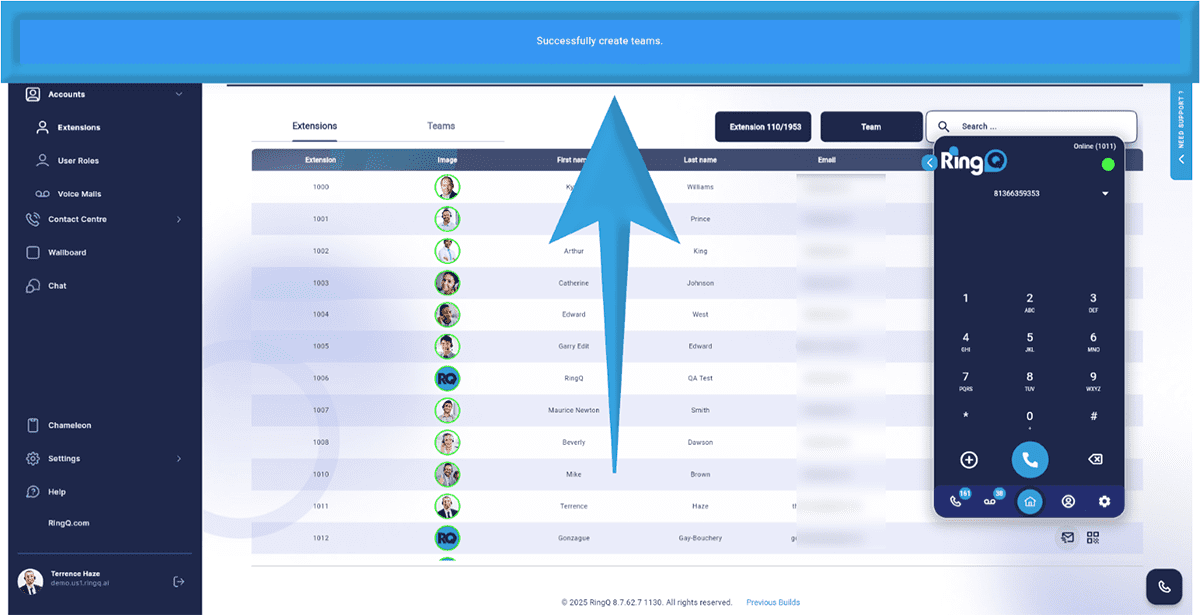
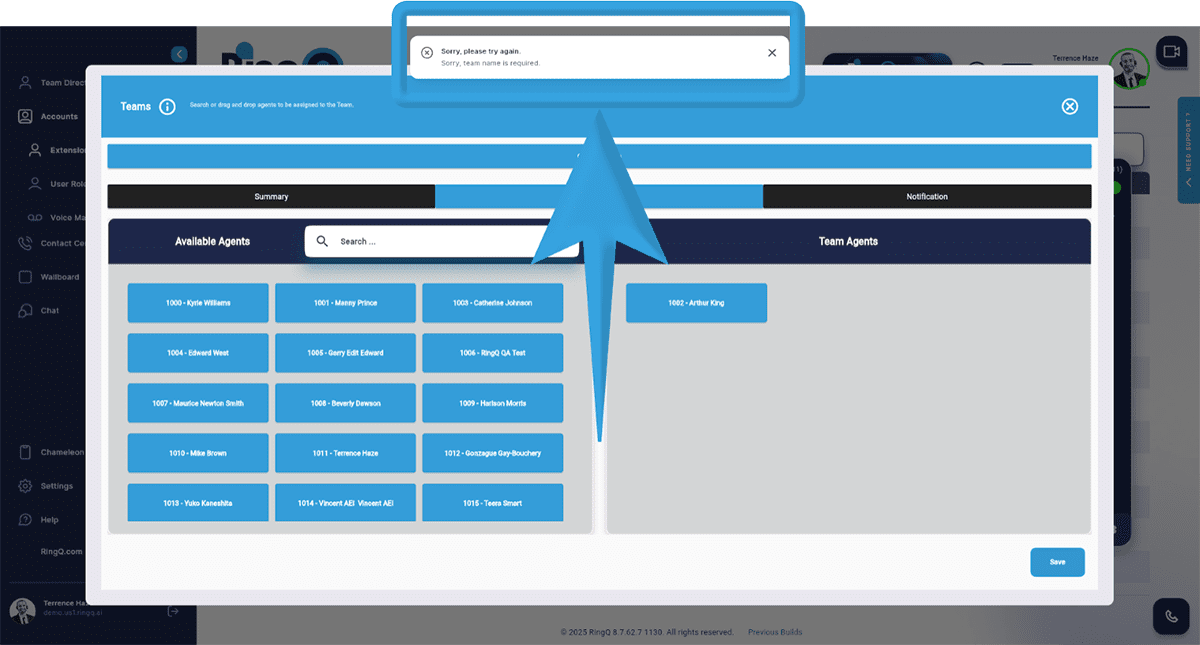
6. If there are configuration errors, an error notification will be displayed.
